This tutorial introduces the exciting possibilities for modeling using Maya’s MEL scripting language. In this first part, we will learn the basics of MEL commands, and create two procedural model scripts that could be useful in your own workflows.
Looking Under the Hood
The Maya Embedded Language (or MEL) is the command structure that Maya uses to create just about everything you see on-screen. Every time you create an object or move a vertex, a MEL command is called to make that action happen. Even all of the windows, shelves, tabs, menus and editors are generated and organized using MEL scripts. If you wanted, you could completely re-build the Maya interface using nothing but MEL, making the scripting language an incredibly powerful tool to have under your belt as an artist. If you can use scripting to automate the most time-consuming parts of your work, then you can spend that much more time making your work stand out.
The best place to learn about specific MEL commands is in the Technical Documentation portion of the Maya Docs, and the best way to get familiar with the concepts behind MEL is to see them in action. Let’s dig into the system and get started with our first script.
Script One
The first script will create a square pipe with the flat sides aligned on the X and Z axes. We’ll run through the creating the script, and make a shelf button to access it.
Step 1
Write out your Pseudo-code.
Pseudo-code is a plain-English form of a script, with every major step listed out. When you start working on complex scripts it becomes very important to outline your scripts before you ever get started. For us, the pseudo-code might look like this:
Create four-sided polygon pipe
Rotate 45 degrees in Y
Move to sit on the ground plane
Move pivot point to origin
Freeze transformations
Step 2
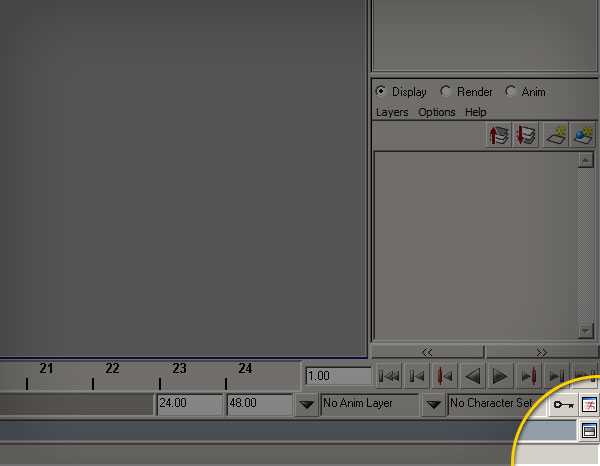
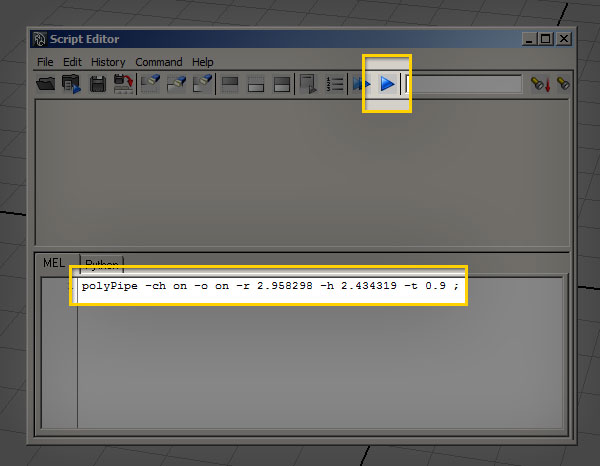
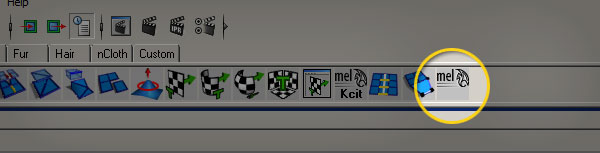
Open the script editor by clicking the button on the lower right-hand side of the main Maya window.
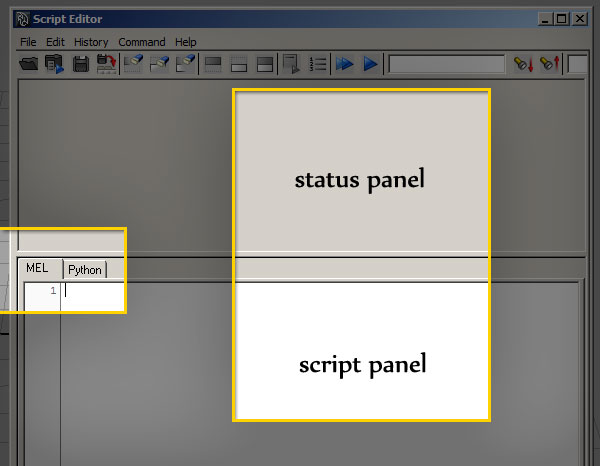
Inside the script editor, there are two main panels, the status panel above, and the MEL/Python window below. Make sure that the MEL tab is selected.
Step 3
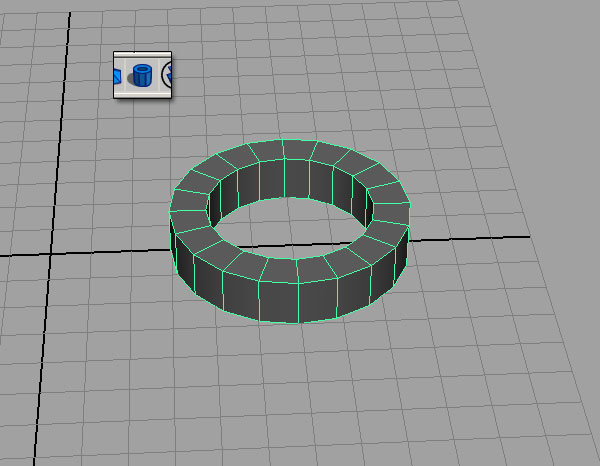
Draw a “pipe” primitive in the Maya scene.
You should see something similar to this in the status panel of the script editor window:
polyPipe -ch on -o on -r 2.958298 -h 2.434319 -t 0.9 ;
// Result: pPipe1 polyPipe1 //
Step 4
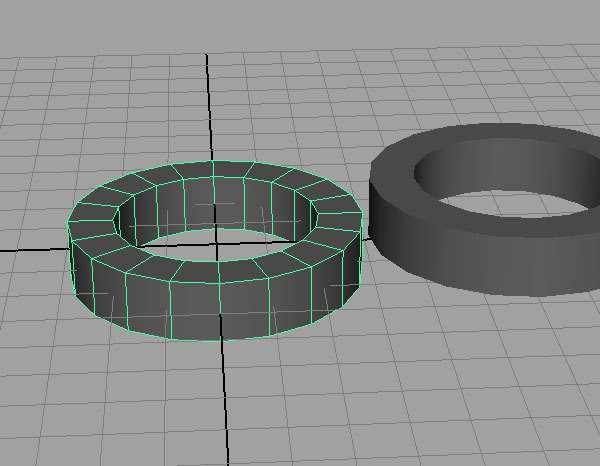
Copy and paste the polyPipe command from the status line into the Script Editor.
You should get an exact duplicate of the first polyPipe, this time located exactly on the origin.
Step 5: Breaking Down the Code
The polyPipe command you just used is one of thousands of MEL commands available to you. Their structure (what programmers call syntax) is pretty much the same for every command:
melCommand -flag value -flag2 value targetObject;
The first part is the command itself, and the flags (denoted by the dash character) define certain attributes of the command. Commands that manipulate objects which already exist often require a target, which tells the command what object to change. Each command also requires a semicolon, which marks the end of the command.
In the example of polyPipe, the three flags below define the radius, height, and thickness of the created pipe.
-r 3.162278 -h 3.514619 -t 0.8
We’ll go over other flags in detail later in the tutorial, when we put the script together.
The procedural modeling workflow in MEL is essentially just a clever chaining-together of commands that create or manipulate geometry in Maya.
Step 6
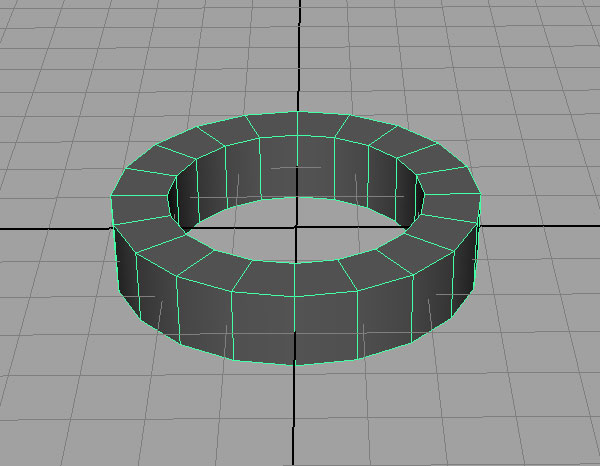
Delete the original pipe, and select the one you just created using the MEL command.
Step 7
Set the number of axis subdivisions to four, and choose some “nice” integer numbers for the height, radius, and depth. We’ll change these later on, and they’ll make the example easier.
These settings can be adjusted with the polyPipe command at the time that the object is created using flags, so don’t worry about what the script editor gives you.
Step 8
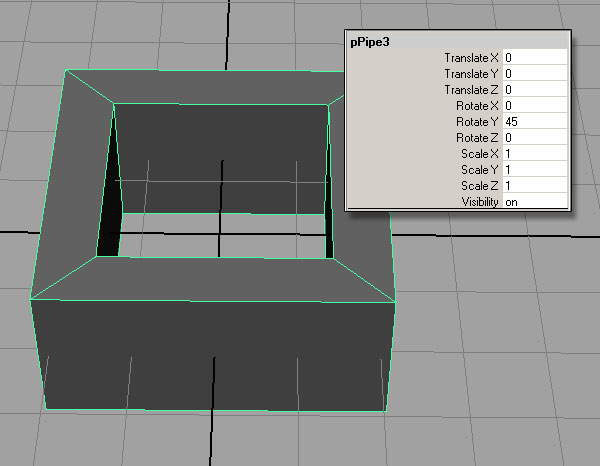
Rotate the object on the Y-axis by 45 degrees
If you rotate the object by hand, the result in the script editor should be something like this:
rotate -r -os 0 -45 0;
If you rotate the object by typing in the rotation value, the result will be:
setAttr "pPipe3.rotateY" 45;
For now, we will use the rotate command in our script. In later tutorials, we will use setAttr to work with specific object attributes.
Step 9
Move the pipe so that it is sitting on the grid plane
If you move the object by hand, the code in the script editor should be:
move -r 0 1 0;
If you move the object by typing in the y-value:
setAttr "pPipe3.translateY" 1;
Again, we will use the move command instead of setAttr.
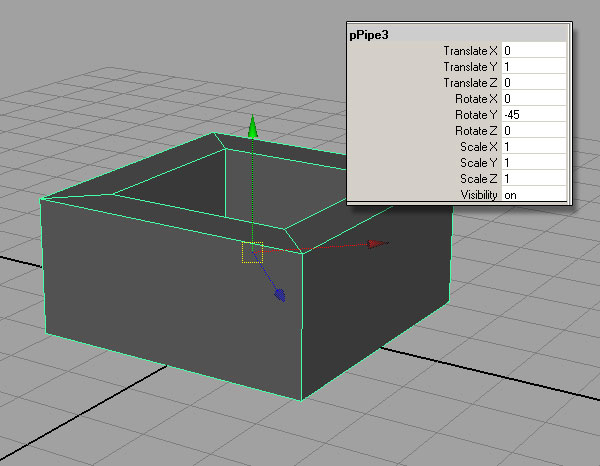
Step 10
Press “insert” and move the pivot of the pipe down to the origin.
This will allow you to easily scale the pipe from a ground plane. This is the code I get in the script editor:
move 0 0 0 pPipe3.scalePivot pPipe3.rotatePivot;
Notice that the code here has two targets – polyPipe3.rotatePivot and polyPipe3.scalePivot. This means that the code can only be used when the object in question is named polyPipe3. In later tutorials, we’ll address this issue by using variables, but for now, we’ll work around it by using a different command that does the same thing:
xform -a -rotatePivot 0 0 0 -scalePivot 0 0 0;
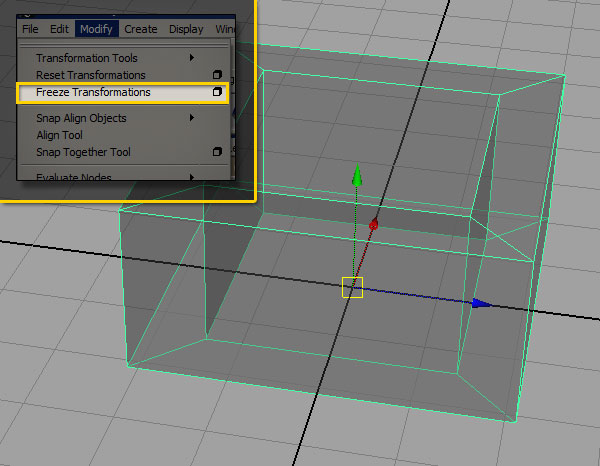
Step 11
Freeze the transformations on the object by going to the modify menu, and choosing Freeze Transforms.
The code in the script editor:
makeIdentity -apply true -t 1 -r 1 -s 1 -n 0;
makeIdentity is one way to freeze the transforms, but it is not a very intuitively-named command. Maya has quite a few built-in scripts that automate certain processes, including freezing transforms.
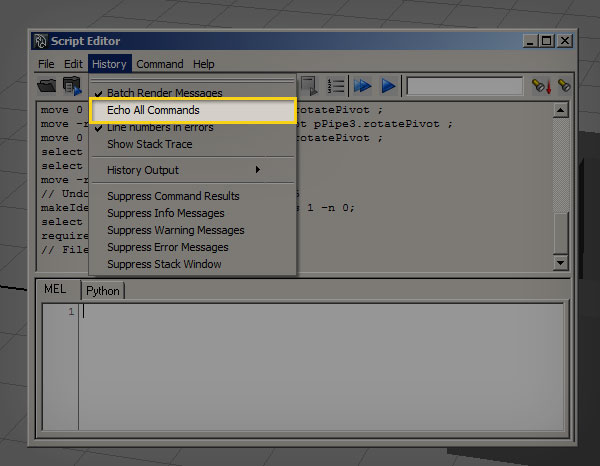
Step 12: Let’s try that again…
In the script editor, go to History and turn on Echo All Commands. This forces the script editor to “echo” or display all of the commands that maya runs, even if the user did not actively engage them.
Step 13
Freeze the transforms again, and take a look at the output from the script editor. You’ll see the following code:
FreezeTransformations;
makeIdentity -apply true -t 1 -r 1 -s 1 -n 0;
FreezeTransformations is a maya helper script, a “runtime command” that calls makeIdentity. Unlike regular Maya commands, runtime commands generally start with capital letters. Be careful when using these script-commands inside your code, because they may not be supported the same way across all installs of Maya. For FreezeTransformations, the drawback is that the command takes the values that are set in the Freeze Transform Options dialog box, which may be set differently depending on the last time you used the it. I rarely change the settings from the default, so I’m comfortable using FreezeTransformations, and other helper scripts. This is a personal preference, but I feel that the convenience of using runtime commands exceeds the risk that a script might break. However, it is important to understand that in complex scripts, runtime commands can cause problems, and using any script that relies on maya dialog-boxes is bad practice if you’re planning on giving the script to anyone else. That having been said, using Echo All Commands is a good way to find the background scripts and commands that aren’t listed in the Technical Documentation.
Step 14: Putting It All Together
So far, we’ve gone through five commands that can be put together to create our object. Let’s line those commands up with our pseudo-code, and take a look at each one’s specific flags. Each flag has two “modes”, a long name and a shorthand. Typically, the shorthand has just one or two letters. I personally prefer to use the shorthand whenever possible, but using the full name can be helpful for beginners, and makes your code more readable to non-scripters. Let’s break down the commands:
//Create four-sided polygon pipe (a double-forward slash denotes a comment in the code, which is ignored by MEL)
polyPipe -r 3 -h 4 -t 1 -sa 4;
Relevant flags:
- -radius (-r) defines the radius of the pipe
- -height (-h) defines the y-height
- -thickness (-t) defines the thickness of the polyPipe, measured from the exterior edge of the radius inward
- -subdivisionsAxis (-sa) defines how many sides the polyPipe has
//Rotate 45 degrees in Y
rotate -r -y 45;
Relevant flags:
- -relative (-r) rotates the object relative to its current position
- -rotateY (-y) set the rotation on the y axis
//Move to sit on the ground plane
move -r 0 1 0;
Relevant flags:
- -relative (-r) moves the object relative to its current position
The move command here uses a slightly different syntax from the rotate command. 0 1 0 is shorthand for translate 0 in x, translate 1 in y, and translate 0 in z. MEL is a very flexible language, and often has more than one way to do the exact same thing. In this instance, we could have also done:
//Move to sit on the ground plane
move -r -y 1;
The choice is yours, and a big part of scripting is developing your own preferences and styles.
//Move pivot point to origin
xform -ws -rp 0 0 0 -sp 0 0 0;
Relevant flags:
- -worldSpace(-ws) move to an absolute position in world-space
- -rotationPivots (-rp) move the rotation pivots in the x, y, and z directions
- -scalePivots (-sp) move the scale pivots in the x, y, and z directions
xform has a huge number of flags, and can be used for a huge number of functions. We will definitely see this one again in future tutorials.
//freeze the object’s transformations
FreezeTransformations;
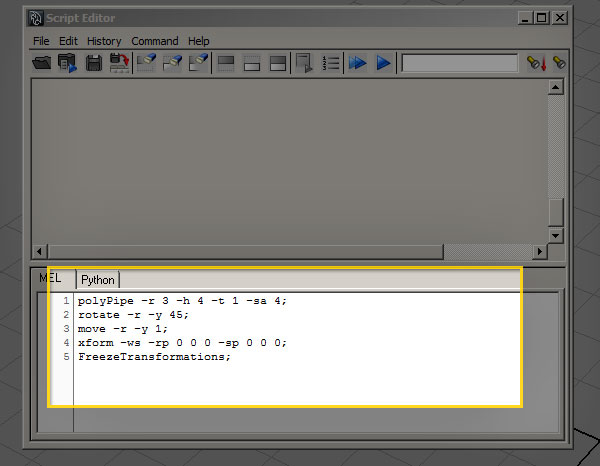
Step 15
Put all of the commands into the script editor. This is what you should have:
Step 16
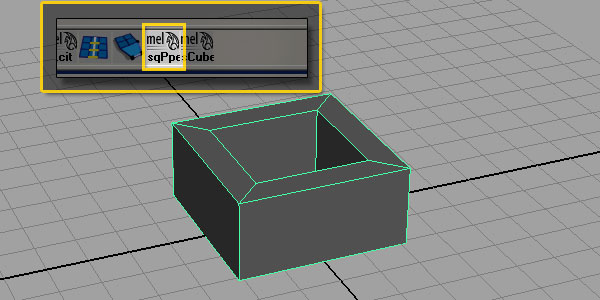
Highlight the code in the script editor, and middle-mouse drag the script to the ‘polygons’ shelf. This will create a custom shelf icon with your script associated with it. Every time you click that button, the script will execute.
Step 17
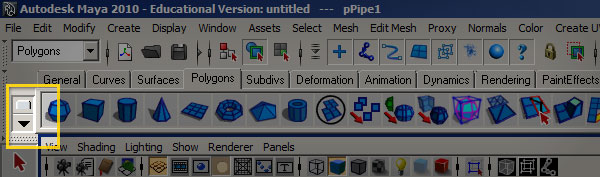
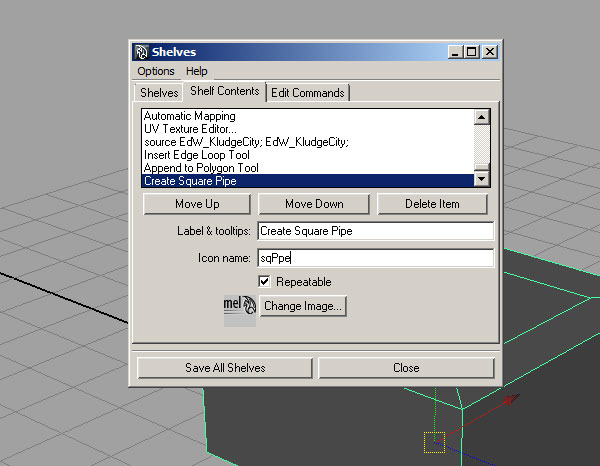
To add a custom label to the shelf button, access the shelf editor by clicking and holding on the downward-facing arrow on the far left of the window. Inside the Shelf Editor, find your newly-created button, and add a label and icon name. The icon name should usually be under five characters. Congratulations! You’ve now completed your first MEL-driven modeling script.
Script 2
Now that we’ve learned the ropes, let’s blaze through one more similar example. Here we’ll apply what we’ve already learned and create a basic “rounded cube” model.
Step 1
Write out your Pseudo-code.
Create a polygon cube
Move to sit on the ground plane
Move pivot point to origin
Freeze transforms
select all edges of the object
bevel edges with three divisions
Step 2
Create the polygon cube command
//create a cube
polyCube -w 4 -h 4 -d 4 -sx 1 -sy 1 -sz 1;
Relevant flags:
- -width (-w)
- -height (-w)
- -depth (-w)
- -subdivisionsX (-sx)
- -subdivisionsY (-sy)
- -subdivisionsZ (-sz)
Step 3
Create the “move to ground plane”, “move pivots”, and “freeze transforms” commands, just like the previous script.
//move the cube
move -r 0 2 0;
//Move pivot point to origin
xform -ws -rp 0 0 0 -sp 0 0 0;
//freeze
FreezeTransformations;
Step 4
Use a command to select all the edges of the cube. There are a couple of ways you could go about doing this. Since the object is already selected when MEL generates it, I like to use one of Maya’s helper scripts to do this.
//select edges
ConvertSelectionToEdges;
Step 5
Use a bevel command to create new edges on your cube.
//bevel
polyBevel -oaf 1 -o .2 -sg 3 -fn 1 -mv 1 -sa 180;
Relevant flags:
- -offsetAsFraction (-oaf) when true, the bevel amount will be determined by a fraction of the length of adjacent edges.
- -offset (-o) determines the amount of beveling to add
- -segments (-sg) the number of edges to add to the beveled edges
- -fillNgon (-fn) when true, will subdivide the corners where the bevel creates n-sided faces
- -mergeVertices (-mv) when true, will merge the created vertices of the filled n-sided faces
- -smoothingAngle (-sa) Determines at what angle the bevel should harden normals
Step 6
Put it all together:
polyCube -w 4 -h 4 -d 4 -sx 1 -sy 1 -sz 1;
move -r 0 2 0;
xform -ws -rp 0 0 0 -sp 0 0 0;
FreezeTransformations;
ConvertSelectionToEdges;
polyBevel -oaf 1 -o .2 -sg 3 -fn 1 -mv 1 -sa 180;
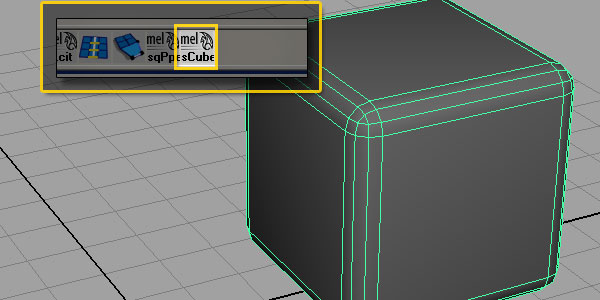
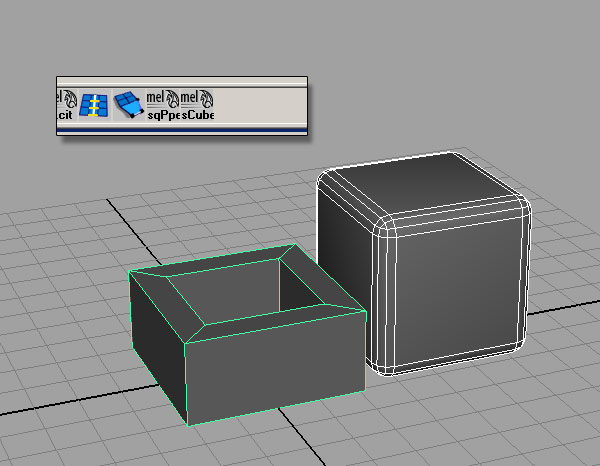
Step 7
Create your shelf icon, rename it, and we’re done!