
Category: Tutorials
Tutorials,freelance,projects,joomla,php,mysql,wordpress,blancer.com
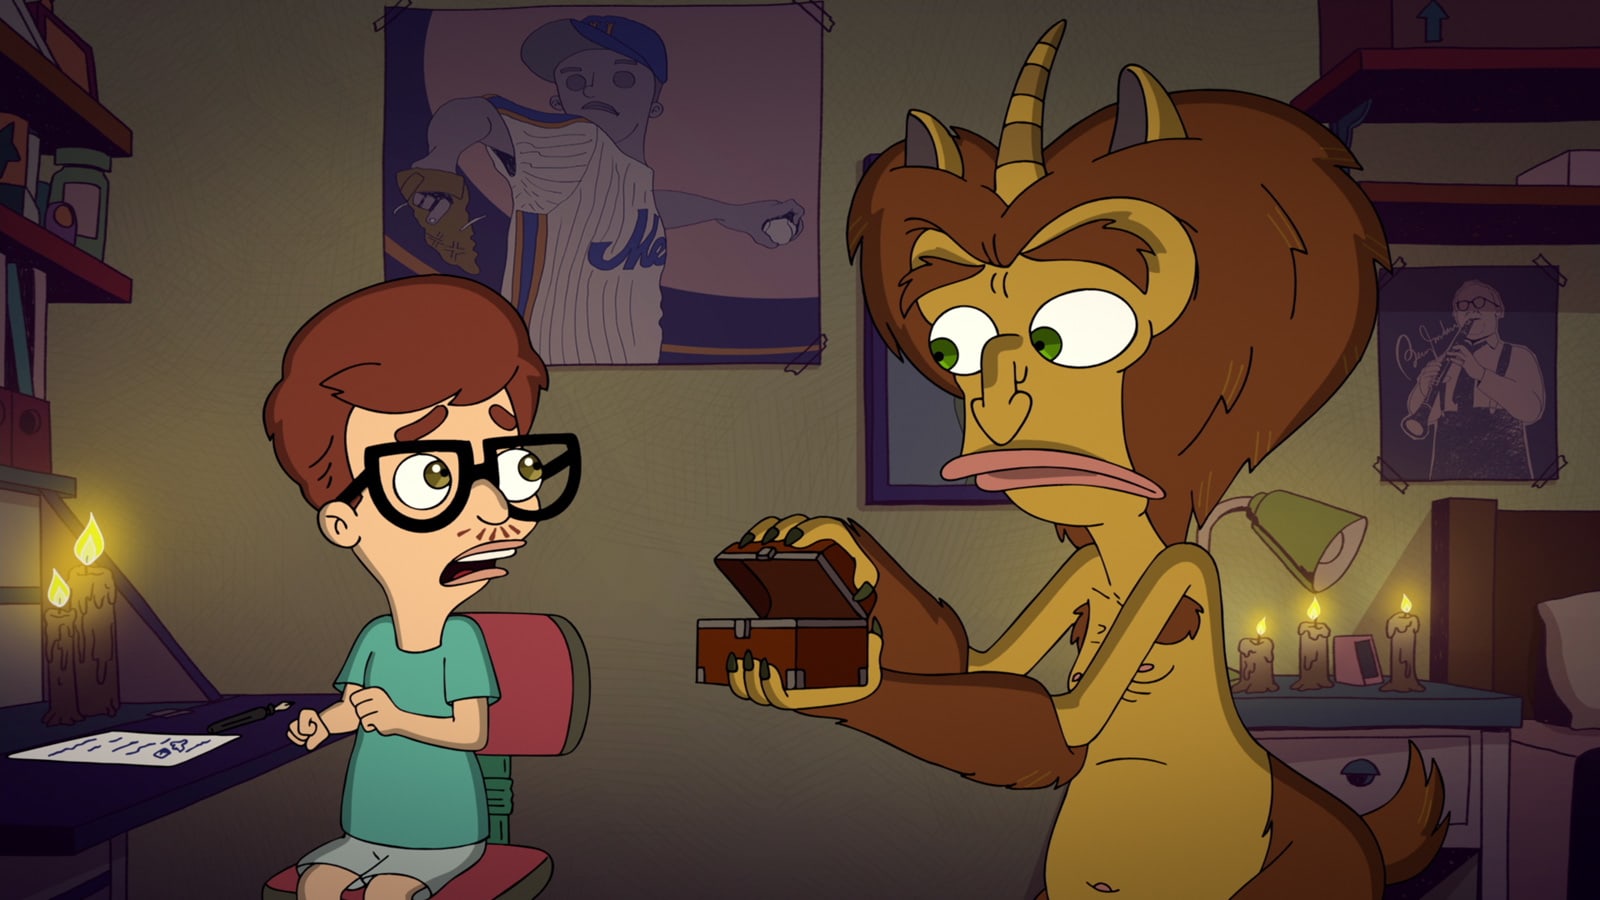
Netflix widens deal with ‘Big Mouth’ animation studio
Intel is patching its Zombieload CPU security flaw for the third time

FCC gives Google and Sony permission to dole out 3.5GHz spectrum

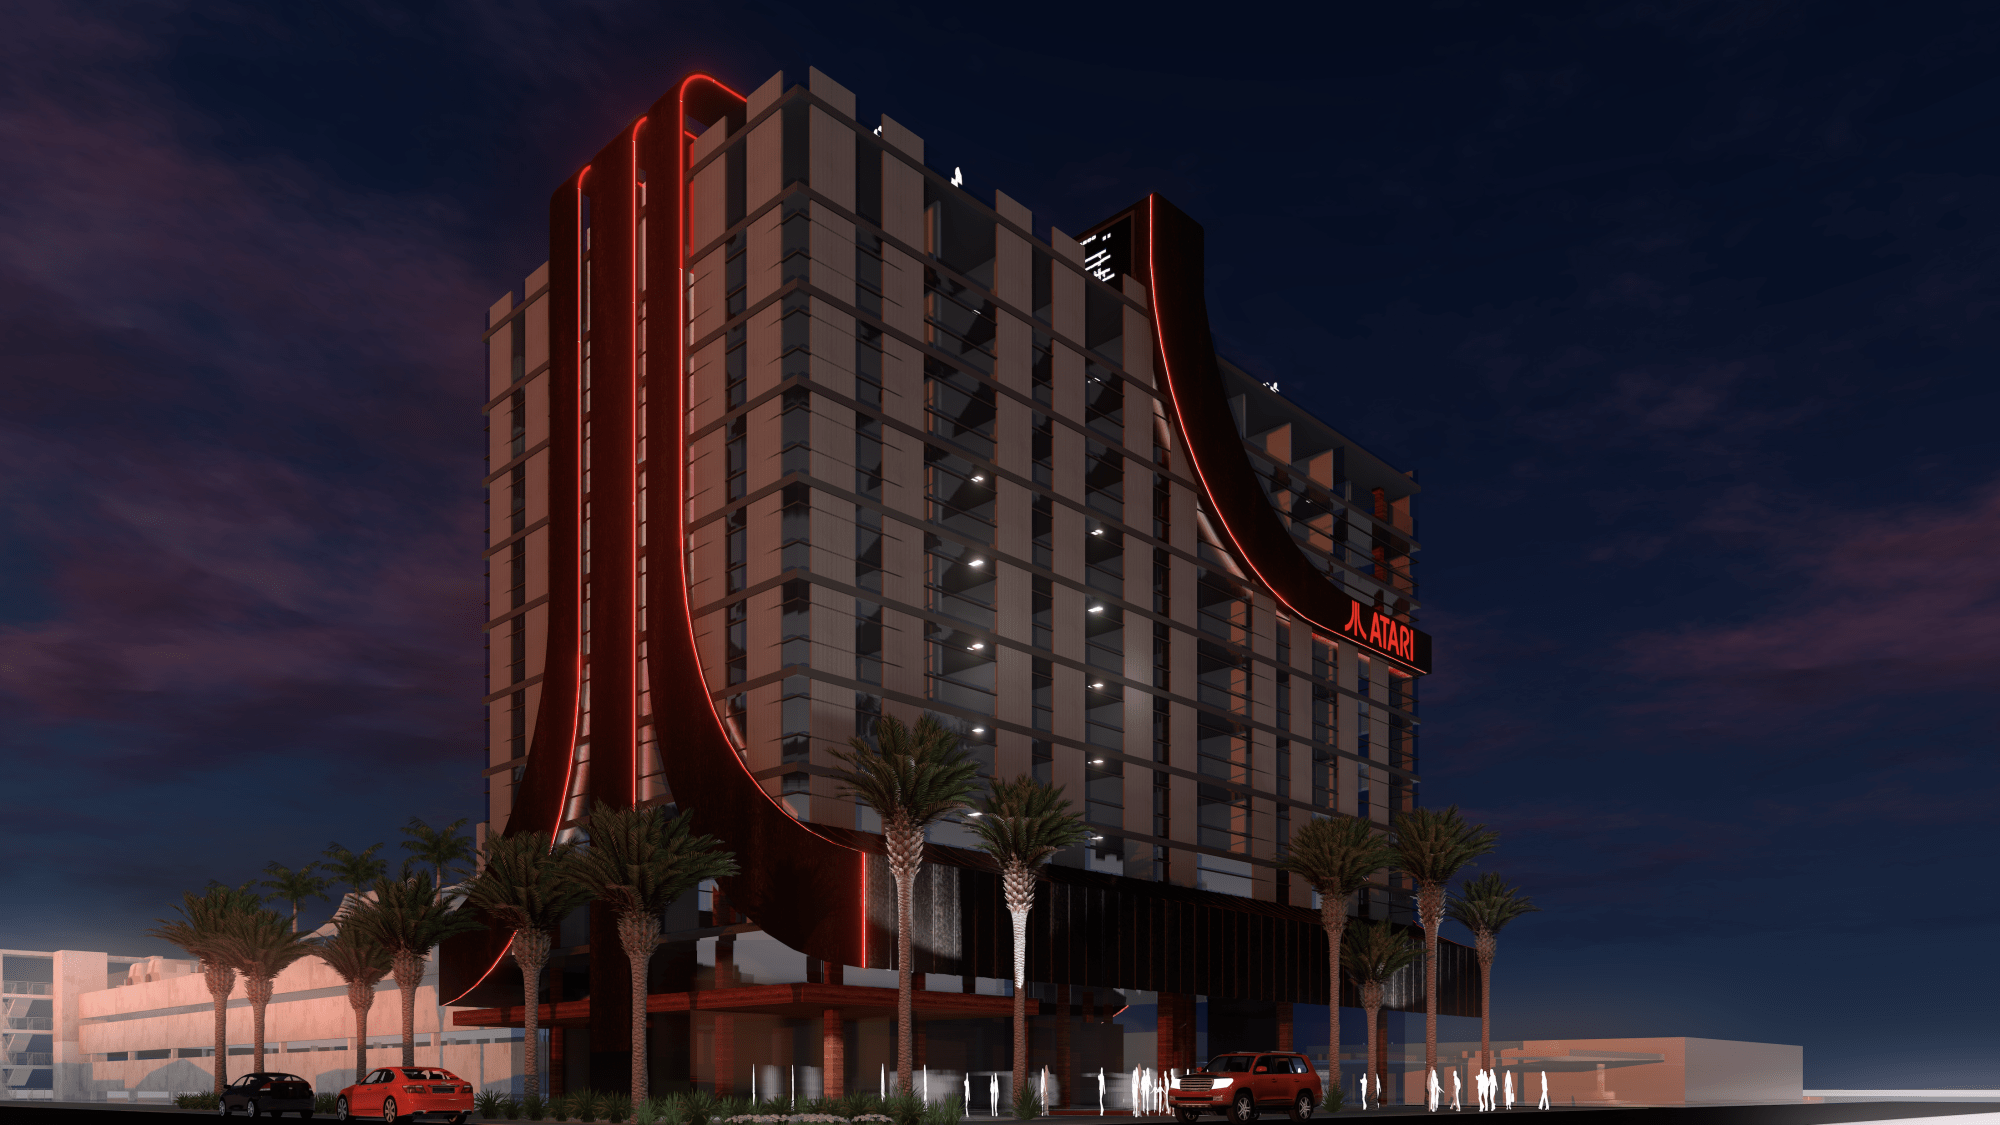
Atari-themed gaming hotels are coming to eight US cities
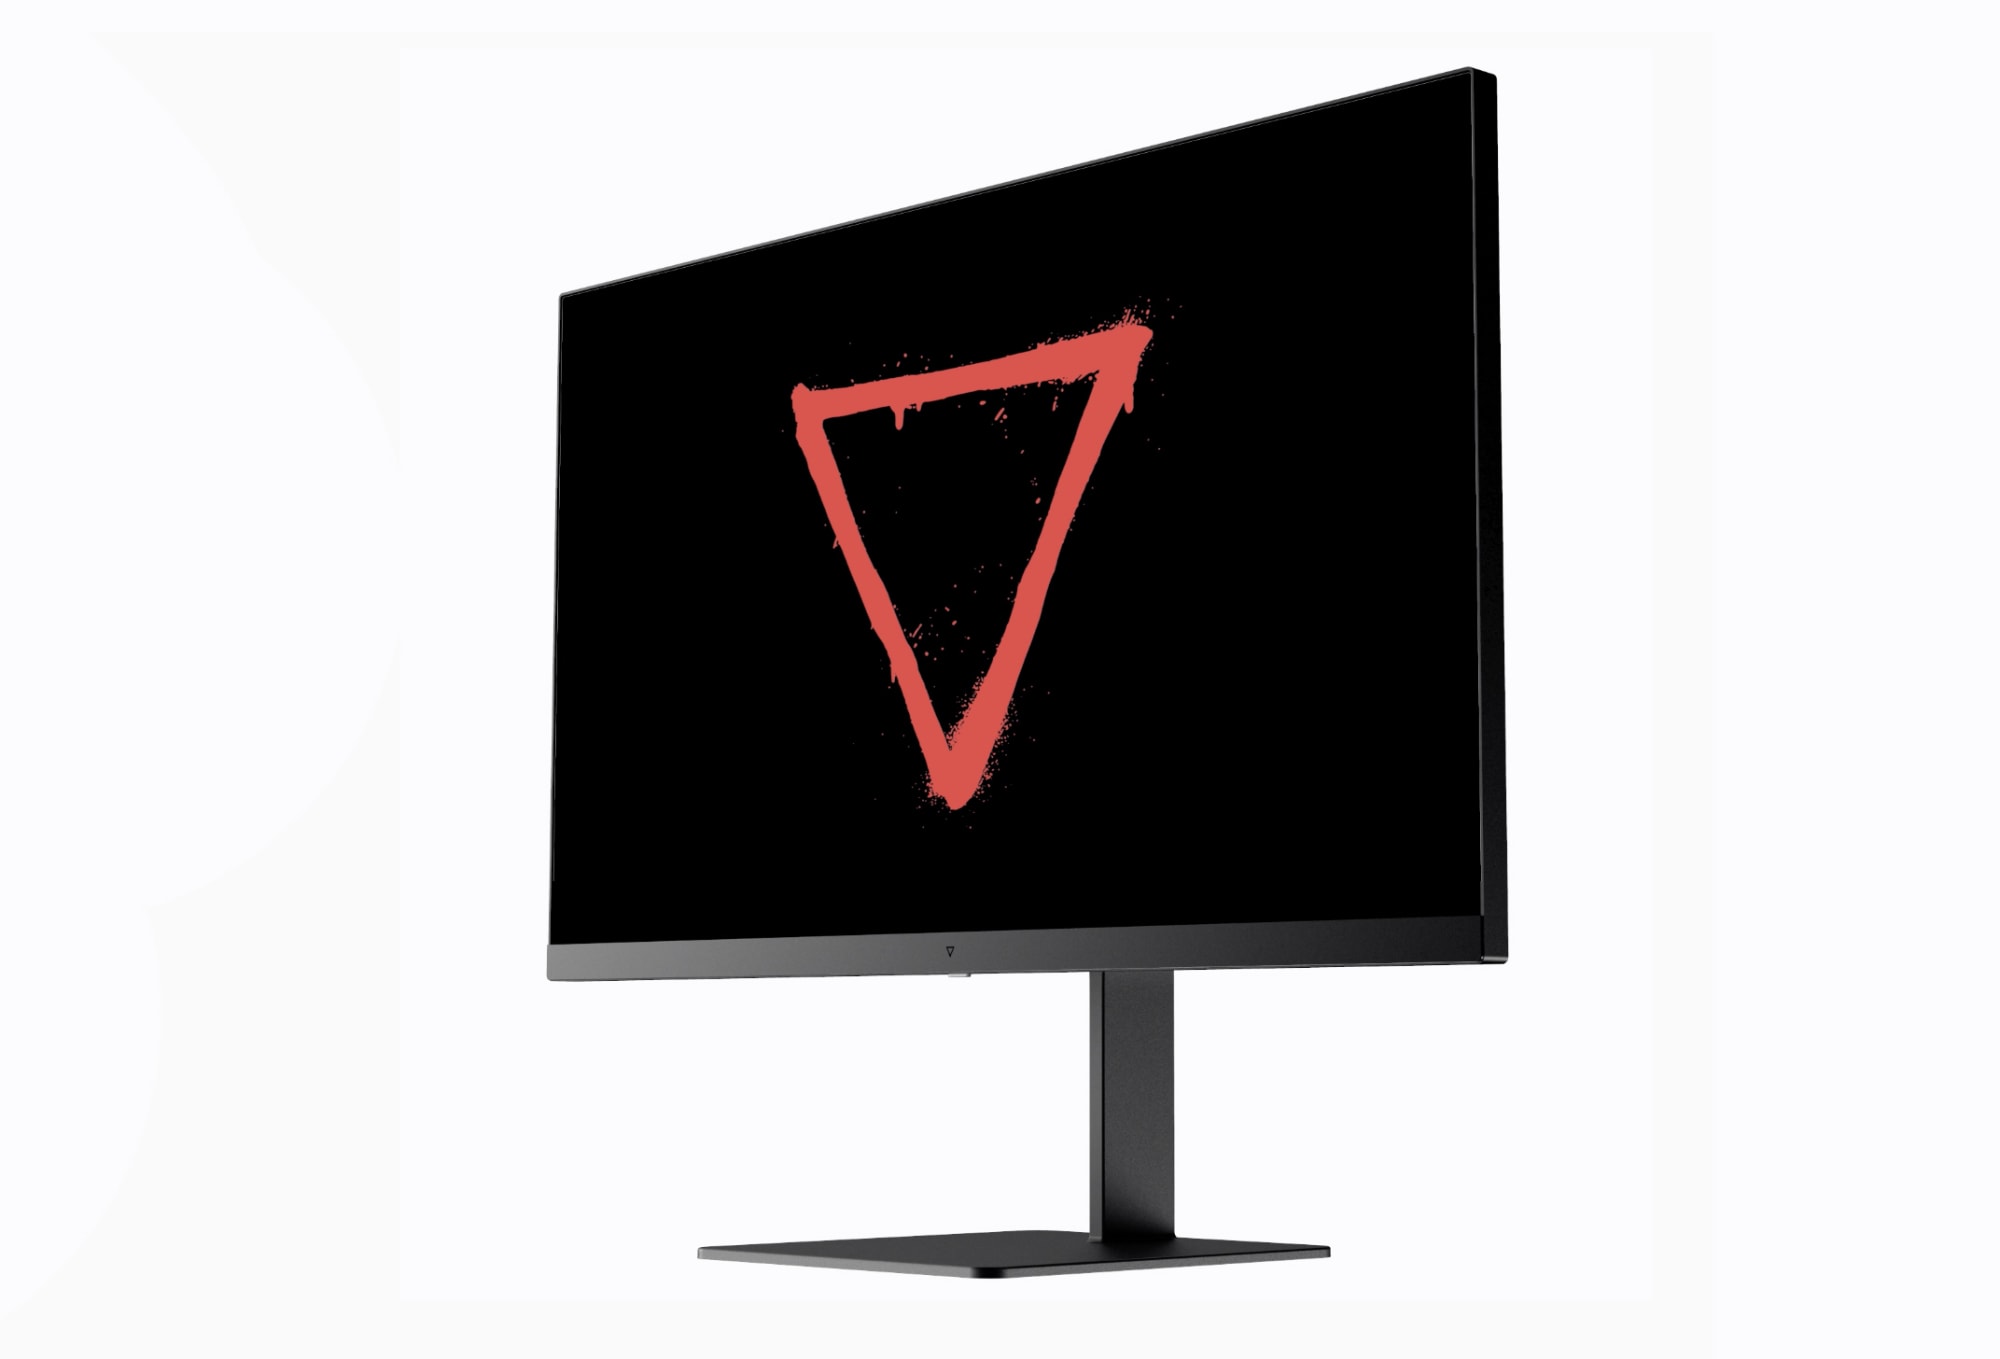
The company behind the Eve V laptop is back with crowd-developed monitors
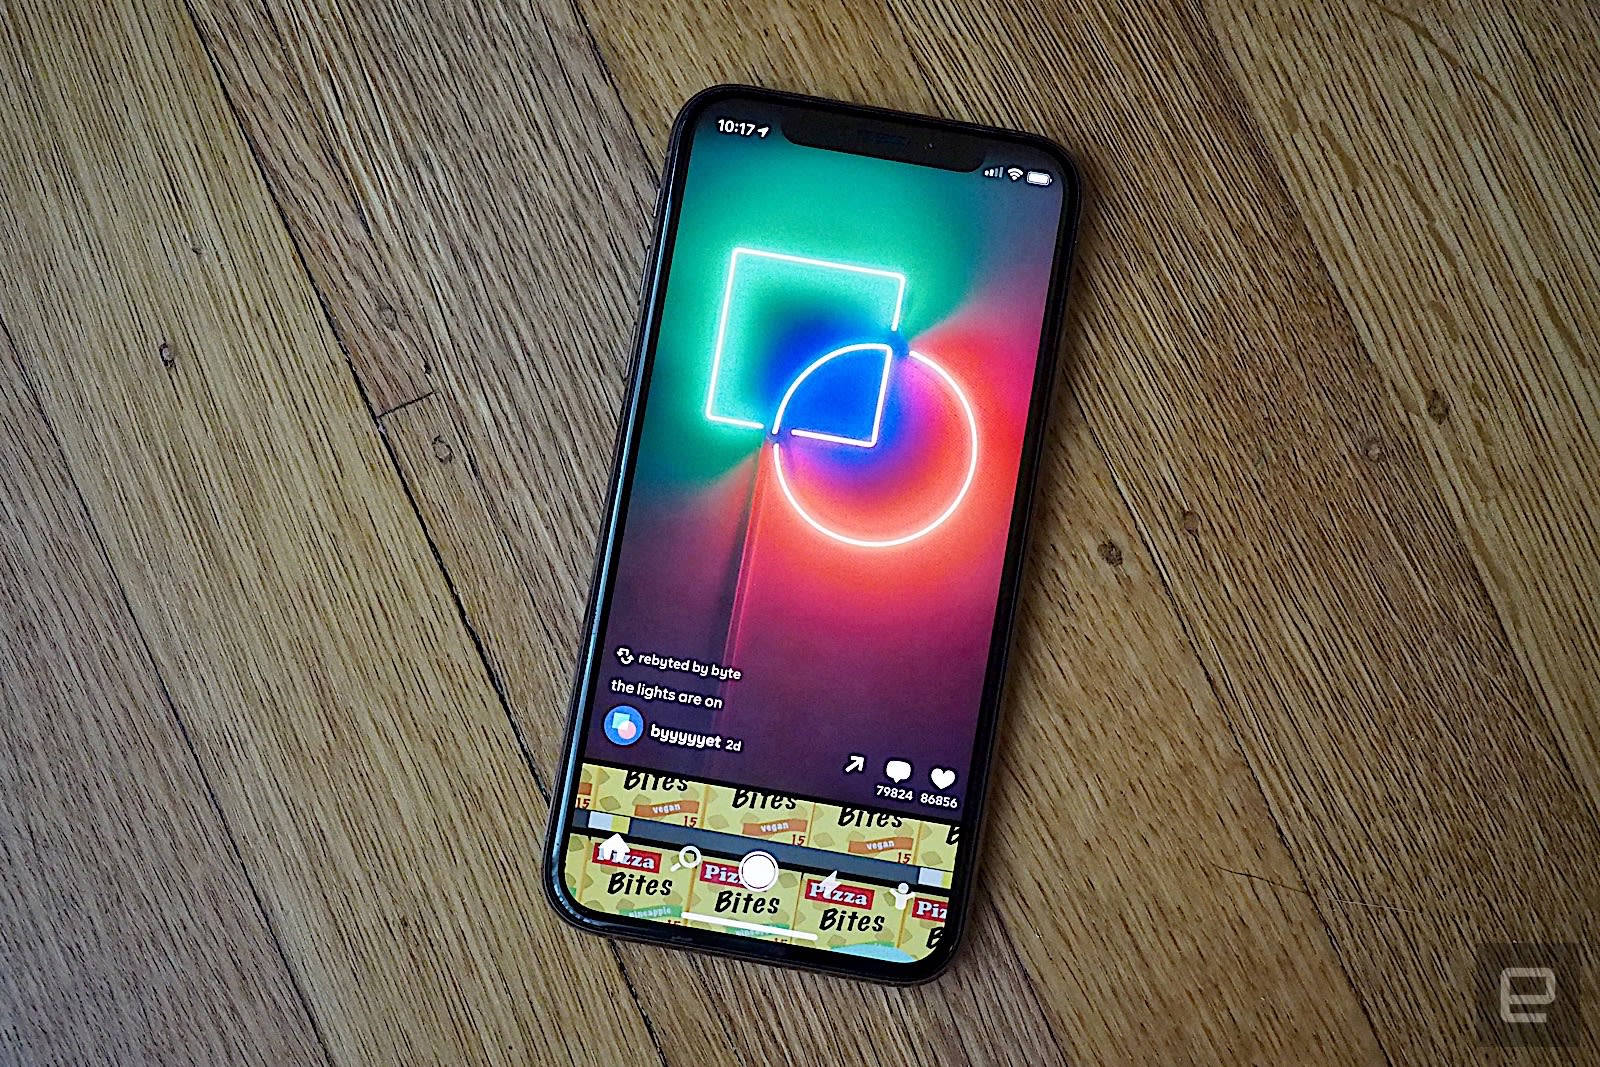
Can Byte recreate the magic of Vine?
IBM uses AI to predict progress of Huntington’s disease symptoms

This is the end of ‘Kentucky Route Zero’
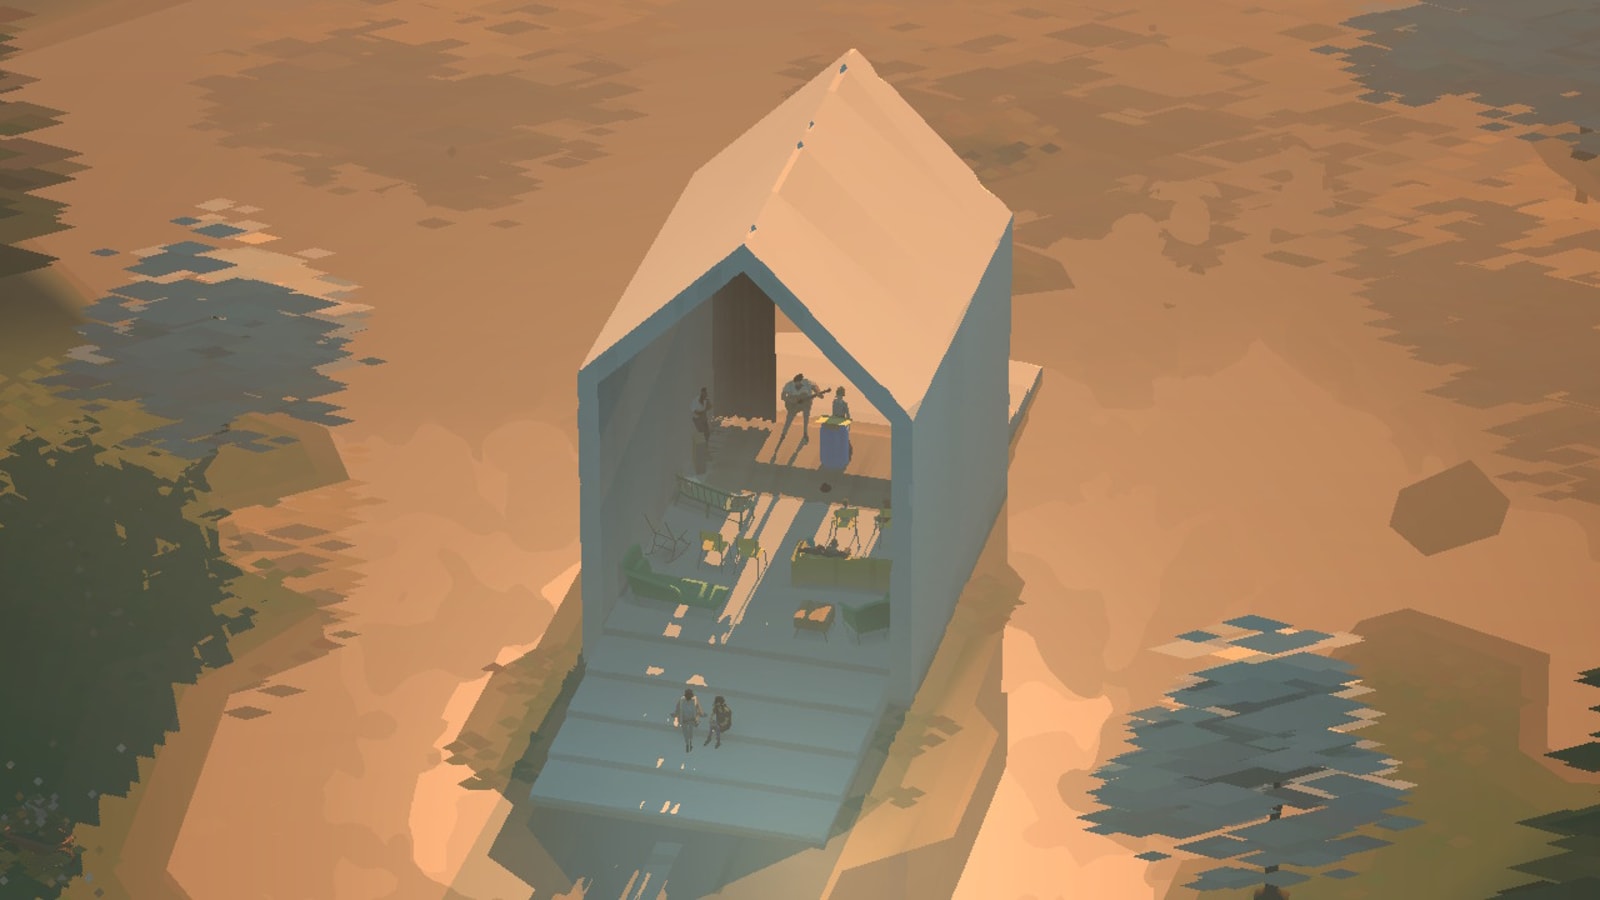
It's a beautiful sight. The ceremony is in front of a towering dilapidated barn that serves as the anchor for a pastoral artists' community buried deep in the Kentucky woods. The setting sun bathes the town i…
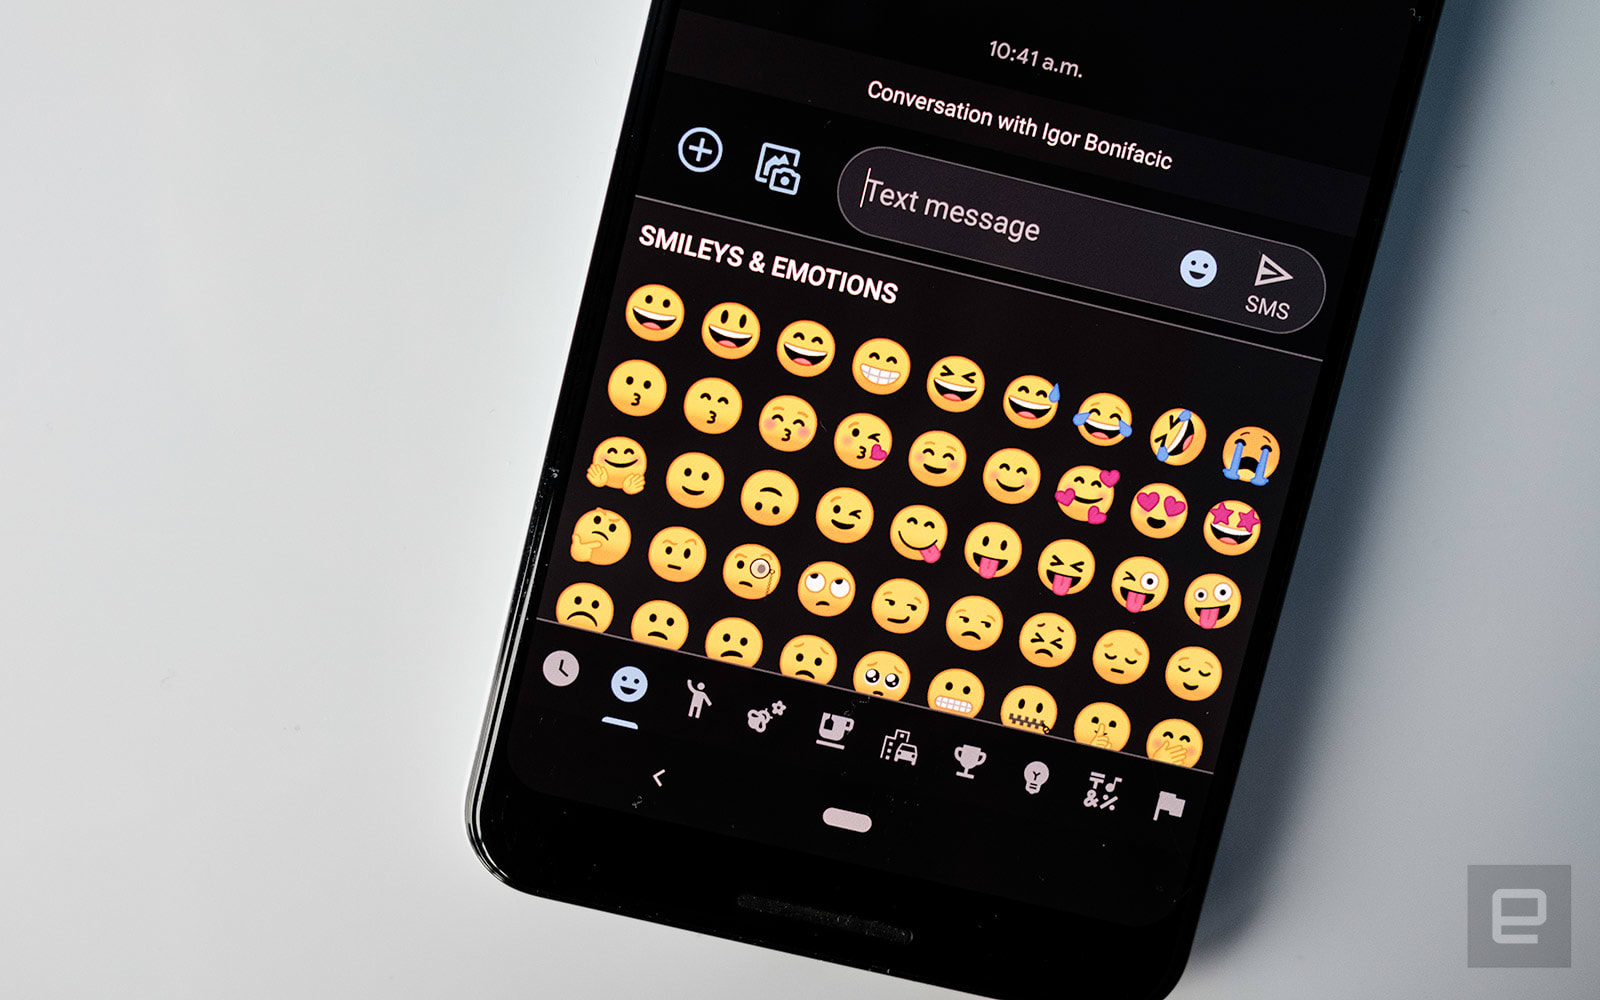
A Vermont bill would bring emoji license plates to the US
Avast packaged detailed user data to be sold for millions of dollars

GM spends $2.2 billion to set up an EV-only plant in Detroit

HP Elite Dragonfly review: Pretty powerful for a 2-pound laptop
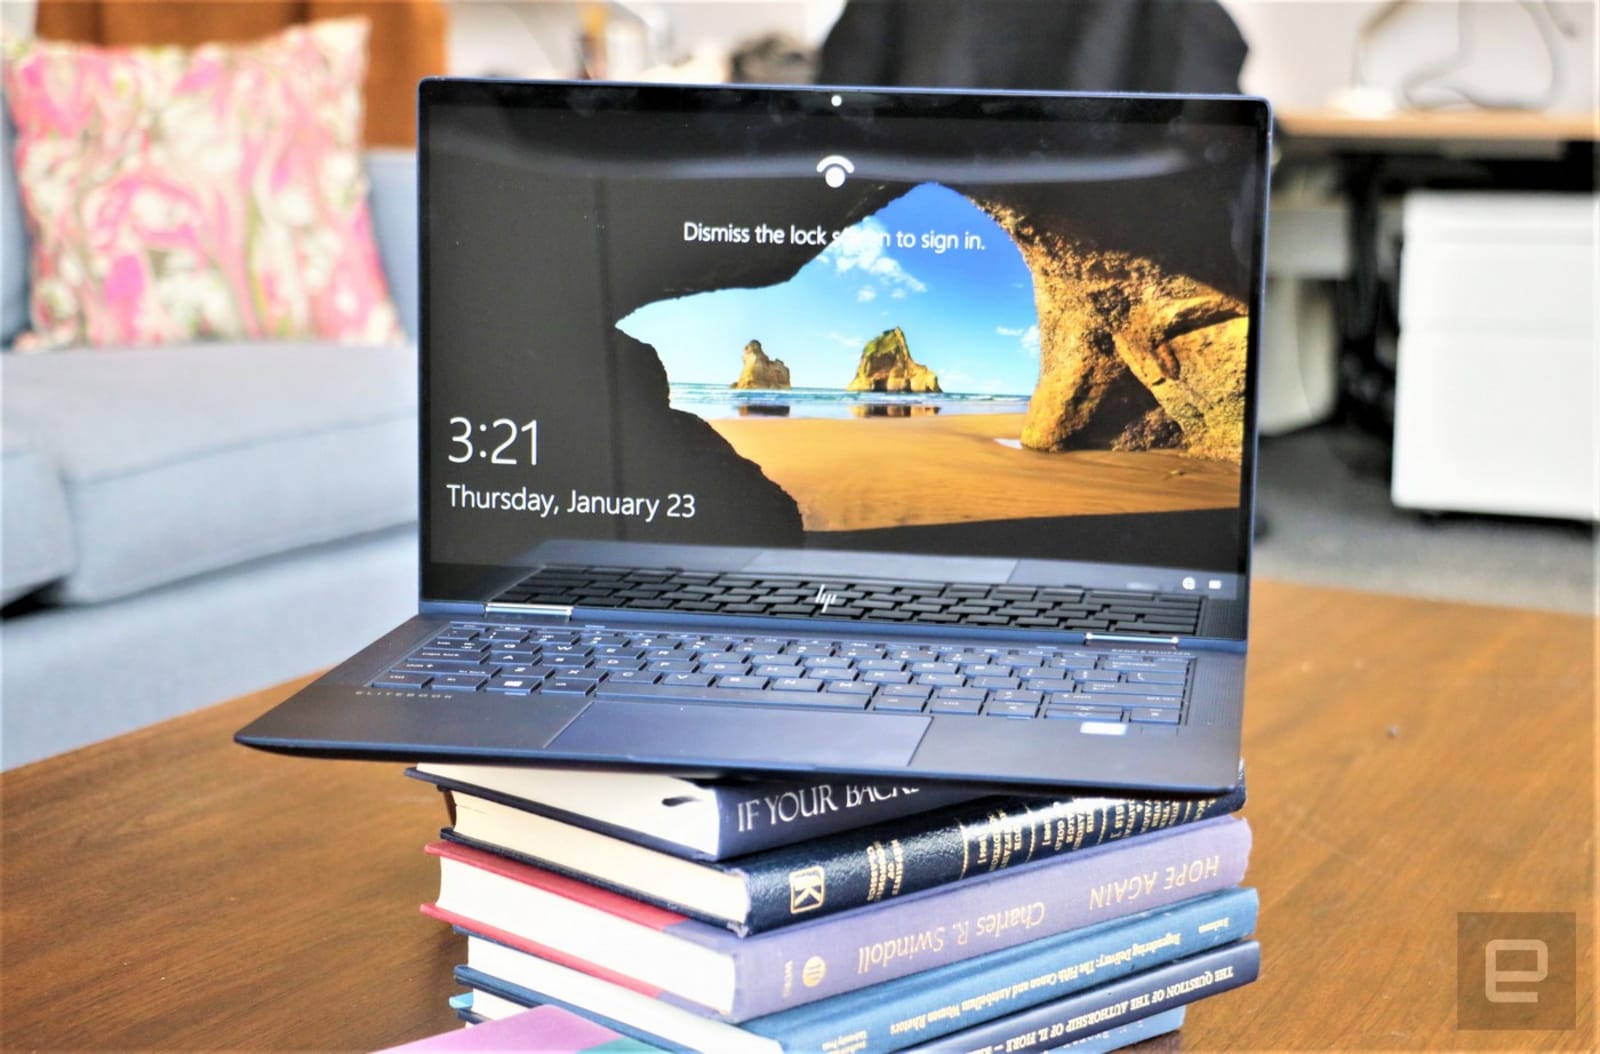
When HP launched the Elite Dragonfly, it made bold claims about this laptop being "lighter than air." Obviously, that's marketing hyperbole — nothing tangible actually weighs less than air — but the Elite Dragonfly is still pretty light. It c…
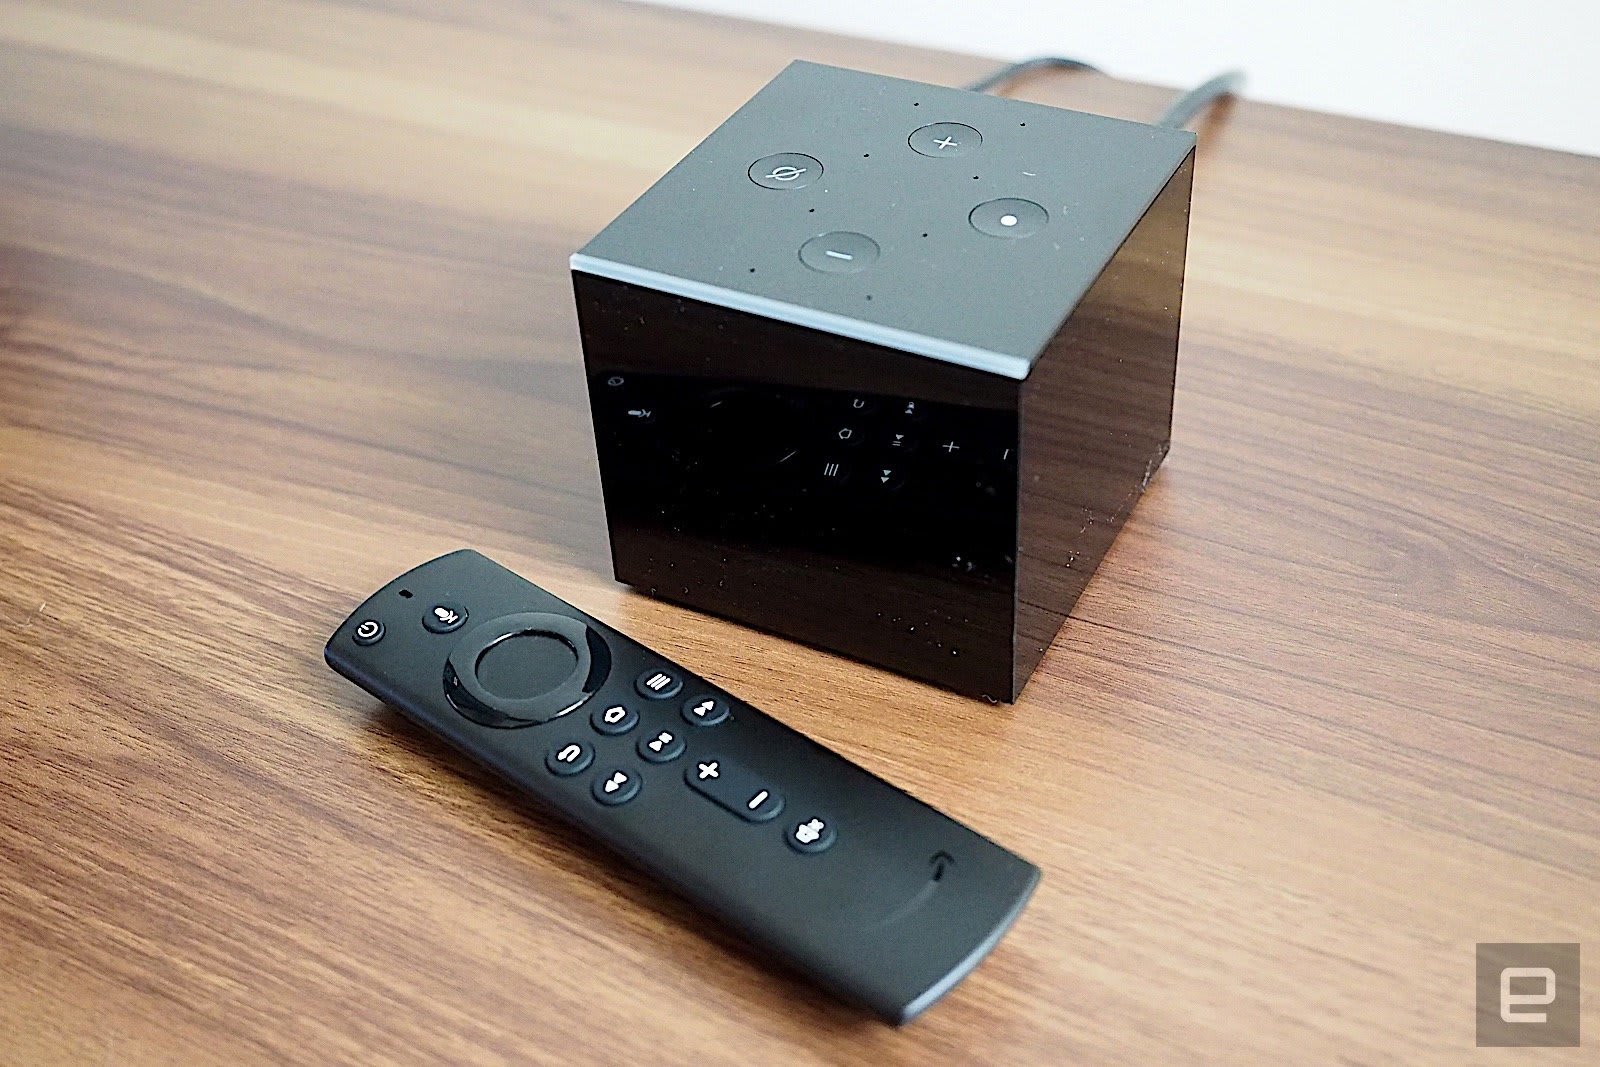
Amazon is having a sale on all of its Fire TV streamers
Quick Tip: Layer Mask vs. the Eraser Tool in Adobe Photoshop

In many of my tutorials you may find a command: “Remove the part using a Layer Mask or simply the Eraser Tool”. As a beginner, you might react to it by selecting the Eraser Tool because you’re familiar with it, and a Layer Mask sounds like some professional technique.
The truth is that using a Layer Mask is not much different from using the Eraser Tool, but it gives you more possibilities. It saves you a lot of time and it gives you flexibility. The only advantage of the Eraser Tool is that it’s a substitute for the “real thing” that you’re already familiar with. But why would you limit yourself to substitutes for traditional tools when working digitally?
Try this quick tutorial to see how you can use Photoshop and its digital tools to your advantage. Discover a new type of eraser, a non-destructive one, that lets you bring back things you’ve erased before without any loss!
Follow along with us over on our Envato Tuts+ YouTube channel:
1. Why the Eraser Tool Isn’t the Best Solution
Let’s see a very simple situation in which you could use the Eraser Tool. You have sketched a snow leopard:

The Eraser Tool
You’ve got a feeling the tail is a bit too long, so you use the Eraser Tool (E) to remove the tip.

Now it feels wrong, so you do your research and it turns out that snow leopards do actually have disproportionately long tails. You can now do three things to fix your “fixing”:
- Use the Undo command (Control-Z) as many times as needed to get back to the previous state.
- Close the file without saving your last changes, and open it once again to see the previous state.
- Redraw the previous state.
The first solution works great if you have enough history states (the more of them you keep, the slower Photoshop may work), and if you didn’t do anything important after erasing the tail. The second solution works only if you have saved right before erasing—not much earlier or somewhere during it. And the third solution wastes your time.
Layer Mask
If you used a Layer Mask instead, you could even remove a great part of the tail, like this:

And then you could use an “anti-eraser” to bring back any of the parts, even after closing the file and opening it once again!


Looks like magic, doesn’t it? Let’s see how to achieve it!
2. How to Use a Layer Mask
You can download this file as the attachment to follow my steps:

Step 1
We attach Layer Masks to particular layers. Select the one you want to add a Layer mask to.

Step 2
Click Add Layer Mask.

A white thumbnail should appear to the right of the main one:

Step 3
Notice that you can select both thumbnails. It’s very important to pay attention to which one is selected, because they are like two layers placed at the same level. If you draw something on this layer, you’ll affect the thumbnail that’s been selected.

Step 4
Make sure that the mask is selected. Pick a brush of your choice and draw a big black dot right in the middle of the leopard’s body.

See what happened? When the mask’s thumbnail is selected and you draw something black, you actually select the parts of the main image (the layer you’re working on) that you want transparent.

Step 5
Now switch to white. Draw a white dot inside.

This part came back! This is our anti-eraser.

Step 6
For now you see only the effects of the mask. To see the mask directly, press \. The red parts symbolize full black.

Step 7
To get your original image back, simply take a big white brush and paint on the mask.


Step 8
As we’ve noticed, white defines opaque parts, and black transparent. You can also use grays—the darker the shade, the greater the opacity of that part.


Step 9
Let’s use this technique to hide the leopard’s paws deep in the snow. Select the mask, take a soft brush, and paint the paws with black.

You can use any brush you want, and mix them for a proper effect:

Step 10
When you right-click the mask, you get a list of options. Only the first three of them interest us:
- Disable Layer Mask—turns off the effects of the mask, so that you can see the original image. You can enable it at any time.
- Delete Layer Mask—removes the mask entirely, leaving the original image unaffected.
- Apply Layer Mask—merges the effects of the mask into the image. The mask is then removed, and the original is permanently changed.

Step 11
If you want to copy the masked image, you need to hide all the other layers and use Copy Merged (Control-Shift-C). If you use a normal way of copying, you’ll copy the original image instead.

3. When to Use a Layer Mask
Even though it’s such a great tool, a Layer Mask shouldn’t be used every time you want to remove a part of the image. When you’re sketching, the Eraser Tool is much faster and more effective. If you combine it with constant copying of the layer you’re working on, you’ll also have a lot of back-ups to come back to.
Layer Masks are much more useful for photos and digital painting, where you have big areas of the image to work on.
1. Blending Images Together
You can use Layer Masks to create a soft blending between images. In contrast to the Eraser Tool, with a Layer Mask you get countless chances to adjust the blending.

2. Applying Only Parts of a Texture
When you apply a photo texture to an object, you may want to use only parts of it. By using a Layer Mask you can easily remove the texture from the parts where it’s undesired.

3. Painting Light Off the Shadow
Beginners often paint light and shadow separately, but the truth is that shadow is only lack of light. In digital painting you can first cover all the scene with the shadow, and then illuminate some parts (remove shadow) by painting them on a Layer Mask.

4. Adjustment Layers
You can also notice that Adjustment Layers have their own Layer Masks by default. You can use the same mechanism to apply the adjustment only to parts of the picture.

That’s All!
Photoshop has a lot of tools that are not obvious to use, but once you find them, they prove to be incredibly useful and more effective than their more intuitive counterparts. The Layer Mask is one of them, but I’m sure it’s not magic for you any more!
If you want to learn more about Photoshop effects, try these tutorials as well:
 Layer StylesUnderstanding the Inner Glow Setting in PhotoshopJohn Shaver
 Layer StylesUnderstanding Inner Shadows in PhotoshopJohn Shaver
 Layer StylesHow to Use Drop Shadows in PhotoshopJohn Shaver
 Photoshop ActionsHow to Make a Photoshop Vignette Effect ActionDaisy Ein
 Photo EffectsHow to Brighten a Photo in PhotoshopMarko Kožokar
{excerpt}
Read More