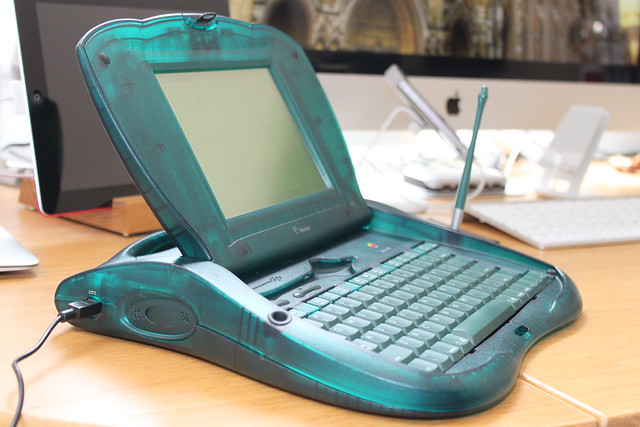
I recently acquired a beautiful piece of sixteen-year-old technology: an Apple eMate 300, running Newton OS 2.1. Like most old Apple machines, it still works perfectly.
I’ll be writing more about the device itself (and my reasons for buying it) in due course, but for now I want to document how to connect the machine to OS X 10.8 Mountain Lion.
I’m writing this article in late July 2013. I’m running OS X 10.8.4 on a recent iMac, and the eMate 300 is factory spec. Note that these instructions will work for any Newton device, running Newton OS 1.x or 2.x. I just happen to be using a gorgeous eMate.
If you’re interested, you can see more photos of the eMate and its packaging here.
Besides your Newton, you’ll need two pieces of hardware:
- A serial cable.
- An adapter to let you connect the serial cable to a USB port.
Serial cable
The serial cable I’m using is Apple’s Newton serial cable for Windows computers, because that’s the one I had handy.

If you have a Newton, you probably also already have a serial cable for it. Otherwise, ebay is your best bet.
USB adapter
The adapter you use will depend on your serial cable, of course. Make sure you’re getting something with the correct shape of port for your cable.
The serial-to-USB adapter I used was the Keyspan USA-19HS Serial to USB adapter, which is still readily available to buy.
You’ll also need drivers for the adapter, which you can download here. Make sure the adapter is not connected to your Mac when you install the drivers.
After installation, connect the adapter to a USB port on your Mac (not a hub; one of the actual ports on your Mac itself). Then, restart. I know it’s annoying, but it seems to be necessary.
Connecting your Newton
You’ll need a piece of software called NCX to let your Newton connect to your Mac. I’m using version 2.0.1 at the moment.
In NCX, open the Preferences window, and go to the Serial tab.
- Ensure the correct port is selected (it’s “USA19Hfd13P1.1” on mine, which is specific to my serial-to-USB adapter).
- Ensure the correct speed is selected (initially, that’ll be the default 38,400 setting).
- Connect the serial cable to the adapter and to the Newton.
- On your Newton, open the Dock app, and initiate a Serial connection (just plain “Serial”, without a specific speed, so it’ll use the default setting).
NCX will then find your Newton, and you’re in business. You’ll see a window like this:

You’re then free to back up or restore the Newton’s data, connect your Mac’s keyboard to it, access individual data or files for specific Newton apps, or even take screenshots of the device which will be saved to your Mac.

Some advice
Firstly, as with any retro technology, if you have a Newton and think you’ll ever want to connect it to your modern Mac, I’d advise you to download the relevant software and drivers right now, while they’re still available. It’s probably also a good time to obtain the necessary cable and adapter. If you wait a few years, it’ll probably become a lot more difficult.
Second, remember that NCX uses a one-window-per-connection model. After you’ve connected your Newton once, the next time you open NCX, you’ll see your last (now inactive) connection window, which is just a kind of archive. You’ll want to choose File > New Connection to initiate a new one.
Lastly, you may also want to install the (Newton OS) software package included in the NCX folder onto your Newton device, to enable higher-speed transfers. NCX can install it onto your Newton for you. After installation, you’ll then probably want to disconnect from the Newton, and make a new connection.
Remember that you’ll need to choose the higher speed option (Serial 115,200) in the Newton’s Dock app connection window, and indeed in NCX’s Preferences window too. The setting will be remembered in NCX for next time, but you’ll need to pick it manually in the Newton’s Dock app each time, I think.
Newton OS on your machine
If you’re not quite ready to acquire a Newton device but still want to play with the Newton OS, you can do so via emulation on your computer or other device, including iPads and iPhones (as long as you’re an iOS developer).
Grab a build (or indeed the code) for Open Einstein. Note that you’ll need to have a suitable Newton ROM file, which you can either dump from a real Newton device or somehow obtain in some other way. I can’t help you with that, but the internet probably can.
Closing notes
It’s perfectly possible to keep using your trusty Newton device even on a brand-new Mac. You can make backups, retrieve data, install software packages (there’s a vast amount of Newton software at the Newton Archives), and inspect system info.
There’s a thriving Newton user community which you can get in touch with via the NewtonTalk mailing list (also @newtontalk on Twitter).
If you’re an old-school Newton fanatic, you might remember Dash Board, the customisable button-bar/menu/scripting system and kitchen sink. The author just released the source code on github, if you want to hack on it. Even if you don’t, read the ReadMe file – it’s a lovingly put-together story of the code’s resurrection.
Newton OS is a lovely thing. It’s focused, elegant (if idiosyncratic in places), has a wealth of third-party software, and offers some features that are still difficult to find on current mobile devices – like modeless correction, and choosing any app to run as the “backdrop” or persistent primary/default interface.
Its natural handwriting recognition is also by far the best I’ve ever used, regardless of unkind pop-culture references.

With a little patience, the efficient and clever design of the interface becomes clear. Newton devices have plenty of life left in them yet.