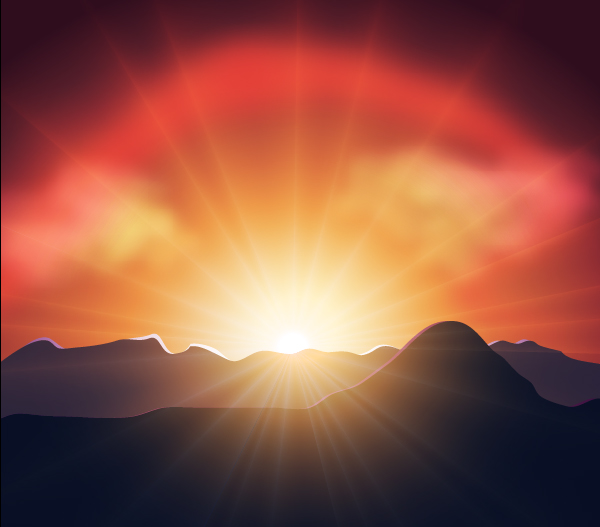
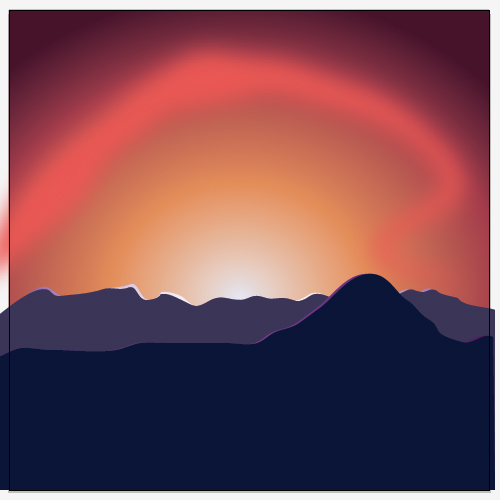
In this tutorial you will learn how to create Vector Sunset, using the RGB color model. Using Art and Scatter Brushes, Gaussian Blur, Gradient Mesh and the Transparency palette, you will create a vector image with depth and luminance.
Step 1
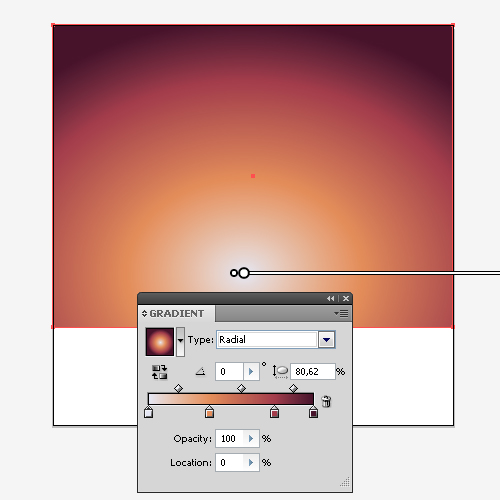
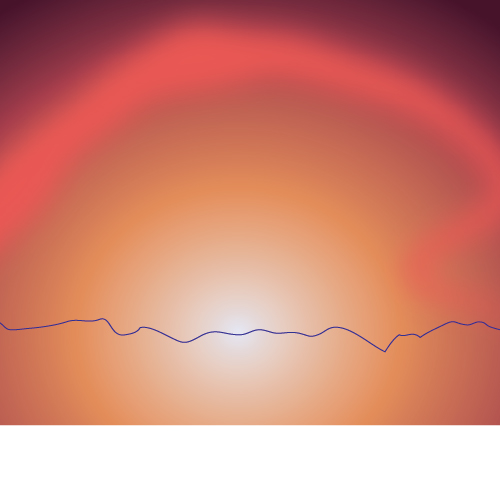
Start the program and install the RGB color model (File > Document > Color Mode > RGB Color). With the Rectangle Tool (M) create a rectangle, it’s width should correspond to the width of the document. Fill the rectangle with a radial gradient, consisting of 4 colors 1- (R:227 G:229 B:243); 2 – (R:227 G:140 B:89); 3 – (R:163 G:61 B:75); 4 – (R:70 G:20 B:43) .
Step 2
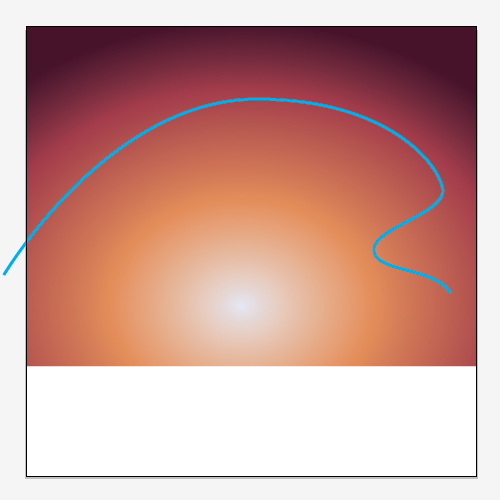
With the Pen Tool (P) create a curve similar to the one shown at the picture below.
Step 3
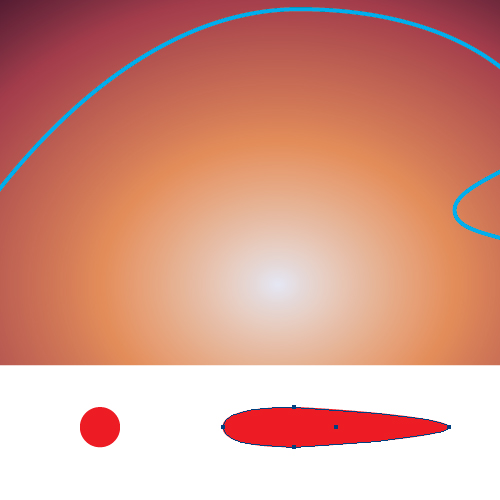
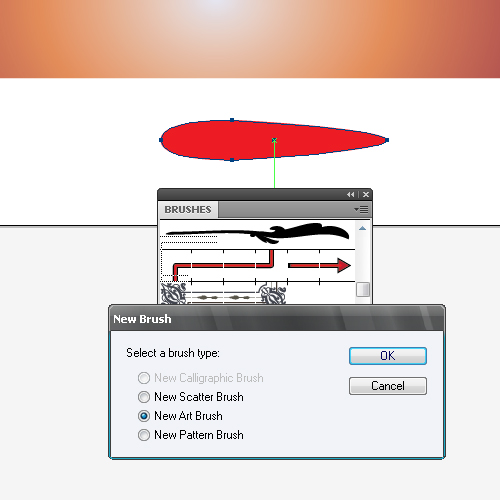
Let’s create the Art Brush. Take Ellipse Tool (L) and create a circle. Using the Direct Selection Tool (A) transform the ellipse to look like the figure shown in the picture below.
Step 4
Drag this figure into the Brushes palette and select Art Brush in the dialog box.
Step 5
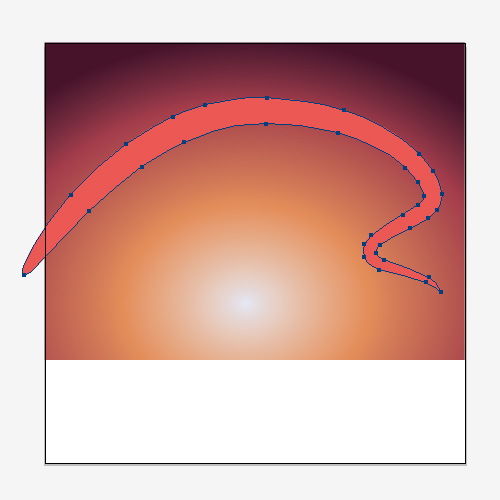
Apply the brush to the curve, created in step 2. Without de-selecting the curve selection, jump to Object > Expand Appearance, and fill the form with a pink color (R:233 G:88 B:83).
Step 6
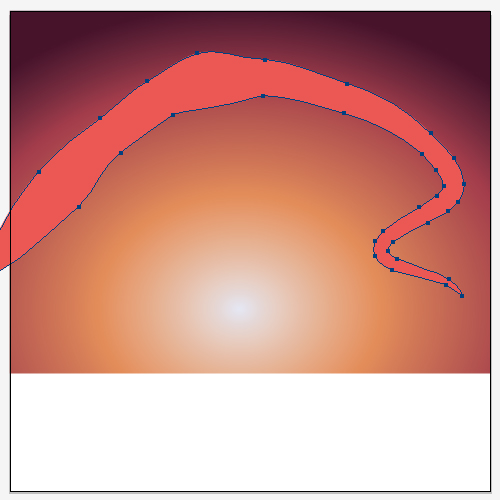
With the Direct Selection Tool (A), transform the line to make it look bumpy.
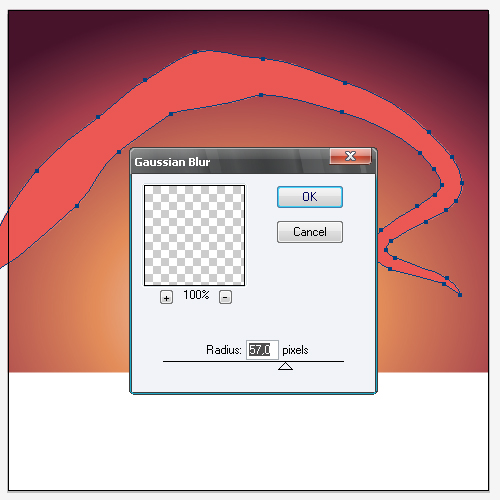
Without de-selecting the line, jump to Effect > Blur > Gaussian Blur.
Step 7
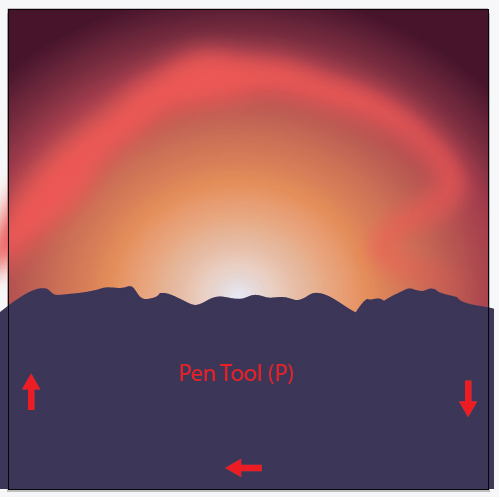
Create a mountain top with the Pencil (N).
Enclose the mountain outline with the Pen Tool (P). Fill the mountain outline with a dark blue color (R:59 G:52 B:86).
Step 8
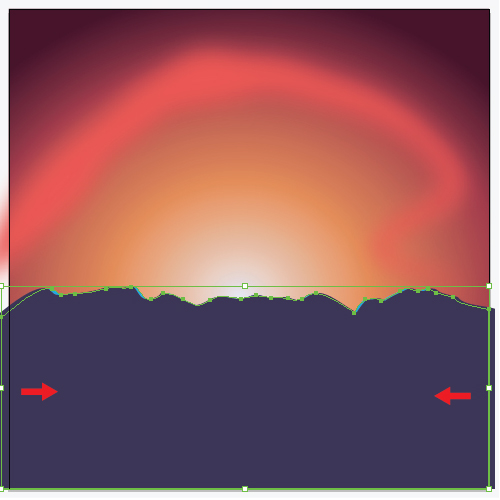
Copy the form of the mountains (Command + C) and paste it behind (Command + B). Scale back the copy’s width, using the Selection Tool (V).
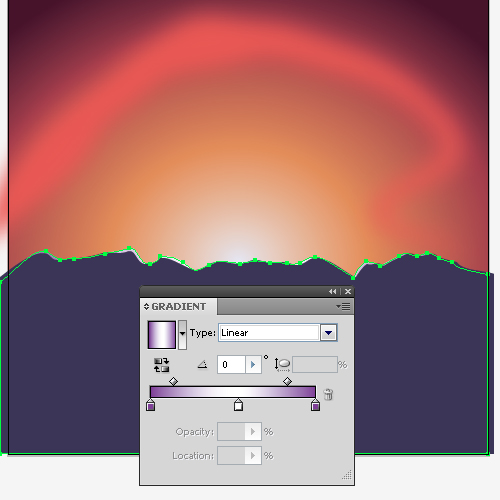
Fill this form with a linear gradient from violet (R:127 G:63 B:151) to white then back to violet.
Step 9
Using the same technique, create the front view of the mountains. The objects, which are closer to the viewer, look darker. The color of the mountain range’s filling is dark blue (R:12 G:22 B:55) and a gradient from violet (R:127 G:63 B:151) to dark violet color (R:77 G:26 B:93)
Step 10
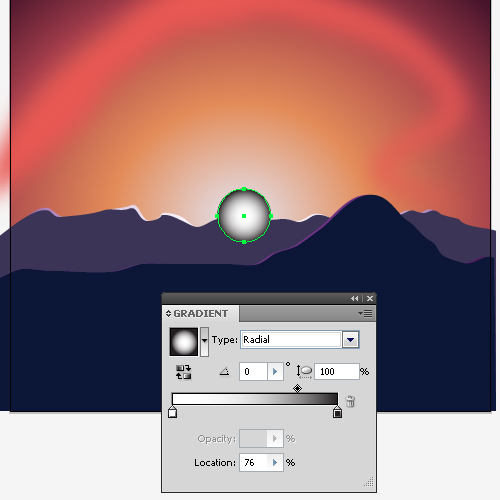
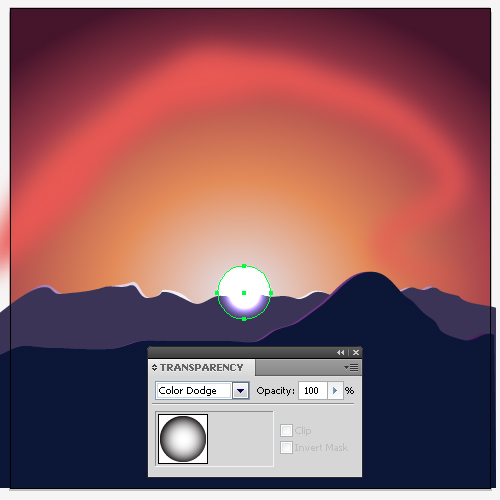
Let’s create the sun. With the Ellipse Tool (L) create a circle with a black and white radial gradient.
Change the Blending Mode to Color Dodge in the Transparency palette.
Step 11
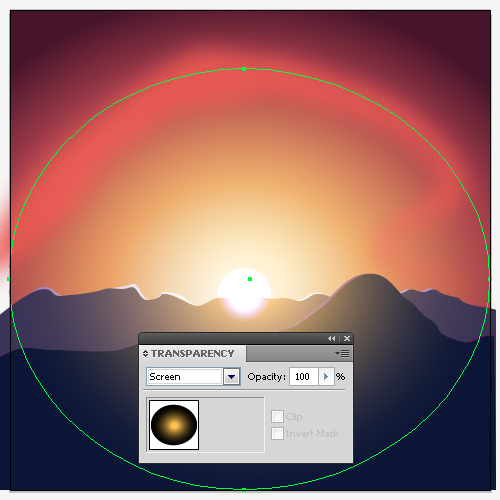
To create the fluorescence around the sun, create an ellipse which center coincides with that of the sun. Fill the ellipse with a radial gradient from yellow (R:255 G:194 B:82) to black color.
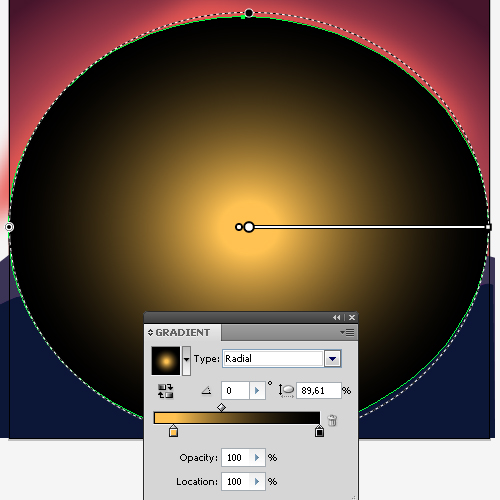
Change the Blending Mode to Screen in the Transparency palette.
Step 12
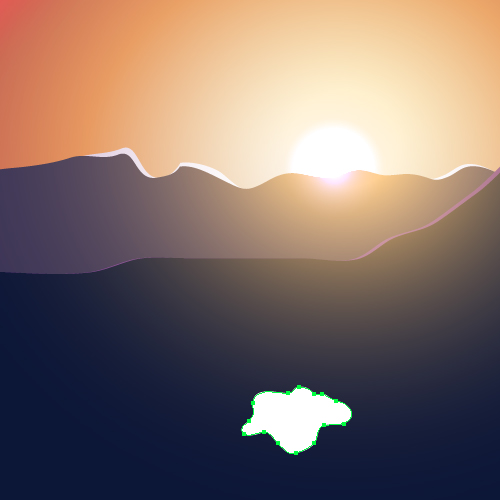
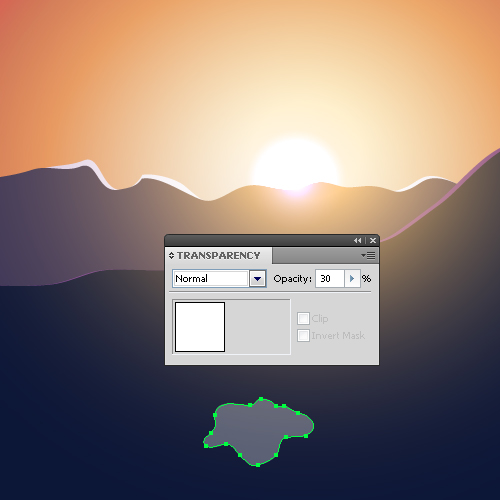
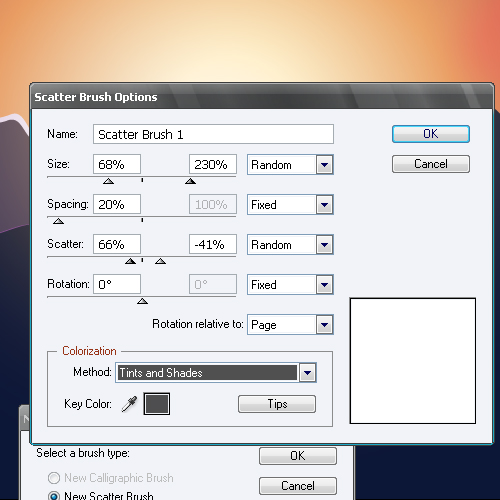
Let’s create the clouds. With the Pen Tool (P) create an arbitrary cloud-like figure. Modify the Opacity of the created form to 30 % in the Transparency palette.
Drag this figure into the Brushes palette and select New Scatter Brush in the dialog box.
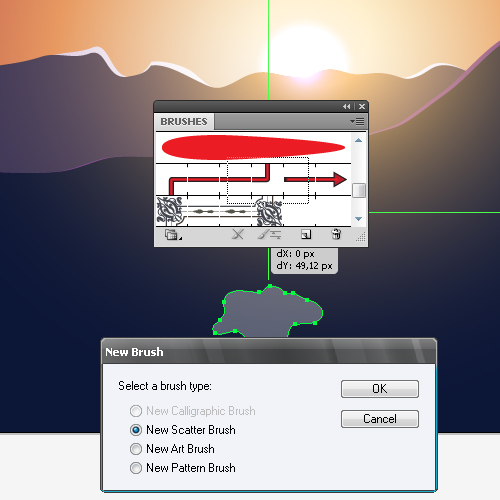
Enter the values, indicated in the picture below.
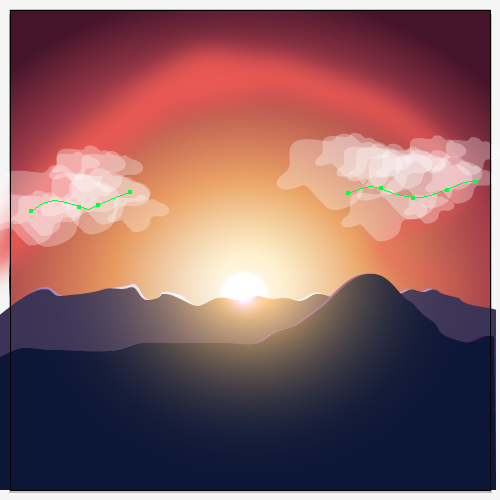
Create two curves with the help of the Pencil (N) and apply the created brush to them.
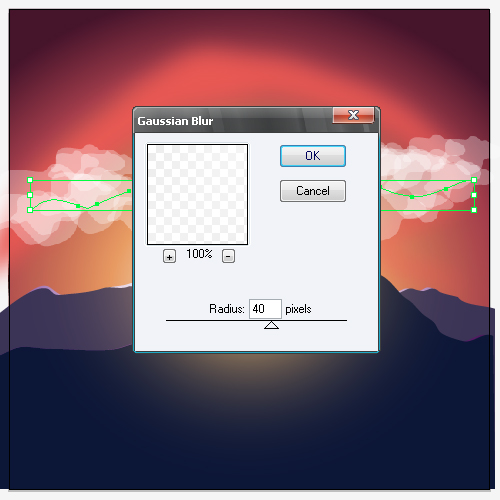
Without de-selecting the clouds jump to Effect > Blur > Gaussian Blur.
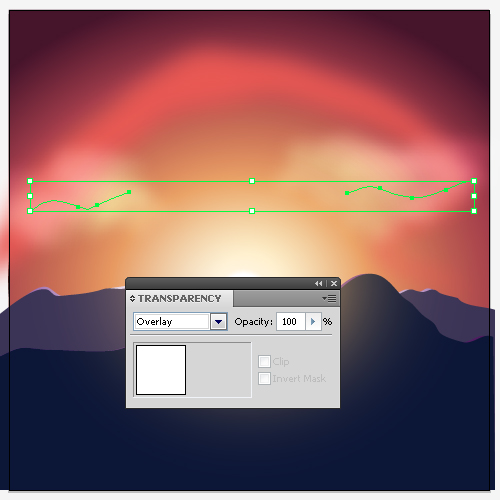
Change the Blending Mode of the clouds to Overlay in the Transparency palette.
Step 13
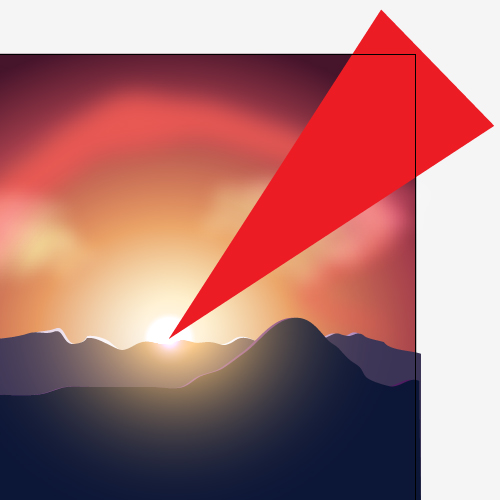
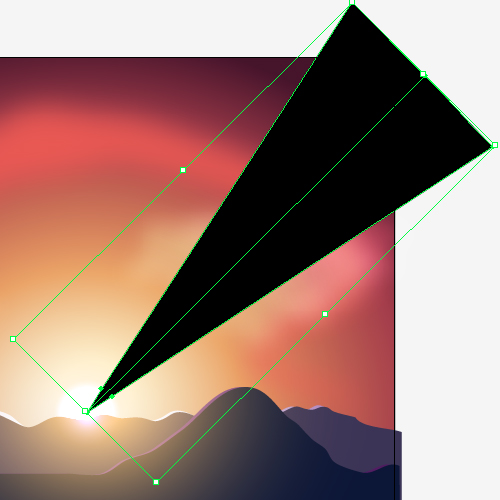
How to create sunlight. With the Pen Tool (P) create a triangle with the top at the center of the solar disk, you’ll use it as a stencil.
With the Rectangle Tool (M) create a black rectangle with the Opacity set to 50%.
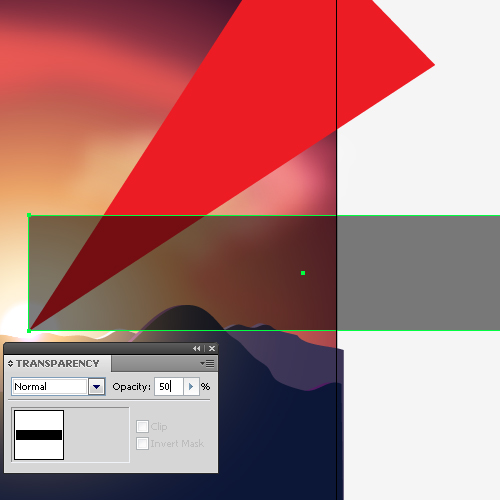
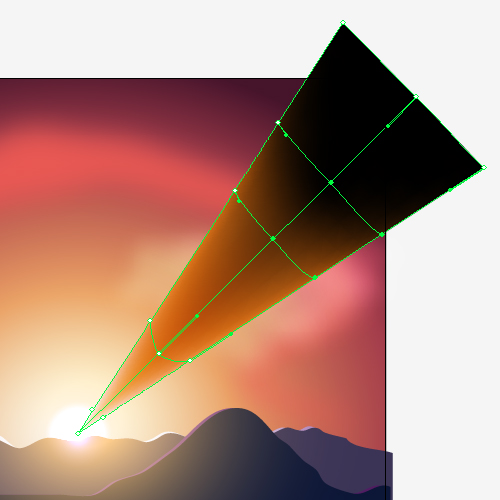
Without de-selecting the rectangle, jump to Object > Create Gradient Mesh and identify the values as shown in the picture below.
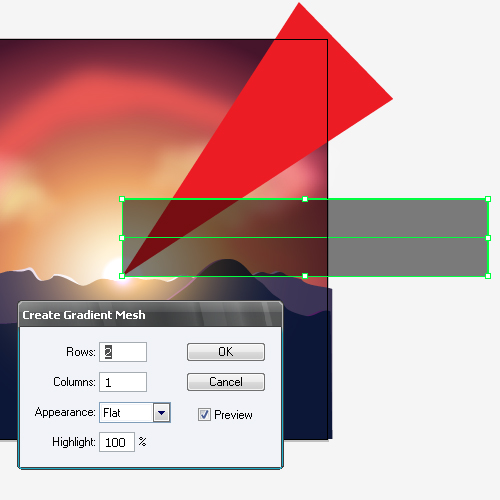
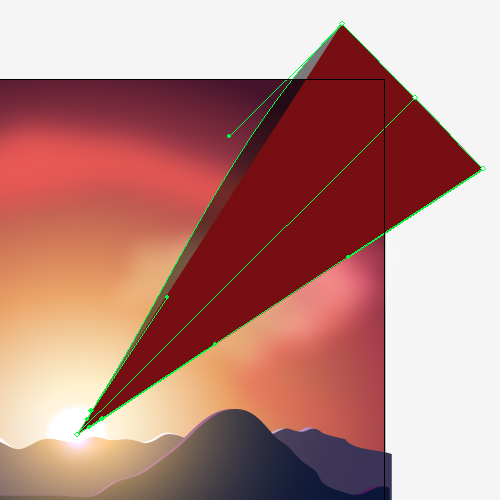
Remember, the easier the gradient grid is the more easily you’ll be able to edit it. Place the rectangle’s middle side so that it coincides with the top of the triangle.
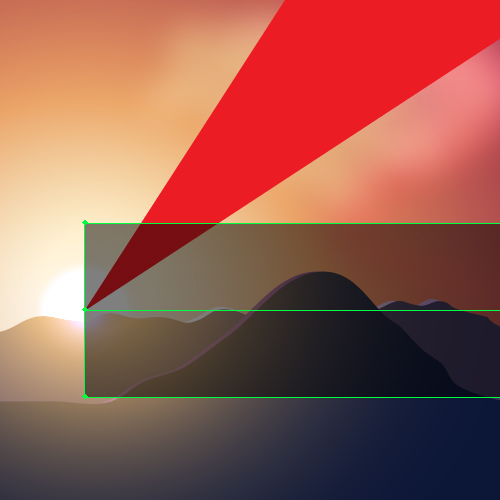
With the Rotate Tool (R) move the rectangle to the top of the triangle.
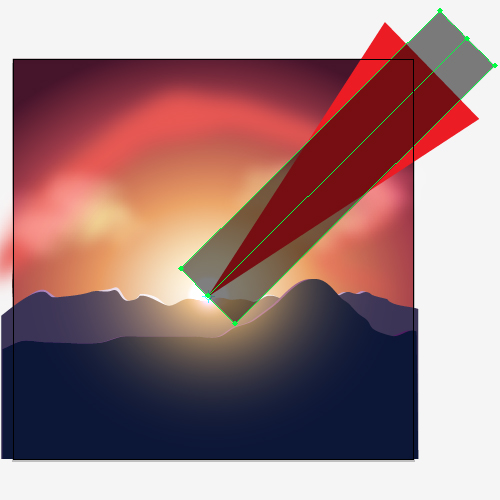
Transform the rectangle to match the triangle using the Direct Selection Tool (A).
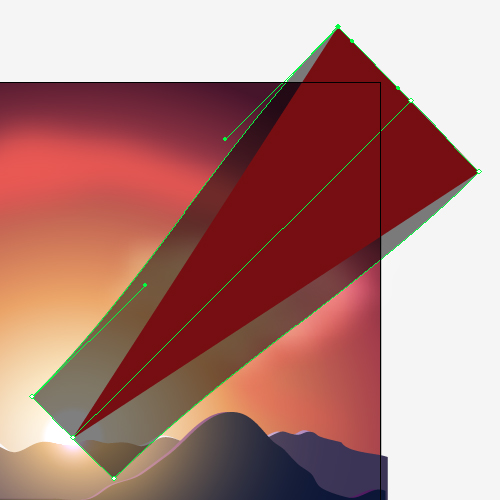
Step 14
Delete the triangle and change the value of the object Opacity to 100%.
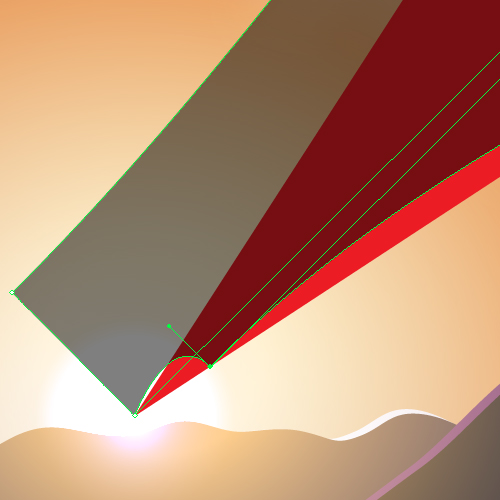
With the Mesh Tool (U) and add a few more points to the gradient grid.
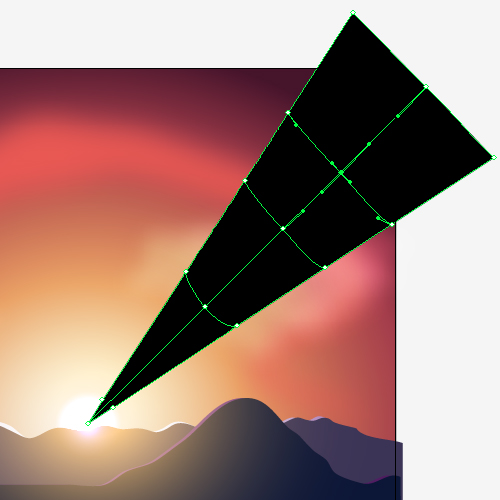
Add color to the points if the grid.
Step 15
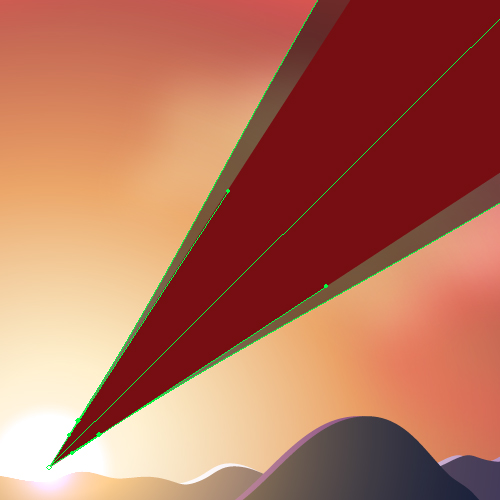
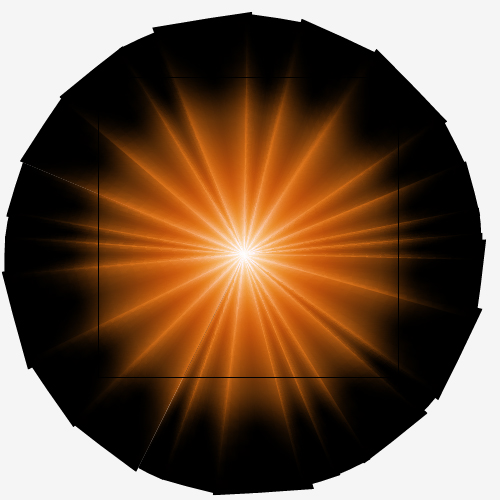
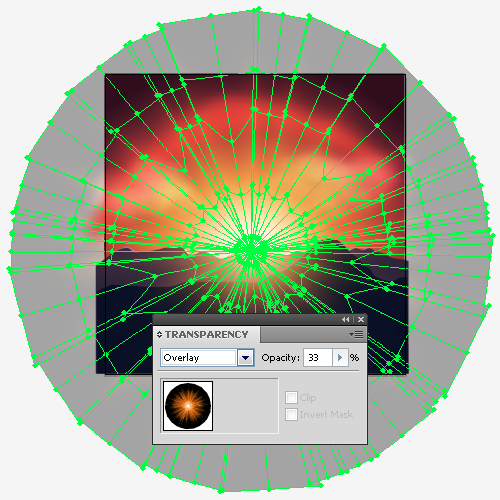
Duplicate the beam, rotate it around the center of the sun and change its width several times until you get an enclosed solar crown.
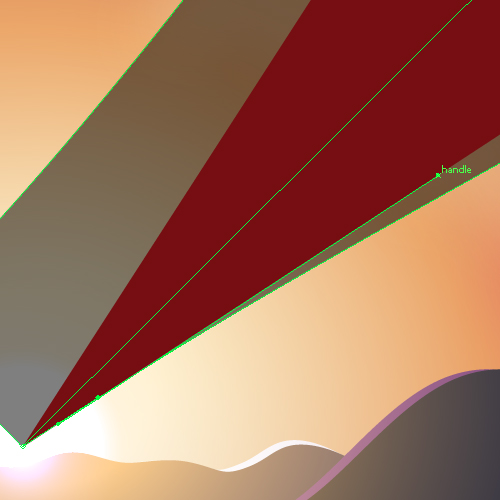
Step 16
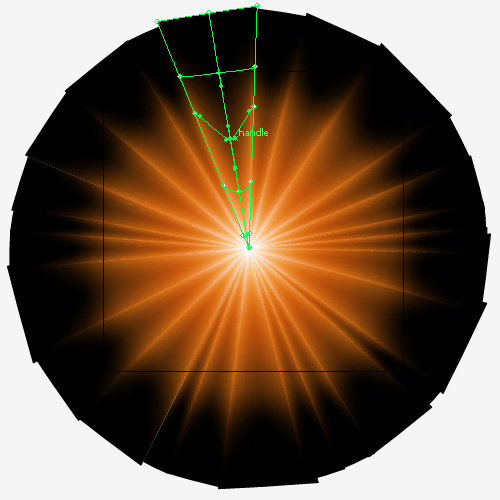
Modify the sun corona by moving the points of the gradient grid on separate beams.
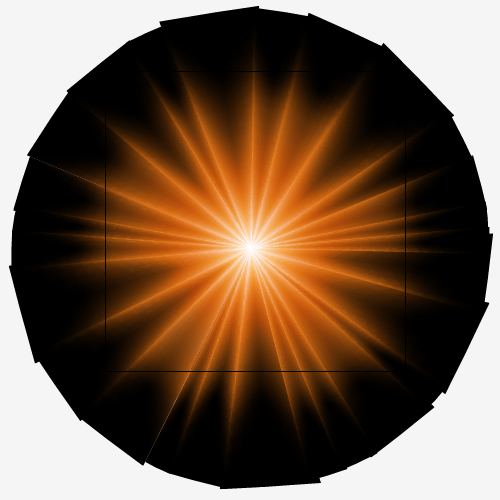
Group all the beams and change the Blending Mode to Overlay, Opacity 33% in the Transparency palette.
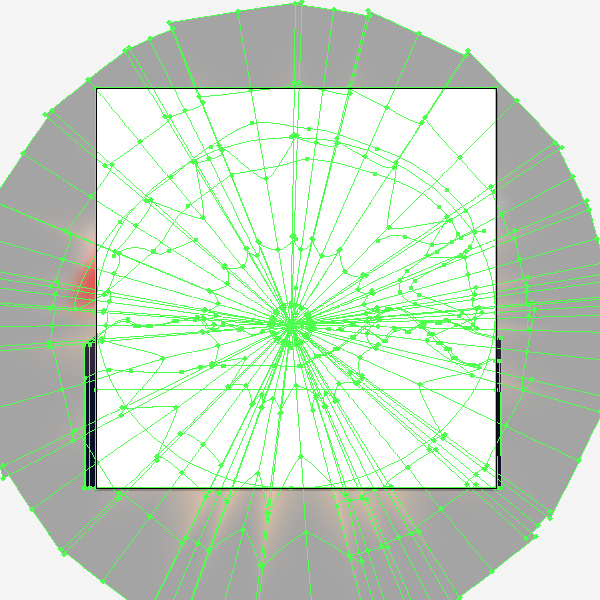
Step 17
Some objects are outside the document, let’s hide them. First create a rectangle with a size that coincides with the size of the document. Select all the objects (Command + A) and jump to Object > Clipping Mask > Make.
Conclusion
There you have it, a Vector Sunset! As you can see, by using some different effects and transparency settings you’re able to create a luminescent image of a sunset without the flat look of vector. I hope you’ve enjoyed this tut.