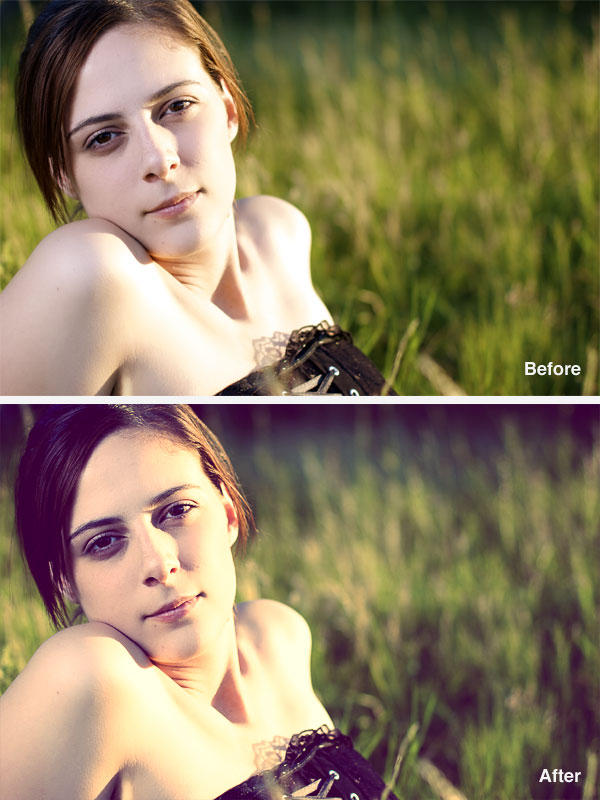
Gorgeous old vintage photographs always have certain qualities about them that are unmistakable, but many of these qualities disappeared with the great shift from film photography to digital photography. In today’s quick tip, we’ll have a look at a few very simple tips to bring that vintage look back, into the digital age.
Step 1
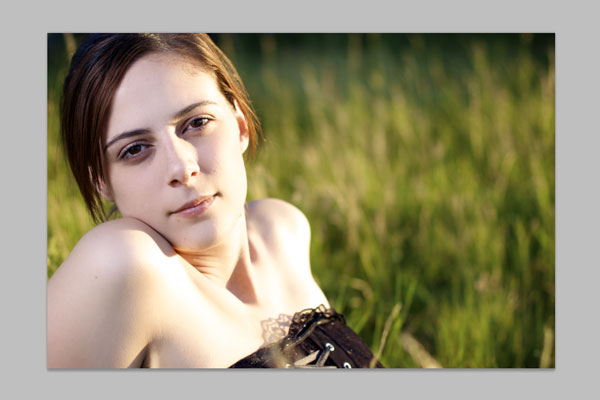
The first thing we need to do is select an appropriate image to use. Typically warm images with a strong light source and a lot of contrast work best, but you should also think about the subject of the photograph itself. Does it have an old-school feel about it? If so, then it’s probably a good candidate for this effect!
Step 2
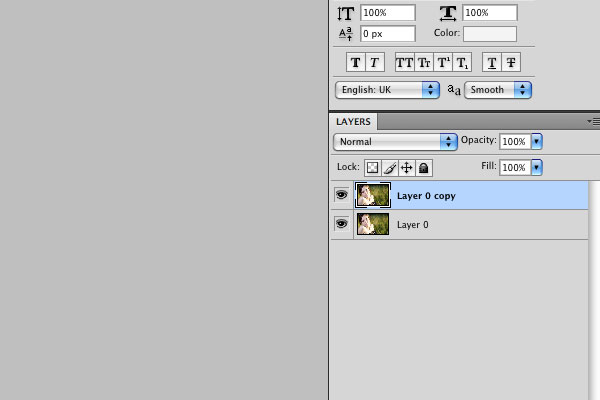
To get started, the first thing we’ll do in Adobe Photoshop is to duplicate the layer. You can do this by right-clicking on the layer and selecting “Duplicate Layer.”
Step 3
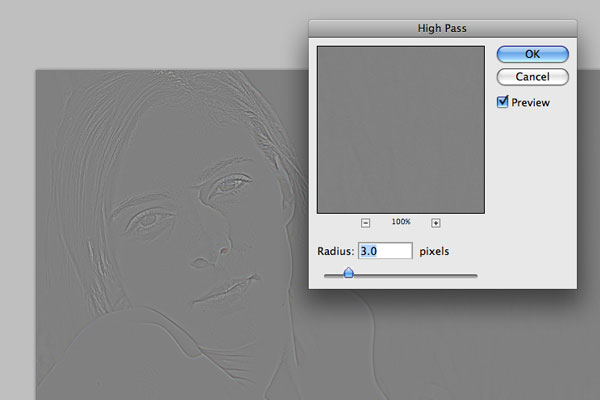
Now we’re going to turn our duplicated layer into a high-pass filter, which will add more detail to the image. Select Filter > Other > High Pass from the Photoshop menu bar, and set the radius to 3 pixels.
Once you’ve done this, set the blending mode of the layer to “Overlay” – and you should be able to see the effect clearly by toggling the layer visibility on and off.
Step 4
Next, we’re going to add a couple of layer adjustments. Select the layer which contains the original image, then click on the circular icon at the bottom of your layers window to add a new adjustment.
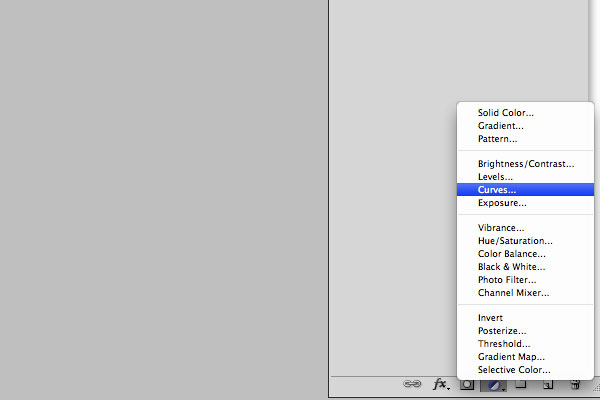
Step 5
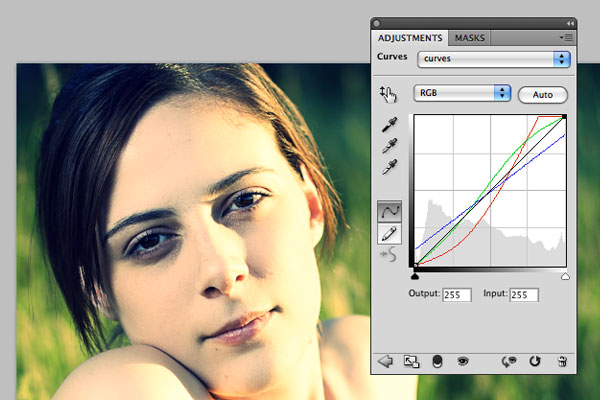
The first adjustment that we’ll add is Curves, this is the most complicated of the three adjustments. First select the Red channel from the RGB dropdown menu and mimic the shape in the screenshot below, then do the same with the Green and Blue channels respectively. Switch the dropdown back to RGB to see all three channels overlaid in the same way as they appear below.
Once you’ve done that, go ahead and close the layer adjustment window.
Step 6
Now select the original image layer again and add another layer adjustment, but this time select Brightness/Contrast instead of Curves. All we’re going to do with this adjustment is drop the contrast to -20. Once that’s done, close that layer adjustment window.

Step 7
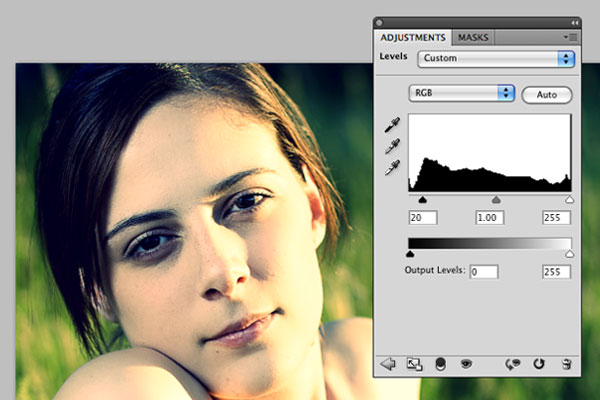
Selecting the original image layer again, we’re going to add one last layer adjustment. This time select Levels from the layer adjustment menu. The only we’ll do here is to move the left-hand slider (black) from 0 up to 20. Once that’s done, close the layer adjustment window.
Step 8
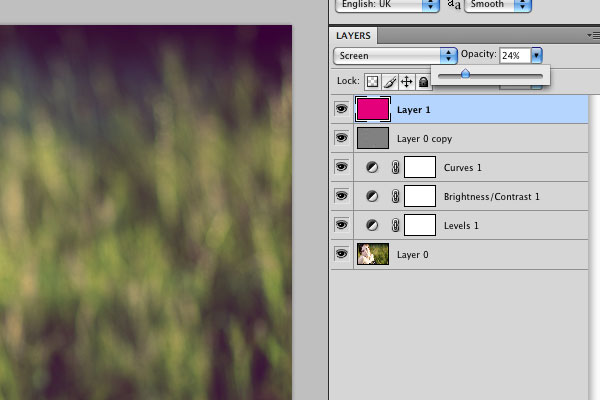
The last step is to add the magenta hue that really completes this effect. Create a new layer that sits above all your other layers and fill it with solid magenta. You can do this easily by setting C, Y, and K to 0% in the colors palette, and setting M to 100%. Next set the layer blending mode to “Screen” and drop the opacity down to around 25%.
The Final Image
That’s it! You’re done – and your final image should now look something like this: