Do you want to illustrate a childrens swing? If yes then let’s get started and you will undoubtedly learn the excellent Adobe Illustrator tools and create your own impressive and stunning artworks! Open Adobe Illustrator program, create there the New document and let’s begin.
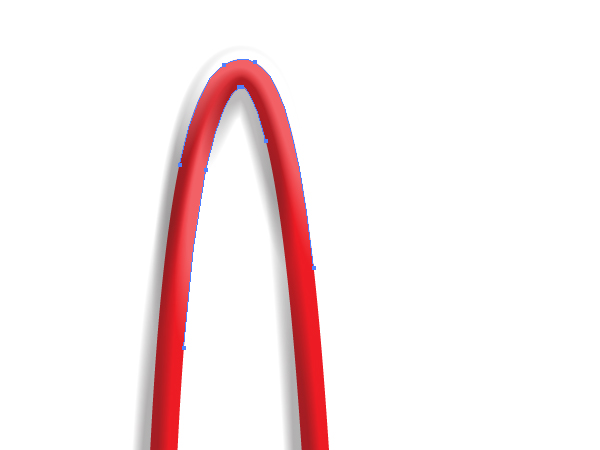
Step 1
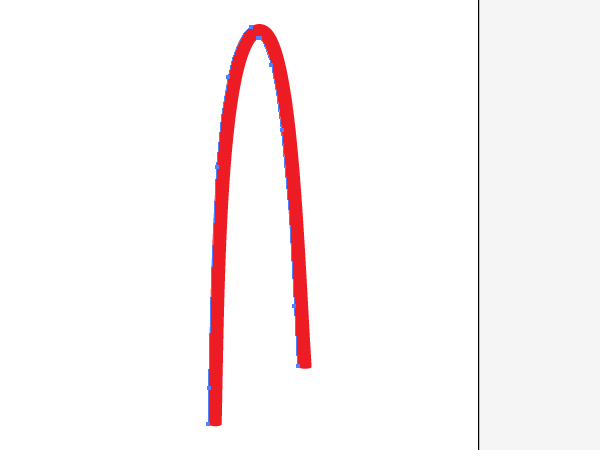
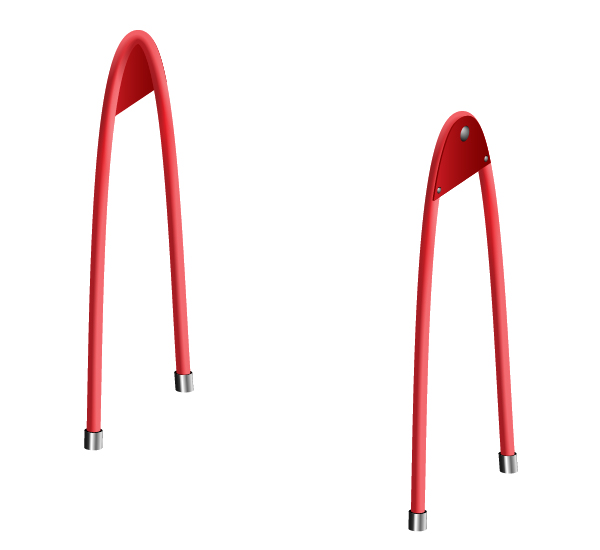
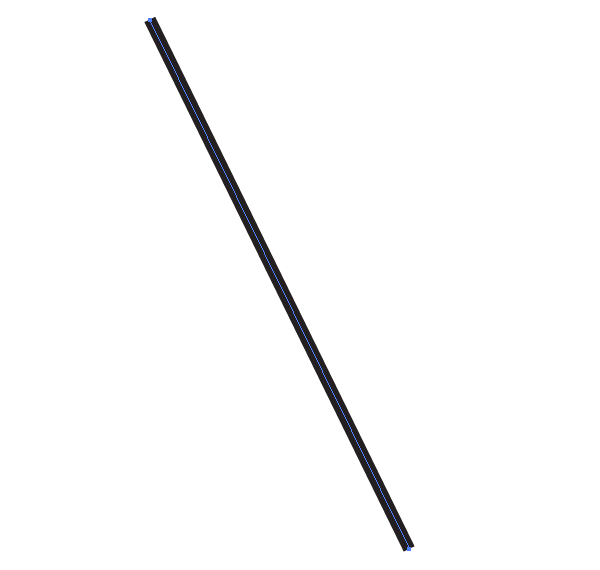
With the Pen Tool (P) and draw a path which will represent the right support of the swing.
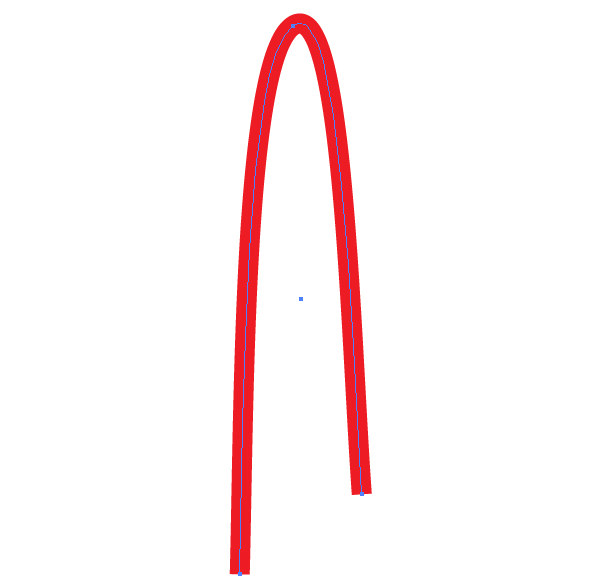
Go to Object > Expand then go to Object > Ungroup.
Step 2
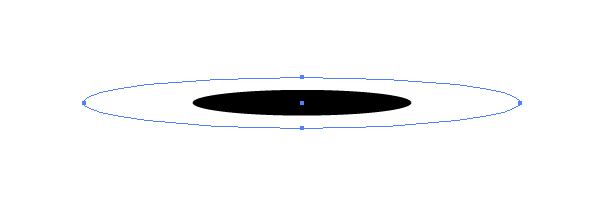
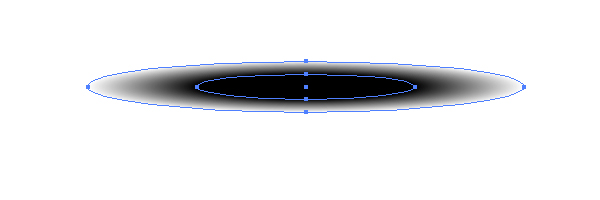
In order to convert this flat sketch to 3D shape of the support, let’s apply an Art Brush to it. First draw an elongated ellipse filled with black using the Ellipse Tool (L).

Go to Object > Transform > Scale and specify the shown values in the dialog window. Then click the Copy button.

Set the Opacity of the biggest ellipse to 0%.
Go to Object > Blend Options and set the Spacing to Specified Steps and the quantity of steps to about 75, as it is shown below.
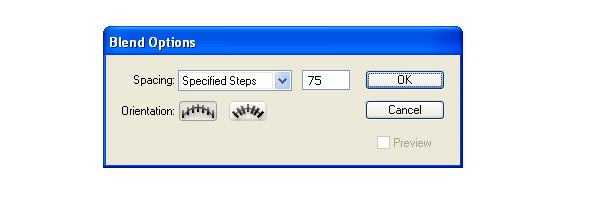
Then select both ellipses and go to Object > Blend > Make (Command + Alt + B).
Step 3
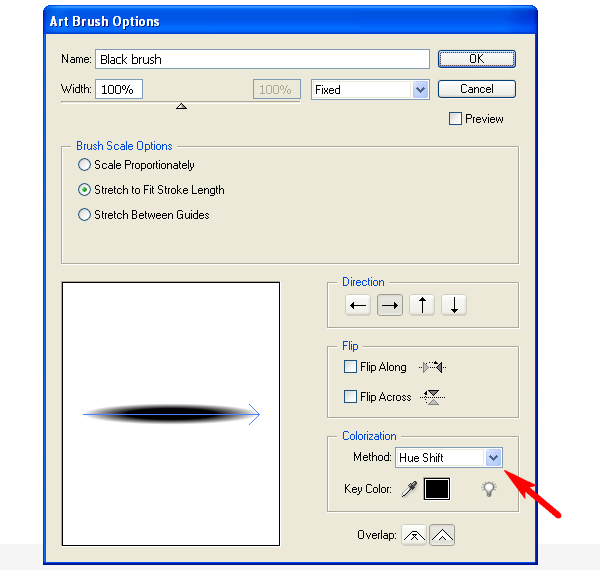
Drag and drop the Blend into the Brush panel and choose Art Brush in the opened dialog window.
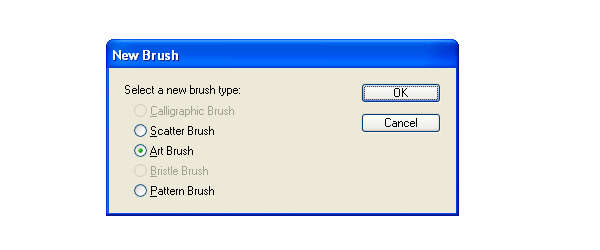
Name the brush "Black brush." I advise you to change the Colorization Method of the brush to Hue Shift. This will allow you to manage the colors of paths to which this brush will be applied more effectively.
Step 4
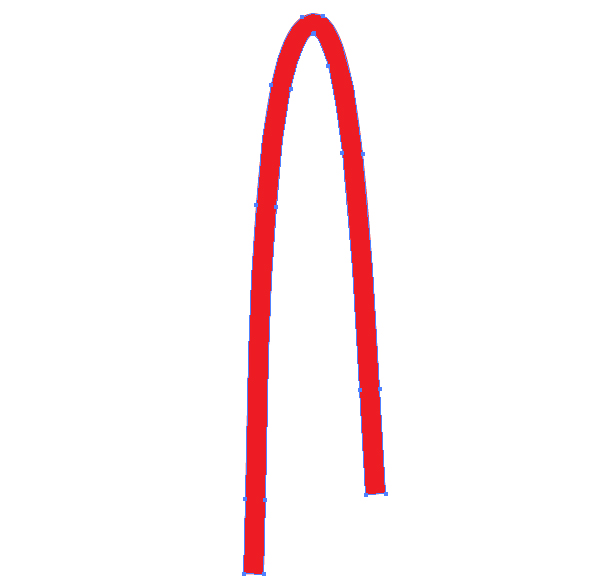
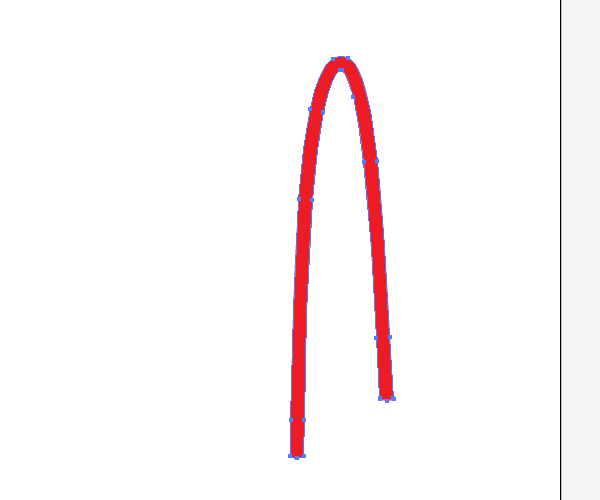
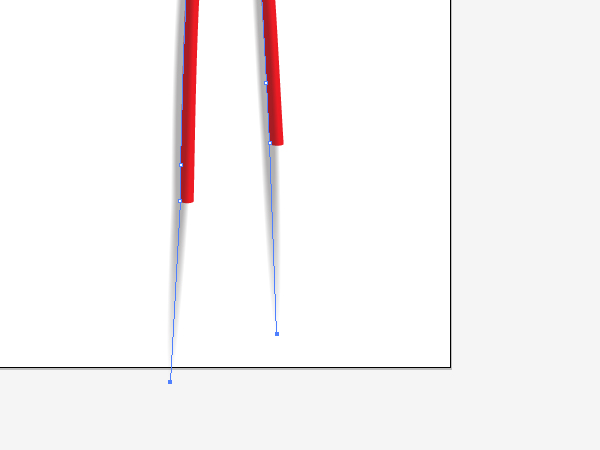
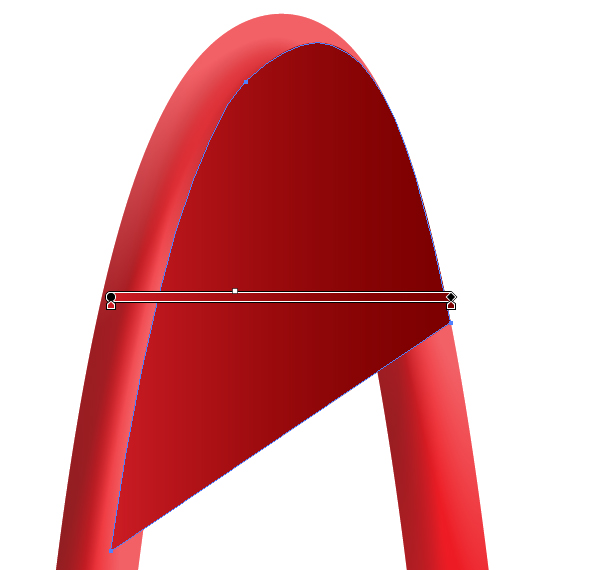
Select the red path…
…Copy it and Paste in Front (Command + C then Command + F). Take the Scissors Tool (C) and click on the path points so as to divide the path. Change the Filling color of the copy to None. You should receive the paths similar to the ones shown below.
Step 5
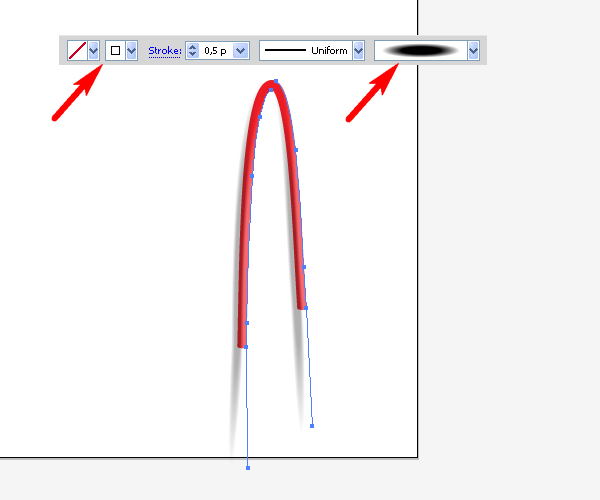
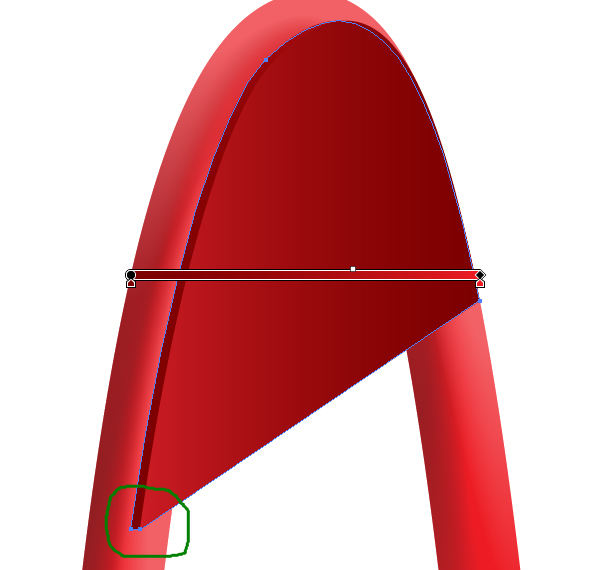
Apply the "Black brush" to these paths and change the Stroke color to black.
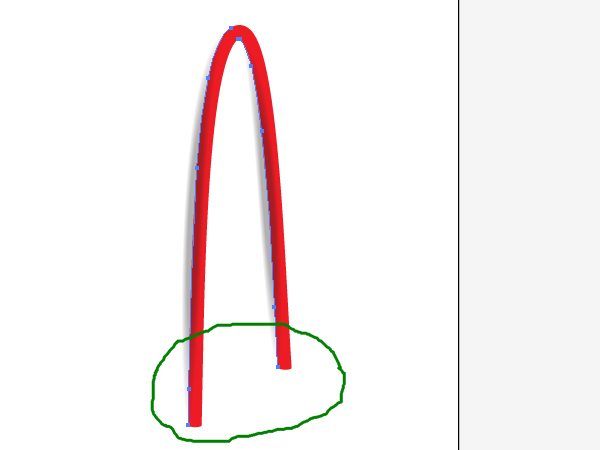
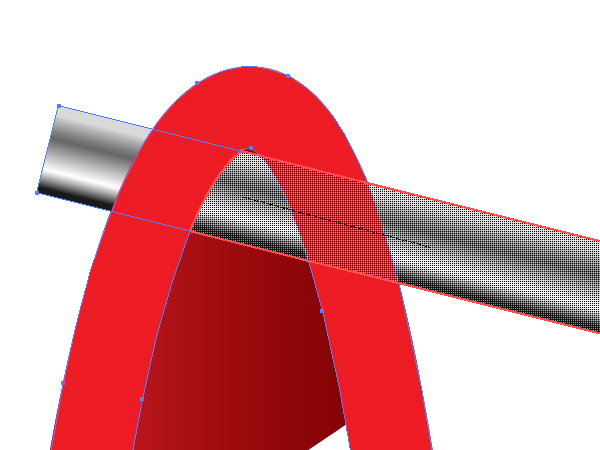
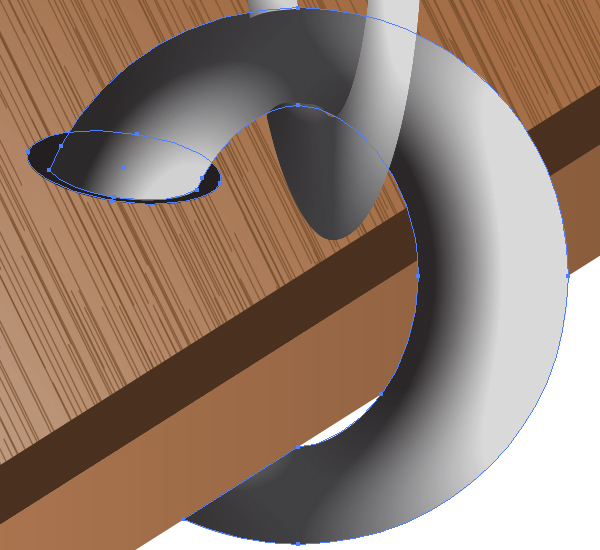
The end area of the red support detail (shown with green in the image above) seems to be flat. In order to fix this problem, make the paths longer by using the Pen Tool (P). Follow the helpful diagram below.
Illustrate the highlight areas on the support the same way. You need to achieve something as the following.
Step 6
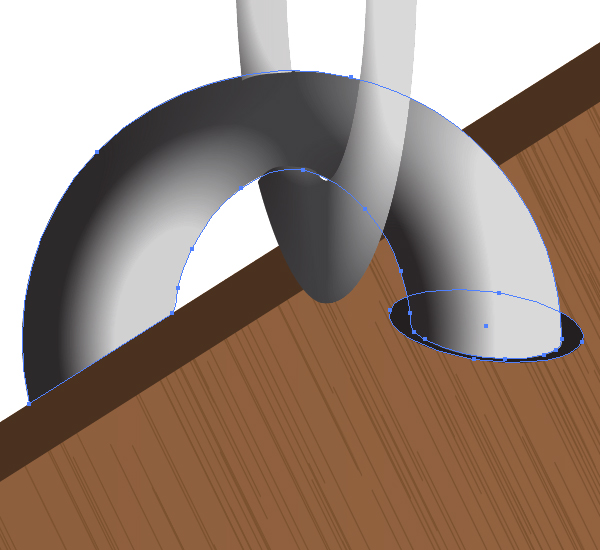
The top part of the red support detail is converted to 3D shape the same way. Follow the diagrams shown below.

Step 7
Now select the red path again…
…Copy it and Paste in Front (Command + C then Command + F). Then Bring the copy to Front by choosing Object > Arrange > Bring to Front (Command + Shift + right square bracket). Select the copy and all the paths to which the "Black brush" is applied and go to Object > Clipping Mask > Make (Command + 7).
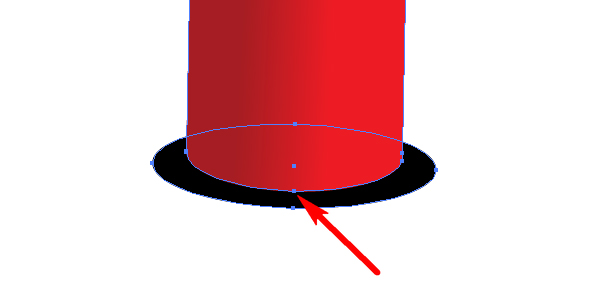
Step 8
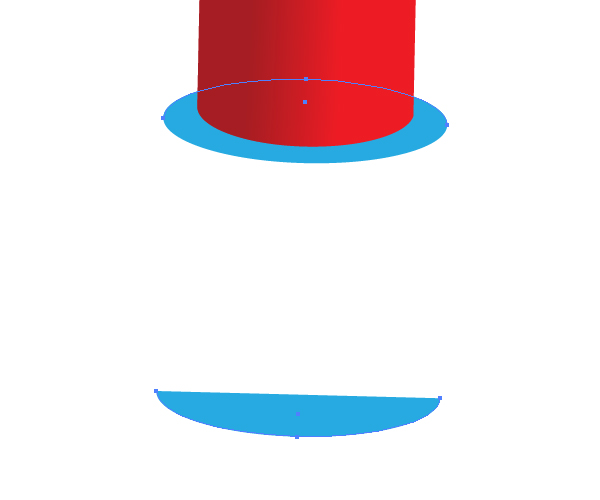
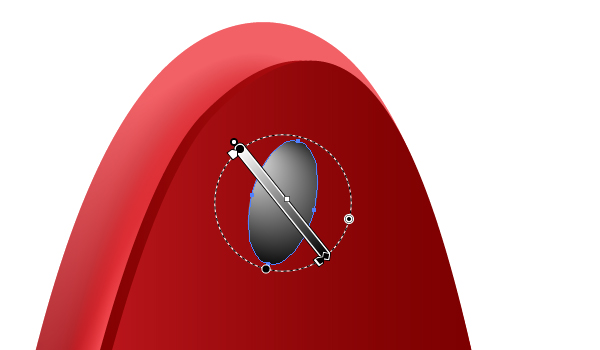
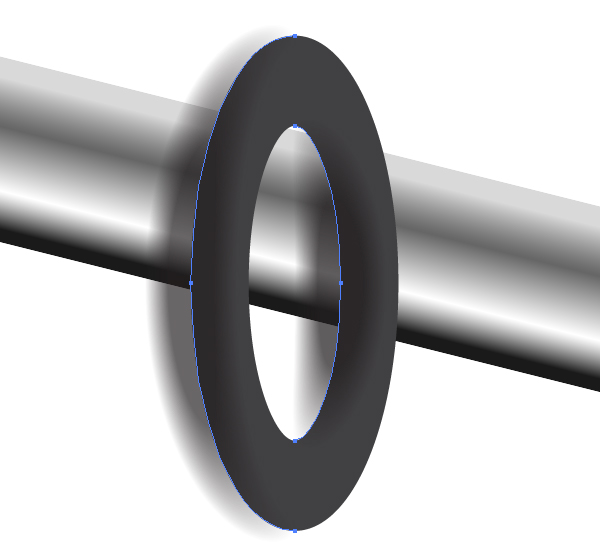
Using the Ellipse Tool (L) and draw an elliptical path under one of the ends of the support detail.
The red end must be semicircular if to consider the chosen angle of view. You can convert it to the semi-circular shape by using both tools: the Pen Tool (P) and the Direct Selection Tool (A). First, add an anchor point to the red path in its end part, convert it to smooth one and move it slightly downward. The black ellipse should be rotated in order to be placed in the right position. Do it by using the Rotate Tool (R).
Step 9
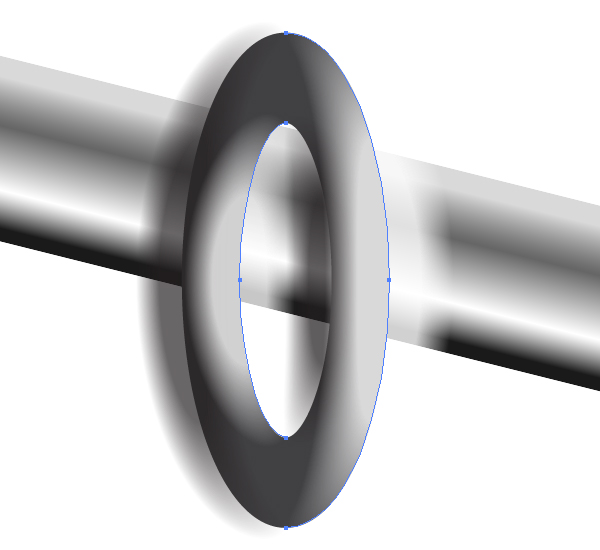
Copy the black ellipse and Paste it in Front (Command + C then Command + F). Move the copy down by pressing the cursor buttons on your keyboard as it is shown below.
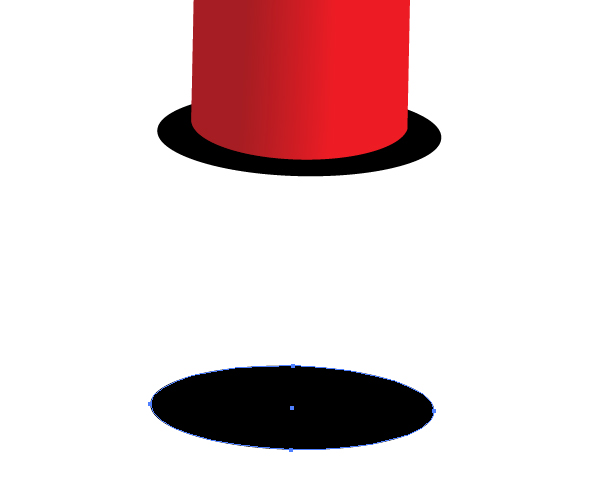
Copy the black ellipse again and Paste it in Back (Command + C then Command + B). Lock the original black ellipse in the Layers panel. After that select both copies…
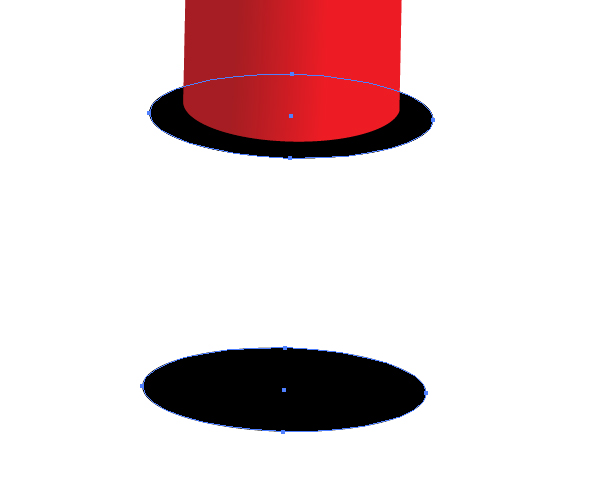
…using the Lasso Tool (Q) and select those anchor points which are selected in the diagram below. (The ellipses are recolored to blue for your convenience only).
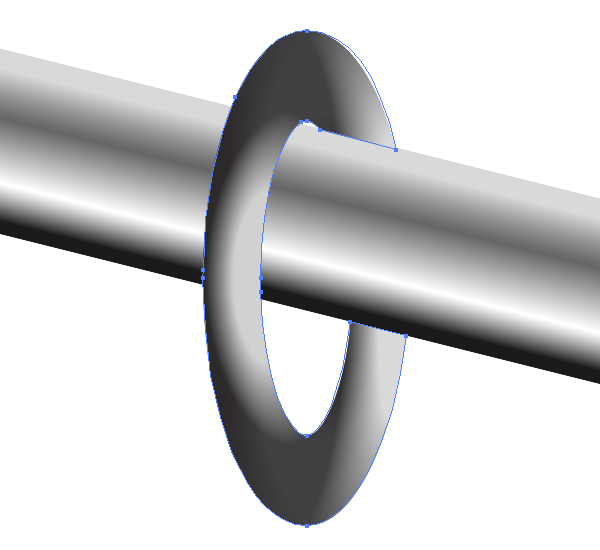
Press the Delete button on your keyboard.
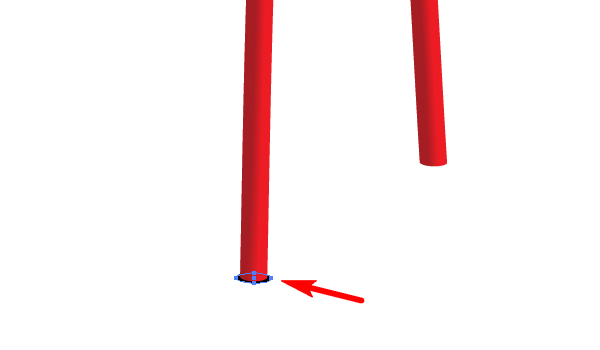
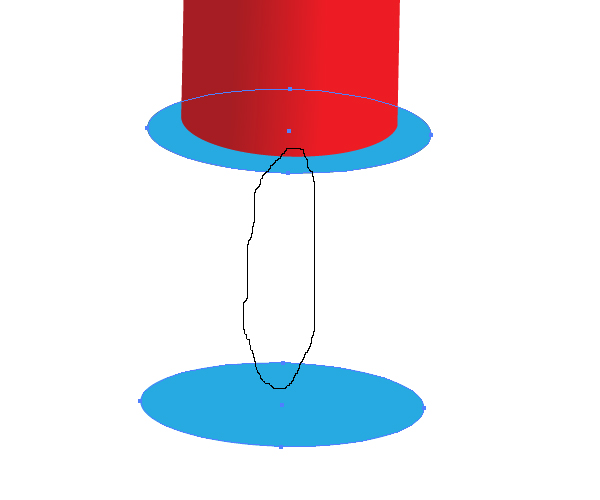
Step 10
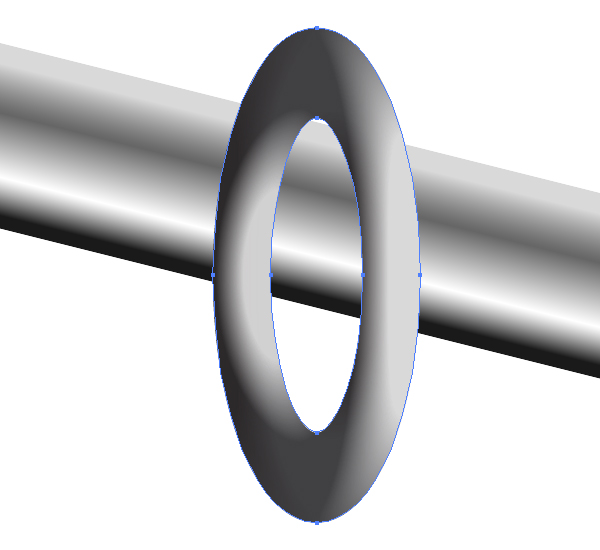
Now go to Object > Path > Join (Command + J) twice. And you will create a cylinder.
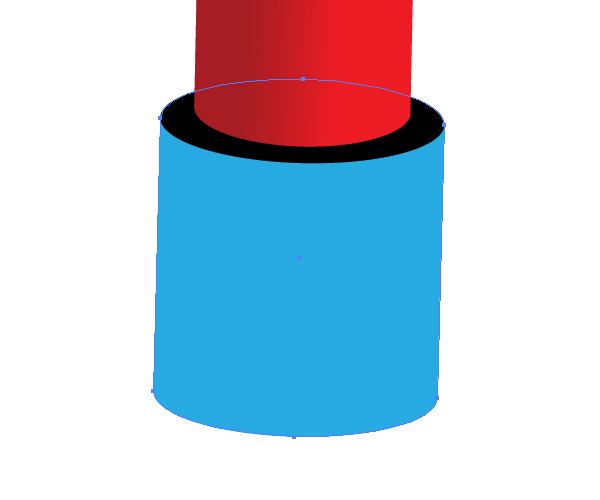
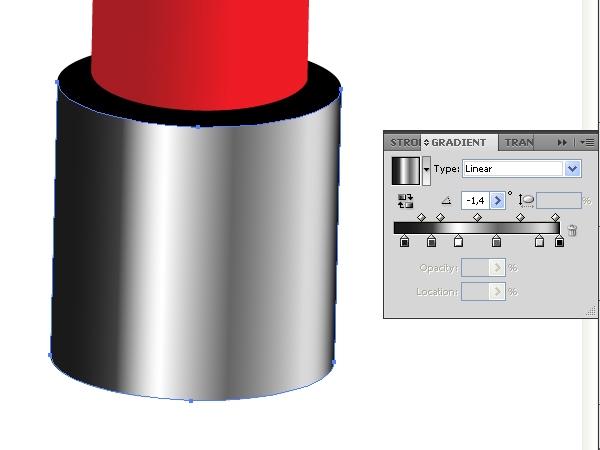
I think that this is the fastest way of creating cylinders in Adobe Illustrator. When your skills in it be increased, you will be able to do this in seconds. Now fill the lateral surface of the cylinder with an angled linear gradient as shown in the image below. Moreover you can delete the top part of the cylinder from its lateral surface as shown.
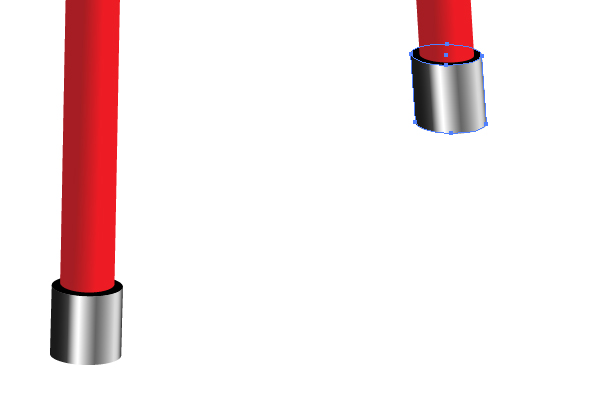
The second cylinder is created in the same way.
Step 11
Illustrate the next path filled with a linear gradient in the top part of the support detail.
Copy it and Paste in Back (Command + C then Command + B). Then add depth to this detail by working on the corresponding anchor points shown with green using the Pen Tool (P) and the Direct Selection Tool (A). You already did these actions in this tutorial. So do it by yourself. After that fill it with another linear gradient.
Step 12
Draw a fixing bolt by using the Ellipse Tool (L) and fill it with a radial gradient.
Produce two other fixing bolts as well.
Illustrate the left support detail the same way.
Step 13
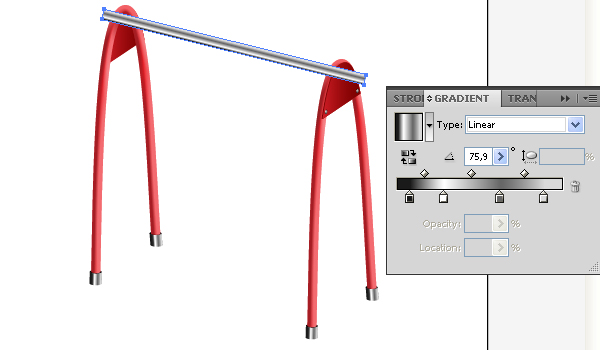
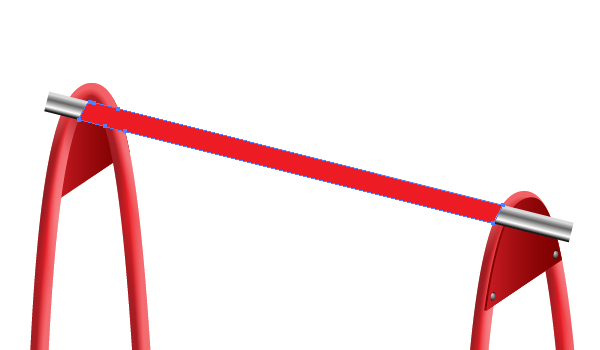
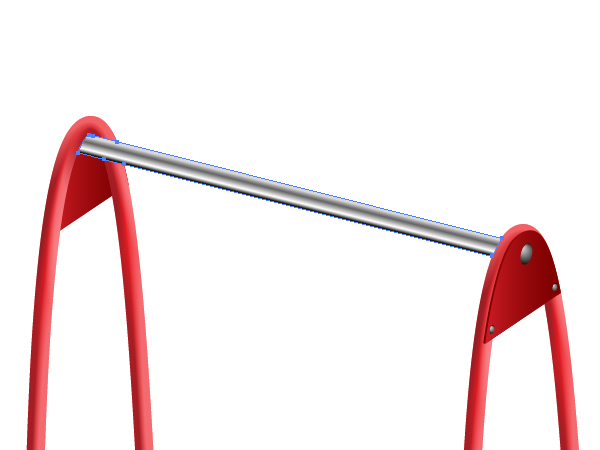
Produce a bar of the swing by using the Rectangle Tool (M) and the Rotate Tool (R). Fill it with an angled linear gradient as shown below.
Copy the bar path and Paste it in Front (Command + C then Command + F). Then Copy both red support details and Paste them in Front too (Command + C then Command + F, as well).
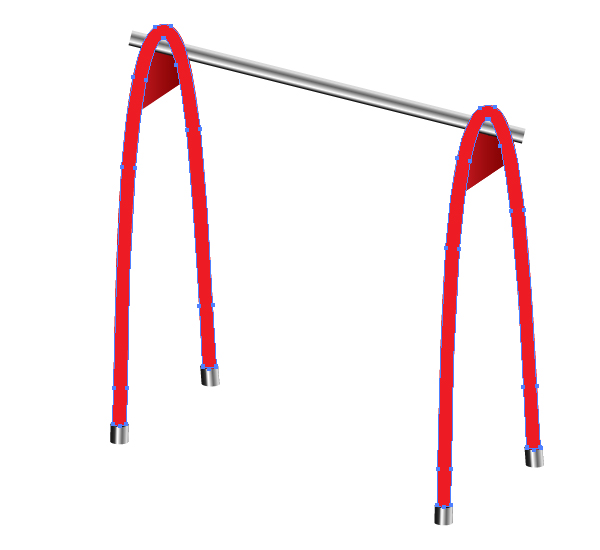
Select all the copies (three units) made in this step, scale the artwork…
…take the Shape Builder Tool (Shift + M), and drag a line over the parts of the paths indicated below.
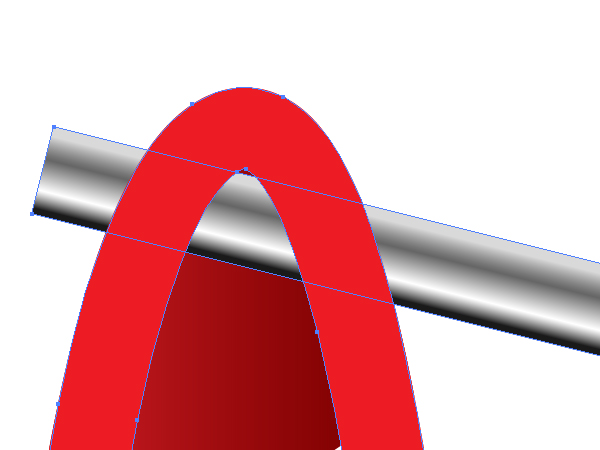
Step 14
Delete all the unnecessary parts after this operation from the Layers panel and leave the red path undeleted only which is selected in the diagram below.
Select both: this red path and the bar itself and choose Object > Clipping Mask > Make (Command + 7).
Step 15
With the Ellipse Tool (L) and draw a vertical ellipse in which the Stroke color is gray. Increase the Stroke Weight and go to Object > Expand, then Object > Ungroup. You should create the following compound path after these manipulations.
Apply the "Black brush" to the next paths in which the Stroke color is black.
Then apply the "Black brush" with white Stroke color to the following paths.
Crop the paths with the corresponding Clipping Mask.
Step 16
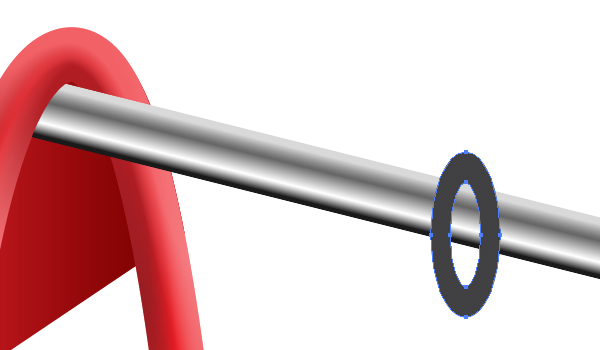
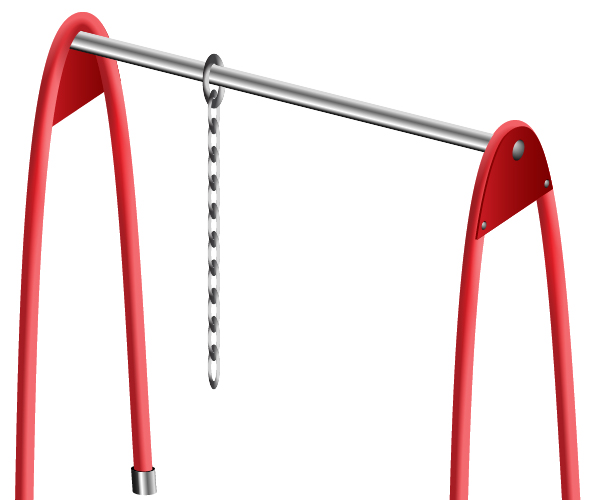
Apply the clipping mask shown below in order to put the metallic ring on the bar.
The next ring in a chain is illustrated the same way. Follow the helpful image below.
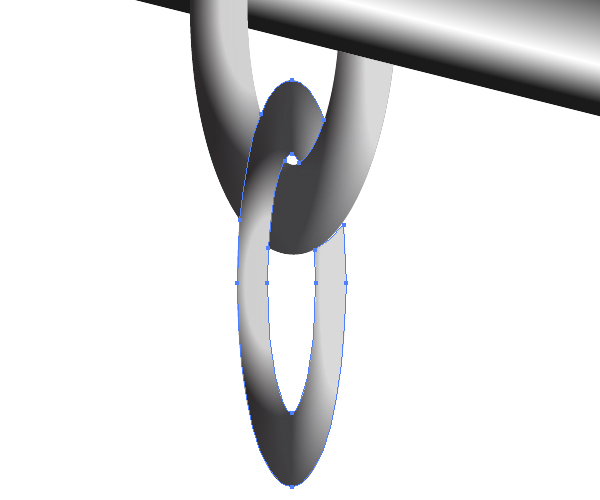
Draw as many rings in a chain as you desire.
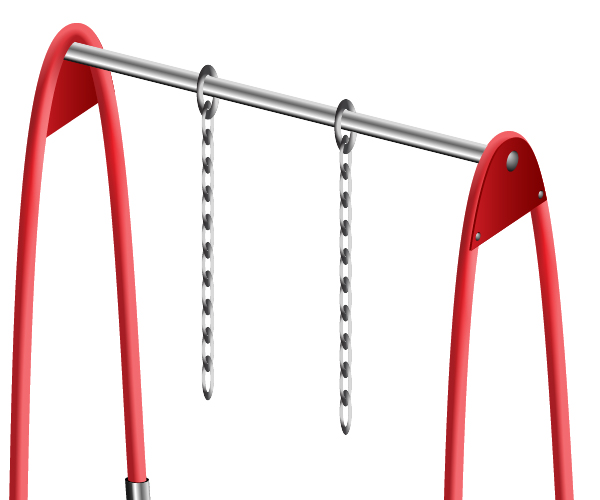
Illustrate the second right chain the same way.
Step 17
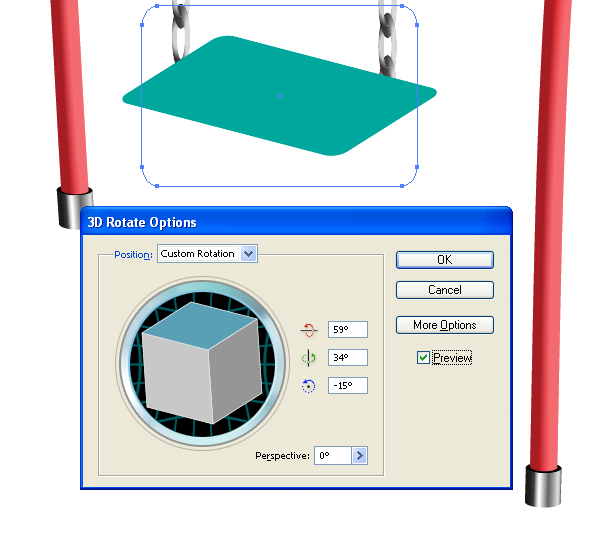
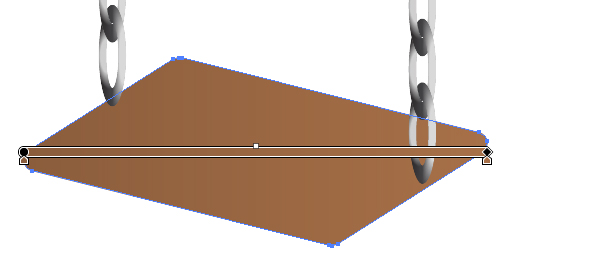
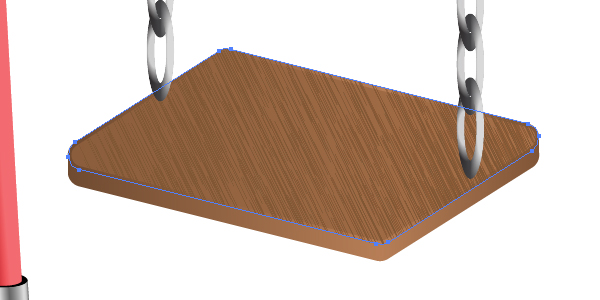
Take the Rounded Rectangle Tool and draw a shape for the swing seat.

Go to Effect > 3D > Rotate. Tick the Preview box and then modify the rotation settings until you’re happy with the angle of the seat. See the diagrams below where the violet strokes are the parallel guide lines.
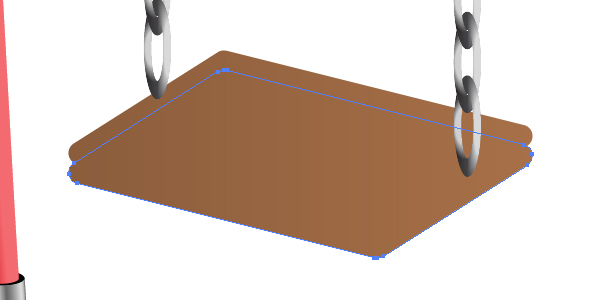
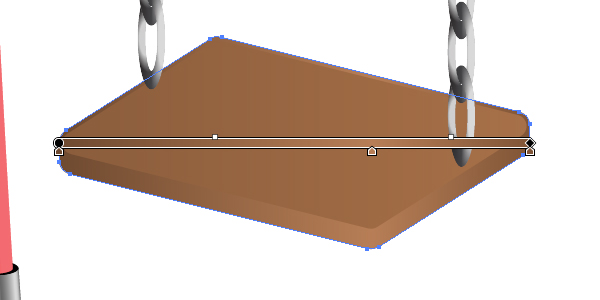
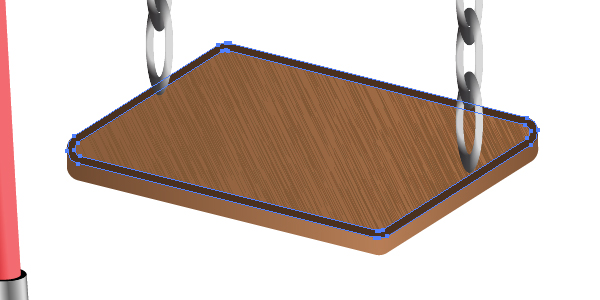
Step 18
While the green seat is selected, choose Object > Expand Appearance. Then go to Object > Ungroup twice. Place the path under the chains and fill it with a linear gradient.
Copy it and Paste in Back (Command + C then Command + B). Move it slightly downwards with your arrow keys.
After that create the lateral surface of the seat from both brown paths as you did it before. Follow the instructions of creating a cylinder written in the Steps 9 and 10. Fill the lateral surface of the seat with another gradient.
Step 19
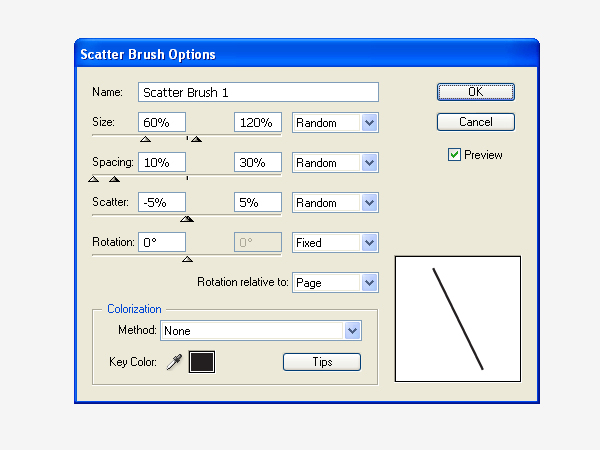
Let’s simulate a wood texture in Adobe Illustrator. Draw an inclined short path. It should be 20px or 30px in length.
Drag and drop it into the Brush panel. Select the Scatter Brush option in the dialog box. Set the items for the brush as it is shown below.
Then take the Paintbrush Tool (B), and draw the following path over the seat.
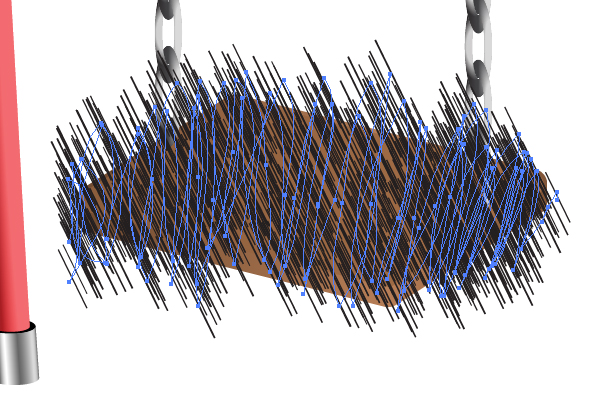
Apply Object > Expand Appearance, and Object > Ungroup twice.
Step 20
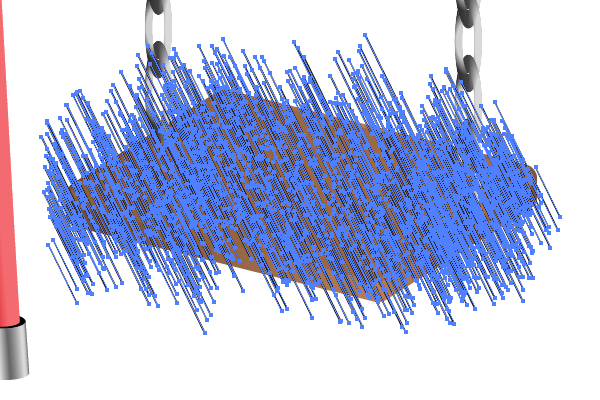
Take the Lasso Tool (Q) now, and select the paths approximately which are not located over the wooden seat. See the images below for reference…

…and press the Delete button on your keyboard twice.
Repeat these manipulations again and again in order to decrease the quantity of paths because all of them have an influence on the file size.
Step 21
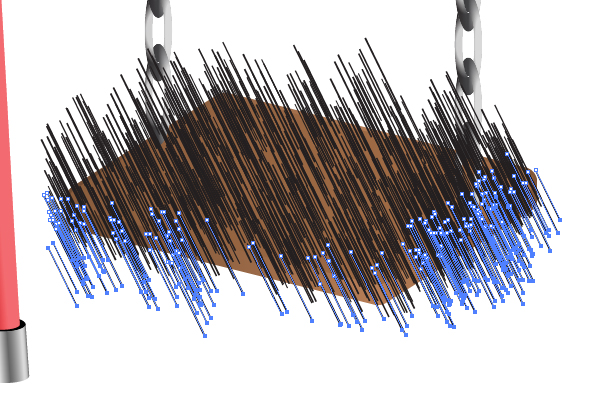
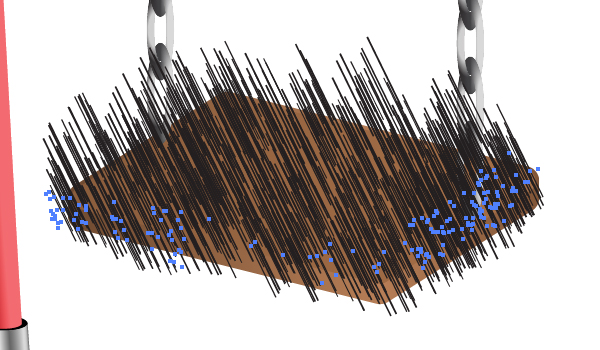
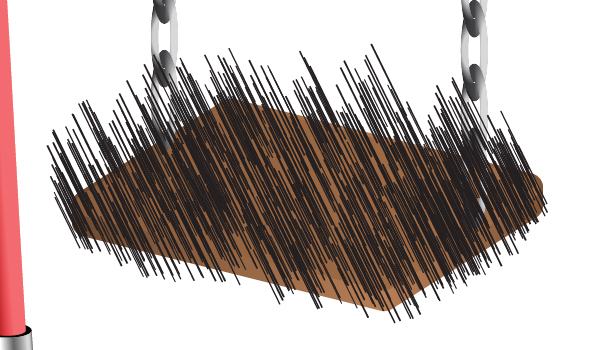
After that let’s go to the Brush panel and click the “New Brush” button. Select the Bristle Brush option in the dialog box and set the items for the brush as shown below.
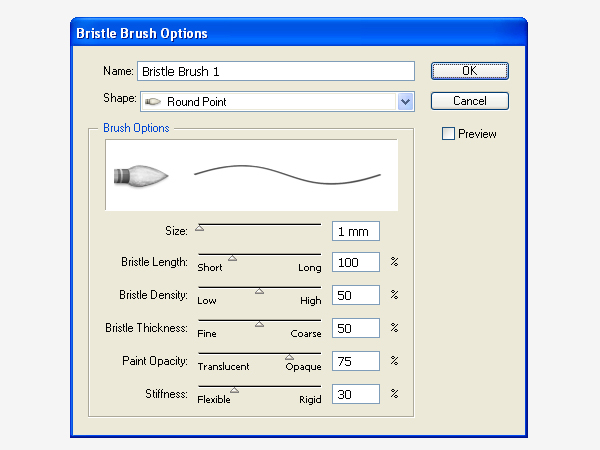
Change the Fill color to brown and apply the new Bristle brush to these strokes. Change the Stroke Weight if necessary. And crop the strokes with the corresponding Clipping Mask.
Step 22
Draw a Compound Path over the seat in order to emphasize on the border.
Create a Blend in order to add a light spot on the seat. Make it with two white circles.
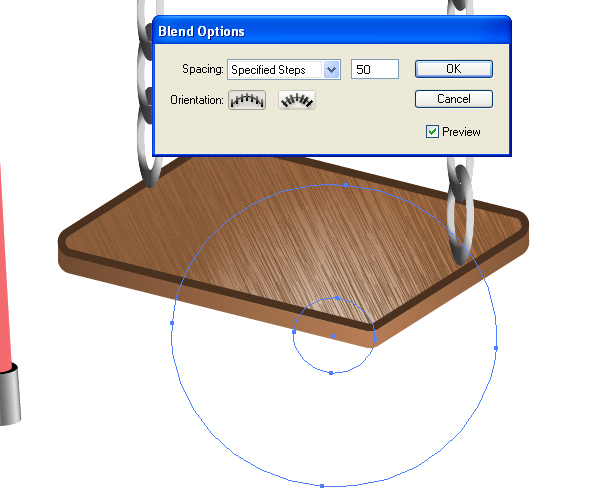
Add it to the Clipping Mask.
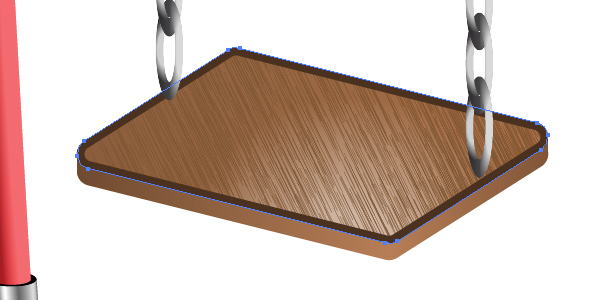
Step 23
Using a similar method you used for creating the chains, add links either side of the swing seat.
Then with the Rectangle Tool (M), draw a rectangular path and fill it with a vertical gradient so as to illustrate a background and your artwork will be completed.
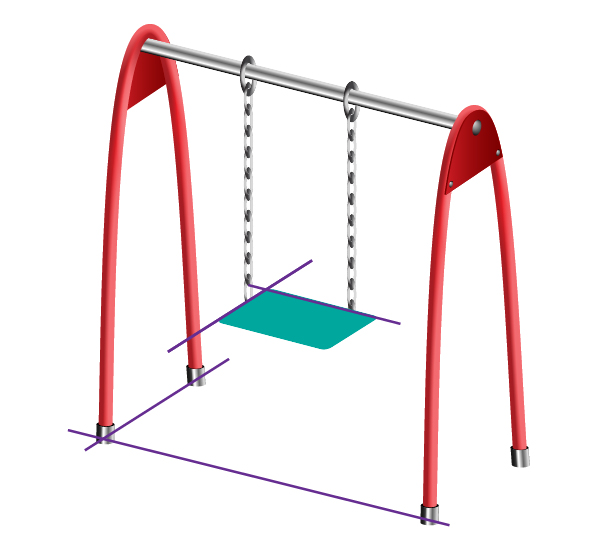
Conclusion
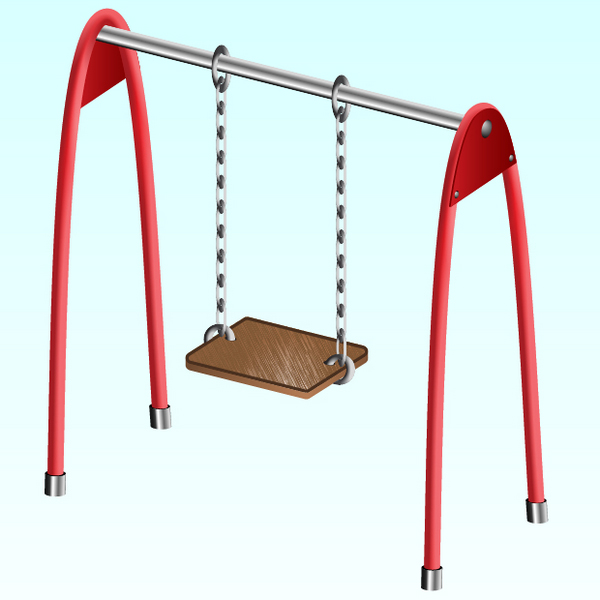
The final image is below. As you can see from it, the gradients and brushes has made it easy to give volume to the basic shapes. Use the techniques you’ve learned here in your own artworks. I hope you’ve enjoyed this tutorial.
{excerpt}
Read More