The retro theme is very popular today. In this tutorial I’m going to show you how to create a speech bubble in a retro style. We will draw a speech bubble with the help of the Spiral Tool and add a grunge background. So let’s jump in!
Step 1
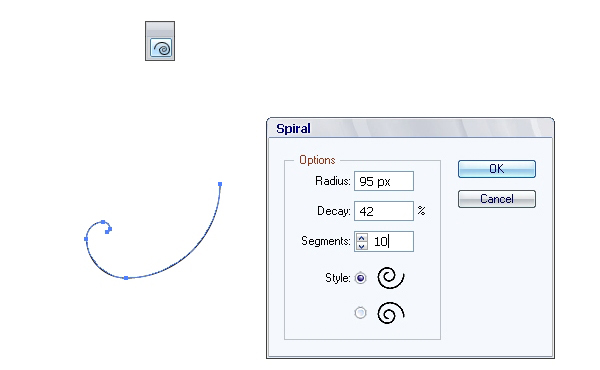
Create a new document. The width and height should be 600 px. Select RGB Color Mode in the advanced options. Now we can start drawing a speech bubble. Take the Spiral Tool and left click your mouse to any place on the workspace. Set properties as shown in the image below. Then click the OK button and you should get a spiral.
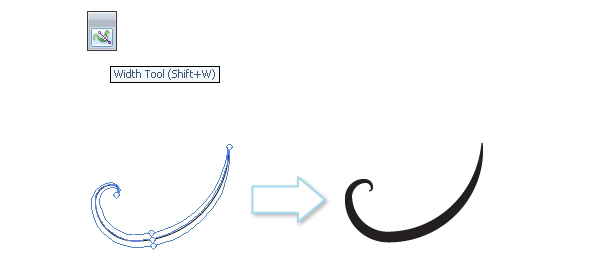
Take the Width Tool (Shift + W) and add some extra thickness to the spiral. Pull the spiral in the middle and the Width Tool will add thickening.
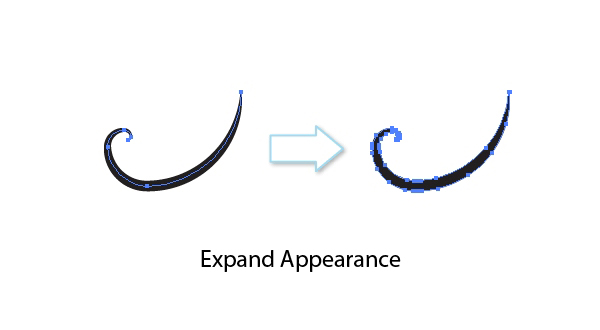
Go to Object > Expand Appearance to transform a spiral into an object.
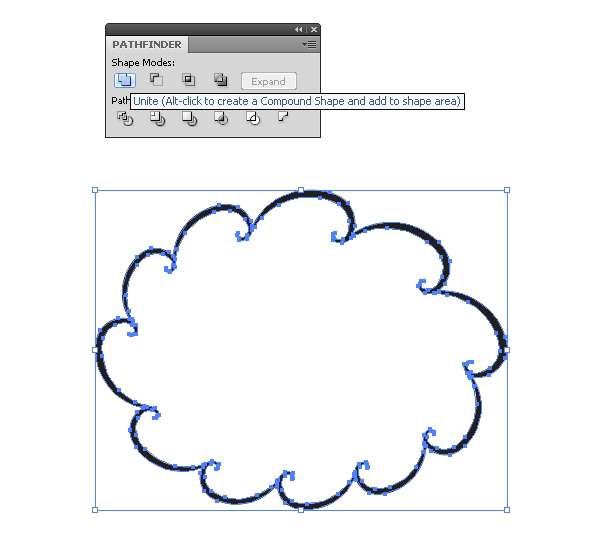
Now we can use this spiral to create a shape of the speech bubble as shown in the image below.

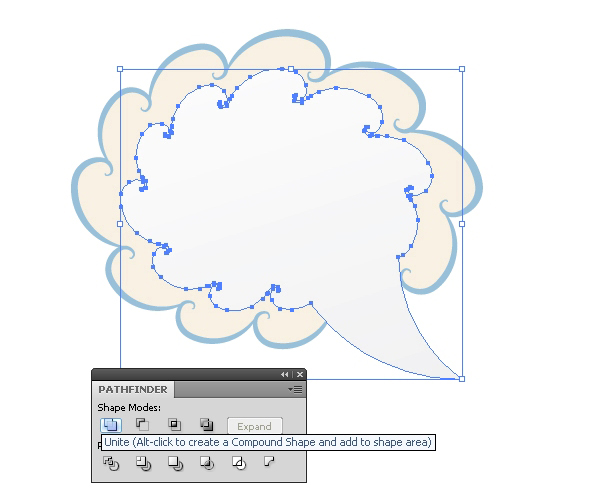
Then select all objects and go to the PathFinder panel. Use the "Unite" command to merge it into one shape.
Step 2
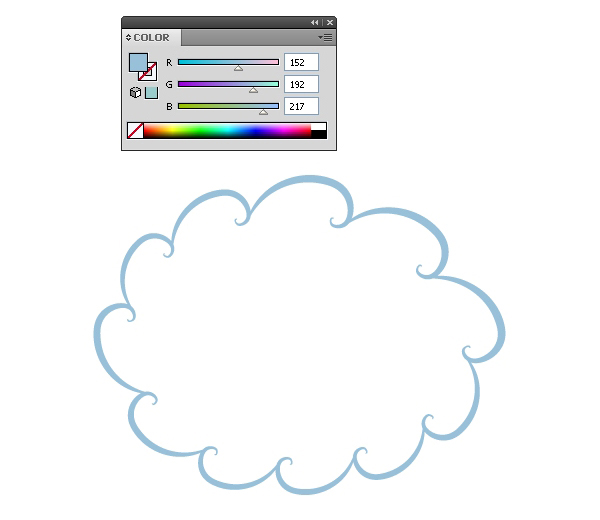
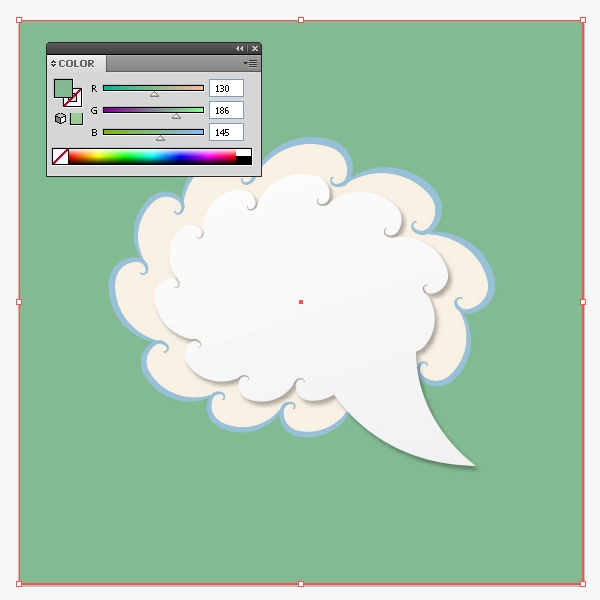
Let’s start coloring. I used blue to fill the speech bubble. You can take it from the Color Panel.
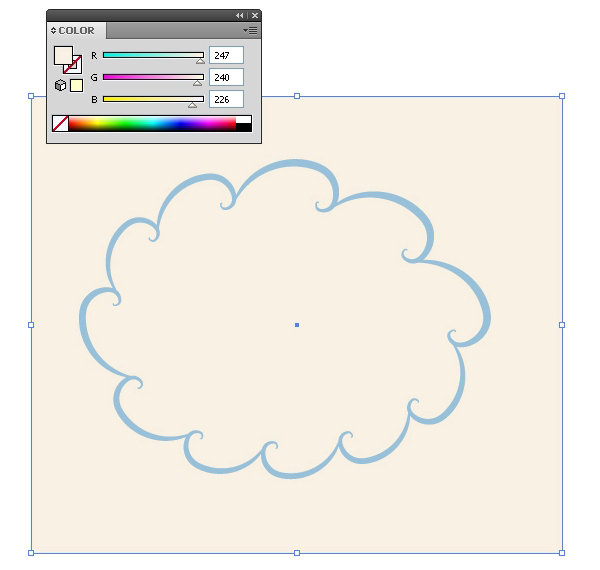
Take the Rectangle Tool (M) and draw a rectangle as shown in the image below. Move it to the background.
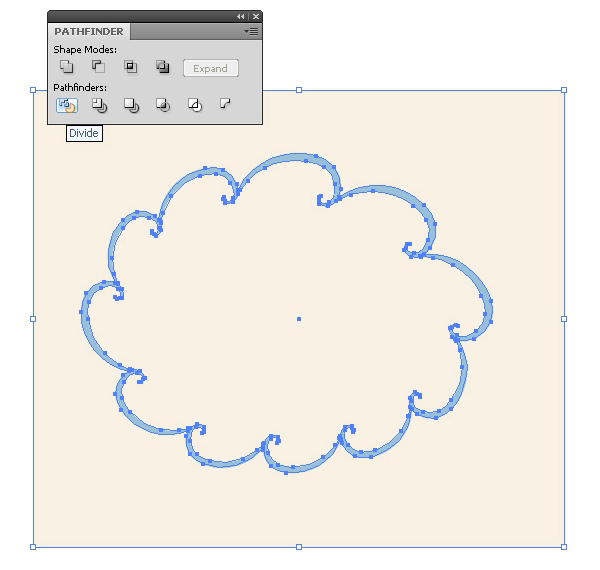
Use the "Divide" command from the PathFinder panel to cut objects.
Then delete the protruding part of the rectangle. We need a central part.

Step 3
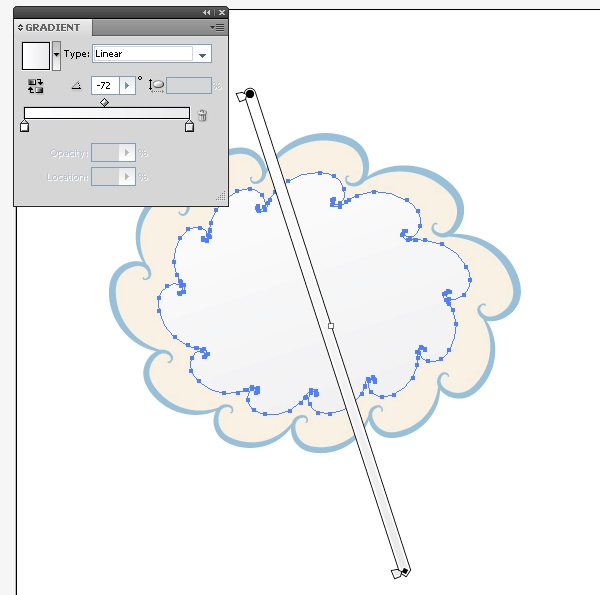
Select this central part and create a copy. Use hotkeys Command + C and Command + F. Then reduce the size of the copy and fill it with the help of the Gradient as shown in the image below.
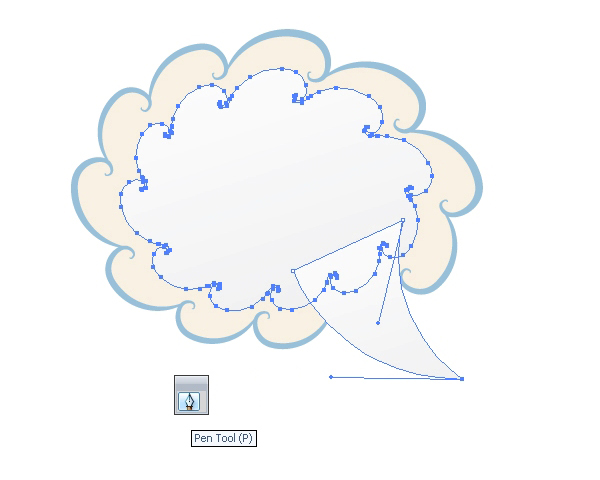
Take the Pen Tool (P) and draw the tip of the speech bubble.
Merge these objects into one shape using PathFinder panel.
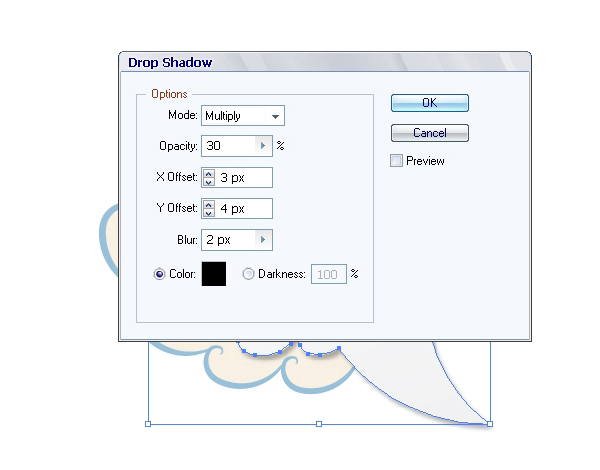
Go Effect > Stylize > Drop Shadow to add a shadow to the central part of the speech bubble.
Step 4
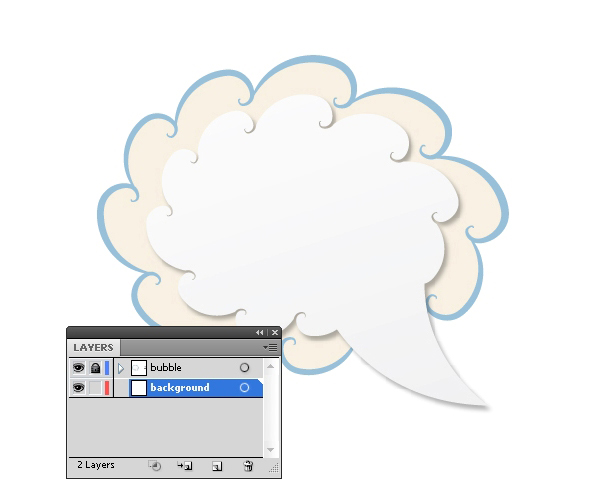
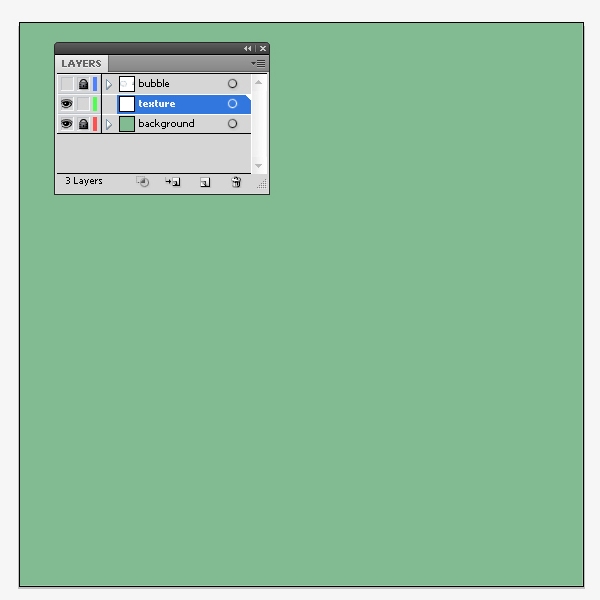
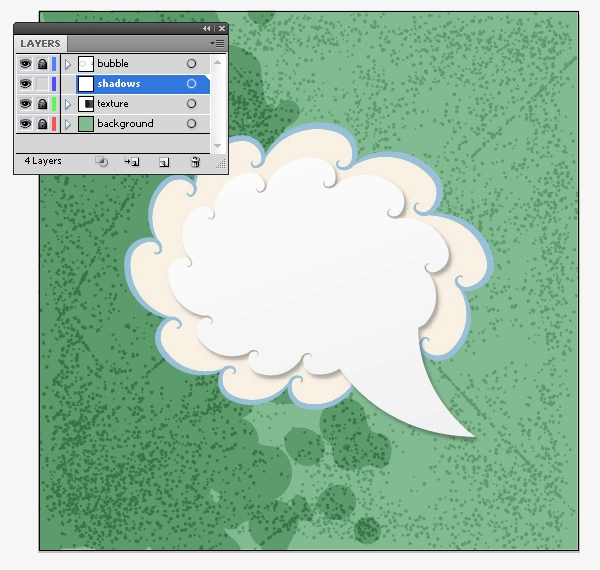
Now we should group these objects and create a new layer for the background. Lock the layer with the bubble. You can also turn off the visibility of this layer to make it easier to work with the background.
Take the Rectangle Tool (M) and draw a rectangle. The background is ready. It is very easy.
Step 5
Next we will draw texture. We should create another layer for it.
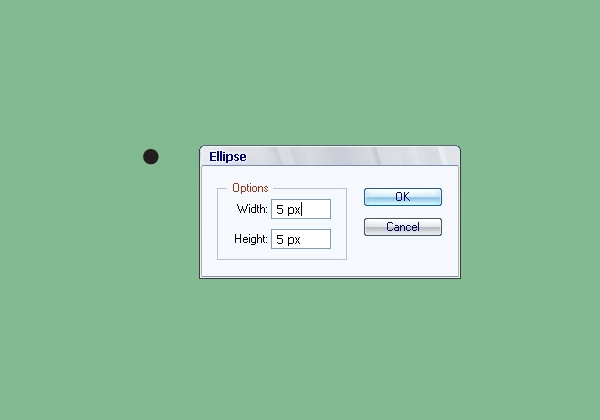
Take the Ellipse Tool (L) and left click your mouse to draw an ellipse. Set width and height 5 px.
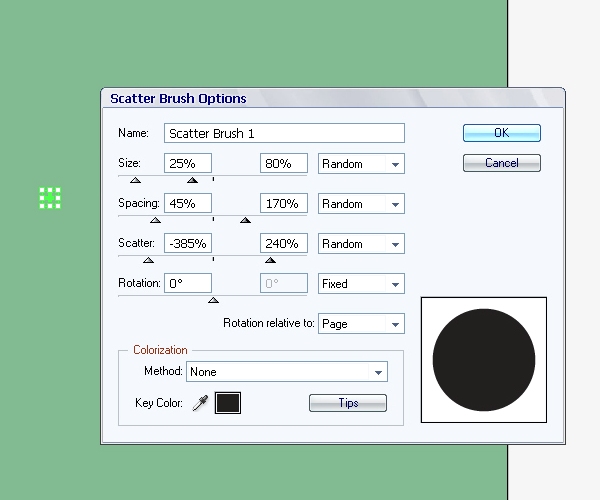
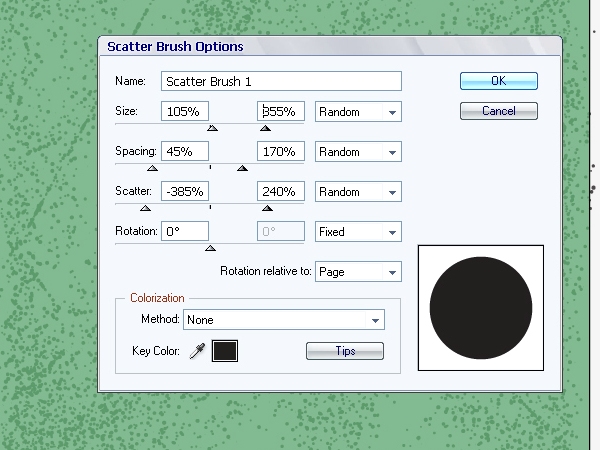
Then drag and drop this ellipse to the Brushes panel. Create a Scatter Brush. Use settings as shown in the image below.
Step 6
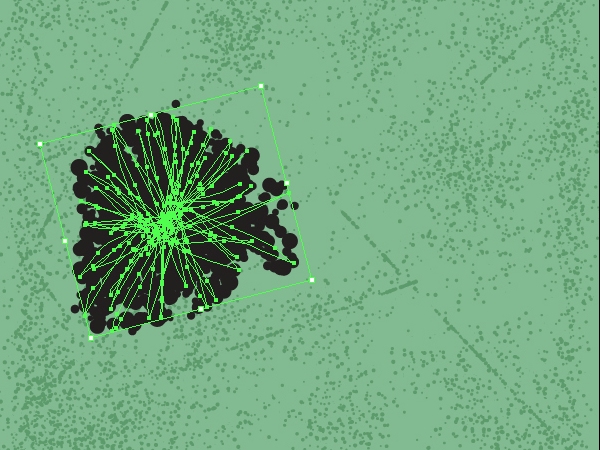
Now you should draw a path. Something like a child’s drawing. You can use the Pencil Tool (N). It is called "kalyaki-malaki" in my native Russian language. Very funny word.
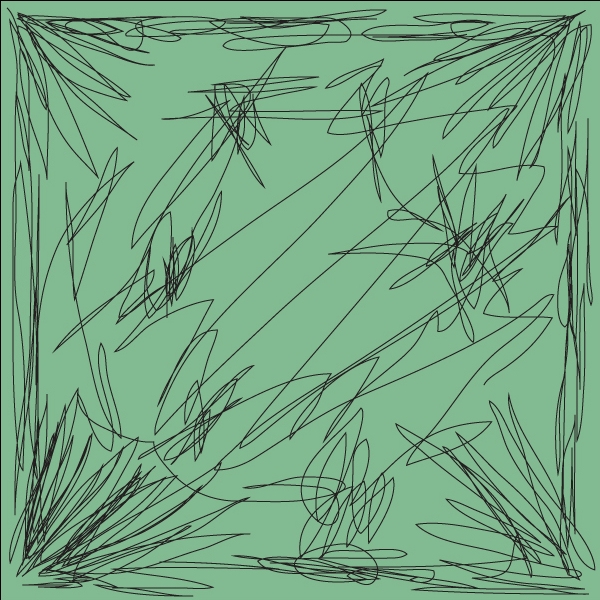
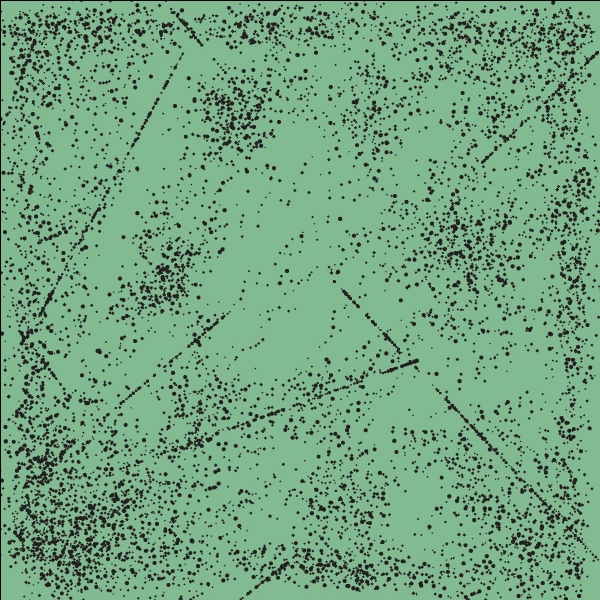
Then select this path and click to the Scatter Brush which we have created in Step 5. The result is a lot of different circles. Don’t forget go Object > Expand Appearance to transform these circles into an objects.
Step 7
Let’s add some scrapes. First of all select a small area with circles. Create a copy. Use hotkeys Command + C and Command + F.
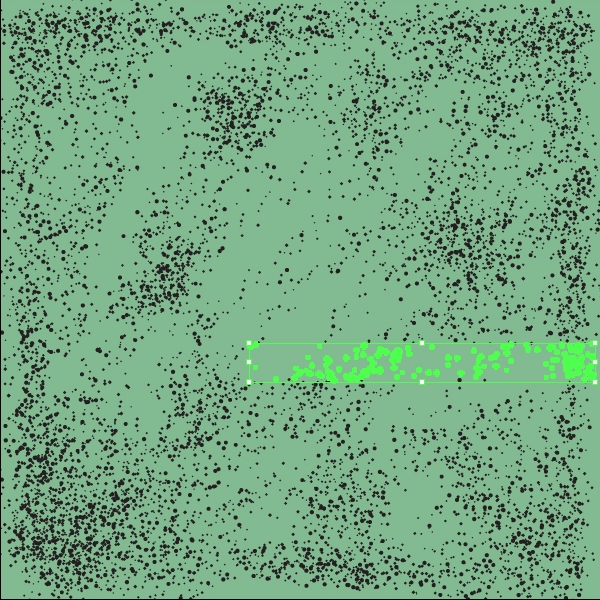
Then use Align panel to place the duplicates of circles on the same line. The result should look like a scrape.
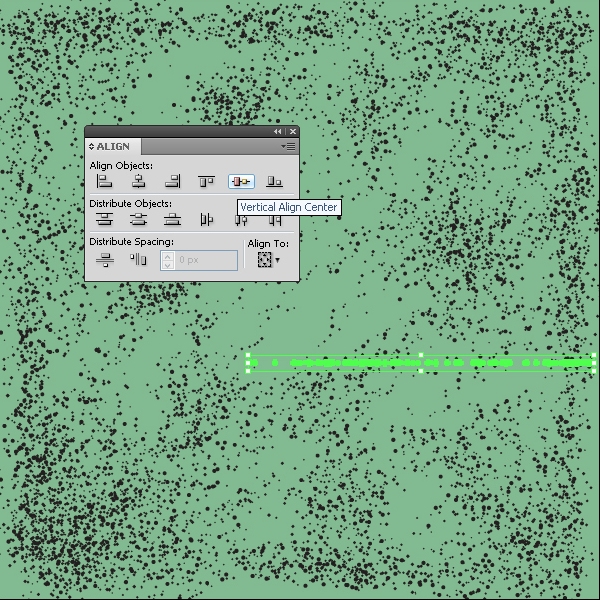
Create other scrapes using the same technique. Place them at different angles.
Step 8
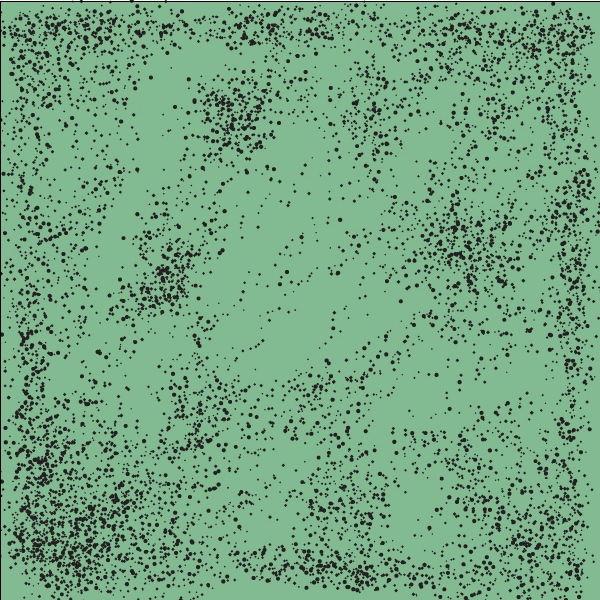
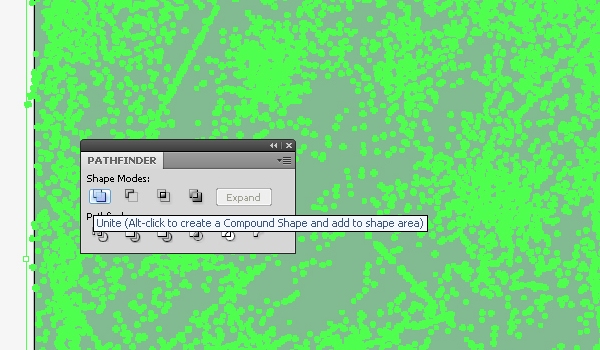
Now select all texture and go to the PathFinder panel. Use the "Unite" command to merge it into one shape.
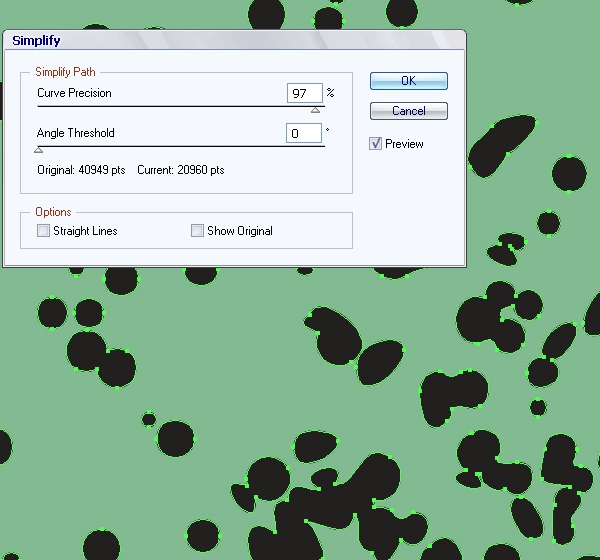
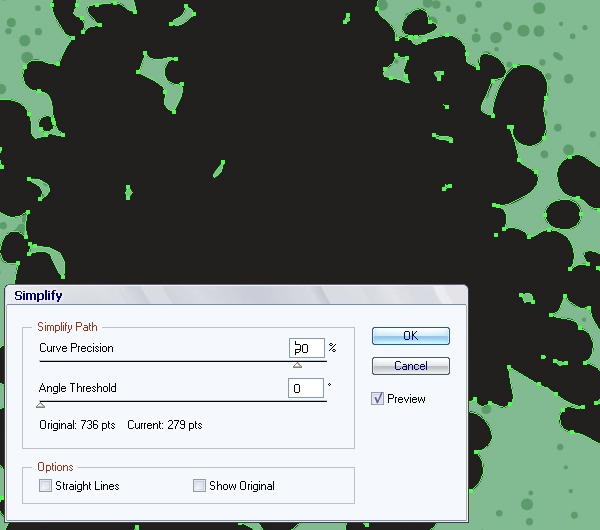
Go Object > Path > Simplify. Set properties as shown in the image below. This function adds our texture some irregularities.
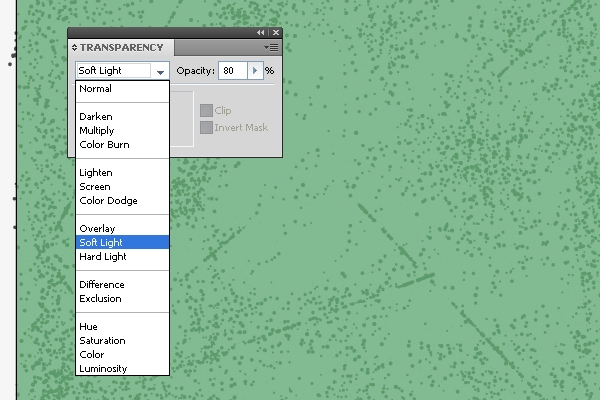
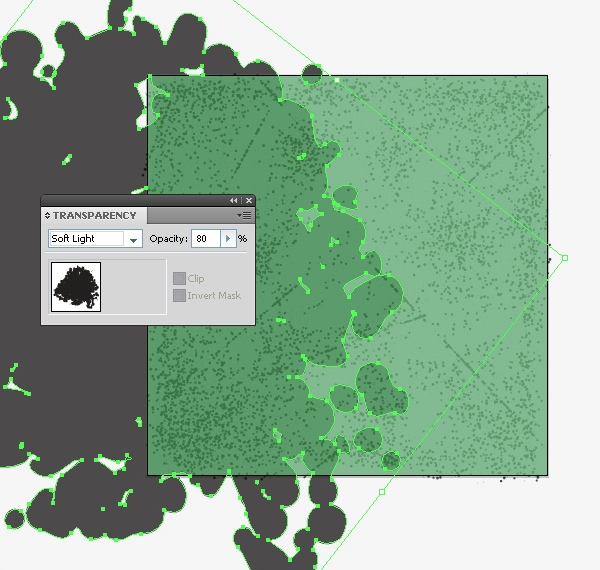
Set Soft Light mode and Opacity 80% in Transparency panel. Now it looks much better.
Step 9
Let’s create a spot. Go to the Brushes panel and change settings of our Scatter Brush. You should increase the size to make it larger.
Draw another one "kalyaki-malaki" as shown in the image below.

Then select this path and click to our Scatter Brush. The result is a spot. Don’t forget use Expand Appearance to transform this spot into an object. You should also use the “Unite” command to merge it into one shape after that.
Use the Simplify function as in Step 8.
Increase the size of the spot and set Soft Light mode and Opacity to 80% in Transparency panel. The background is completed. Use the Clipping Mask to hide redundant parts.
Step 10
Now let’s add shadows. Create another layer for it.
Take the Rectangle Tool (M) and draw a rectangle. Then fill it with the help of the Gradient as shown in the image below.
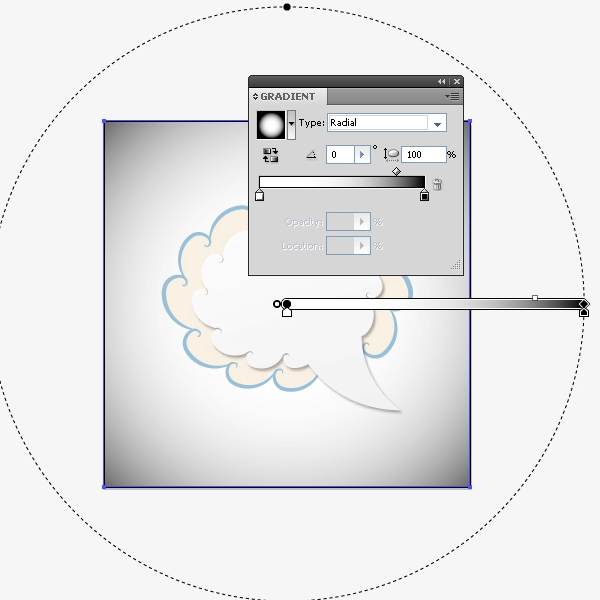
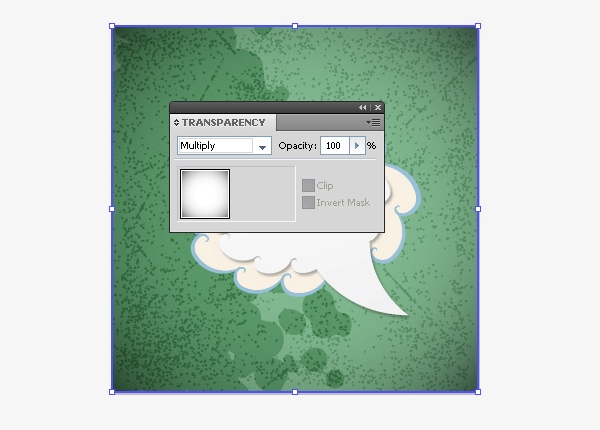
Set Multiply mode in the Transparency panel and you should get a shadow on the corners.
Step 11
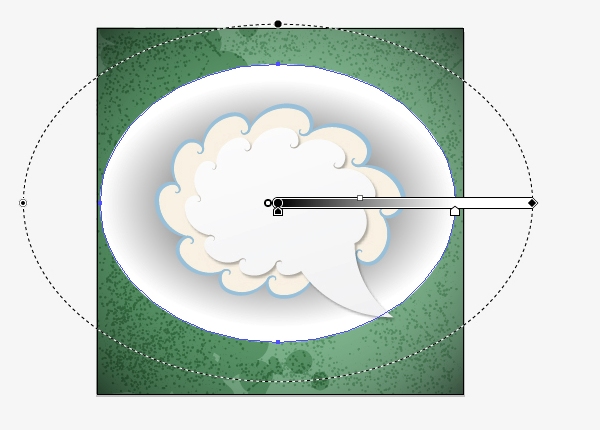
Then draw an ellipse with the Gradient. Use same technique to create second shadow.
Step 12
Finally select the speech bubble and drop another shadow. Go Effect > Stylize > Drop Shadow and set properties as shown in the image below.

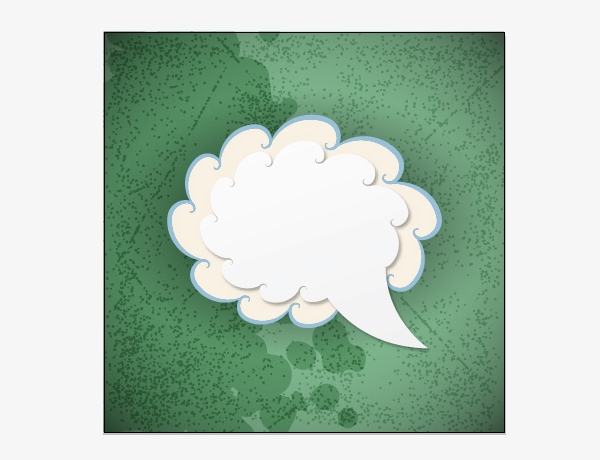
Conclusion
Now the illustration is ready.

All that remains is to add some text.

{excerpt}
Read More