When laying out a publication, consistency is key. Having the same look and feel throughout a book or magazine is essential to the viewer’s reading experience. But maintaining the same fonts, spacing, and styles in a 200-page catalog can be painstaking. Luckily stylesheets are there to save hours upon hours of work hunting down inconsistent formatting when making edits to text and graphics.
Step 1
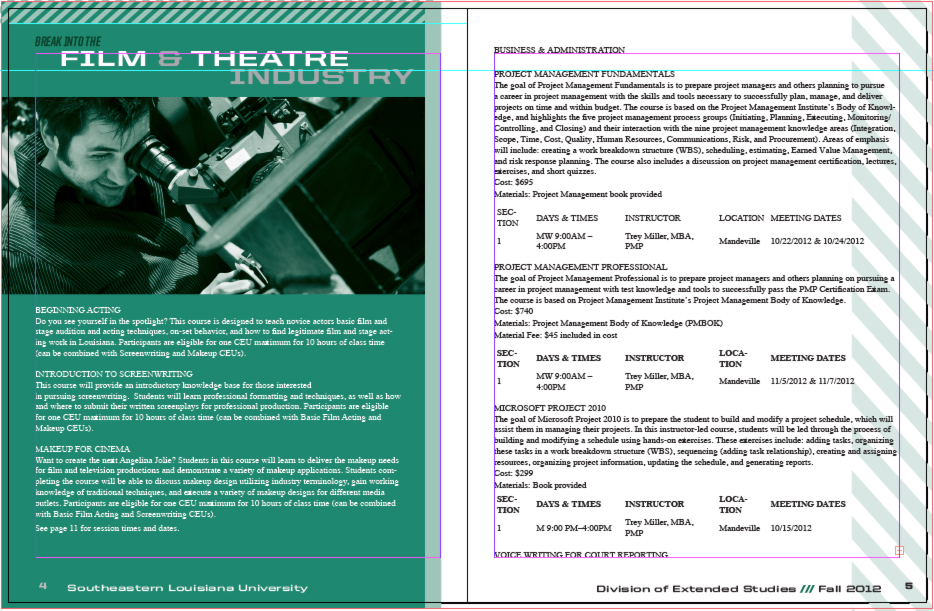
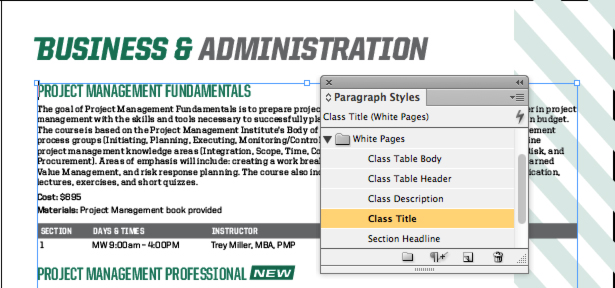
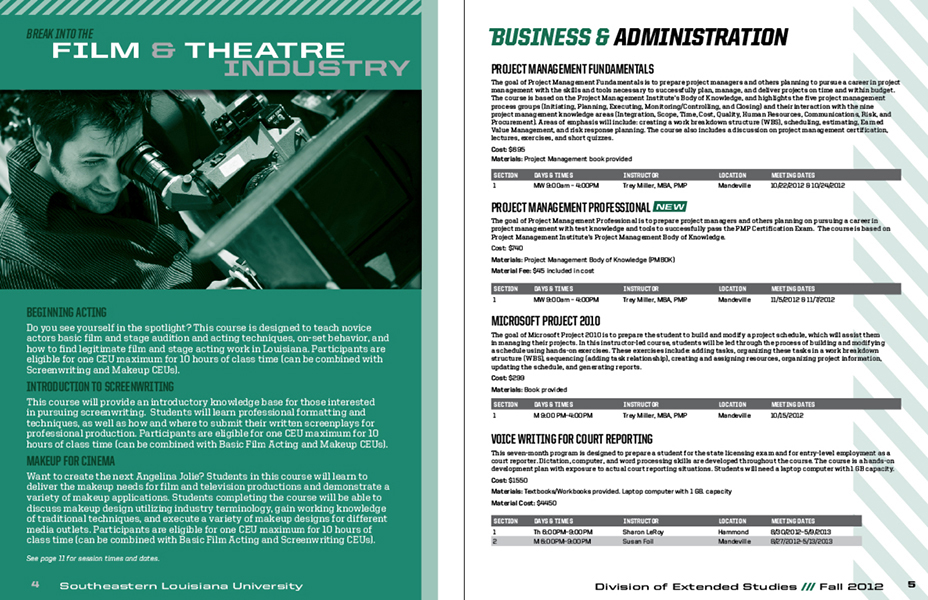
In this example, I am laying out a basic spread for a course catalog. I have set up the placement of graphic elements and have imported the raw text. Now all that remains is to format the text. The styling of this spread will act as a template for all other spreads in the document.
Step 2
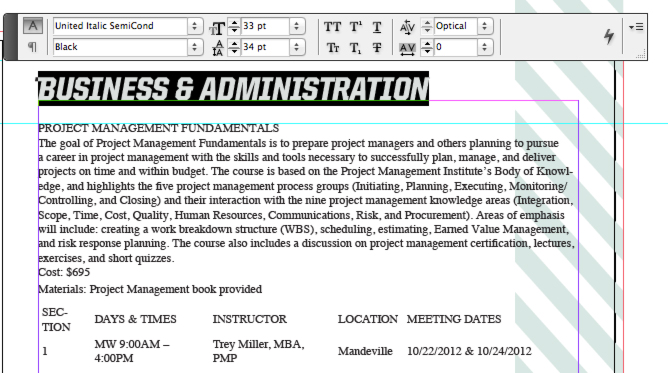
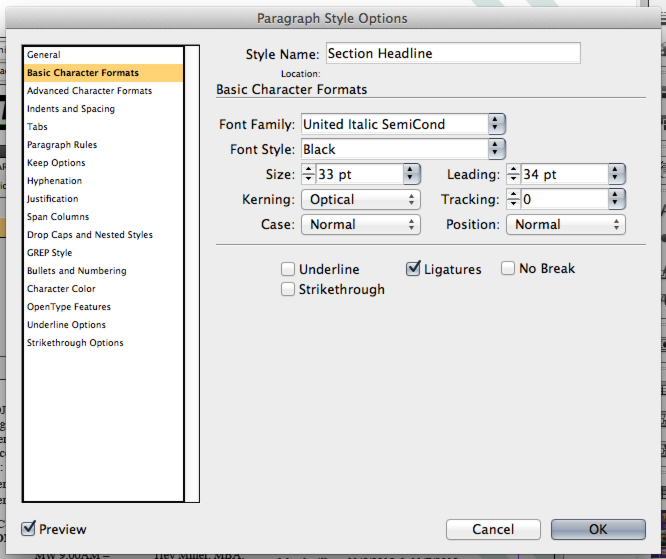
I begin by formatting the section headline by selecting the Text Tool (T), highlighting the desired text, and adjusting the font and size.
Step 3
Now to set up our first stylesheet. Make sure your cursor is placed within the headline paragraph and select Window > Styles > Paragraph Styles.
Step 4
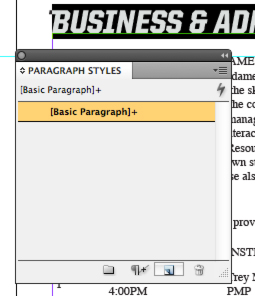
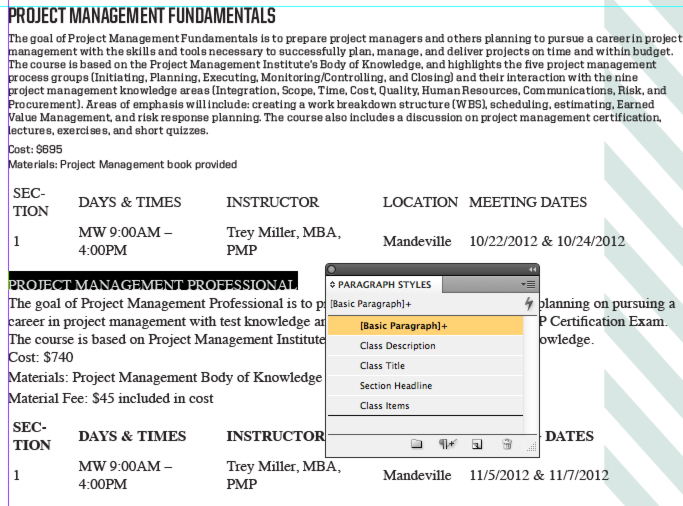
Click on the flyout menu in the Paragraph Styles palette and select New Paragraph Style.

Step 5
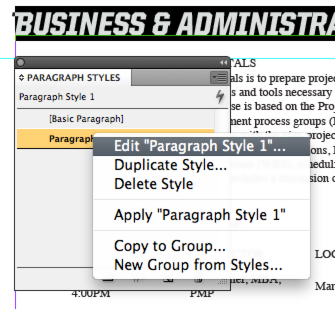
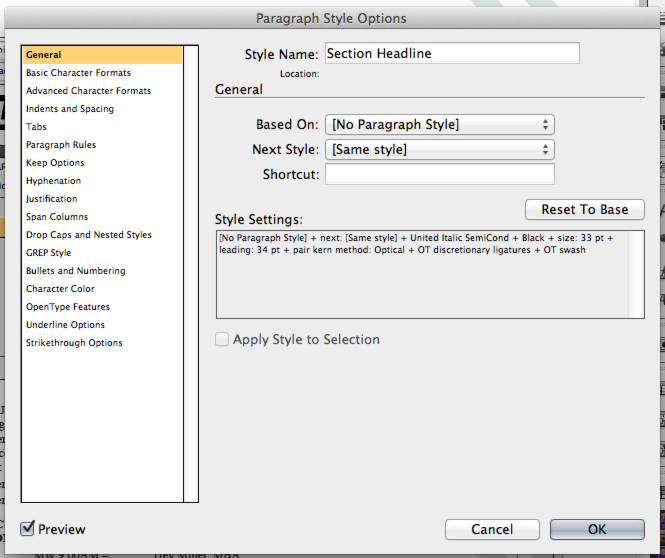
The new style should appear in the Paragraph Styles palette. Right click on it and select Edit Paragraph Style 1. In the resulting menu, you can rename the style and edit any formatting if you should decide to change anything later on. As a rule, whenever you create a new paragraph style, it is based on the selected paragraph (wherever your cursor is located.)
Step 6
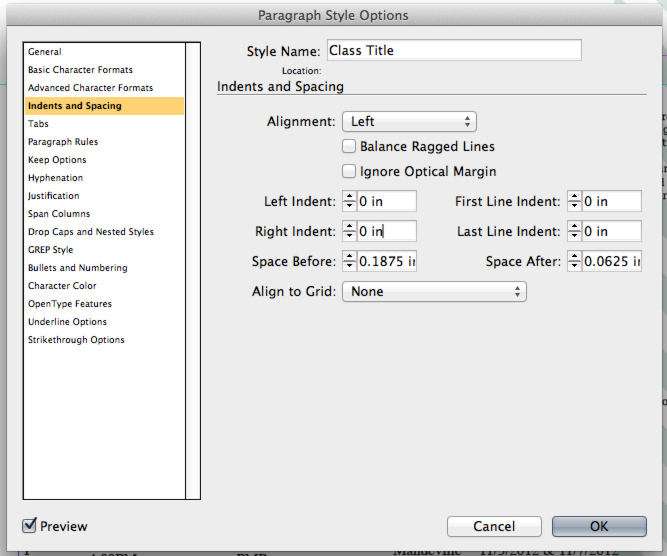
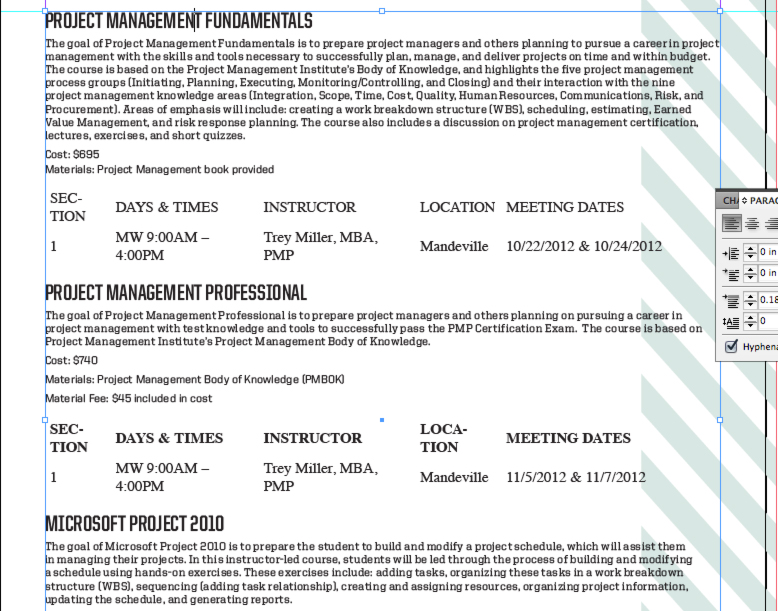
The next step is to format and create stylesheets for the other text in the paragraph structure. Here I can also decide the spacing between paragraphs by adjusting the Space Before and Space After values (located in the Paragraph Palette.) Once you are satisfied with the formatting, place the cursor in each paragraph and select the corresponding style in the Paragraph Styles palette. Doing this will "tag" the paragraph with the correct style for future document-wide editing.

Step 7
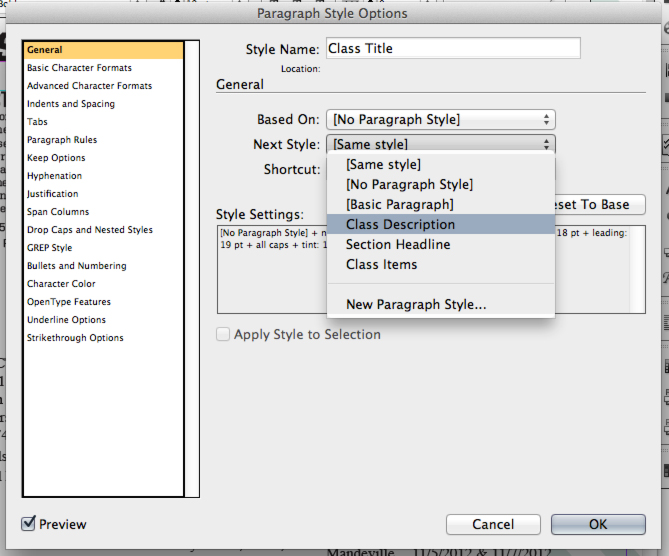
In some instances, instead of importing text, you will be typing in new content manually. Next Style is a timesaving feature that will prevent you from being bogged down by formatting and will change the Paragraph Style when you hit the Return key. For example, when I am typing in a headline and hit Return, Next Style switches to the next paragraph style automatically. This function is situational but, considering how little time it takes to set up, is totally worth it in the long run.
To set up a Next Style, right click the paragraph style you want to start with, then under General > Next Style, select the style you want to lead into.
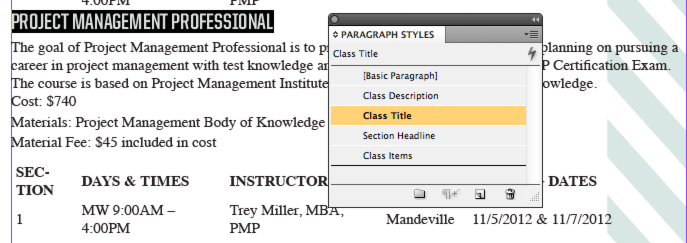
Step 8
Now to apply the Paragraph Stylesheets to the rest of the page. Simply insert the cursor into the unformatted text and select the appropriate paragraph style.
Character Styles
Character stylesheets format text on the character level — changes to a character style affect single letters and glyphs. Character styles are useful when you intend to bold or italicize certain words within the paragraph. Character Styles can also be nested within Paragraph Styles. Let’s take a look at what they can do.
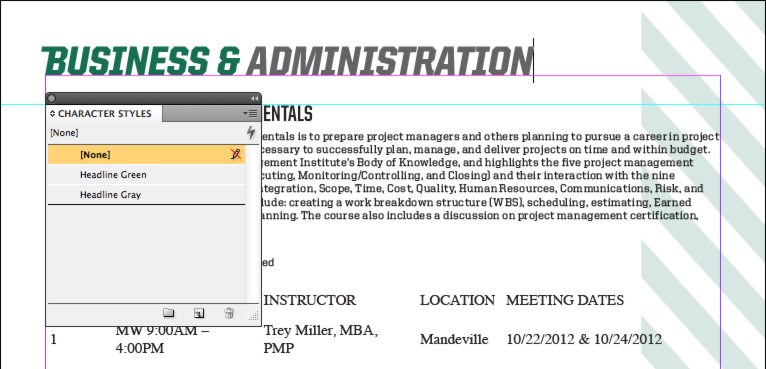
Step 9
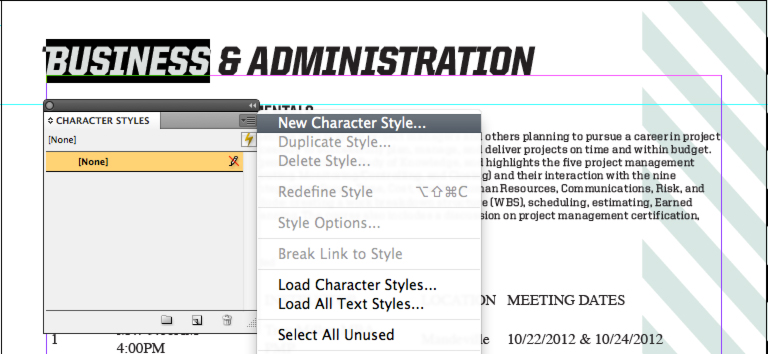
I want the section headline to be two different colors. Creating a character stylesheet is identical to creating a paragraph style. Highlight the desired text, select Window > Styles > Character Styles, and then select New Character Style in the flyout menu.
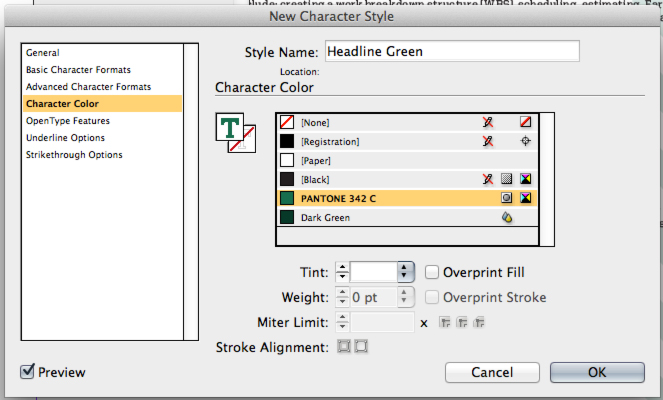
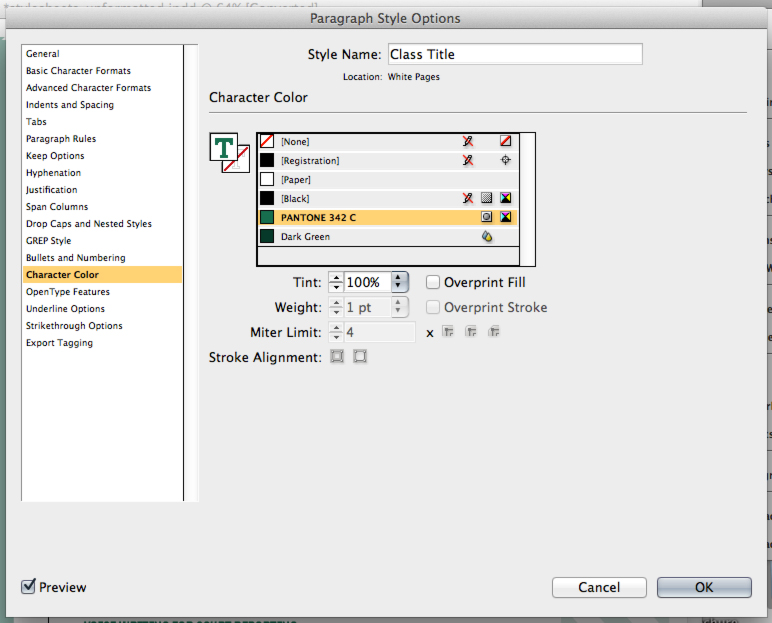
Step 10
Right click on the new character stylesheet. Much like paragraph stylesheets, you can format the text from this menu. Under Character Color, I can select a new color from the list of swatches.

Step 11
I create another stylesheet that changes the color to a tint of gray.
Step 12
Next, I want to bold the class items beneath the description. I simply create a new stylesheet and change the font weight to bold under the Character Styles palette.

Step 13
Now that we’re done with the text, let’s style those tables.
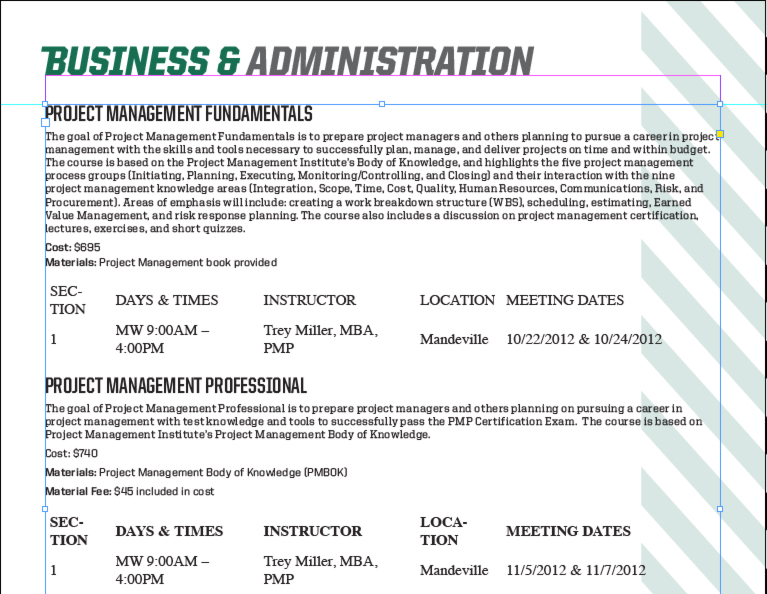
Table and Cell Styles
Table stylesheets format the appearance and cell text styles of tables and save you the hassle of reformatting every table in a document when there is a document-wide edit to the table’s design.
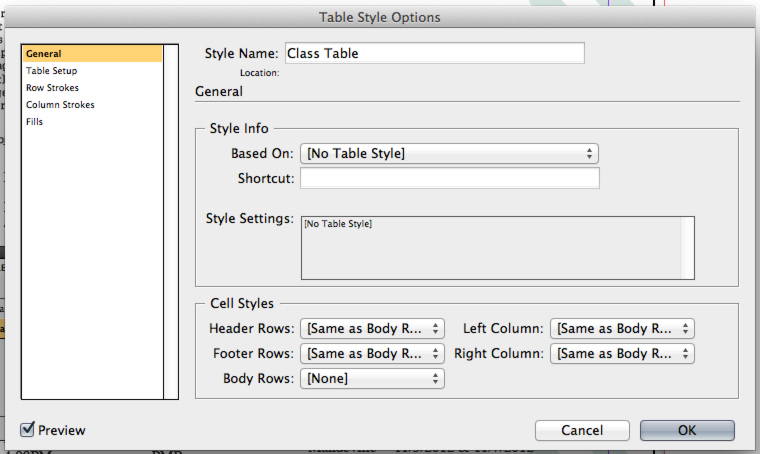
Step 14
Begin by placing the cursor inside a table, then selecting Window > Styles > Table Styles, then select Create New Style. In the Table Style Options, you can format strokes and fills that affect the entire table.
Step 15
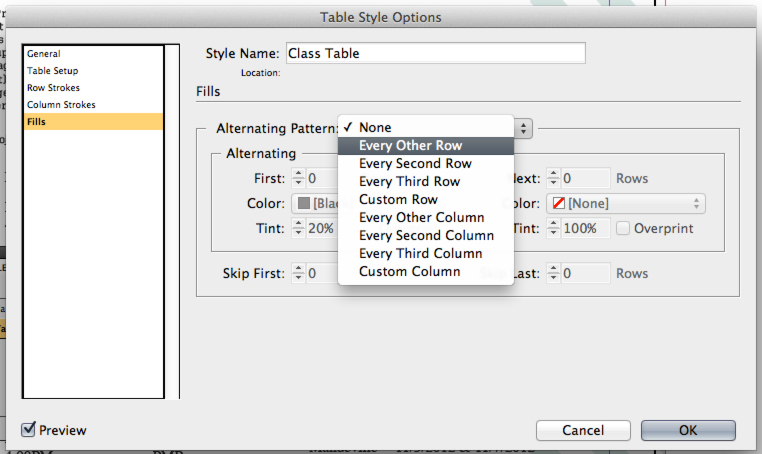
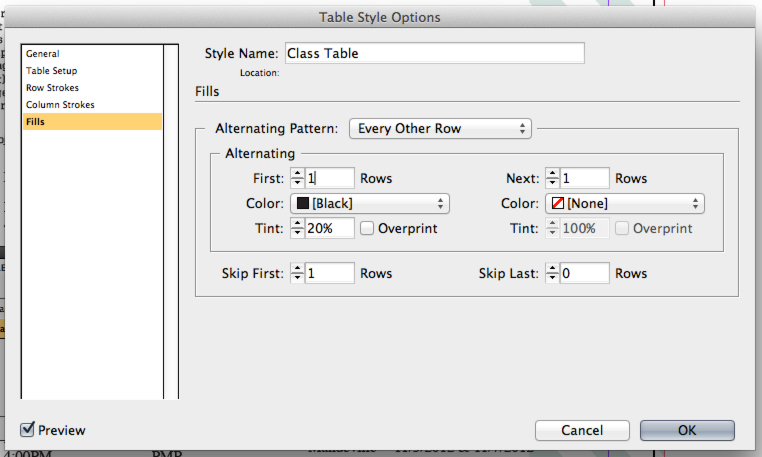
I want the rows in my table to have alternating fills in the body cells, which can be accessed under Fills. I select "Every Other Row" under Alternating Pattern and choose a 20% gray as the fill color.
Step 16
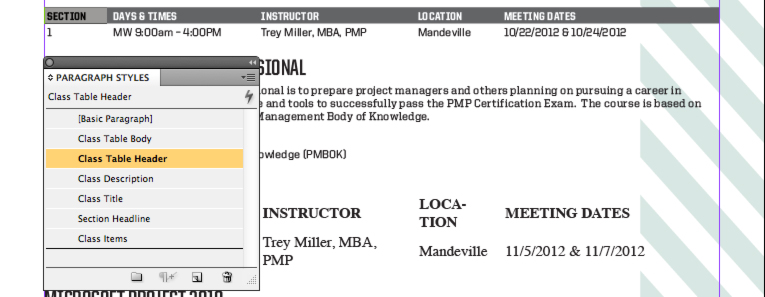
Now format the table’s text and create paragraph styles for the header rows and body rows. Also decide on the fills and strokes in your table.
Step 17
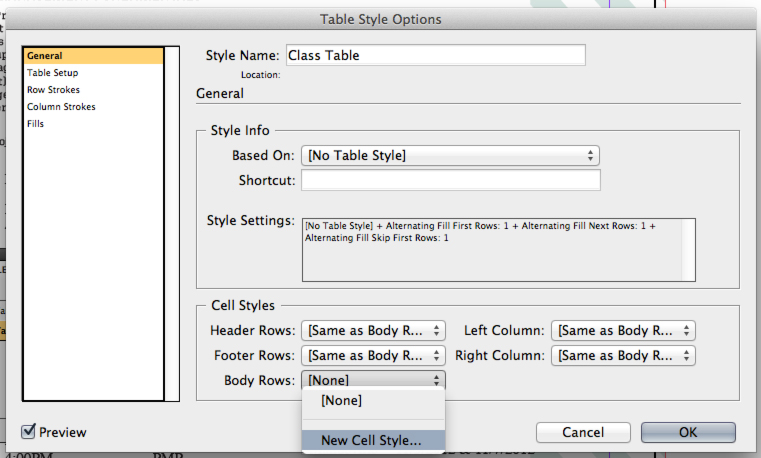
Now to apply cell stylesheets to the individual rows. Under the General menu, in the Cell Styles section, select New Cell Styles under the Body Rows drop down menu.
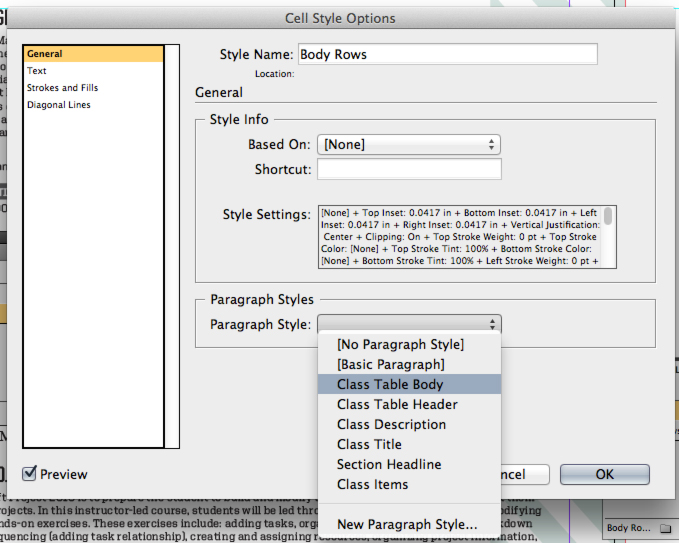
Step 18
In the Cell Style Options, select the body rows paragraph stylesheet you just created. This will attribute the text changes to the body rows.
Step 19
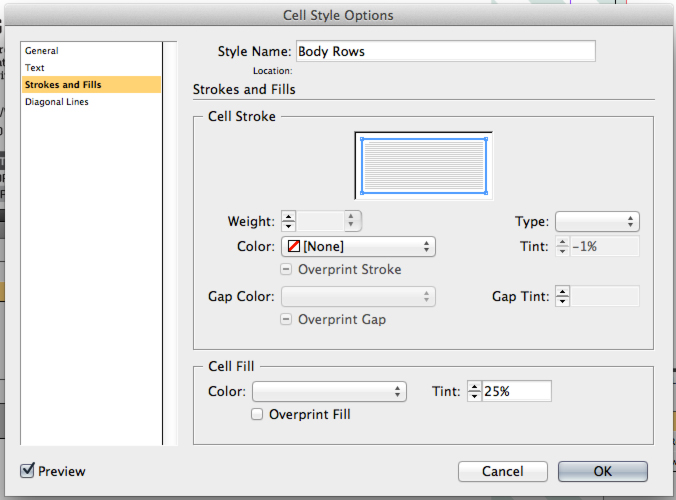
Under the Fills menu, you may notice that the fill color is blank. This means that there are multiple colors assigned to the fill — remember that the Table Style is dictating the alternating rows and is affecting the Cell Style.
Step 20
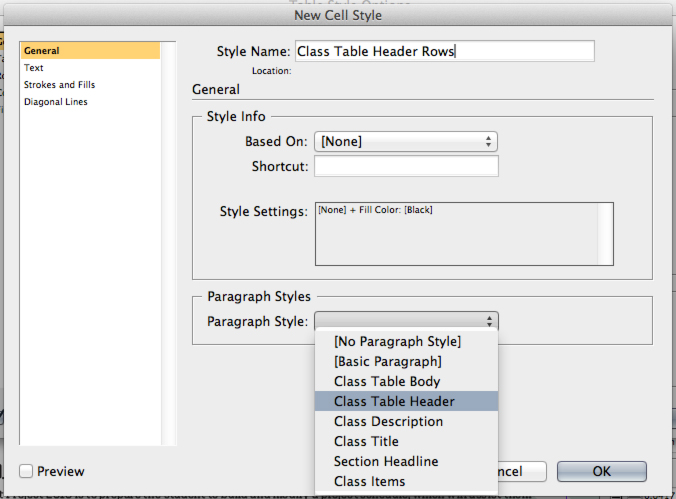
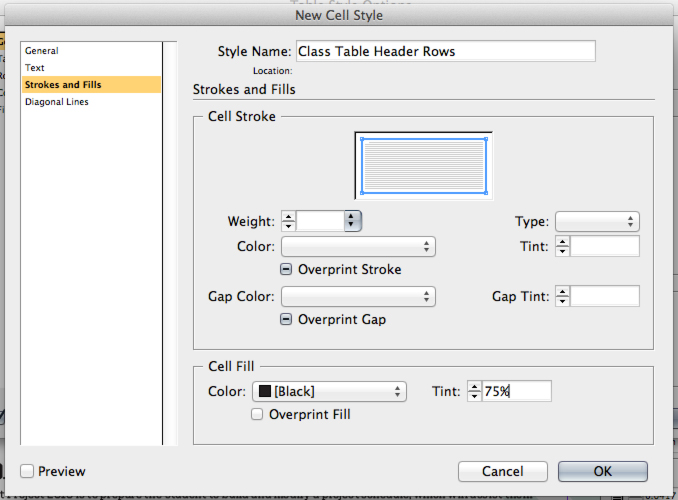
Create another Cell Style for the header rows. This time, I set the fill to a 75% gray.
Step 21
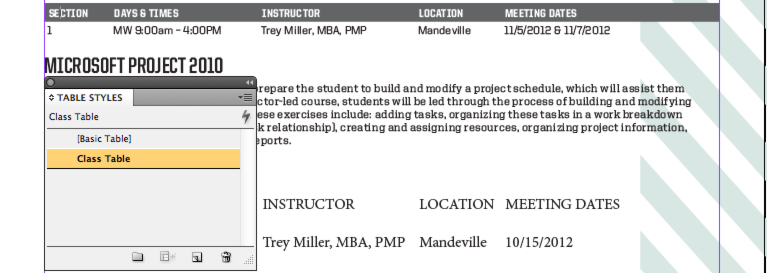
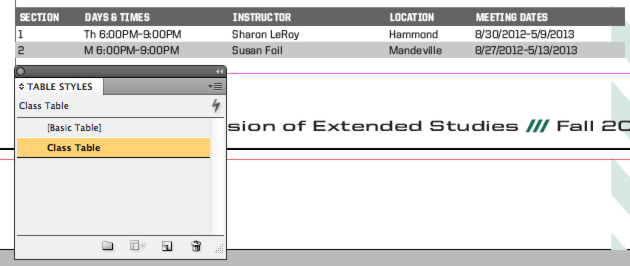
Now that all of the Table and Cell Styles are complete, let’s try them out on an unformatted table:
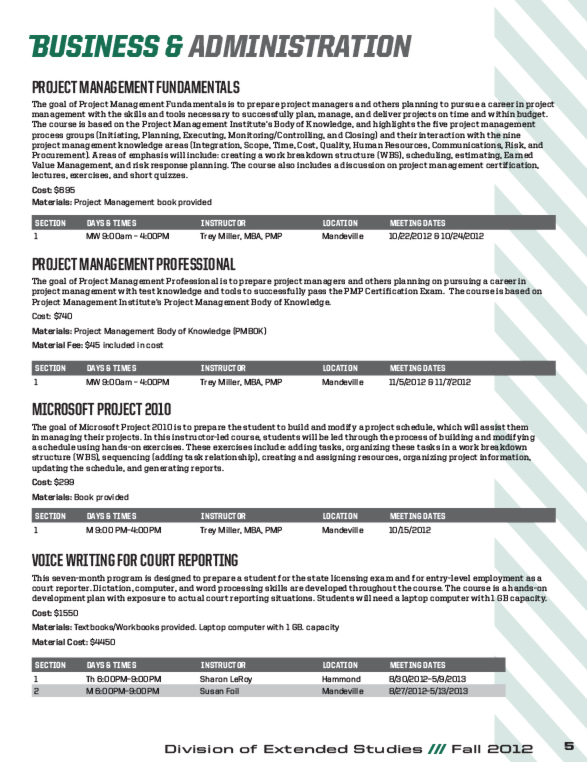
Our layout for this page is complete!
Organizing It All
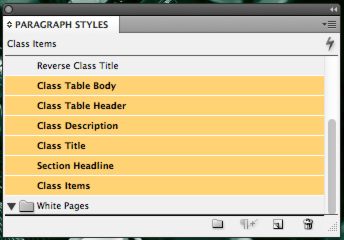
If you are creating a layout with a large amount of variation in text styles, that list of stylesheets gets pretty long. This publication ended up having over 40 Paragraph Styles in all! Instead of wading through a wall of text, InDesign allows you to organize stylesheets into groups and form an easy-to-navigate file structure.
Step 22
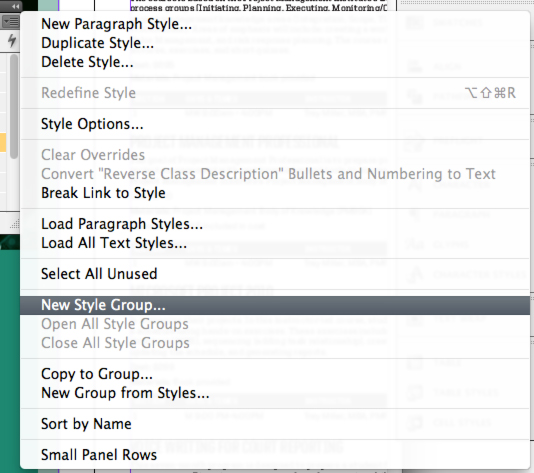
In the Style palette of your choosing, select the New Style Group in the flyout menu.

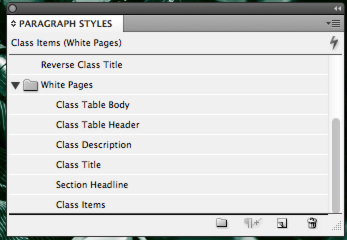
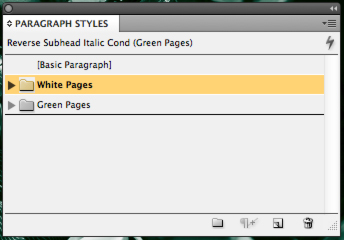
Step 23
Now select all of the styles that will be in the group and drag them into the group folder.
Object Styles
Object stylesheets format the appearance of objects — that is, shapes and frames. They allow you to control a lot of miscellaneous effects, such drop shadows, text wrap, and more.
Step 24
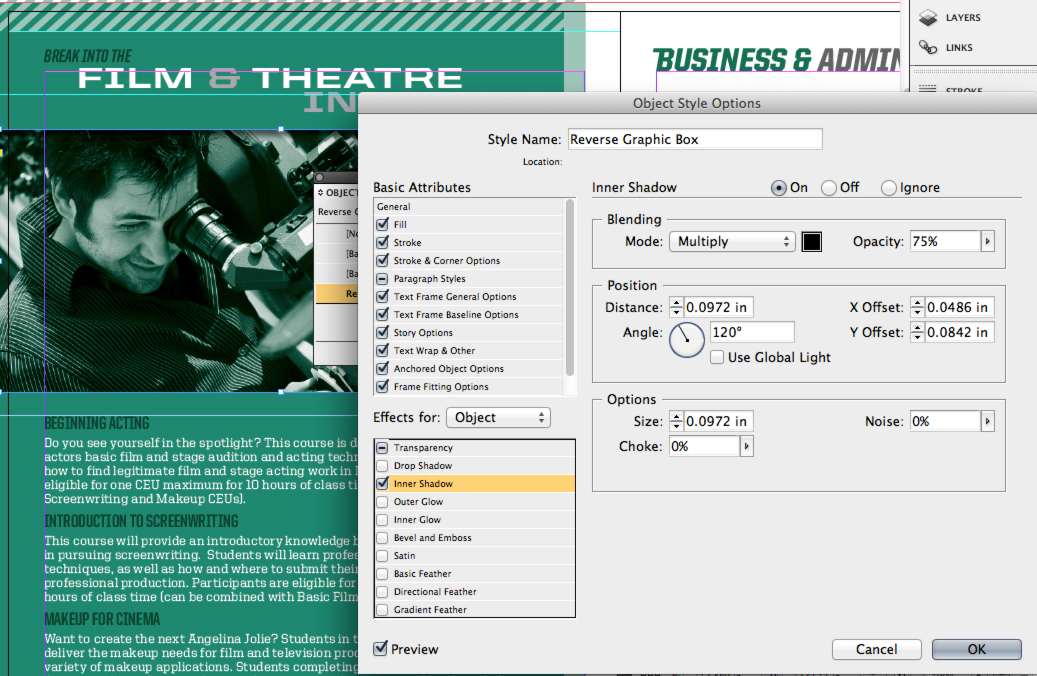
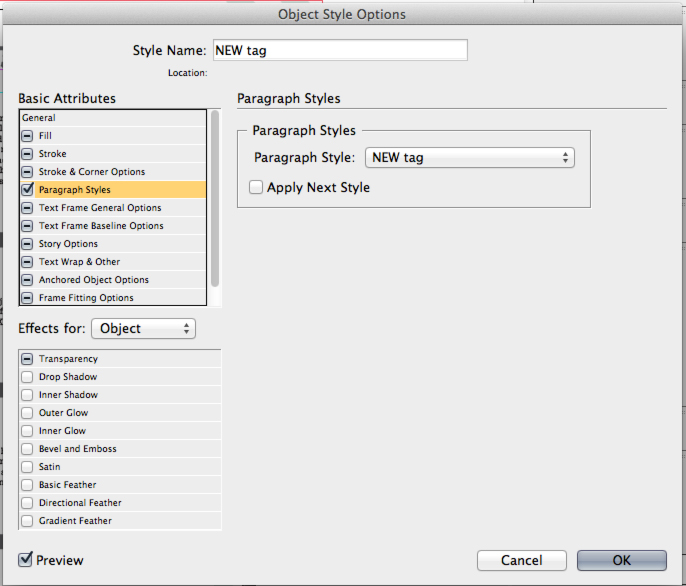
For example, I can set all the photos in my layout to have the same inner shadow and text wrap. Select the photo and select Window > Styles > Object Styles and New Object Style.

Step 25
In the Object Style Options, there are various options governing various object settings. Select Inner Shadow and adjust it as needed.
Step 26
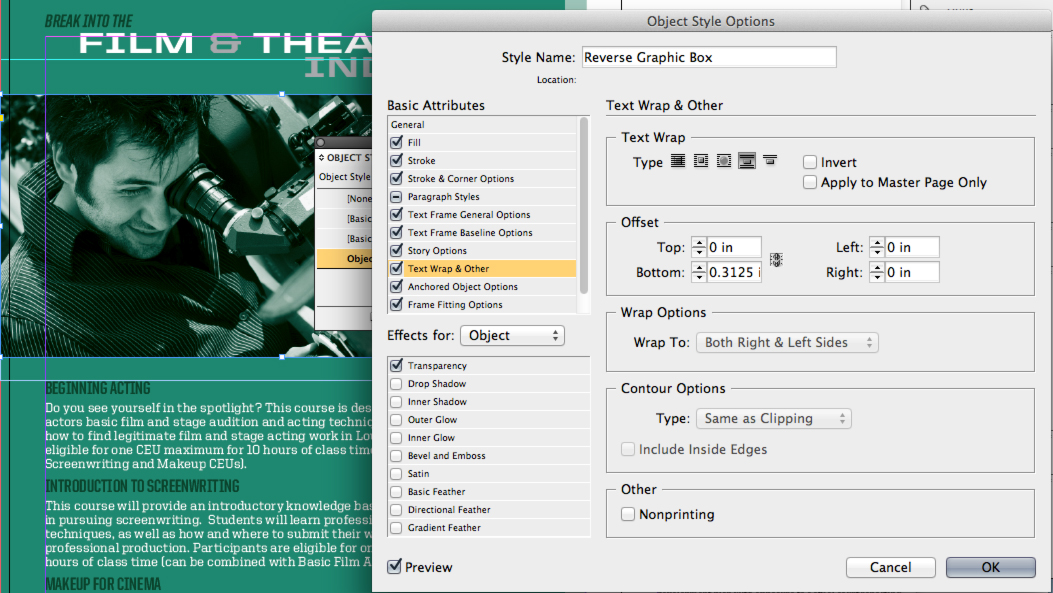
Select Text Wrap & Other. I adjust the bottom wrap to 0.3125 in.
Step 27
Now apply the Object Style to another photo and it will instantly apply the effects to the picture’s frame.

Step 28
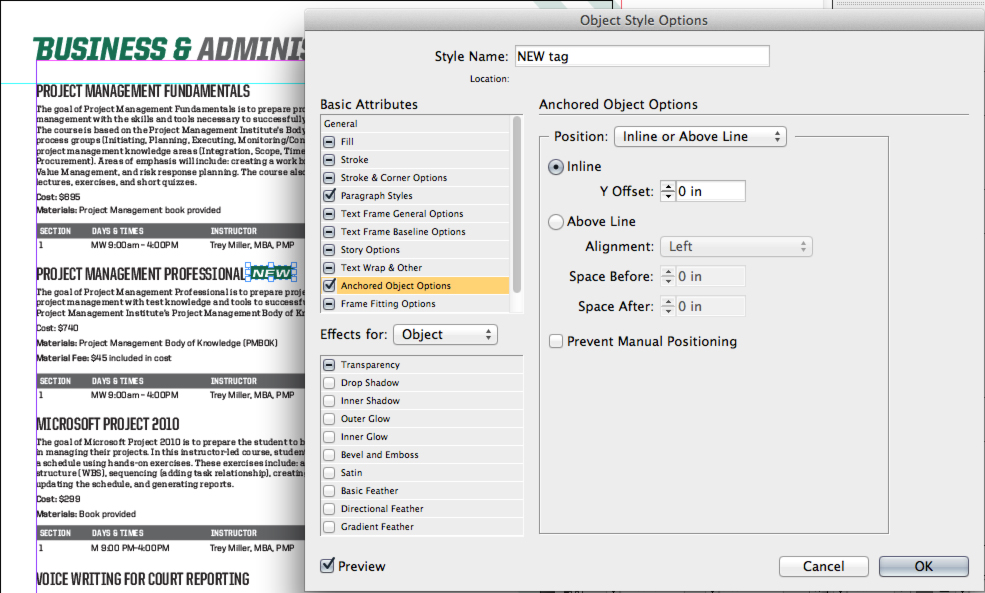
Object stylesheets also govern anchored objects. Here, I have created a small tag to append to all new courses in the catalog. I want all of them to hover slightly higher on the baseline. Create an object style, select Anchored Object options, and adjust the baseline value to shift the object up or down.
The Payoff
Now to see what all this setup has been leading up to. Imagine that it’s the eleventh hour and the client wants every header in the document changed to green. Luckily, you’ve set up all of those headers under a paragraph stylesheet and can make this change in a few seconds.
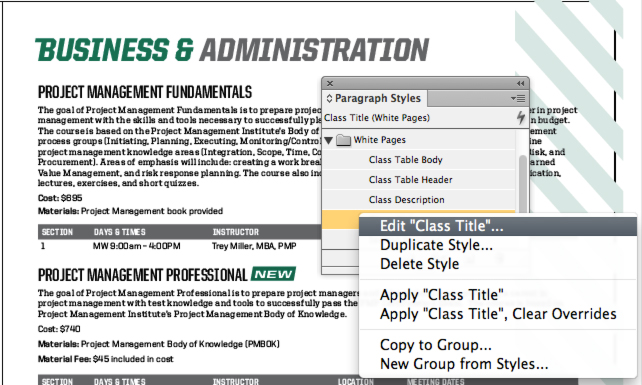
Step 29
Right click on the appropriate paragraph stylesheet and select Edit. Now change the character color to green. Voila, every instance in the document is changed!
Loading stylesheets to other documents is also a relatively simple task that can really generate consistency across different files.
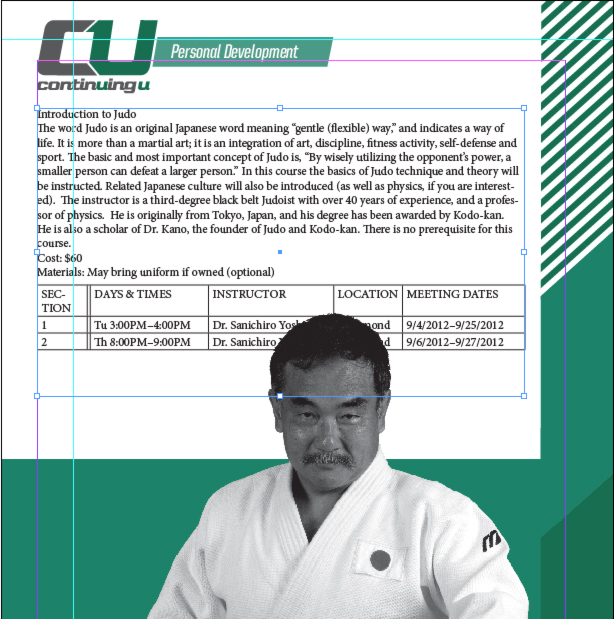
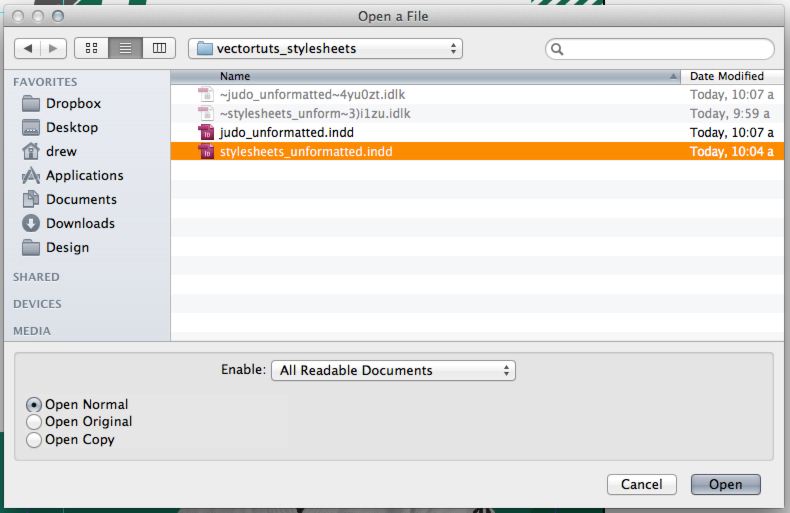
Step 30
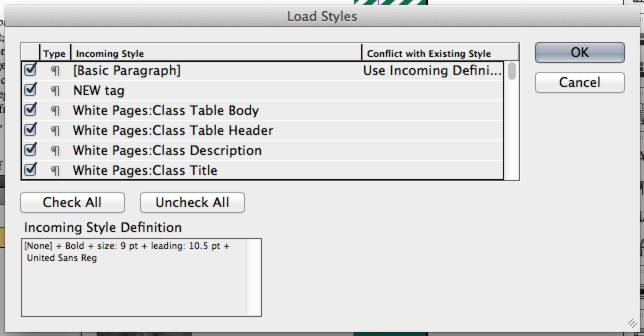
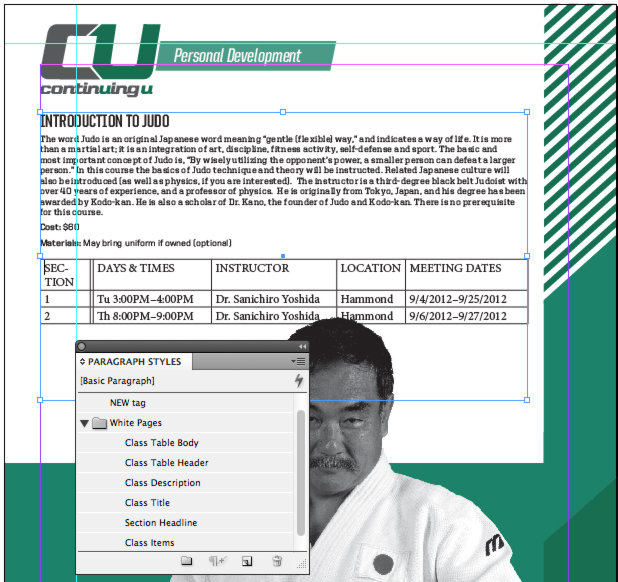
For instance, here is a flyer I’ve made for an individual course from the catalog. I have the unformatted text dropped in and am ready to set up the stylesheets. Under Paragraph Styles – or Character Styles – select Load All Text Styles from the flyout menu. This will import all Paragraph and Text Styles from a source document. I select the catalog file, and another menu with all of the stylesheets shows up. You can pick and choose which ones you want to use in the new document by checking off the boxes.

Step 31
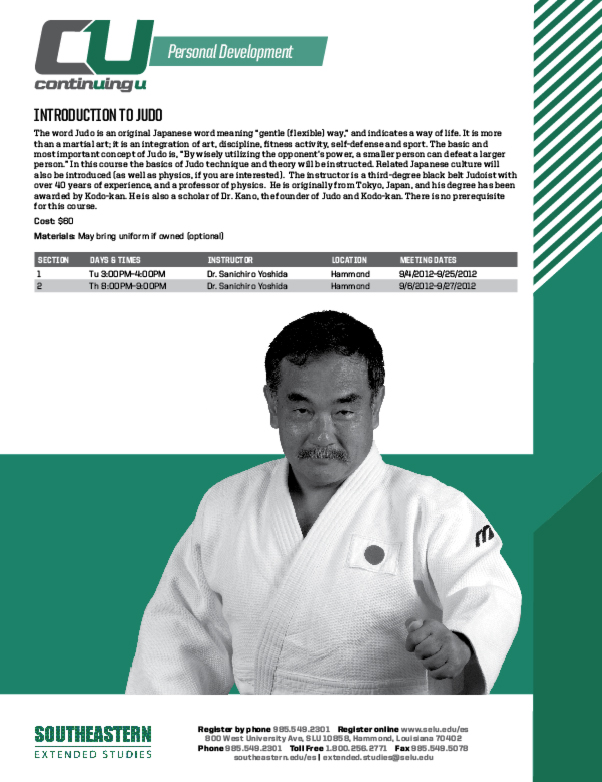
Now just apply the stylesheets to your text.
Step 32
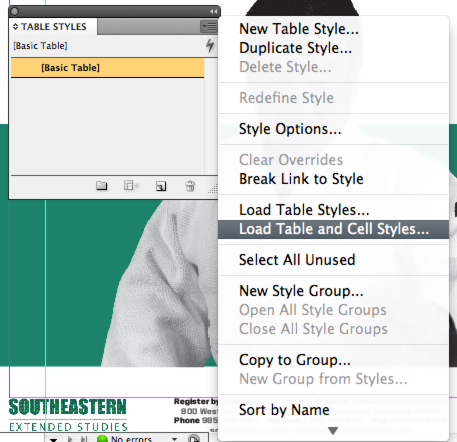
Importing Table Styles is much the same as Text Styles. Select Load Table and Cell Styles from the Table Styles palette’s flyout menu. Apply the Table Style and you are done!
Troubleshooting Stylesheets
One of the biggest problems that crops up in messing around with stylesheets is the possibility that, somewhere along the way, one style overrides the other, producing a cascade of seemingly random formatting. To fix these hiccups, you simply need to understand how overrides work.
Whenever a stylesheet is applied to text or objects, and is then changed, the style is overridden – indicated by a plus (+) symbol after the style’s name. Once overridden, the style is no longer governing the changed format.
For example, if you change the text of one headline to green, the the stylesheet telling it it should be black no longer applies, and editing the stylesheet directly will not change it back.
To remove an override, click on the Clear Overrides in Selection button (located on the bottom of every style palette) and the text will revert back to the stylesheet’s formatting.
Also remember that Character Styles trump Paragraph Styles and Cell Styles trump Table Styles. If your table is doing something weird, there’s a good chance that the Cell Style is responsible.
Conclusion
This is only the beginning of using stylesheets; the possible combinations are endless. If you have been using stylesheets already, please let us know about your experiences in the comments.
{excerpt}
Read More