This tutorial covers a technique to create a microfilm machine look step by step. It start by searching for and analyzing references, then continues onto collecting source materials, animating the different attributes and giving the composition a final polished look. This can be useful as a motion graphics style or for rendering the contents for screen replacements in film or TV.
Premium Tut Preview
This is a Premium Tutorial. To view you must Join Premium.
Tutorial Sneak Peek
Step 1
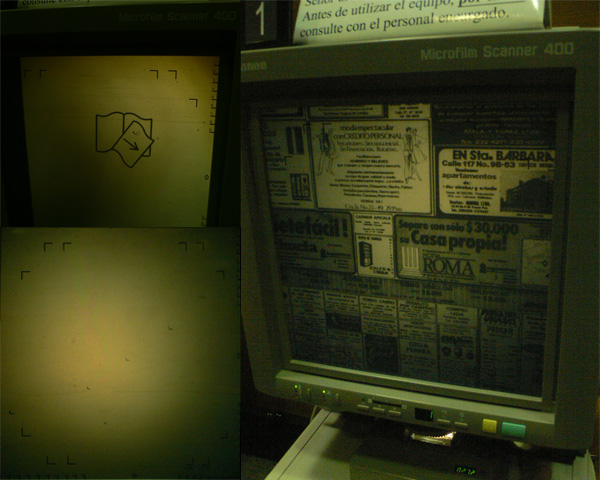
The first thing you do for a project like this is to seek for reference on what the microfilm machine‘s screen looks like. I went to the closest library and took some pictures of the microfilm machines. This way you can start to think about the different features that compose the "look" of this screen.
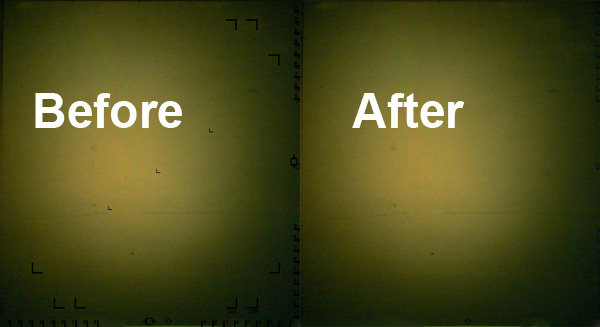
With the references you can clearly see a yellowish cast on everything, a strong, yet uneven vignetting effect with a reddish tone in the upper right side, going to a greenish tone on the other corners. For the texture, there is a lot of dust, grain, small hairs and leftovers of scotch tape and paste.
Step 2
Next, let‘s search for references on how the machine moves. Here I‘ve got a little reference video on how the machine works; There manual control over the x/y axis relative to the image and the rotation in the center of the screen. There is also manual control over the focus. The zoom is mechanical and it multiplies the movement inputted. finally there is a scroll control which quickly goes through the microfilm roll.
Step 3
Now start in photoshop. Create a clean plate of the background by cloning and healing one of the reference pictures. You can find the reference file "ReferenceScreen.jpg" in the elements folder.
Step 4
After that, rebuild the different overlay elements, the grids and the numbers by using the tools of your preference. Now we have separated layers for the background and overlays of the Machine‘s screen. You can find the finished photoshop file "screen.psd" in the elements folder. Make sure you end up with a photoshop file with just the overlay and background layers and name them that way.

To continue this tutorial, you must log-in to the Tuts+ Dashboard with your username and password, you can immediately access your all Premium Content. Navigate to Ae Premium via ‘Premium Categories’ in the sidebar. You’ll be able to grab the tutorial videos, project files and assets in the members’ area.