In this tutorial we will learn how to create a speech bubble icon using the Shape Builder Tool and the Pen Tool. We will use only grayscale colors and different blending modes for quick coloring. This method of coloring lets us to work very quickly and re-color all the artwork in a couple of seconds. Let’s start!
Step 1
Take the Ellipse Tool (L) and create an ellipse with a grey fill with a slight mixture of yellow.
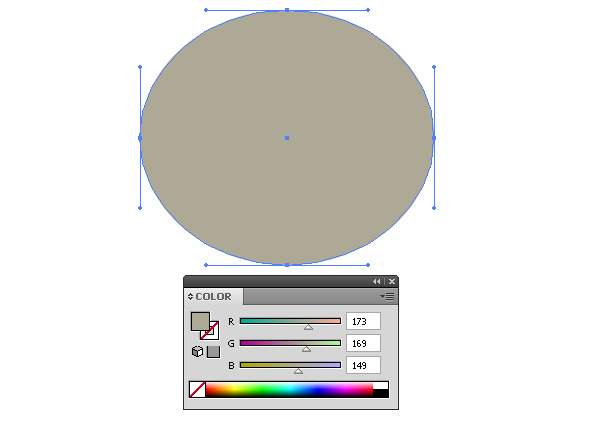
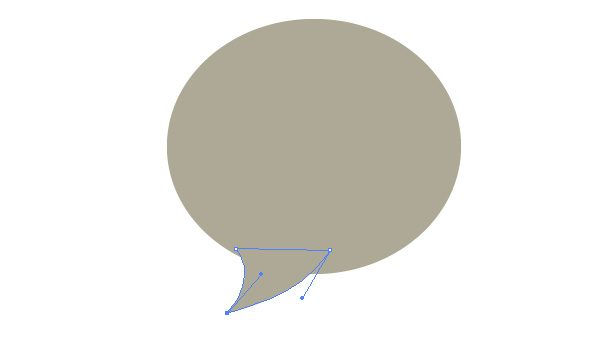
To tell the truth, the color isn’t very important yet, because we can adjust the bubble’s color after the creation of all of its elements. Now take the Pen Tool (P) and create a tail of the speech bubble.
Step 2
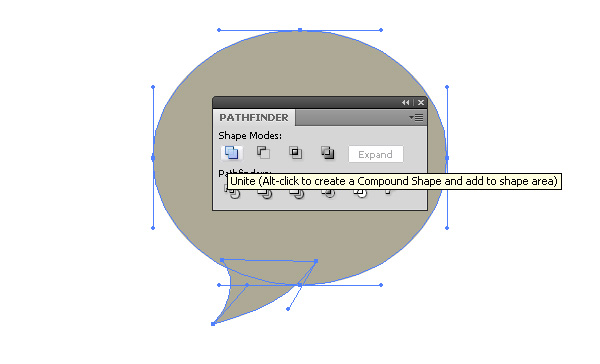
Select the created forms and click on "Unite" in the Pathfinder panel.
Copy and paste the form to its front (Command + C then Command + F). Fill the new object with a radial gradient which consists of white, black and gray colors.
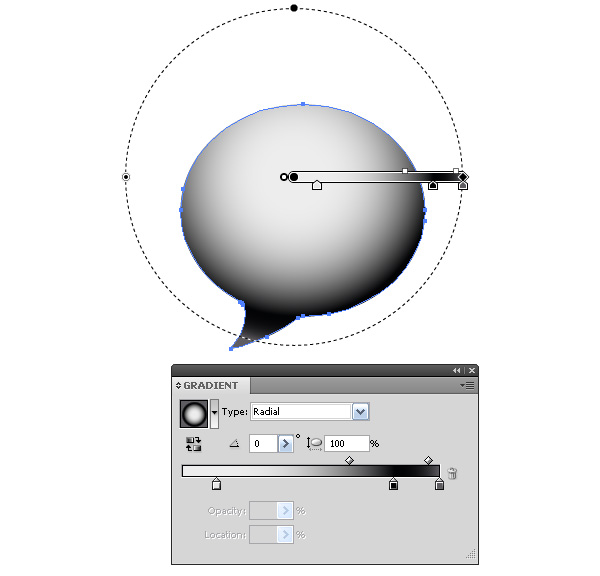
So we have created the light and shade on the surface of the speech bubble.
Step 3
Apply the Screen blending mode to the upper object.
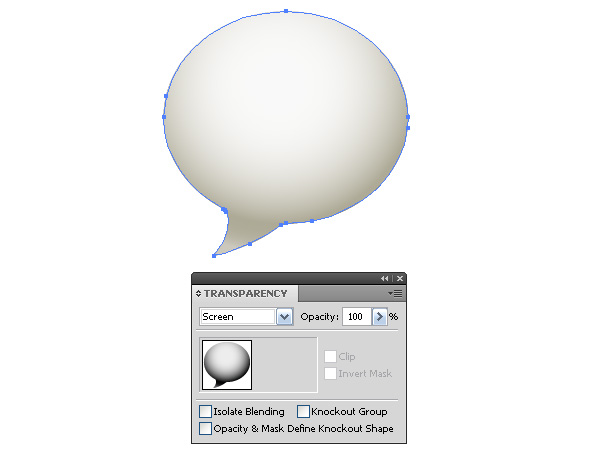
This allows coloring the shades of light into shades of the lower form. Now with the Pen Tool (P) create the forms of a glare.
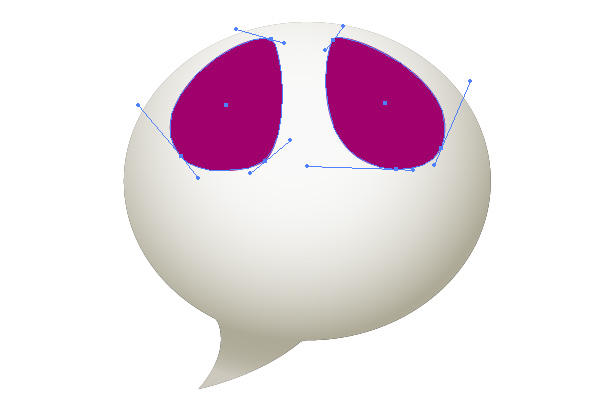
Step 4
Select the forms of the glares and fill them with a radiant gradient from black to light grey color. To control the position and the length of the gradient use the Gradient Tool (G).
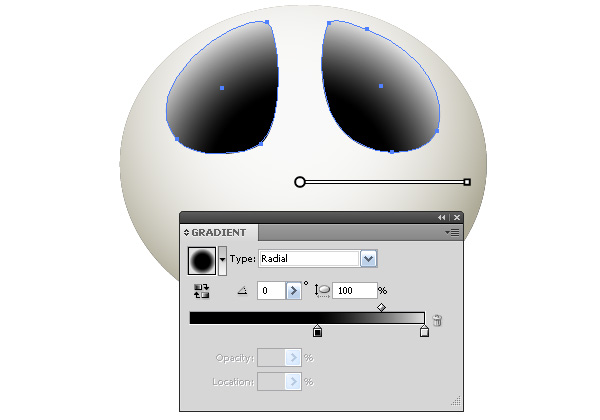
Apply the Screen blending mode to the forms.
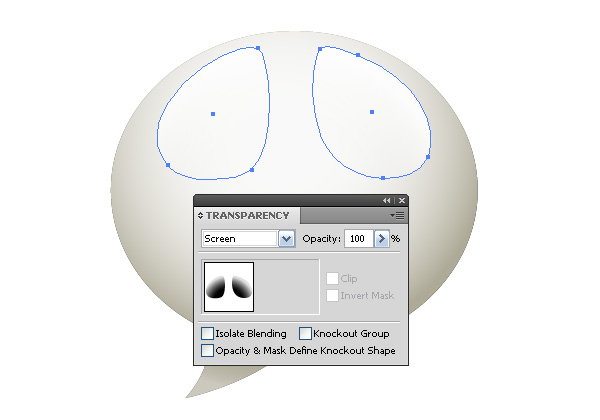
Step 5
Create shapes of glares on the lateral surface of bubble with the Pen Tool (P). Fill these objects with the grey color.
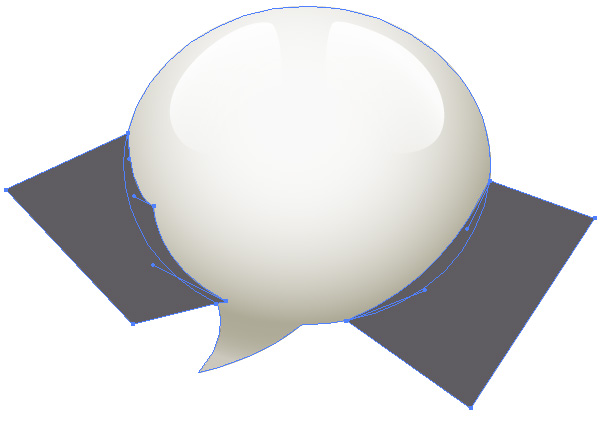
Select the bubble shape and glare forms on the side surface, then take the Shape Builder Tool, hold down the Option key and click on the parts of the glare which go beyond the form of a bubble.
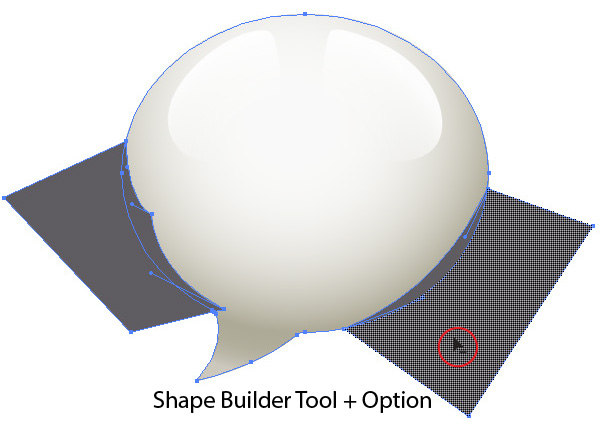
This action leads to the removal of these parts of the glare.
Step 6
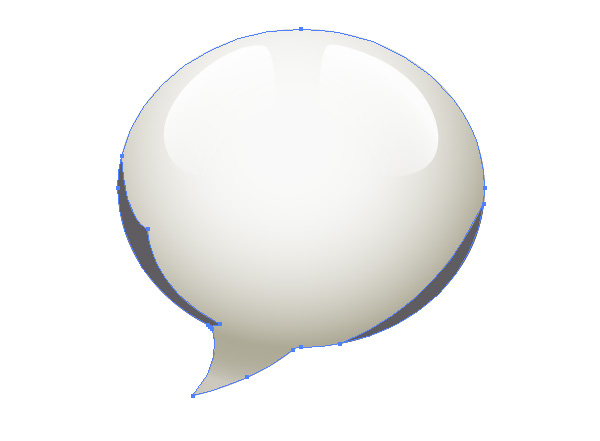
Apply the Screen blending mode to the derived objects.

Create the form of the shade in the lower part of the bubble.
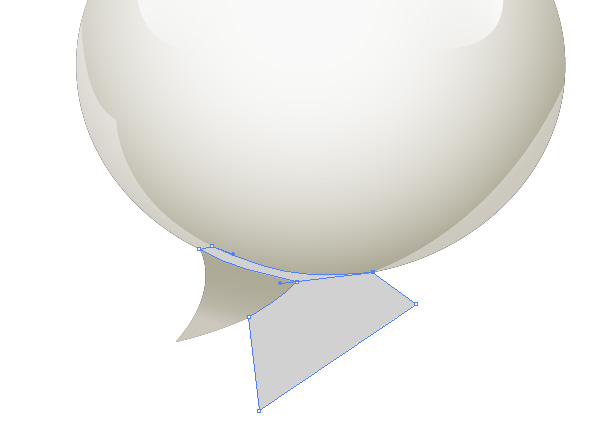
With the Shape Builder Tool delete the parts of this form, which go beyond the form of the bubble, just as we did it in the previous step.
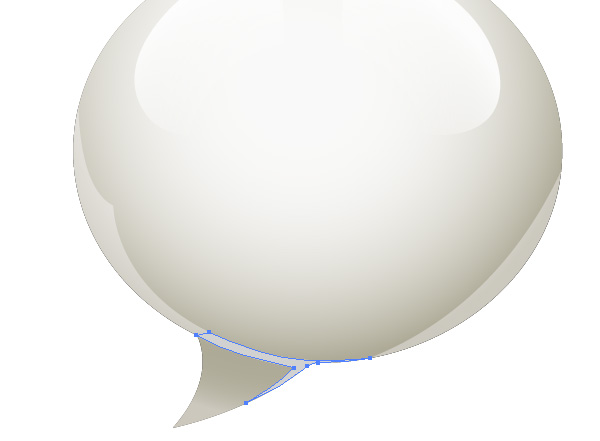
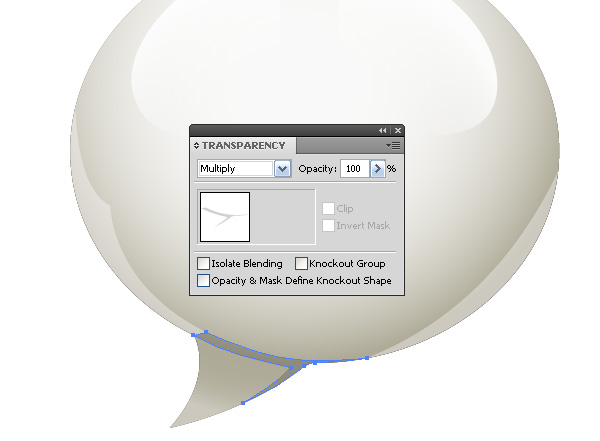
Apply the Multiply blending mode to the derived form.
Step 7
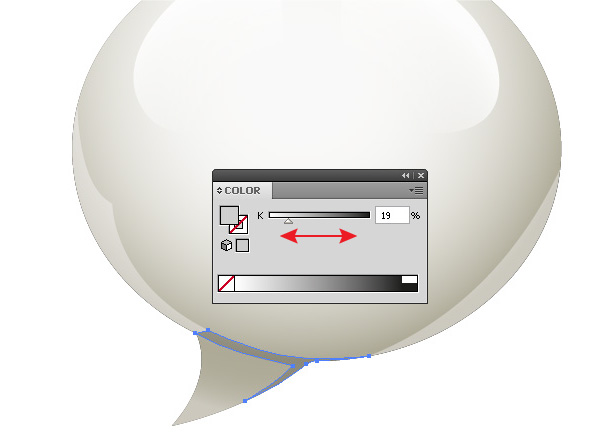
Why did I use a particular blending mode? It is very easy, my friends. When you create the glares, use the Screen blending mode. If you work with shades, apply the Multiply blending mode. To control the intensity of the glare or of the shade you simply need to adjust the grey color in the Color panel.
Step 8
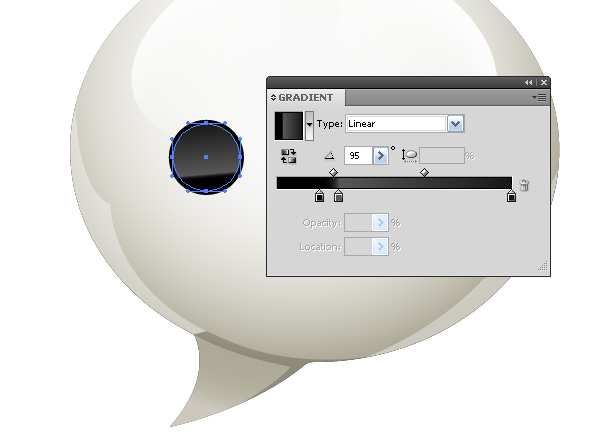
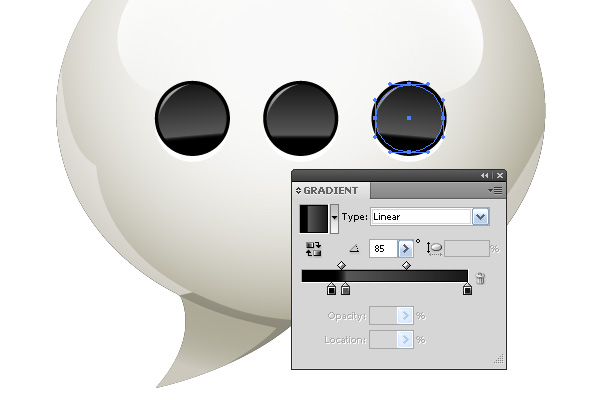
Now let’s create an ellipsis on the bubble. Take the Ellipse Tool (L) and create a circle with the black fill.

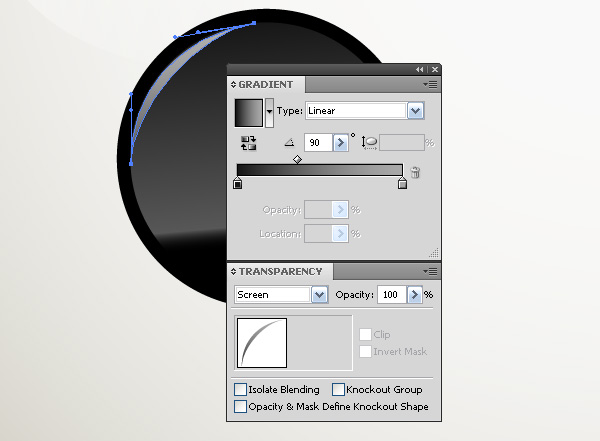
Copy this circle and paste it front (Command + C then Command + F). Reduce the diameter of the upper circle to 2-3 px. You can do it in the Transform panel or in the Control panel. Fill this circle with the linear gradient, which consists of black and grey color. Set an angle of 95 degrees to this gradient in the Gradient panel.
Step 9
With the Pen Tool (P) create the form of the glare in the upper part of the circle. Fill the glare with the linear gradient from black to grey color, apply the Screen blending mode.
Copy the lower circle and paste it back (Command + C then Command + B), fill the copy with the white color and move it to a couple of pixels down.
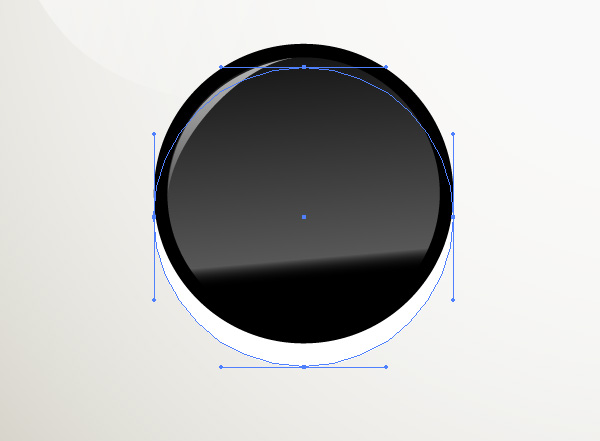
Group the three circles and the form of glare (Command + G).
Step 10
Move the group horizontally to the right while holding the Shift and the Option keys, which will create a copy.
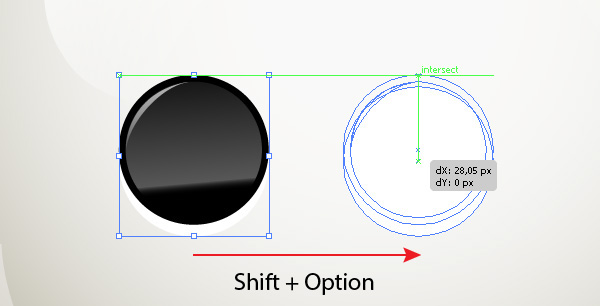
Use the shortcuts Command+ D to repeat the last action. As a result, we have three groups, which are located at an equal distance from one another.
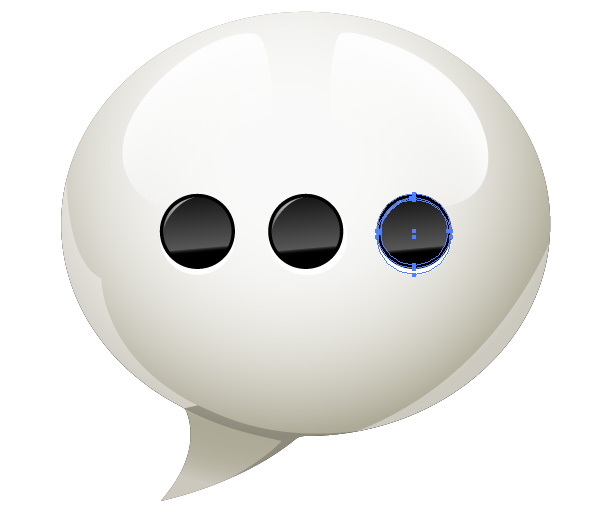
Change the turning angle of the gradient of the central and the right point.

Step 11
Create the ellipse with the Ellipse Tool (L). Fill the ellipse with an ellipse gradient that’s off-center. The gradient consists of two grey and one white slider. Apply the Multiply blending mode to the ellipse.

So we have created the drop shade from the speech bubble.
Conclusion
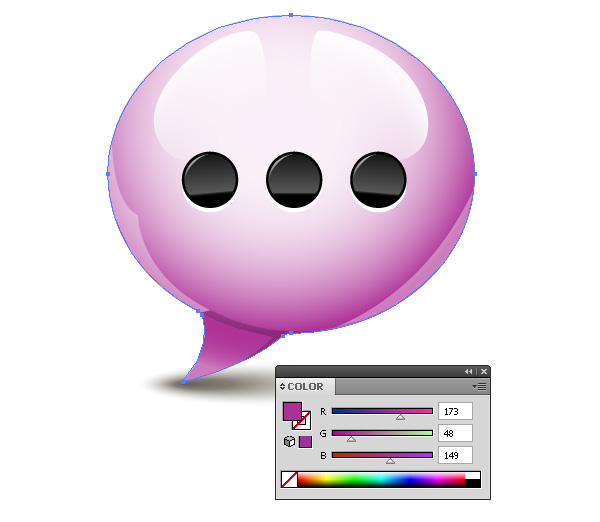
The method of coloring with the objects, which consist only of the grayscale colors, has an advantage to the coloring of the color objects. In reality, we have only one color object and it is the lower form of the speech bubble. The change of its color will change the color and shade of the whole bubble.
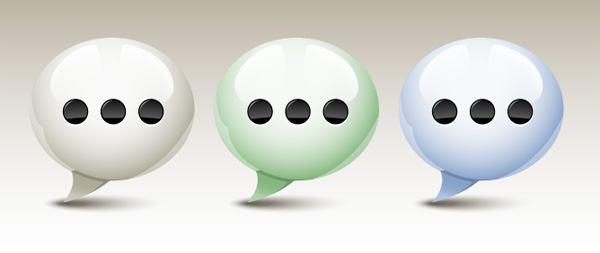
You should agree, creating each of the colored bubbles in the image below would have taken too much time if you didn’t use this technique. I hope you’ve enjoyed this tut.
{excerpt}
Read More