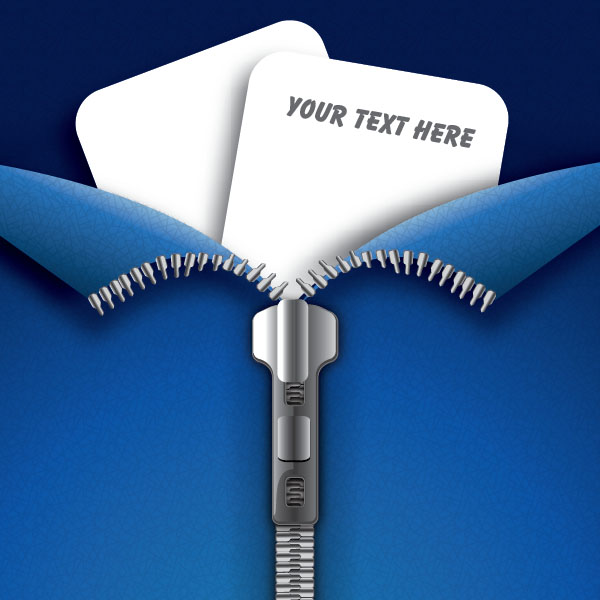
In this tutorial, you will learn how to create an illustration of a zipper with meshes, blending modes and simple shapes. You can use this illustration as the basis of an icon or for a decorative element on a larger design.
Step 1
Open up a new document and select the Pen Tool (P). We will start with the pull tab of the zipper. Create a similar shape juts like below.

Step 2
Mirror the just created shape ( O + click and hold Shift + Option, move mouse).

Step 3
Move the two shapes together and select the end points on top with the Direct Selection Tool (A), hit Command + Option + J and hit average horizontal. Then join them (Command + J). Repeat the same for the bottom points.

Step 4
Select the just joined shape and apply rounded corners (Effect > Stylize > Rounded Corners). Expand the appearance ( Object > Expand Appearance).

Step 5
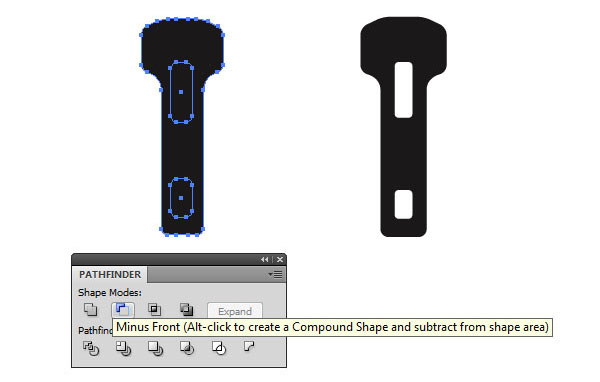
Create two small rounded rectangles and align them vertically in the middle of the pull tab.

Step 6
Select all the shapes, set the fill to black and in the Pathfinder Palette hit Minus Front. This will delete the small rounded rectangles.
Step 7
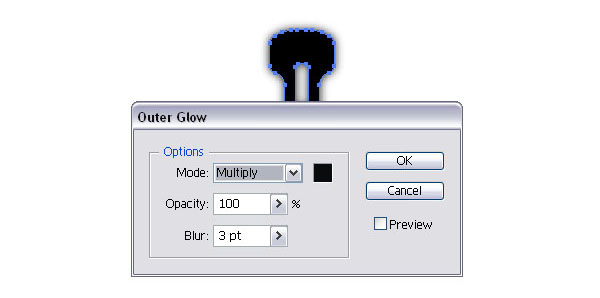
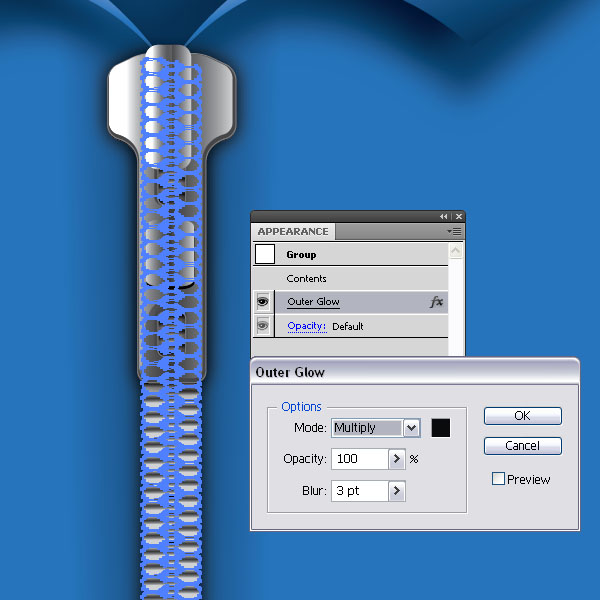
Add an Outer Glow (Effect > Stylize > Outer Glow) to the pull tab.
Step 8
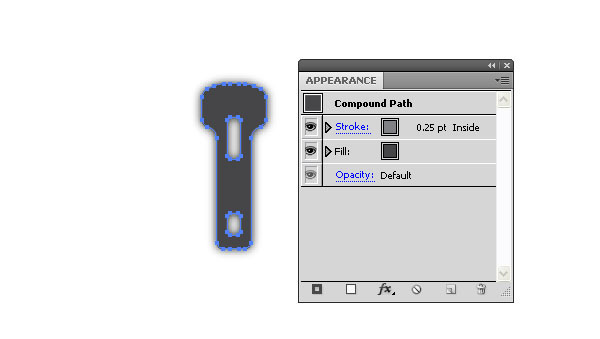
Make a copy on top (Command + C, Command + F) and set the color to gray with a stroke in a lighter gray of 0.25pt.
Step 9
Make another copy on top and apply a linear gray gradient, move the shape upwards just a tiny bit. Hint: You can change how much the arrow keys move an object. In the Preferences under General, change the Keyboard Increment to a smaller number.
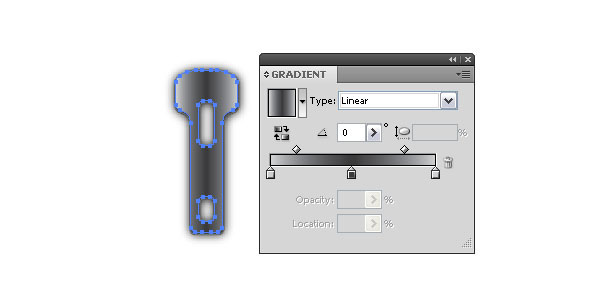
Step 10
Make a copy of the gradient shape cut it in half (Scissors C) and with the Pen Tool (P) alter the bottom and add a curve. Set the gradient to lighter.
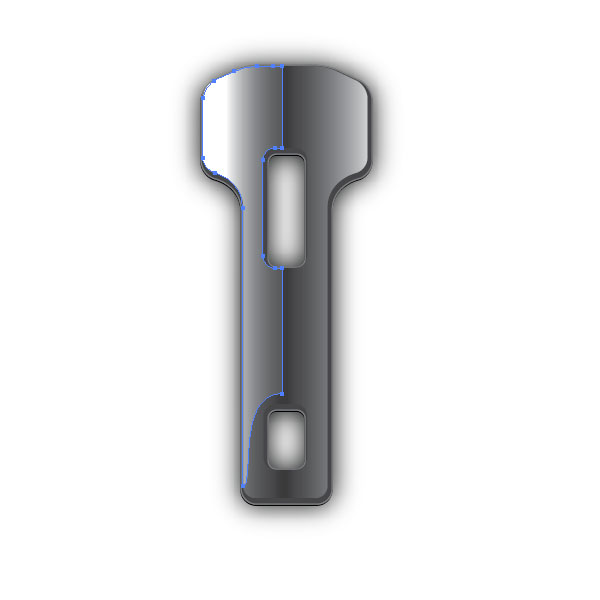
Step 11
Create another rounded rectangle and fill it with a linear gradient.
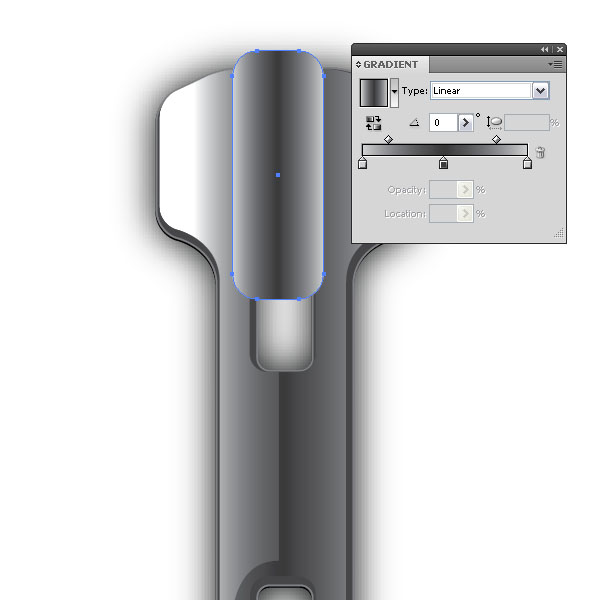
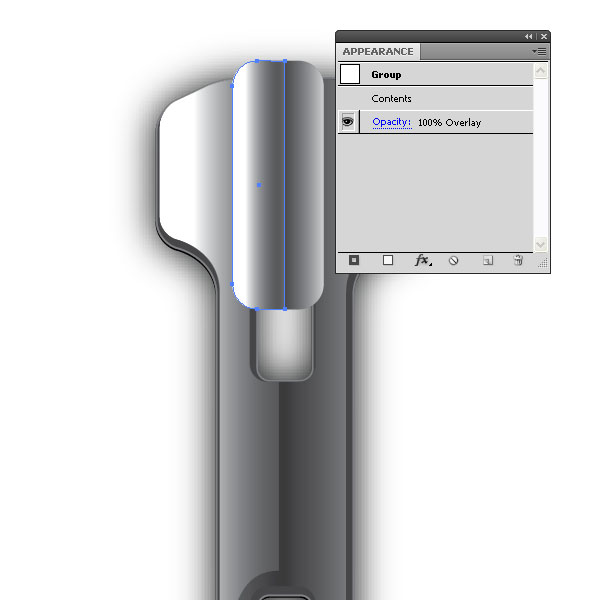
Step 12
Repeat Step 10 and set the blending mode to Overlay.
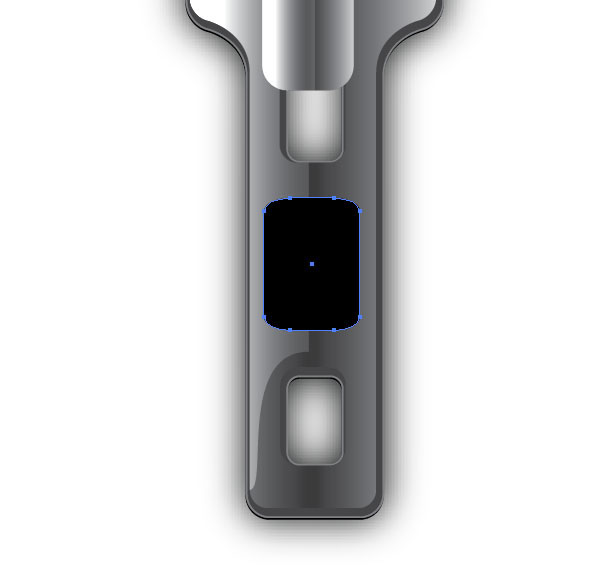
Step 13
Create another rounded rectangle or make a copy of the previous one and scale it with the Scale Tool (E) so it doesn’t look perfectly rounded. Fill it with black.
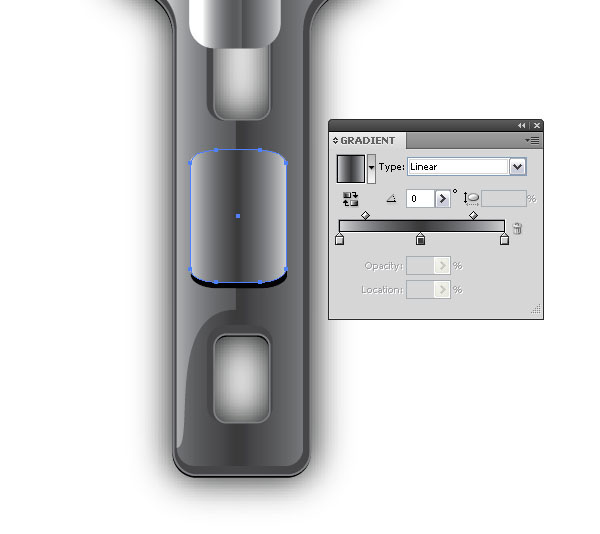
Step 14
Make a copy on top and notch it a little upwards and fill it with linear gradient.
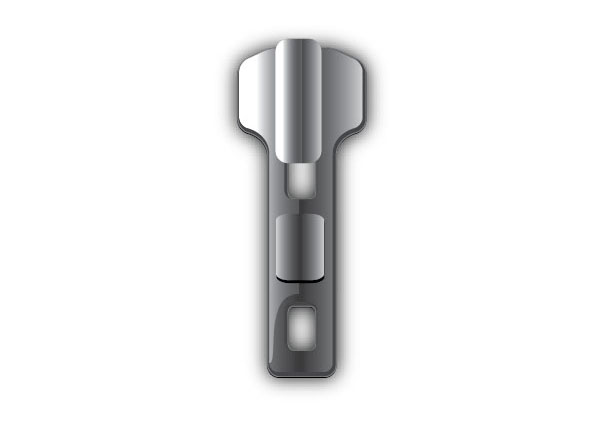
Step 15
This is the pull tab of our zipper.
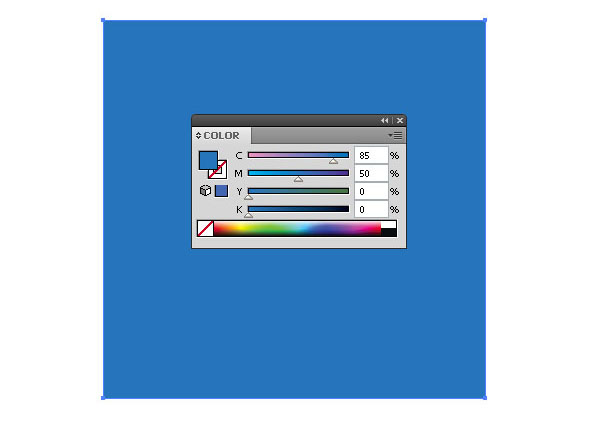
Step 16
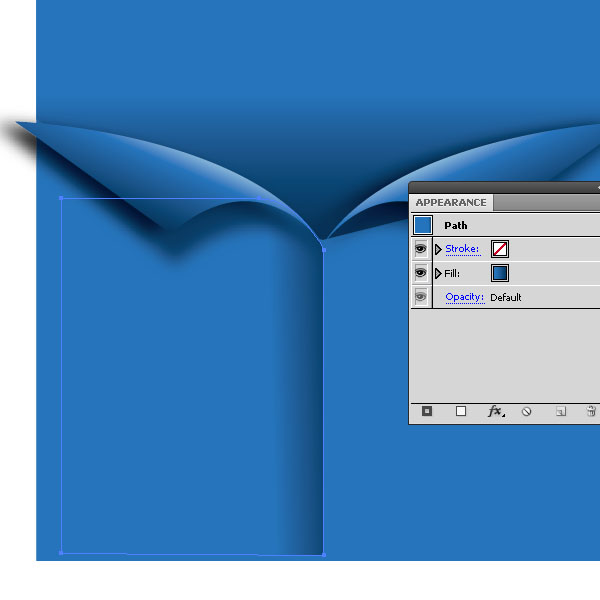
Let’s add a piece of clothing. Create a rectangle filled with blue.
Step 17
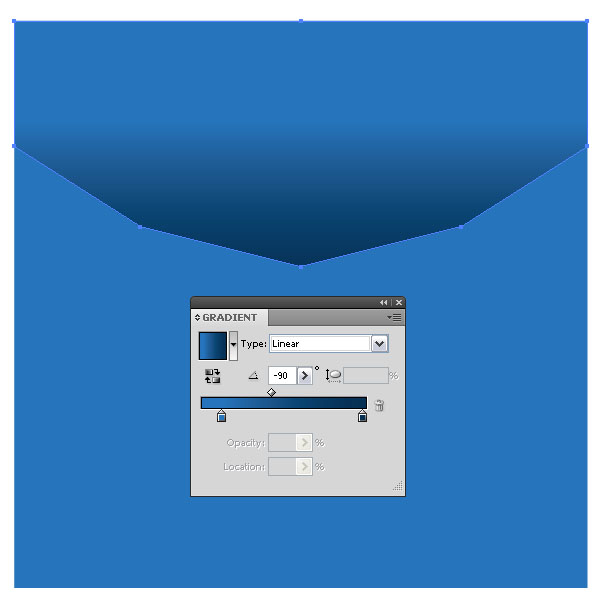
With the Pen Tool (P), create a similar shape like below and fill it with a linear blue to dark blue gradient, set the angle to -90 degrees.
Step 18
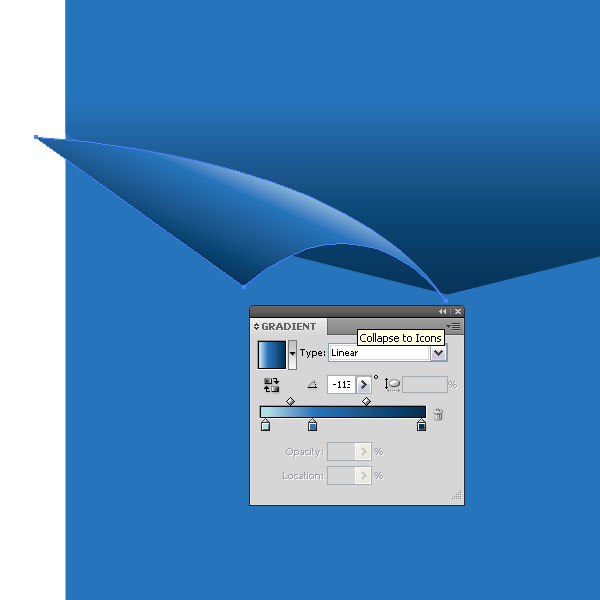
Create a triangle like shape and fill it with a similar linear gradient. Just add a light blue to the gradient.
Step 19
Mirror the just created shape (O + Option + Shift).

Step 20
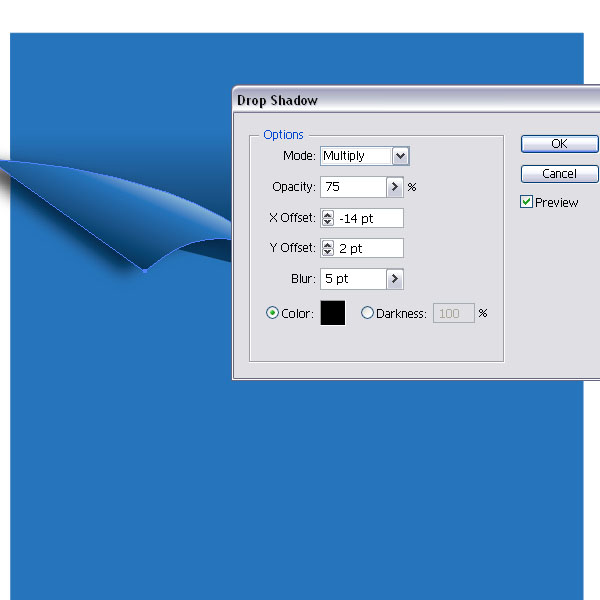
Add a Drop Shadow (Effect > Stylize > Drop Shadow).
Step 21
Repeat Step 20.

Step 22
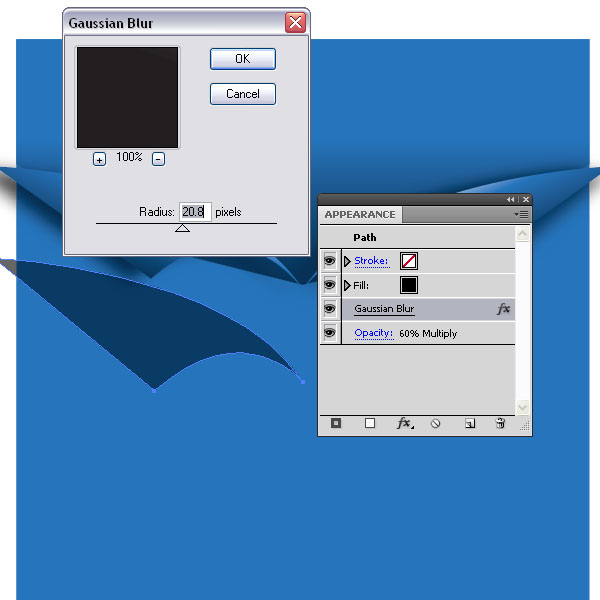
Make a copy of the triangle shape, remove drop shadow and fill it with black. Then apply a Gaussian Blur (Effect > Blur > Gaussian Blur) and set the blending mode to 60% Multiply. Place it under the gradient triangle shape.
Step 23
Repeat Step 22.

Step 24
Create a rectangle with one rounded corner (Pen Tool). Fill it with the blue to dark blue gradient. Mirror the shape.
Step 25
Place the pull tab on top of all shapes.
Step 26
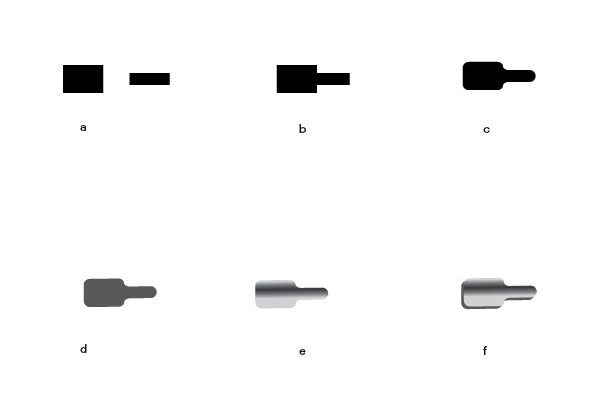
Let’s create the chains. a.) Create two rectangles with the Rectangle Tool (M). b.) Then align them to the middle, unite them (Pathfinder Palette). c.) Add rounded corners (1pt). The expand the appearance. d.) Fill the shape with a gray color. e.) Make a copy on top and fill it with a linear gradient. f.) Notch the shape to the right and top with the arrow keys. Group the shapes.
Step 27
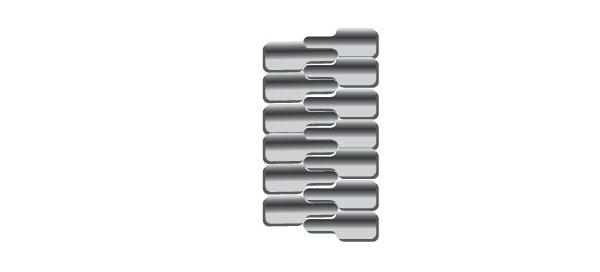
Make copies and place them together like in the image below.
Step 28
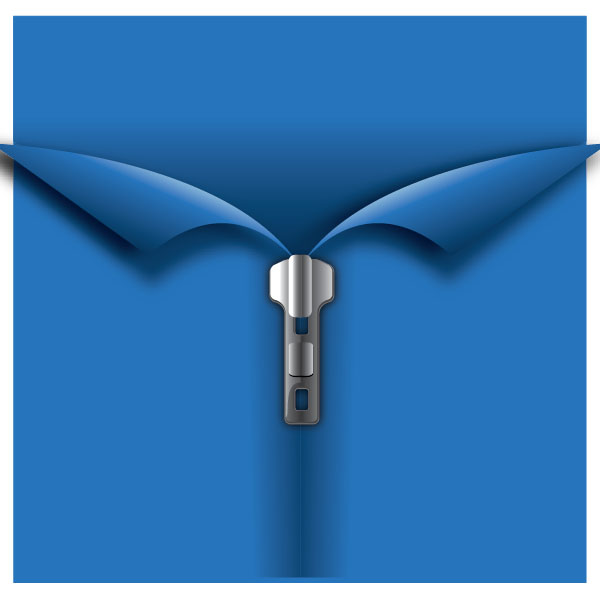
Place the chains underneath the pull tab but on top of the blue shapes. Add an Outer Glow to it.
Step 29
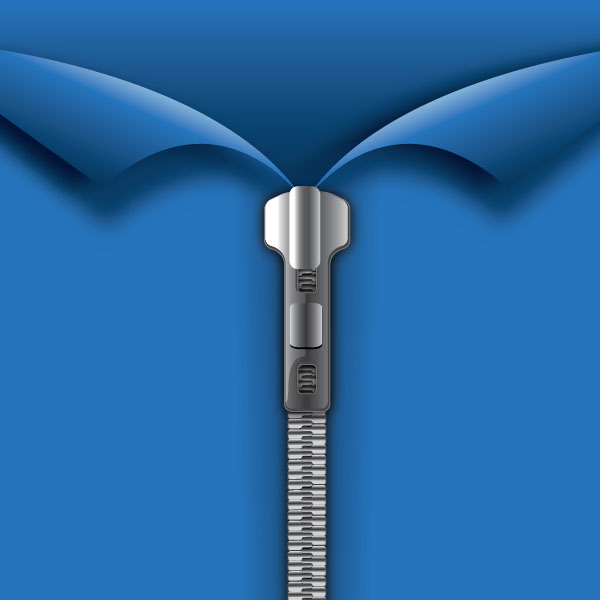
Here is the zipper.
Step 30
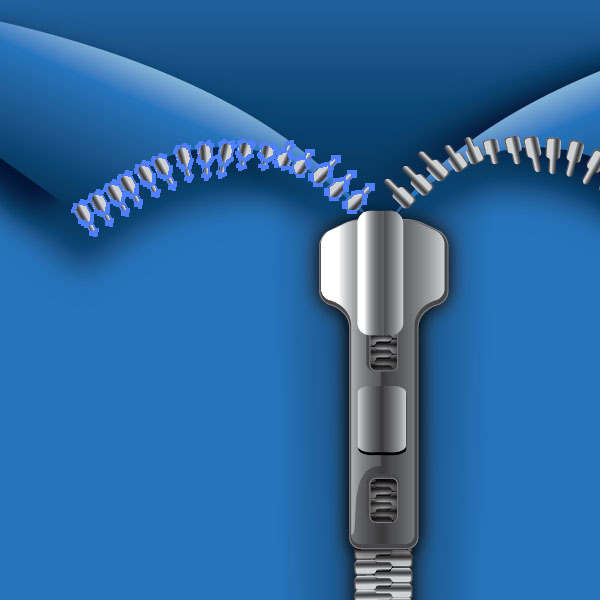
Take one chain, make multiple copies and align them along the collar. You can also set up a blend and create a path with the Pen Tool (P) and replace the spine. (See under Object > Blend > Replace Spine).
Step 31
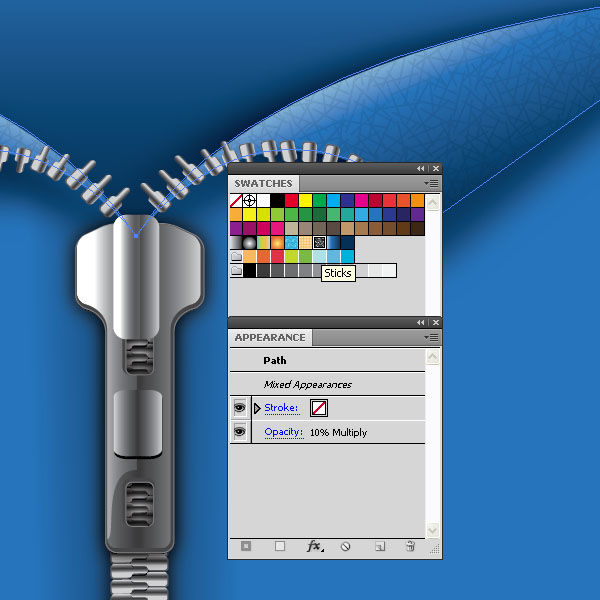
Let’s add some texture/pattern. Create a copy of the collar shape on top and fill it with a pattern called sticks which you can find in the patterns palette under the swatches. Set the blending mode to 10% Multiply.
Step 32
Repeat Step 31 and apply a pattern to all blue shapes.
Step 33
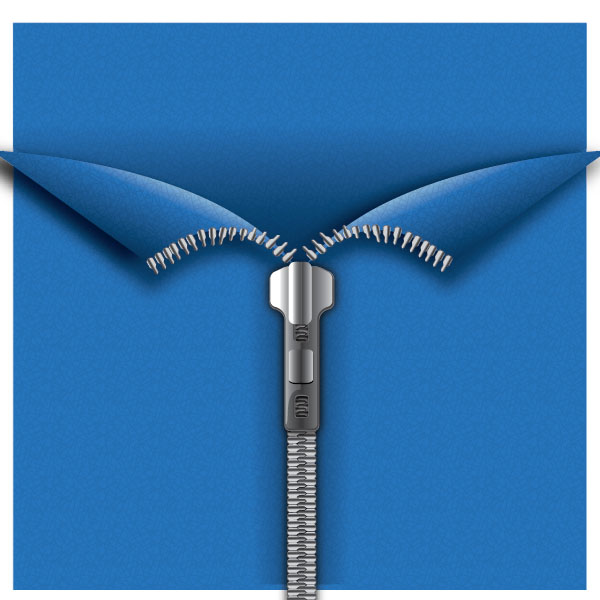
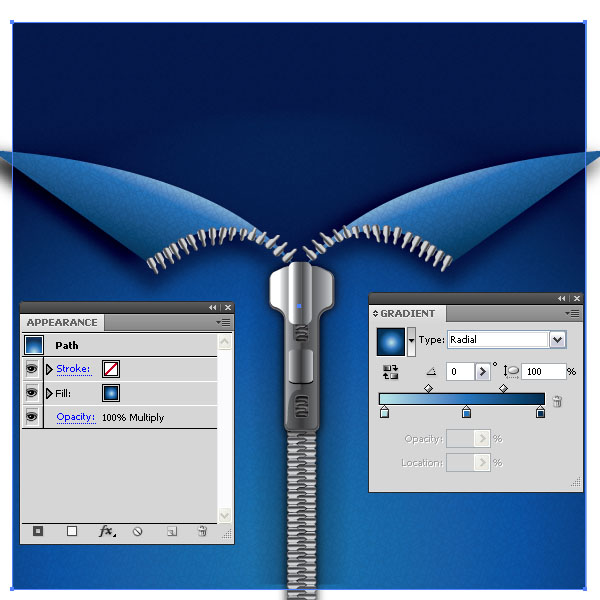
Add a rectangle on top of all blue shapes (same size than the one in Step 16) and fill it with a radial dark blue to blue to light blue gradient. Set the blending mode to 100% Multiply.
Conclusion
As you can see, I’ve added some white cards. It’s easy to add some text too. With a little bit of editing this illustration can be used for a range of designs including websites, business cards, twitter backgrounds and posters. I hope you enjoyed this tutorial.