In this tutorial we will learn how to create objects with shadows and penumbras using the Blend Tool. These techniques will help you bring any flat two-dimensional object to life by using lighting and shadow effects to create the illusion of volume and perspective.
Step 1
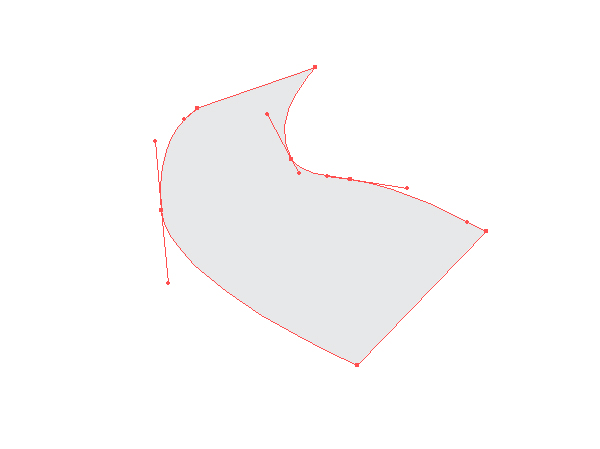
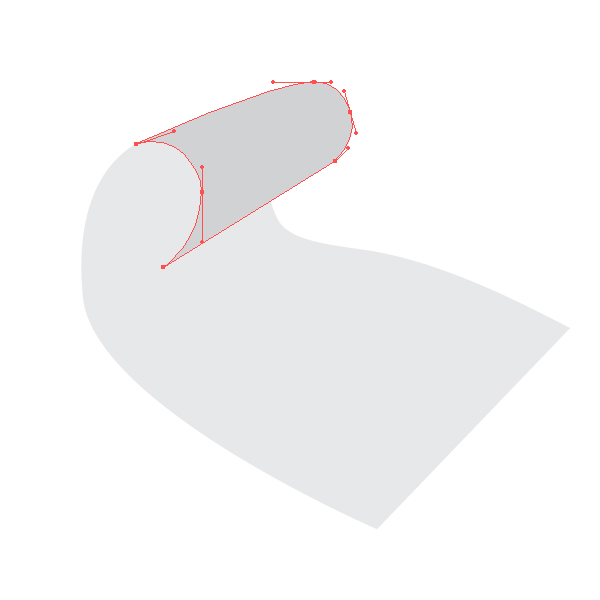
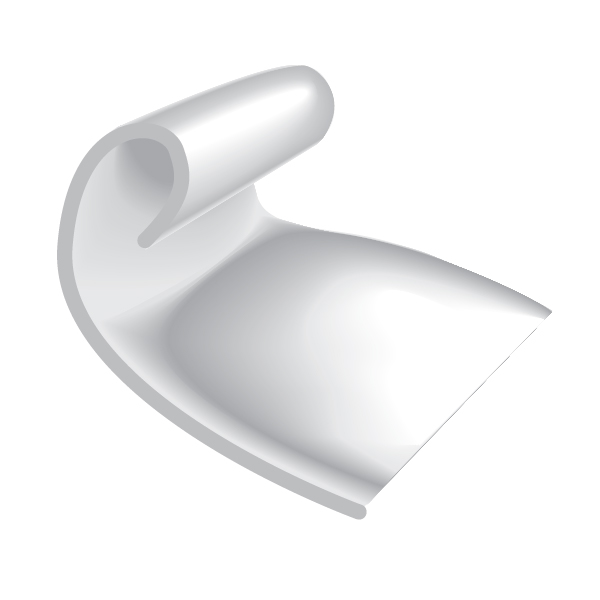
Launch Adobe Illustrator and create a new 800 by 800 pixel document. Take the Pen Tool (P) and create the shape of a tube. The tube will consist of several parts: the front, middle, upper, and lateral. Fill the created shapes with grey color without stroke. The shapes of the middle and upper part of the tube are shown on the pictures below.
Step 2
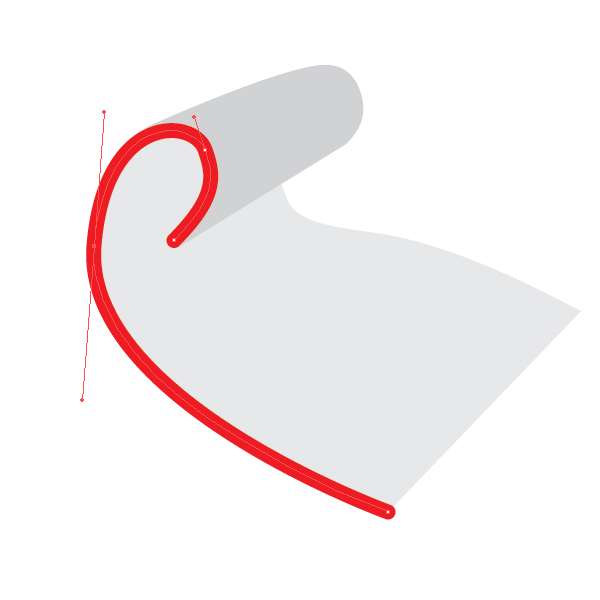
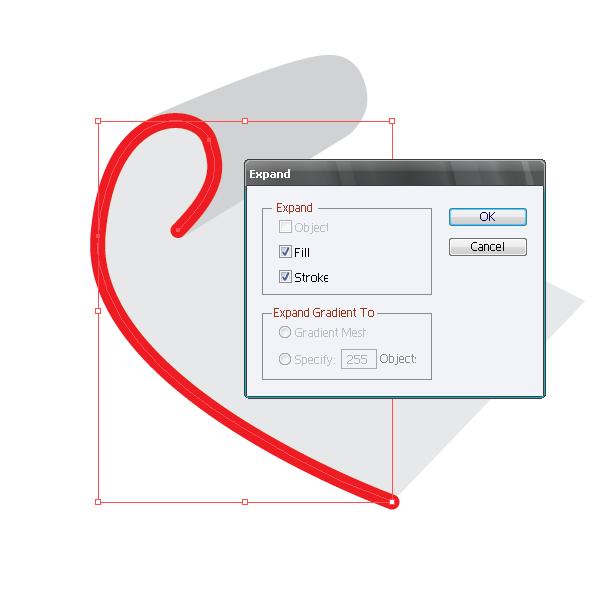
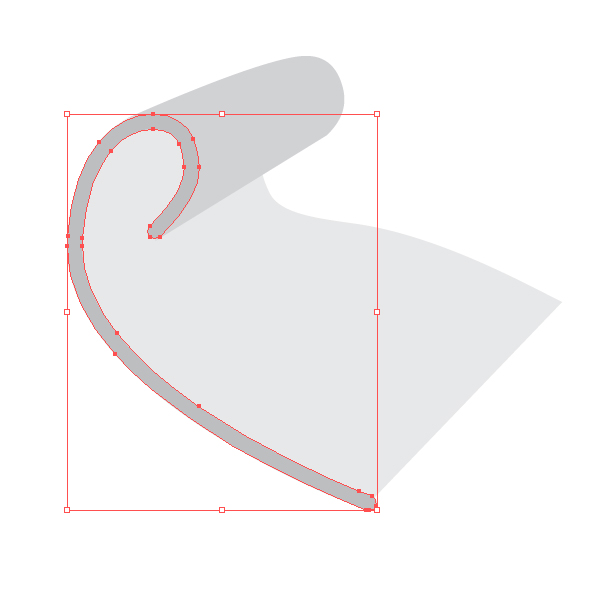
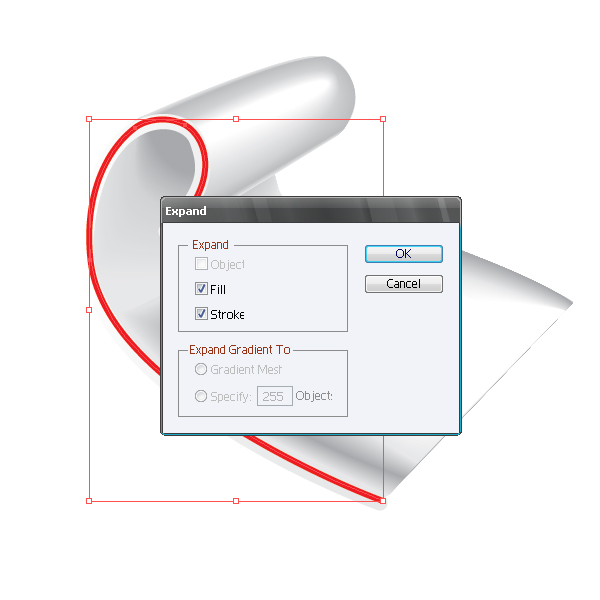
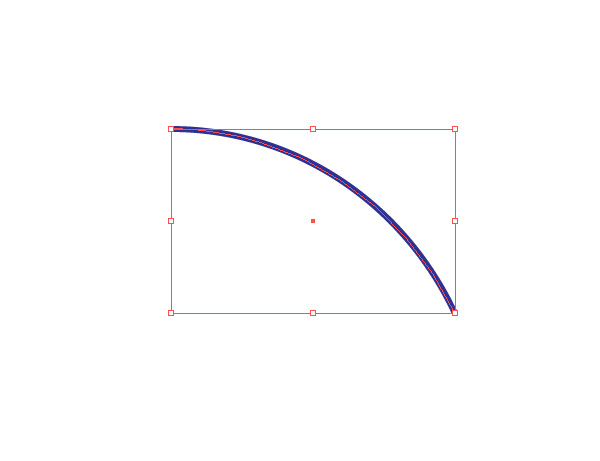
Now create the lateral part of the tube. Using the Pen Tool (P), create a curved line without fill, choose line width according to the size of a tube and set in the Stroke palette. Keeping the curved line selected go to Object > Expand, then ungroup.
Step 3
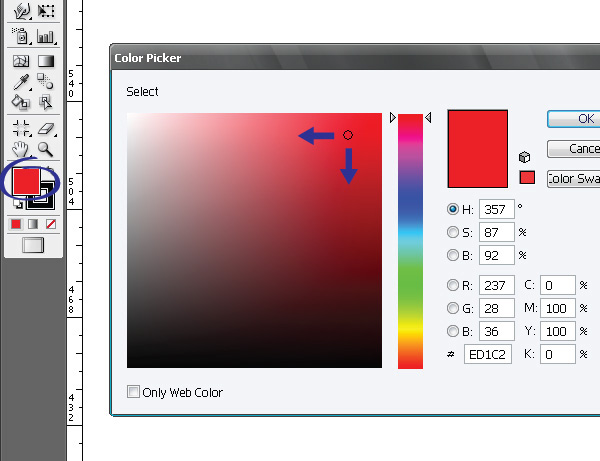
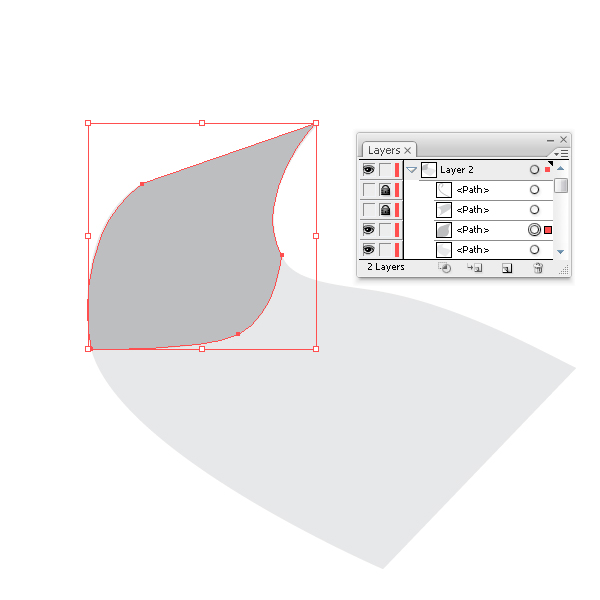
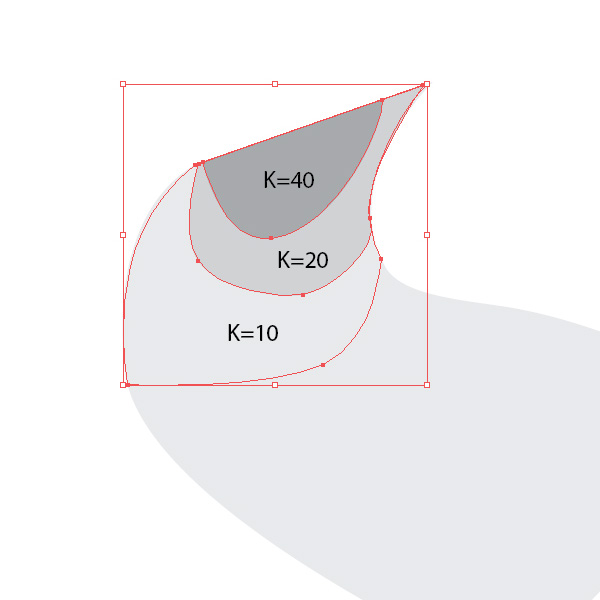
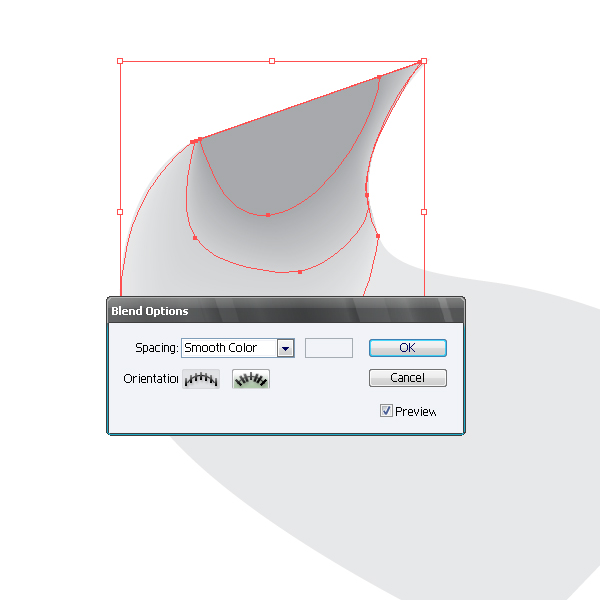
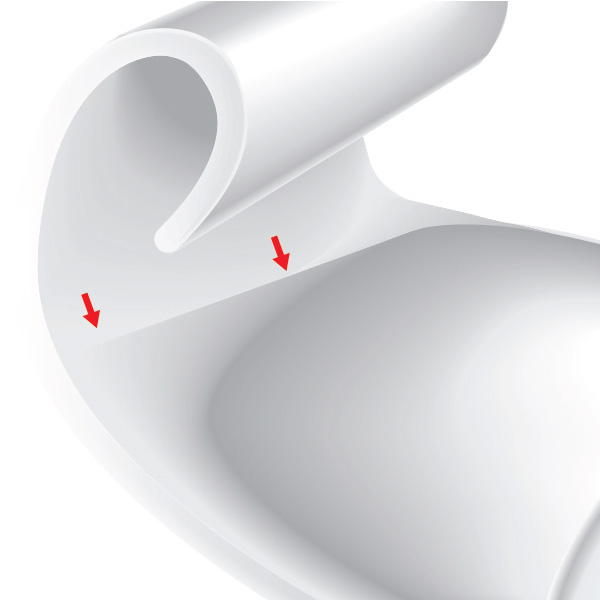
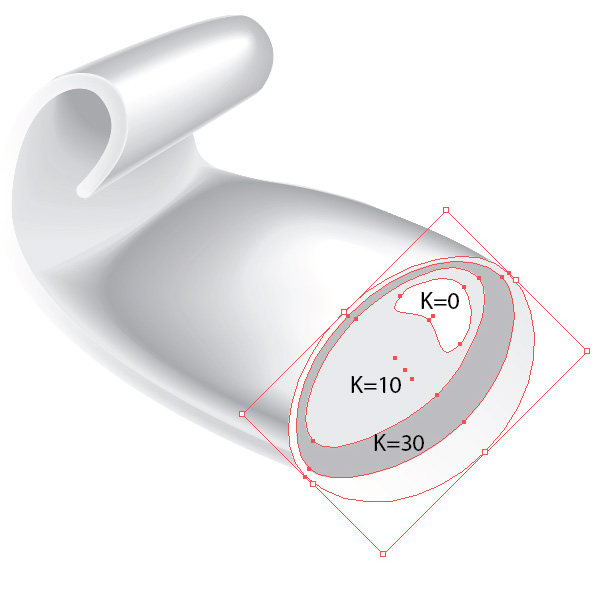
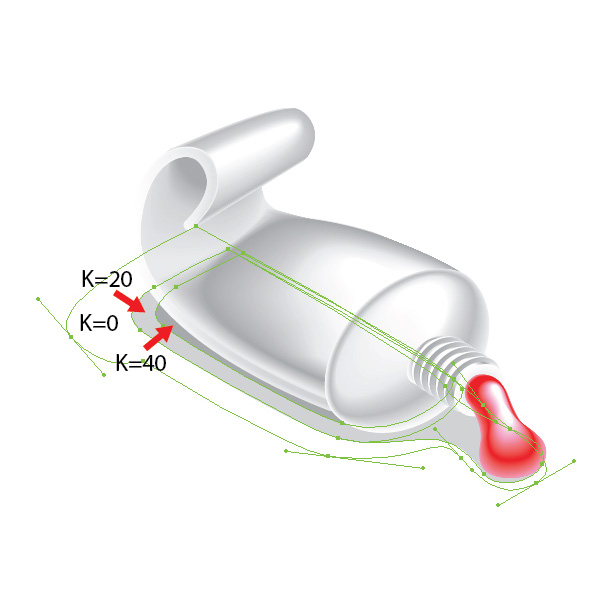
The tube of paint will be aluminium, so while creating under tints we will work with different shades of grey color. If you have to work with the shades of another color, you can open a dialog box Color Picker of the basic color, double-clicking on the Fill icon, and choose a color, moving on the color field to light or dark shades. We will use CMYK color model in this tutorial. This model is used in printing. We accept that the shadow is grey (K + 40), penumbra is grey (K = 20) and (K = 10), reflex is white (K = 0). Initially it is important to identify basic colors and their shades, and it is convenient for us to place them in the Swatches palette. Create shadows on the inner bent surface of the tube. Create three shapes, using the Pen Tool (P)
Now go to Object > Blend > Make … with the settings as on the picture below. The settings of the Blend can be always changed going to Object > Blend > Blend Options.
Step 4
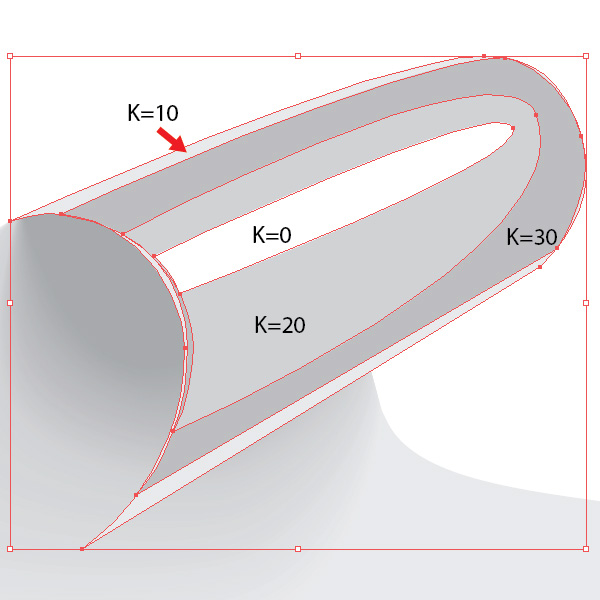
Using the technique mentioned above, create a play of colors on the upper part of the tube.
Step 5
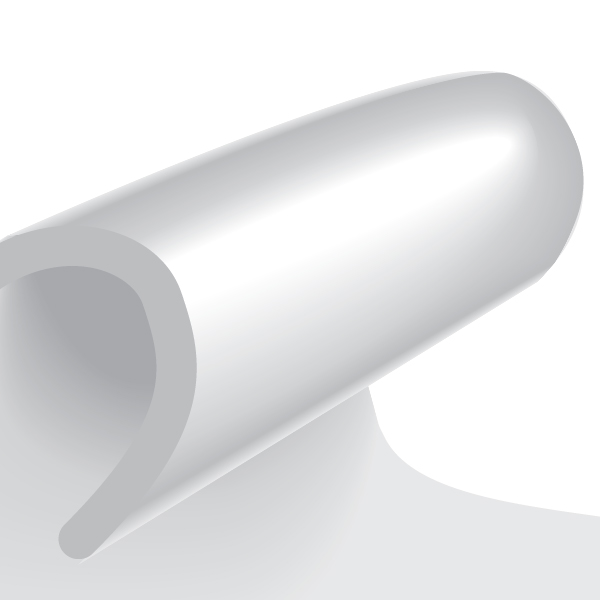
By analogy create a play of colors on the surface of the middle part of the tube. The drawback of this method of creating shadows is that the using of the Blend with the objects that are very different in shape may cause the emergence of artifacts. Therefore you often have to edit original shapes of the already finished Blend, using the Direct Selection Tool (A).

Step 6
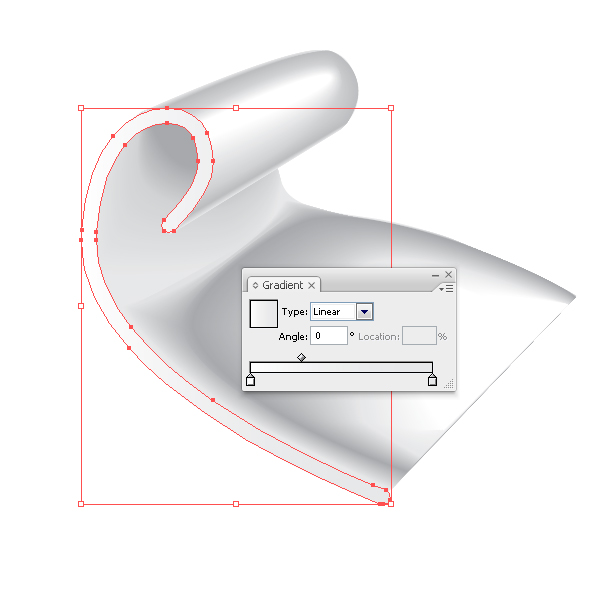
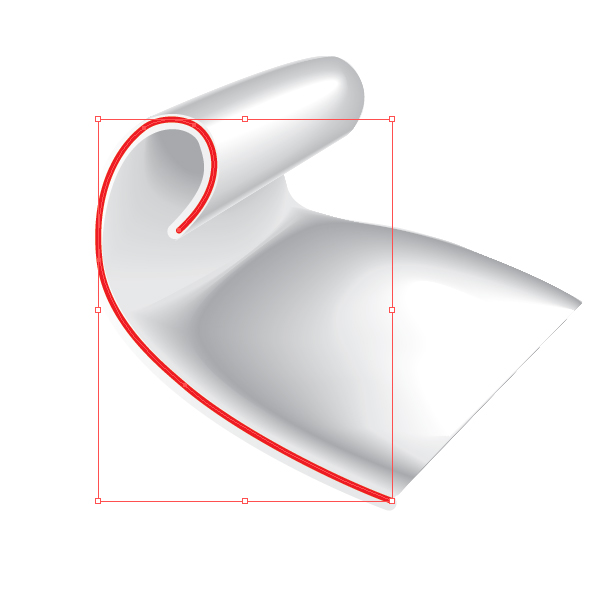
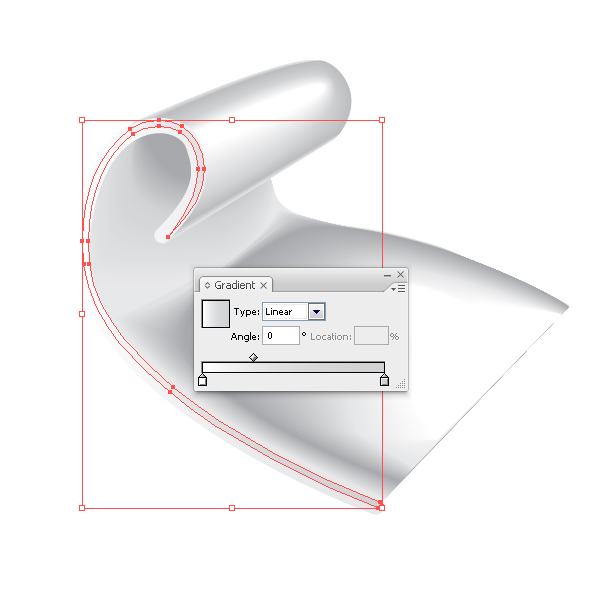
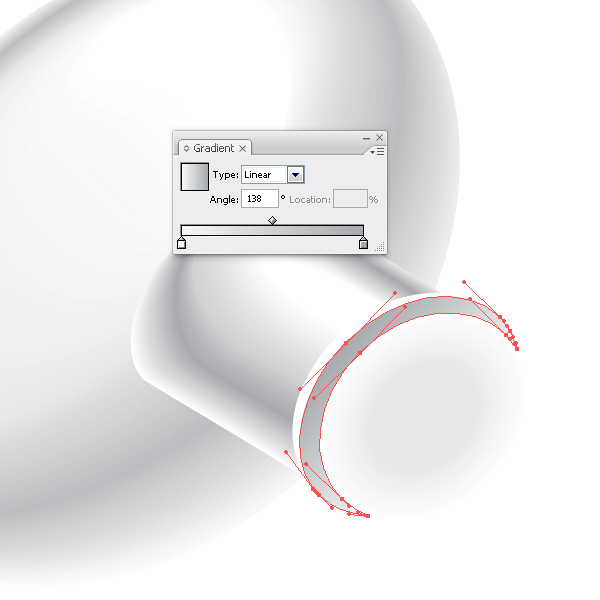
Fill the lateral surface of the tube with a linear gradient from white to light grey color. Take the Pen Tool (P) and create a new shape, using the technique described in step 2. Fill the new shape with linear gradient from white to light grey color. Select both shapes of the lateral part of the tube and apply the Blend.
Step 7
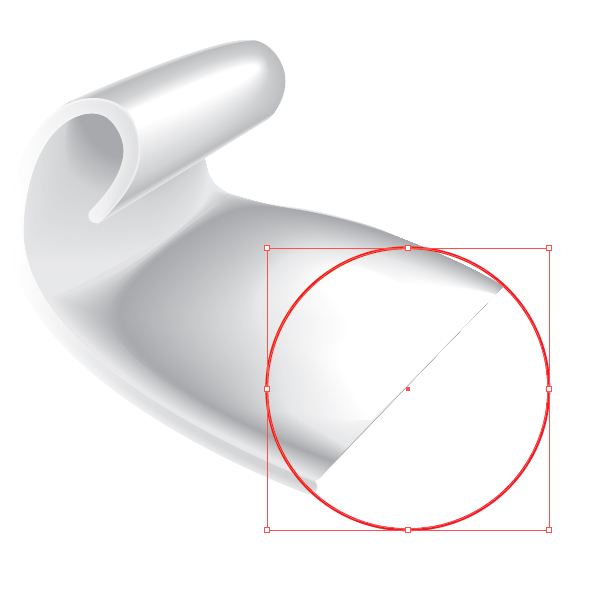
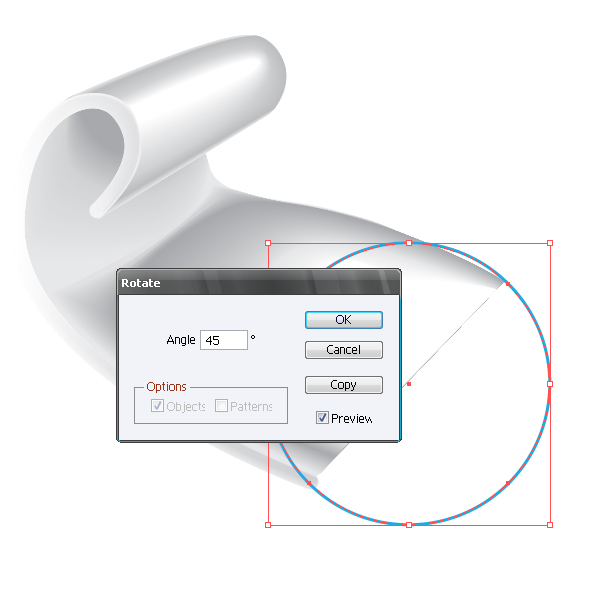
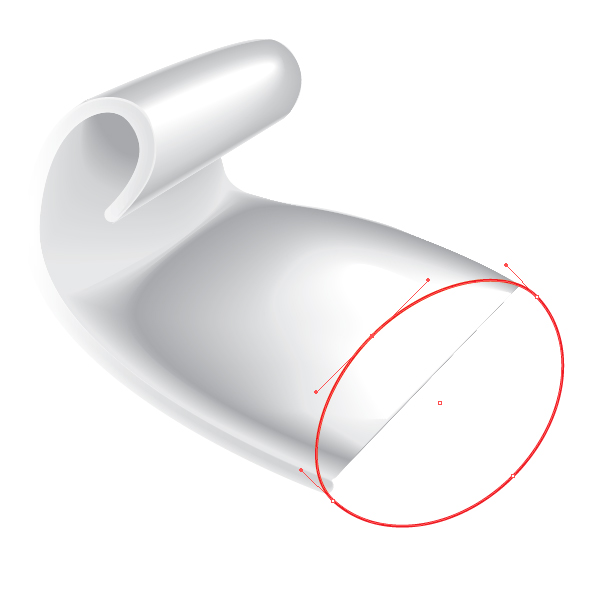
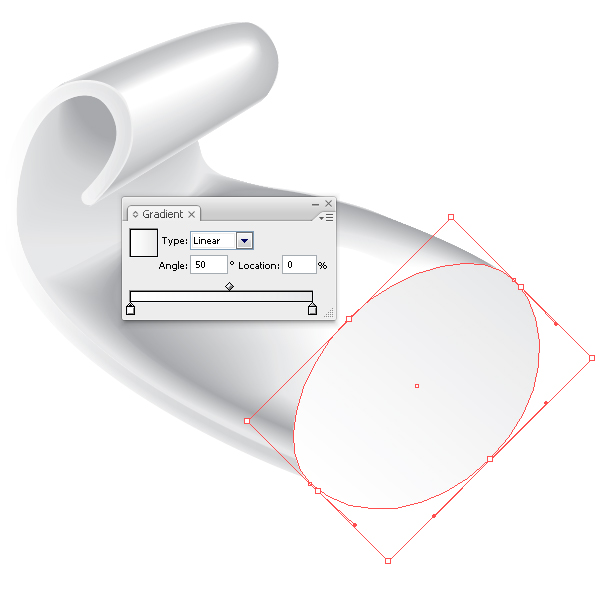
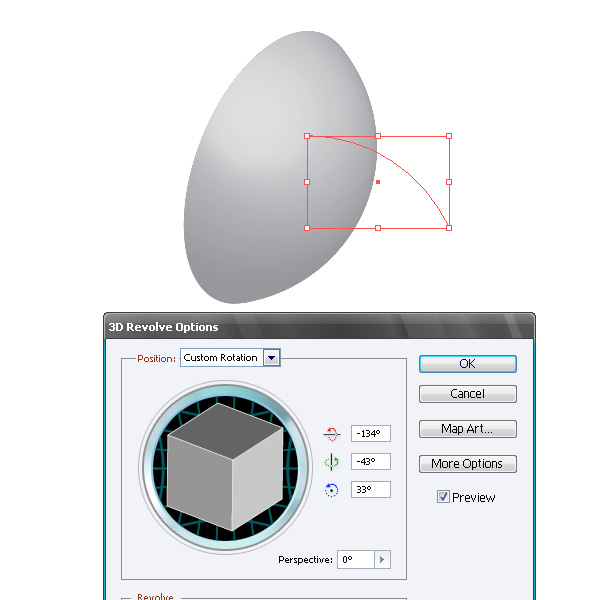
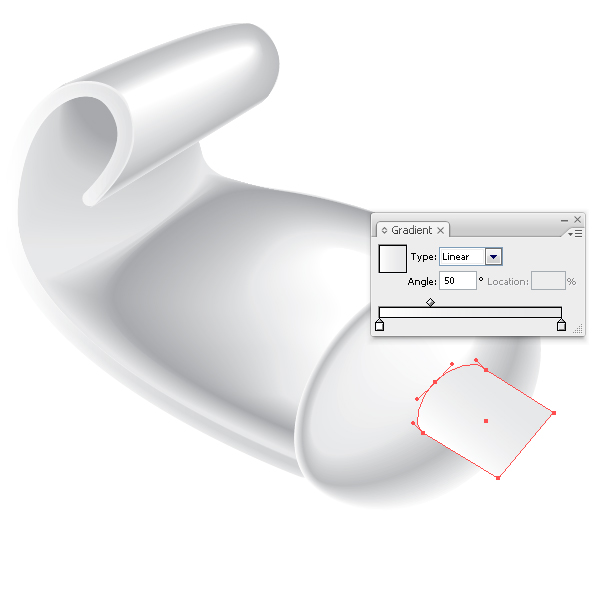
Now create the front part of the tube. Create a circle using the Ellipse Tool (L). Now rotate the circle by 45 degrees clockwise, to do so go to Object > Transform > Rotate… with the settings shown on the picture below. Deform the ellipse using the Direct Selection Tool (A) as shown on the picture below. Now fill the shape with linear gradient of light grey to white color. When you have to portray three-dimensional objects (3D) it is more convenient to work as from life. If you do not have such an opportunity, means of Adobe Illustrator will help you to simulate the 3D object. Check this out in our example. The front part of the tube presents the part of a sphere. Simulate it. Create a circle using the Ellipse Tool (L), and cut out a segment using the Scissors Tool (C)
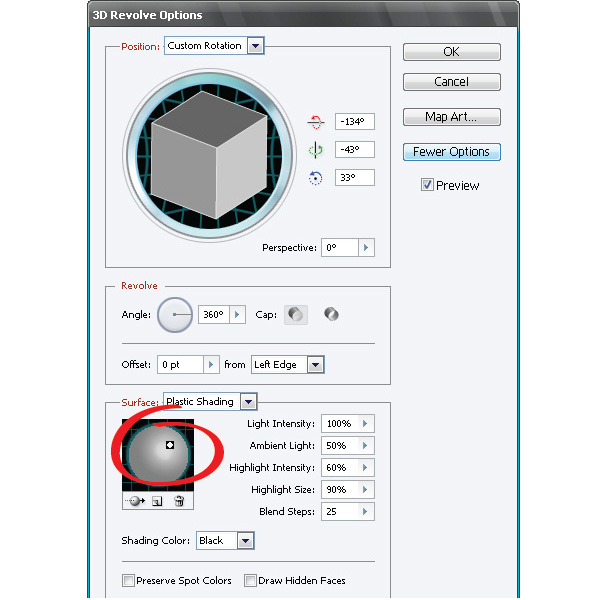
Now select the segment of the circle and go to Effect > 3D > Revolve … and turn the object to simulate the location of the created object. With the help of this effect you can also simulate the play of colors on the object by clicking on the More Options button in the dialog box 3D Revolve Options, you will have the access to the management of light.
Now you can use the created model as a visual aid while creating your object. I personally do not like to use a 3D object as part of the created picture. It is not convenient for us to edit such objects and the presence of such objects in the document overloads your computer’s memory, besides it unjustly increases the size of the file. But that is a matter of taste.
Step 8
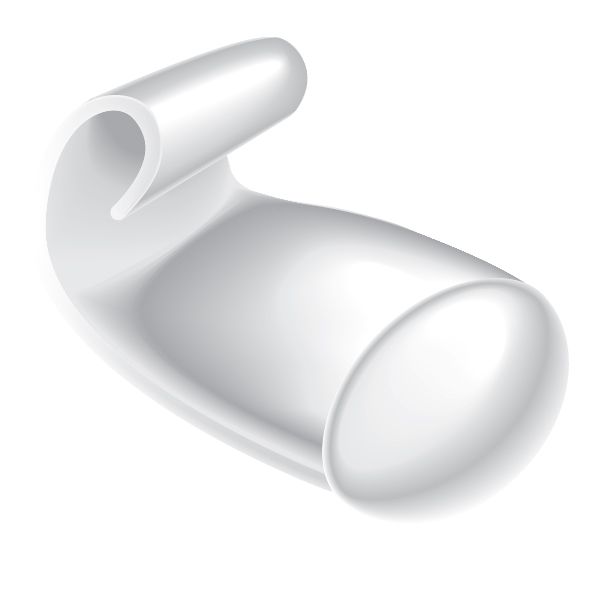
Using the techniques mentioned above, create shadows, penumbras and lights on the front part of the tube.
Step 9
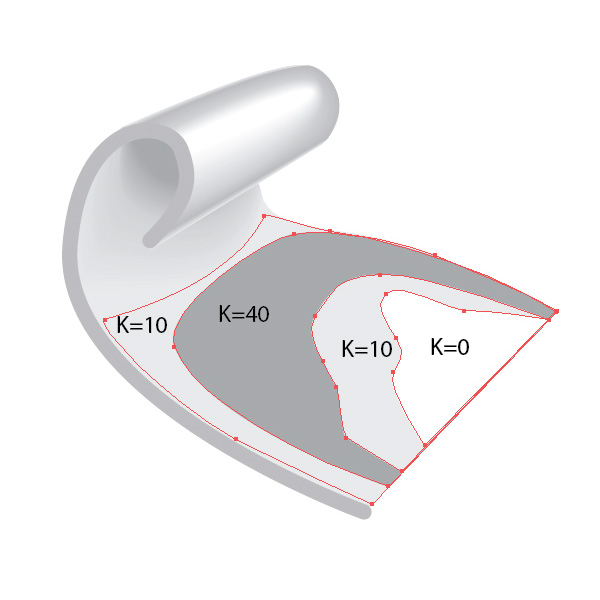
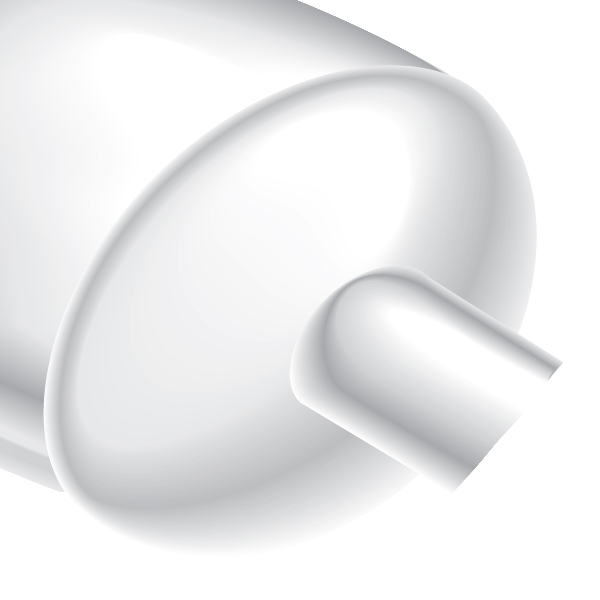
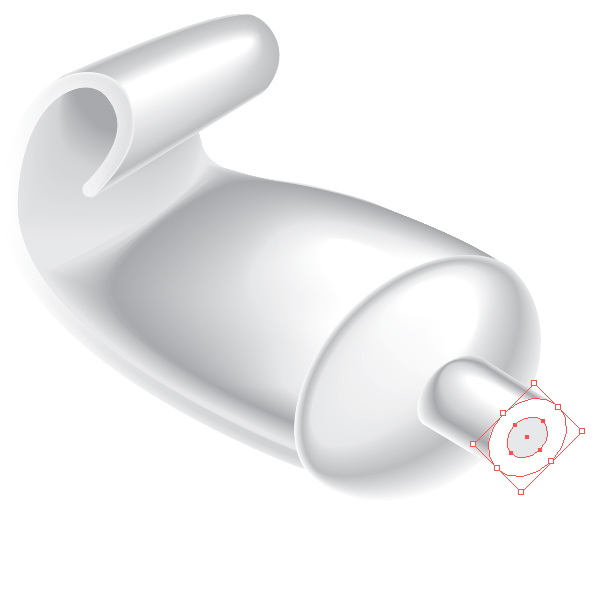
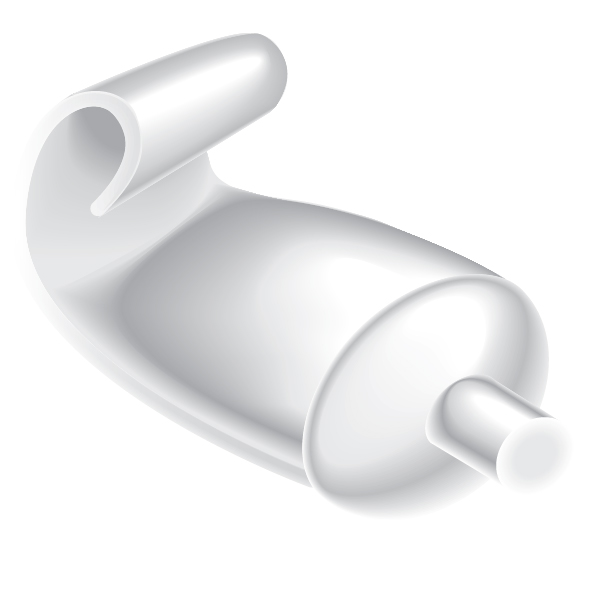
Get down to the creation of the thread on the front part of the tube. Take the Pen Tool (P) and create shape of the tube neck. For the right direction it is convenient for us to use the guide, which is rotated along the axis of the tube. I usually turn the guide with the Rotate Tool (R). Fill the created shape with linear gradient of light grey color. Create a play of colors on the tube neck.
Step 10
Create the front part of the neck. Create two concentric ellipse (centres of the ellipse have the same coordinates) using the Ellipse Tool (L). Fill the larger ellipse with white color, and the smaller one with light grey. Select both ellipses and apply the Blend.
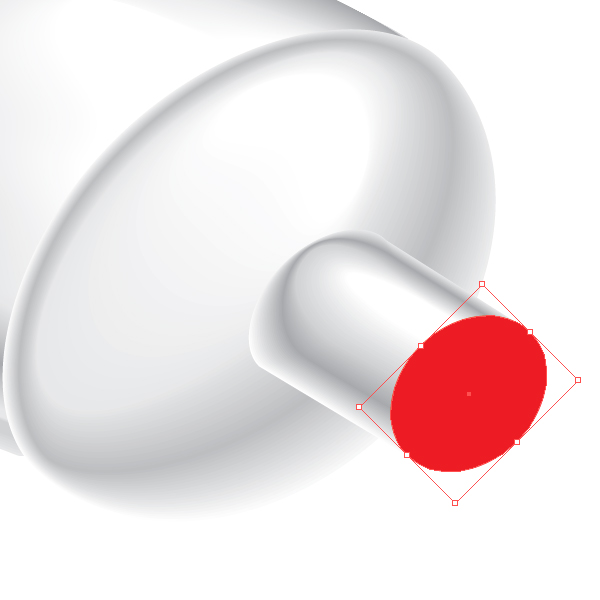
Step 11
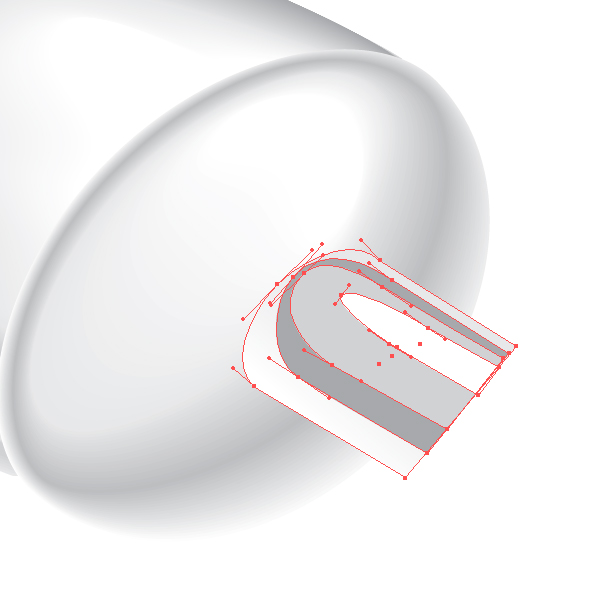
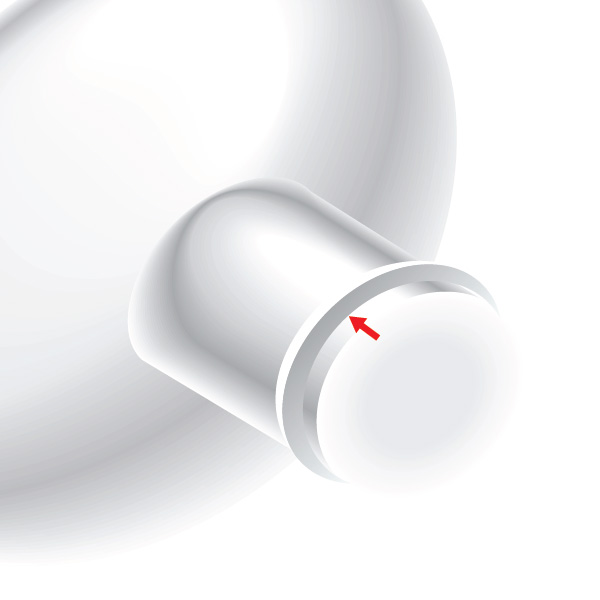
Create the thread. Create three ellipses, pay attention to the fact that red ellipse has the same sizes and coordinates that the larger ellipse created in the previous step. Select three ellipses and click on the Divide from pathfinder box. Now ungroup all the items and delete unnecessary objects. Fill the front part of the thread (blue shape) with linear gradient of light grey color, and fill the lateral part (green shape) with white color. Group up the thread elements and shift them slightly towards the tube.
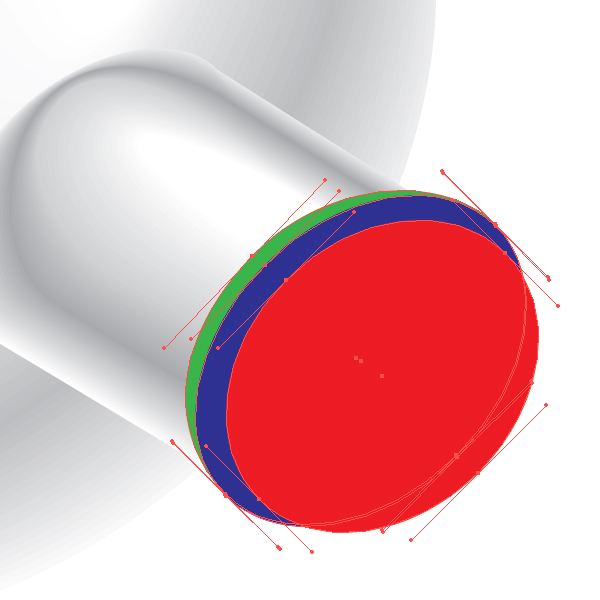


Step 12
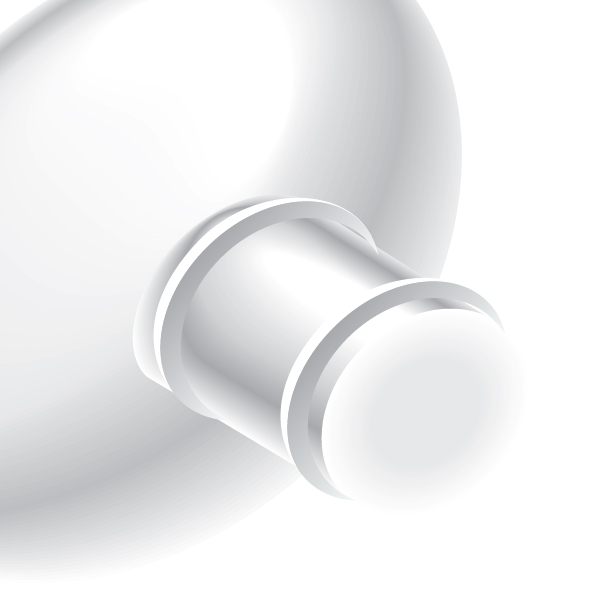
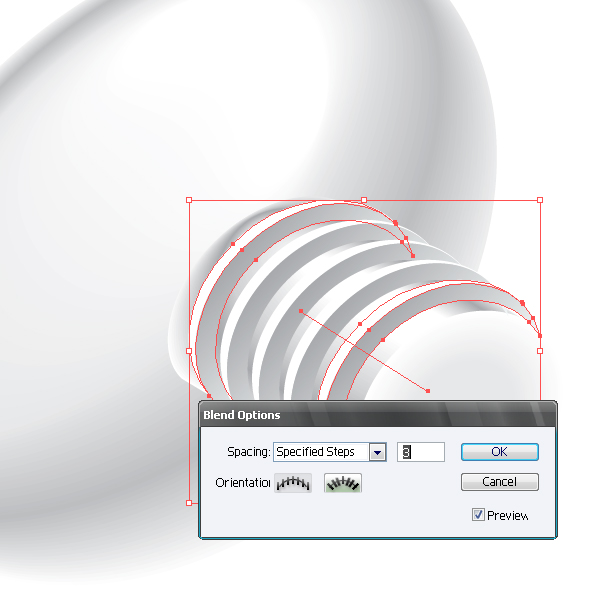
Copy the group (Command + C), paste it back (Command + B) and post a copy as shown on the picture. Select the two thread turns and apply the Blend with the settings shown on the picture below.

Step 13
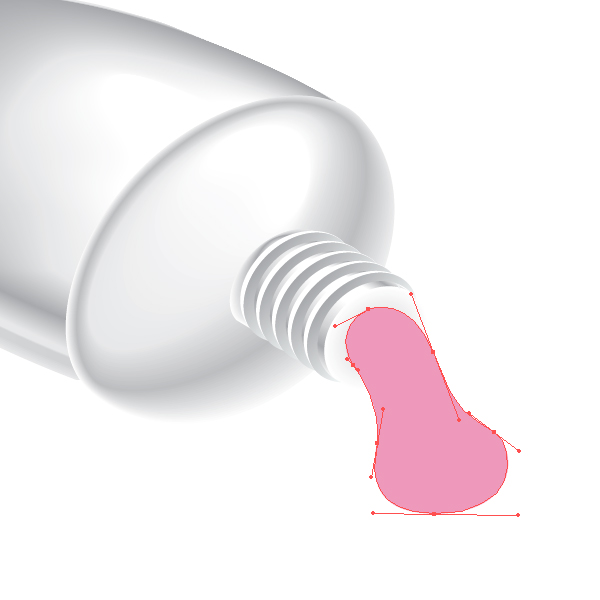
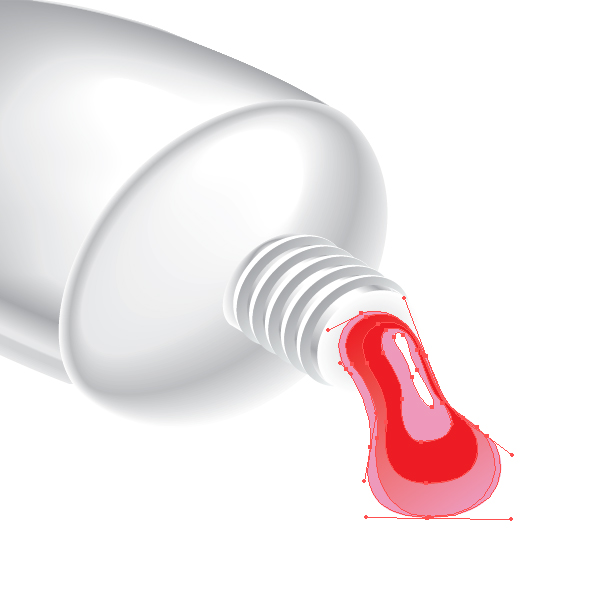
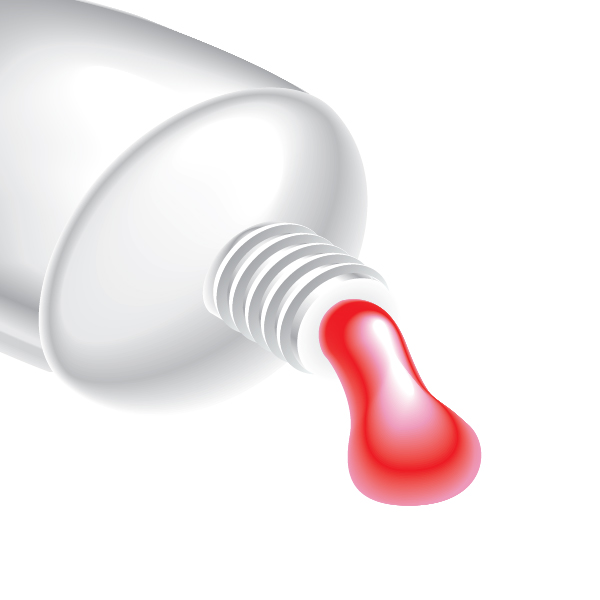
Create a drop of paint. Take the Pen Tool (P) and create shape of a drop. Create a few more shapes and apply the Blend. You can experiment with the colors in this step, remember that the shapes included in the Blend, may be filled with a solid and gradient fill. Name the layer we worked with – Tube.
Step 14
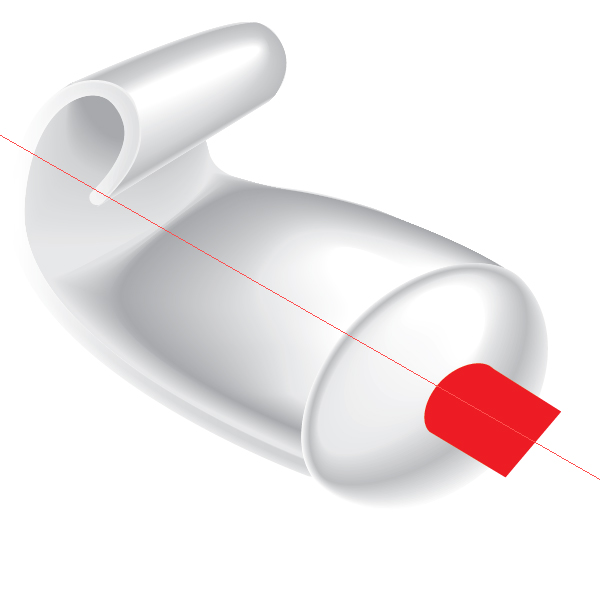
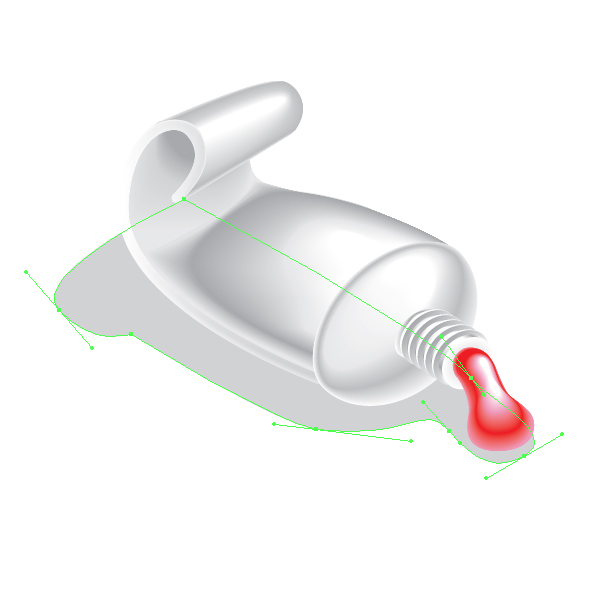
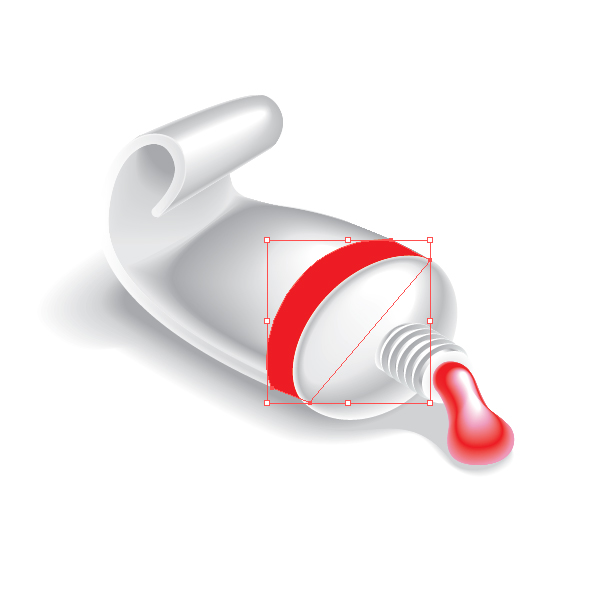
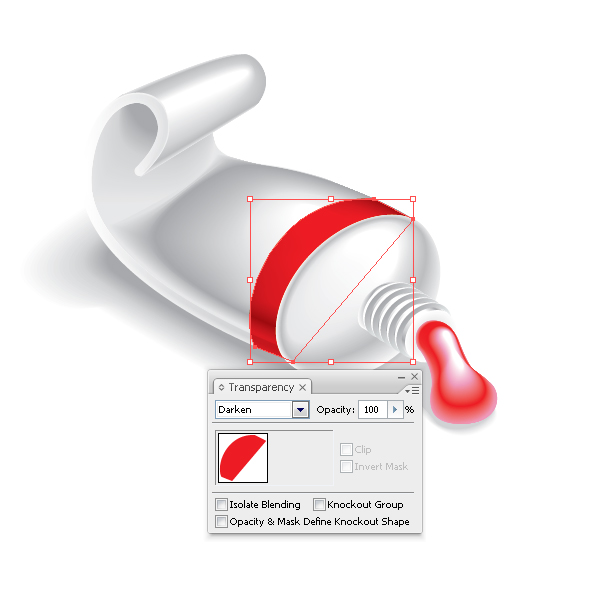
Create shades under the tube. Create a new layer below the layer Tube and name it – Shadow. Take the Pen Tool (P) and create shape of shadow and penumbras. Select the created objects and apply the Blend. Proceed into the layer Tube. Create a red shape with the Pen Tool (P). Keeping it selected change the Blending Mode in the Transparency palette.
Step 15
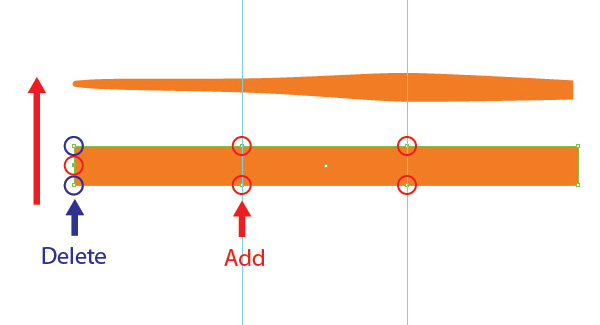
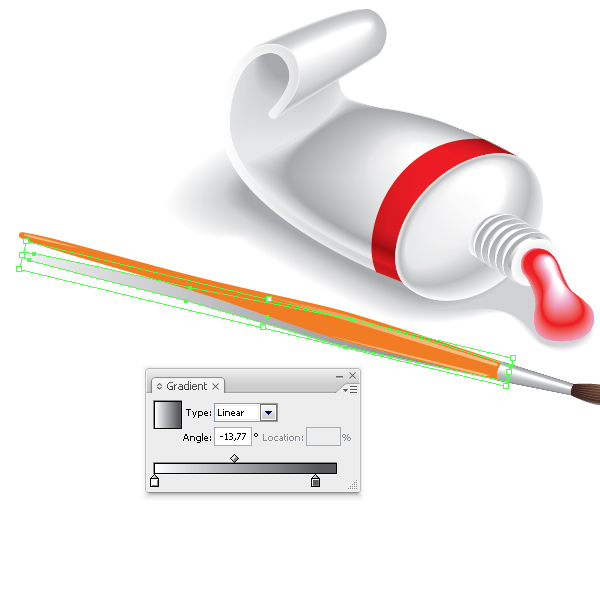
Create a new layer above all the layers and name it – Brush. Create a brush. Take the Rectangle Tool (M) and create a rectangle with the orange filling. Now add a few smooth anchor points using the Pen Tool (P) and transform the shape of the rectangle into the shape shown on the picture below. Place the brush in the composition. Create three reflexes using the Pen Tool (P). Fill the reflexes with the linear gradient from orange to light orange.


Step 16
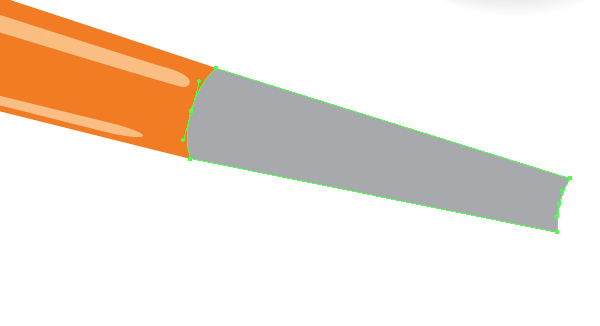
Now create a metal part of the brush. This technique does not differ from one of creating a tube.

Step 17
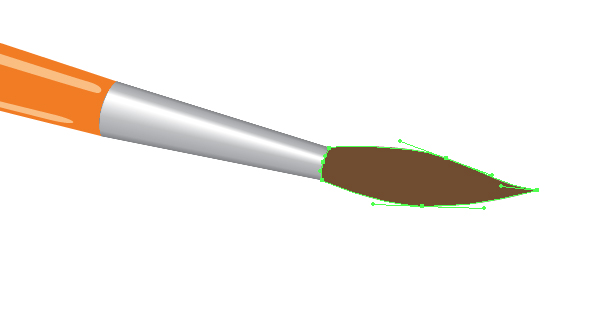
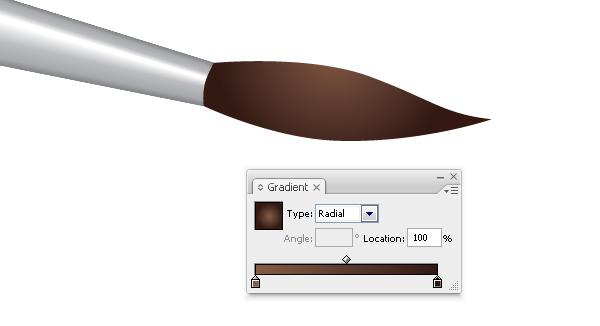
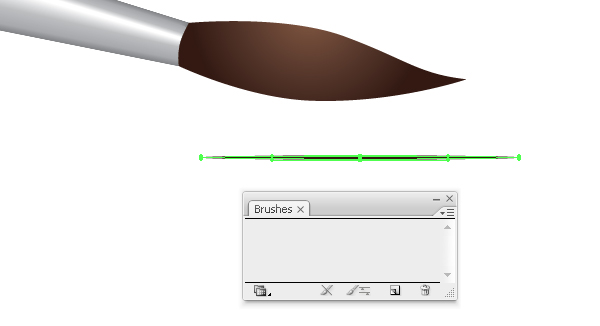
Create the hair part of the brush. Using the Pen Tool (P) draw the shape shown on the picture below. Fill the shape with the radial gradient from brown to dark brown. Now add the hairs. Create Art Brush. Take the Ellipse Tool (L) and create an ellipse as shown on the picture below. Fill the shape with white color and drag into the Brushes palette, choose New Art Brush in the open dialog box.
Step 18
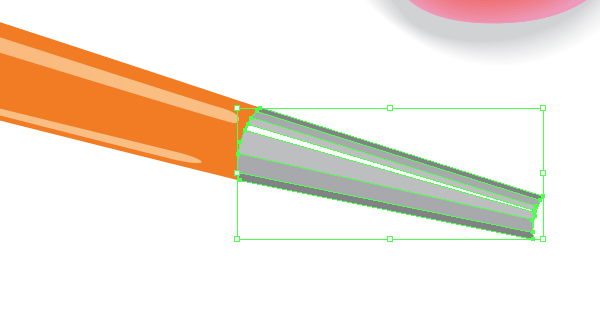
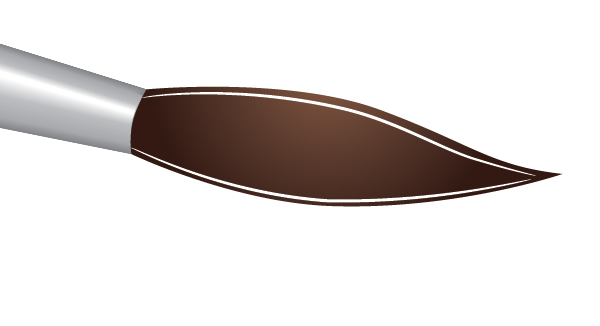
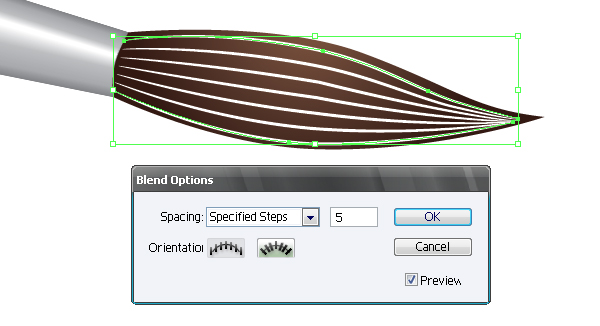
Using the Pen Tool (P) create two hairs and apply the created brush to them. Select both hairs and apply the Blend with the settings shown on the picture below. Set 30% Opacity in the Transparency palette.

Step 19
Now create the shadow of the brush, duplicate the shape that you created in Step 15, rotate it using the Rotate Tool (R), and fill it with a linear gradient from grey to white.
Conclusion
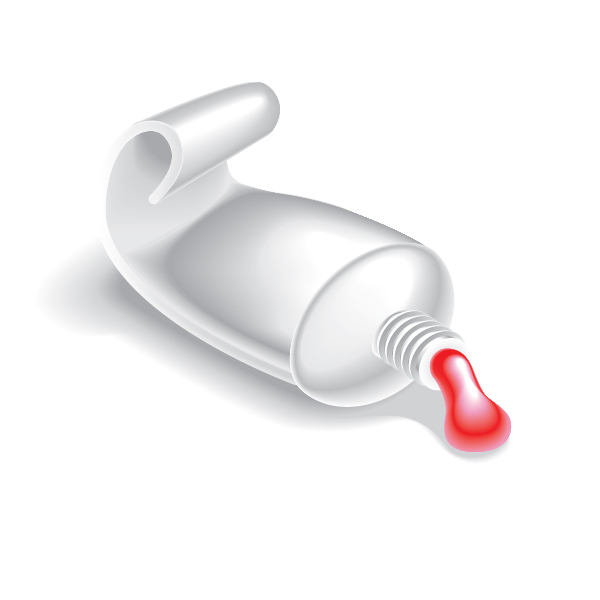
So, we have created a tube of paint and a brush. You can take this tutorial further and create an entire set of paint colours or try and make a tube with its cap on. Remember that there are other drawing tools besides the mouse, Goodluck everyone.