As many of you will know by now mastering is a subject with many facets. Learning how to successfully treat your tracks after your mix is complete generally requires a good amount of experience but some solid technique will get you going in the right direction.
To get this essential theory embedded I have decided to chop a typical mastering chain into nice bite-sized pieces. This way we can focus on each processor one at a time. At the end of the series we’ll look at the whole chain in action. This tutorial concentrates in the all important equaliser and it’s role in a typical mastering session.
I have not supplied any audio examples here as the clips in the previous part of this series were pretty hard to tell apart if I’m honest. I plan to show the full mastering chain action in the final part of this series.
Step 1: Picking the Right EQ
When it comes to picking the right EQ for your mastering chain many of you may be looking for a dedicated mastering processor. Although there is hardware and software products that are labelled as such, the truth is any decent EQ plug-in can be used. Obviously sonic integrity is paramount here so the best you can afford is usually a good guideline to stick to. Saying that there are some really excellent equalisers that won’t break the bank.
Although ‘dedicated’ mastering EQs can include some very handy features for shaping your final mix, what we are looking for here is a clean interface, pristine signal path and plenty of flexibility. For those of you new to the area of mastering a spectrum analyser can always be useful as well.
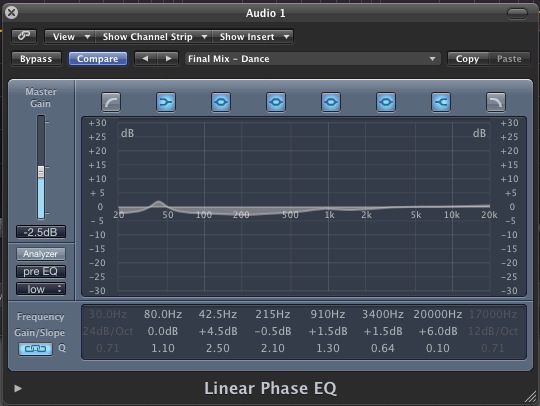
Logic’s linear phase EQ is more than capable of performing mastering equalisation.
It’s highly likely that you already have something in your plug-in collection that meets these criteria. You may even have something bundled with one of your DAWs thats up to the job. Logic’s ‘Linear Phase EQ’ for example is certainly suitable. If you are finding it difficult to come up with the goods you might want to take a look at something like Fabfilter’s excellent ProQ plug-in. This features everything the budding mastering engineer will need and it’s very reasonably priced too.

Fabfilter’s Pro Q is a great choice for the budding mastering engineer and has a rich feature set.
Step 2: Modes, Latency and Physical Models
Before we get into any EQ techniques let’s have a little look at the various options a lot of more advanced plug-ins may offer.
The first thing to think about is the algorithm our EQ is using. Now most run of the mill EQ plugs will use something called phase distortion to create their final effect, this process essentially adds noise to the signal and is a pretty brutal way of enhancing a sound. The upside is that it can often add character and induces extremely low latency values due to the small amount of CPU resources this process uses.
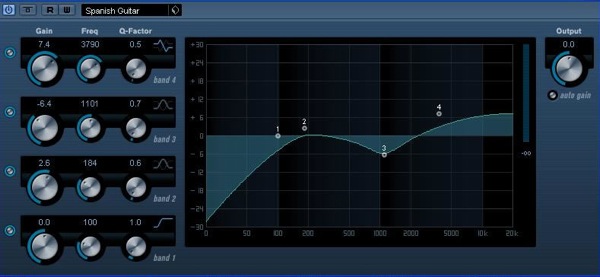
Most stock DAW EQ plug-ins will not be linear phase and will introduce some level of distortion.
This sort of rough and ready EQ is just fine during the mix stage, especially on non crucial elements. In fact these plug-ins can reduce CPU usage and help keep latency to a minimum, so usually its a green light. When it comes to mastering we might want to be a little more selective and a more refined approach is often needed.
You may have heard of linear phase equalisers. Without going too heavily into any maths, these plug-ins use a process that create absolutely no phase distortion when applying equalisation. This means they are perfect for mastering duties but the extra number crunching does mean high latencies and CPU loads. Of course during mastering this rarely an issue as all your mixing and performance has been completed.
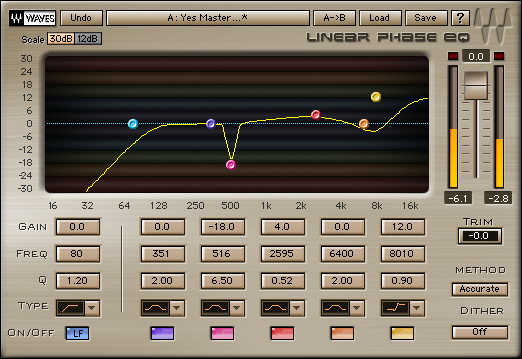
Linear phase EQs offer a totally transparent result.
So long story short, if you have the option, go for a linear phase EQ plug-in as opposed to a bog standard stock version. Most DAWs include them and plug-ins like Fabfilter’s Pro Q that I recommended in the previous section have an option to engage linear phase processing.
There are some situations when you may want to consider using an EQ that actually compromises your signal path somewhat, now I know this goes against the grain but stay with me. Some equalisers use physical modelling to recreate the sound of specific hardware and this modelling gives us the ‘warm’, ‘phat’ sound we love but in reality these qualities are just the sound of random anomalies and saturation (i.e. distortion) introduced by the modelling algorithms.
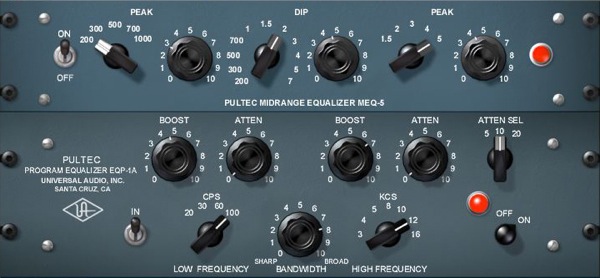
Using physical modelled equaliser plug-ins can add character and warmth to your master.
So the question you have to ask yourself is do you want a coloured, characterful equaliser or a clean, transparent one. The choice is very much a creative one and the results are subjective but if you are in any doubt here I would advise a nice clean linear phase model. When it comes to mastering transparency is generally the better option.
Step 3: Less Is More
When it comes to enhancing or attenuating frequencies in our master less really is more. Not only should you be using small amounts of EQ but also low ‘Q’ values. This means we are working with large, broad brush strokes and ultimately we should be able to manipulate our master without over colouring it or any frequency becoming hyped or over cooked.
There are generally no hard and fast rules in mastering but as a guideline if you are adding more than about 3-4dB in any one frequency band you may want to think about why. It’s highly likely that the need for extreme equalisation in the mastering stage means that something is wrong at mix level. Remember in most cases you can go back and alter things and this is often a much healthier approach than adding large amounts of processing.
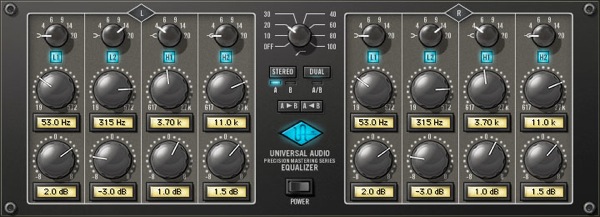
Adding and subtracting around 2-3dB as far as you want to go when mastering.
Some dedicated mastering EQs only supply limited scope for adding processing in watch band for this very reason. If you look at Universal Audio’s precision mastering EQ for example, you’ll notice that not only do the gain knobs move in 0.5 dB increments but there is only the option to add up to 8dB in each band. This is nothing compared to the 20dB+ some modern EQ plug-ins are capable of.
Step 4: Nice Curves
As well as small amounts of boost and cut you should also try to stick to low ‘Q’ values when mastering. This means gentle sweeping curves and avoiding any unnecessary peaks. This subtle approach combined with small amounts of boost gives us equalisation at its most transparent.
These settings will ensure you change the qualities of groups of instruments as opposed to one specific area. This will not only blend instruments but also add extra cohesion to your mix which is always welcomed at this stage.
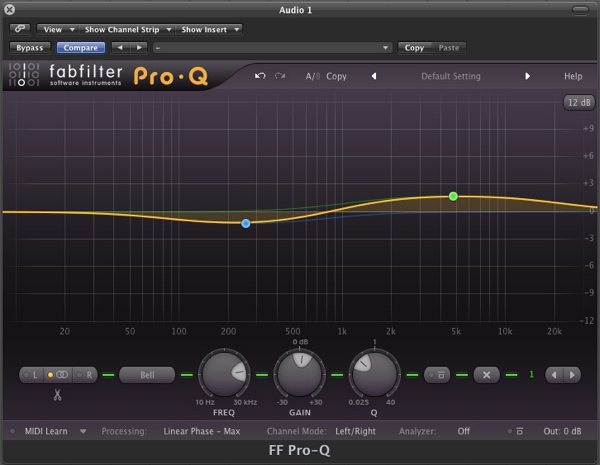
Low Q points mean that larger areas are effected and the result is more transparent.
Step 5: The Final Cut
One part of mastering equalisation that is hugely important is the use of a solid high pass filter. This is something that a lot of novices forget and it can effect your final outcome in a few ways, none of them good.
Even the largest sound systems go down to around 30Hz and this is low, very low. Your average nearfield and even mid-field motors will go down to around 40Hz and active subwoofers to about 30-35Hz. With all this in mind it’s usually pretty sensible to filter off any subsonics below around 30Hz, if you feel this is too high then move down to 25Hz. But make sure that you remove some of these super-low subs.

Cutting very low frequencies can give you a more concise low end mix and allow other processors to work at full effect.
Low frequency energy this far down moves extremely slowly and although you can’t hear it can push a huge amount of energy into mastering processors, forcing them to deal with it. This can cause general mayhem all the way down your signal path but is especially troublesome to the final brick wall limiter, robbing it of the ability to produce that all important loudness.
So make sure you have a high pass filter in place and if you are concerned with these frequencies re appearing later in your chain, after some heavy processing there is no harm in inserting another down the line.