In this Quick Tip I’ll show you how to use Config Constants to compile different debug and release versions of your code, so you can easily switch between them.
Step 1: Config Constants Settings
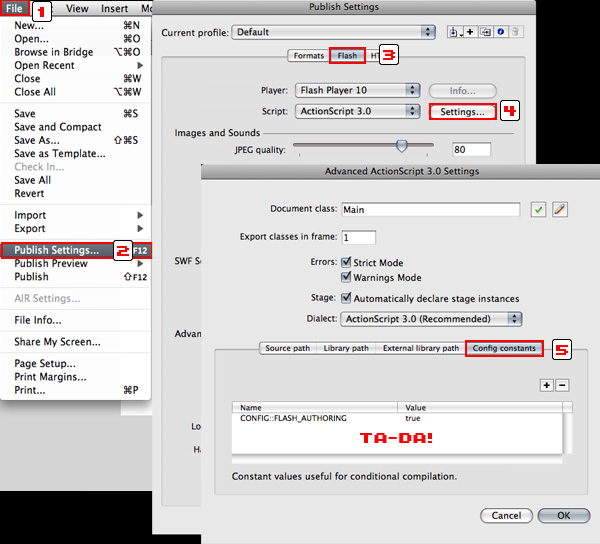
A lot of people don’t know about Flash’s Config Constants because they’re new to CS4 and because they’re buried deep within two sets of tabs and two different windows. Here’s how to find them:
In your Flash file, open the Publish Settings (File > Publish Settings…) and click the Flash tab. Click the Settings button next to the Script: Actionscript 3.0 pulldown.
In this new window click the Config constants tab at the far right.
Whew…
Step 2: Add the DEBUG Constant
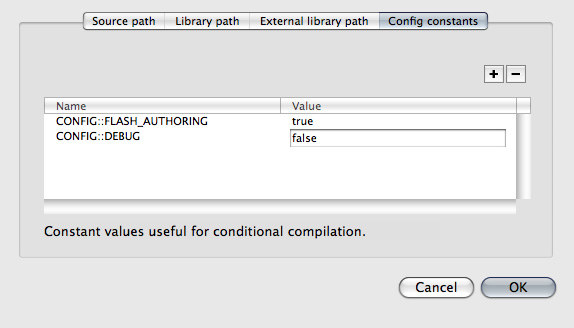
You should see one constant (FLASH_AUTHORING) already in the list. Now we’ll add one of our own.
Click the plus button to add a new constant and give it the name ‘CONFIG::DEBUG’. In the Value field enter ‘true’.
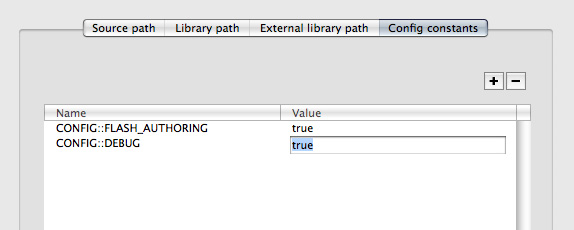
The interface here is pretty poor. If you’re having trouble getting the Value field to gain text focus try double clicking somewhere in that giant empty space to the right of the constant you just created. A little higher… more to the right… there! Remember CS5 is out soon – maybe they’ll have fixed this.
Step 3: Use the Constant in Your Code
Now that we have the DEBUG constant set up in our Flash file we can use it anywhere in our code:
CONFIG::DEBUG {
	trace("This code will only be compiled if DEBUG is true.");
}
The code that you place in between the braces will only be compiled into your SWF if the DEBUG constant is set to true.
Step 4: The Debug Publishing Profile
You can go into the Publish Settings and change the value of the DEBUG constant each time you want to switch between compiling a release and a debug version, but that quickly becomes tedious. To save some time you can set up a couple of different publishing profiles.
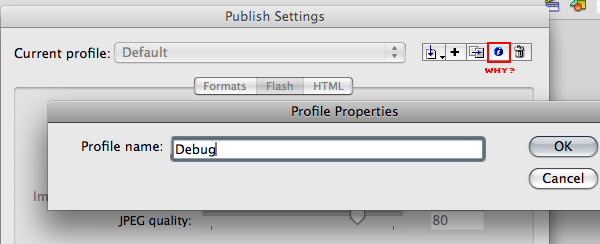
Go back to the Publish Settings and Click the ‘Rename Profile’ button. For some reason the icon for this is an ‘i’.
Name your profile ‘Debug’.
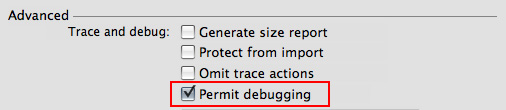
While you’re in here you might want to set some of the other options that will be handy for a debug build, like Permit debugging. I also find it helpful to change the audio compression settings for faster publishing of debug builds.
Step 5: The Release Publishing Profile
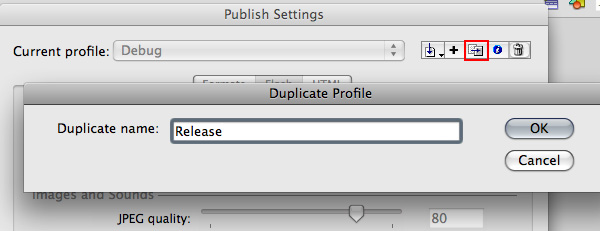
Once you have your Debug profile set up, hit the ‘Duplicate Profile’ button and name the new profile ‘Release’.
Define the settings for your release version. (Turning off Permit debugging, etc.)
Step 6: Change the DEBUG Constant
Go back to the Config constants in your Release profile and change the DEBUG constant’s value to ‘false’.
Conclusion
That’s it! You now have an easy way to switch between debug and release versions of your code.
This can be really handy in situations where you need different code in your program while you’re testing it than you’ll have in the final version. For example, if you’re game gets some of its data from a server or from another SWF that you don’t have access to while testing, you can feed in fake data to the Debug version.
You could also use it to set your game to start on the level you’re trying to test, without having to play through the entire the game.
When you’re done testing, just switch back to the Release profile and republish.