Magento for Designers: Part 2
Magento is a stunningly powerful e-commerce platform. In this miniseries, we’ll learn how to get started with the platform, getting to know the terminologies, setting up a store and all related aspects of it, and finally how to customize it to make it our very own.
In this second part, we’ll focus on short, simple steps to get your Magento store from installed to ready for deployment, which will cover setting up your products, product categories, taxes, shipping, payment gateways and much more! Excited? Let’s get started!
The Full Series
A Quick Recap
In the last part, we saw what Magento is, what features it brings to the table, how to install it and finally how to import details regarding your existing data.
Today, we’ll fast track through the set up process by eliminating all the fat and instead focusing on only the very important elements. In these short, simple steps, your fresh installation of Magento will turn into a fully functional e-commerce web site.
In the previous part, we looked at how to bulk import products but that method may not be suitable for all scenarios. Hence we’ll build up our catalog and store from scratch.
Step 1 : Setting up Categories
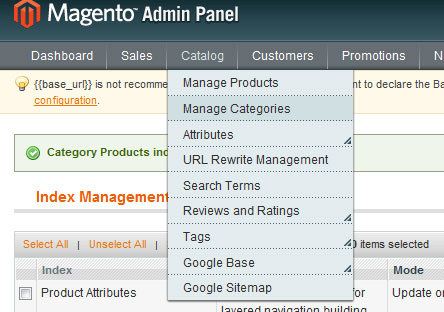
Creating categories for products and then using them for organizing them will definitely help you in the long run. Creating a category is very simple. Under the catalog menu, click on Manage Categories
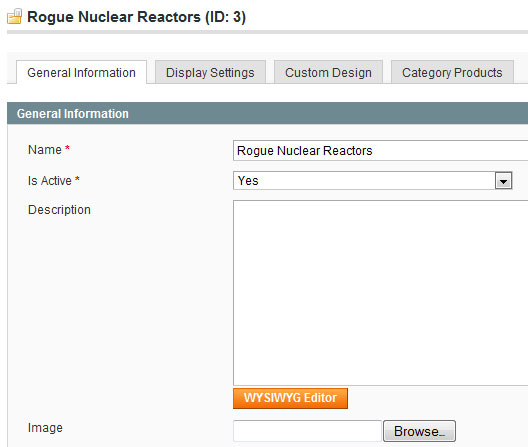
The resulting form lets you manage the various properties of the category.
The Name field lets you set a name for your category. You can always refer to it by ID but a name is always easier to use. You are allowed to use any character here.
The Is Active toggle lets you decide whether to make it active straight away or wait for later. This is especially useful when you are making advance preparations for a special sale and do not need to make it live right away.
The Description and Image fields are self explanatory.
The Page Title, Meta Keywords and Meta Description fields are for SEO purposes and let you set and manage these attributes on a per-category basis.
For a quick setup, these are all the fields you need to complete. The rest of the options in the other tabs are rather advanced and are beyond the scope of this article.
Step 2 : Setting up Products
Products form the base of your store and so we’ll spend a little extra time here. To add a product, click on the catalog menu, click on Manage Products.

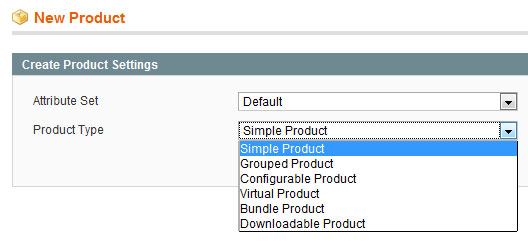
There are a number of types of products you can create in your store:
- Simple
- Configurable
- Grouped
- Virtual
- Bundled
- Downloadable
In the interest of getting our store up and running as quickly as possible, I’ll cover simple products and downloadable products here. In all honesty though, these are all you’ll need in most cases. We’ll take a look at how to create a simple product first.
You get a total of eleven tabs chock full of fields to enter data about your product. For now, you can safely ignore most of them and focus instead on the fields that matter.
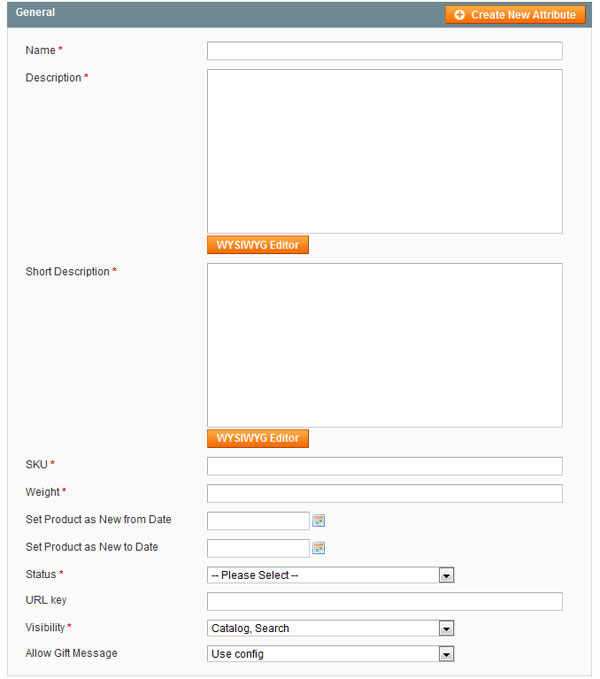
The General tab covers the bulk of the necessary information you need to input to get started. Key in values for the name, description, short description, SKU and weight fields.
The status option lets you decide whether the product is enabled or disabled from the onset. For example, you can set the products status to disabled if it’s a special product that is meant to be sold only in a certain period.
The visibility options lets you fine tune where the product appears. For instance, you may want a product to appear in the catalog but not in a search or vice versa. You can set that option here.
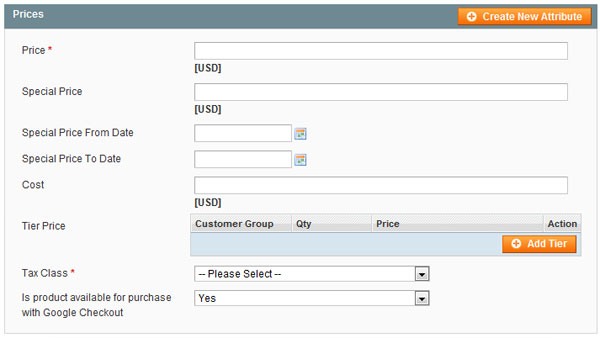
In the Prices tab, you only need to fill out two fields. The price field is self explanatory. Tax class lets you define to which tax class the product belongs to. I’ll talk about taxes a little bit later below.
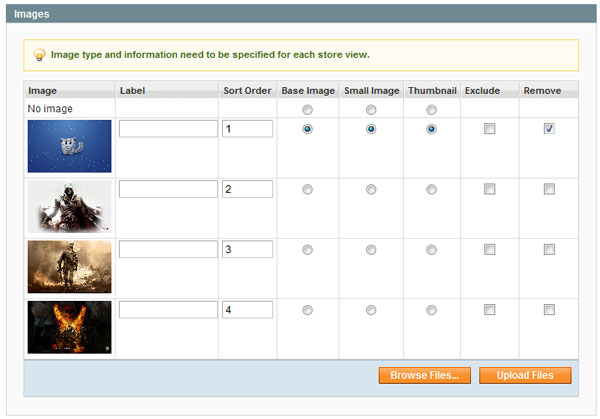
Setting up images for each product is not necessary but is highly recommended. The Images tab lets you pick out images for the product.
Each product needs 3 images. A big image, a smaller version and finally a thumbnail for displaying in search listings and so on.
Each image can have either or neither of these three. You are also allowed to have more than one image for a product. Magento provides a simple Flash based uploaded for you to directly upload the images you need.
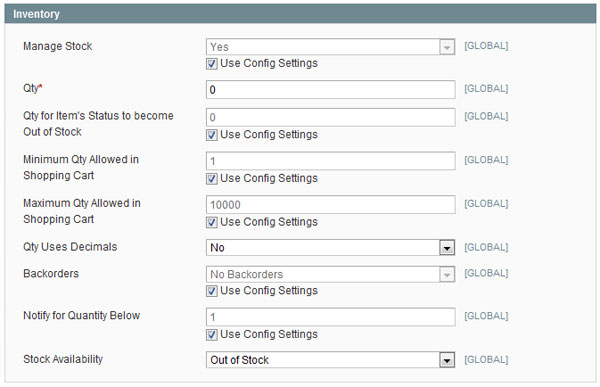
In the Inventory tab, you can fill out the quantity you currently have stocked so the core engine can let the customer know when an item is sold out.

Finally, you’ll need to define which category the product belongs to. I only have a solitary category in my local server but you can nest it as needed.
Feel free to explore the others options present in each tab but these are the bare minimum you need to create a simple product.
For a downloadable product, you’ll need to look into one more tab: the Downloadable Information tab.
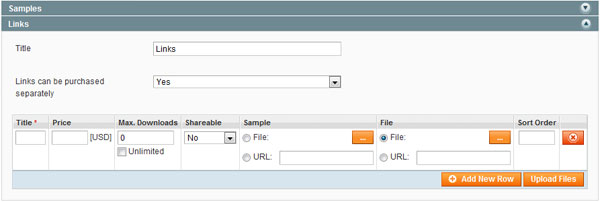
This tab let you do a number of things including letting you upload or point to a file you want as the demo or the main product, decide whether purchasers are allowed to share the link, how many times the purchaser is allowed to download it and so on. Once you’ve filled this out, you can sell digital, downloadable products like, say, music, lesson plans, photographs and so on.
Step 3 : Setting up Taxes
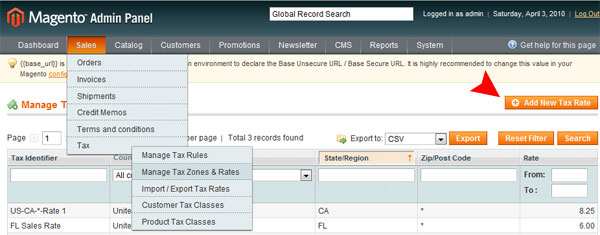
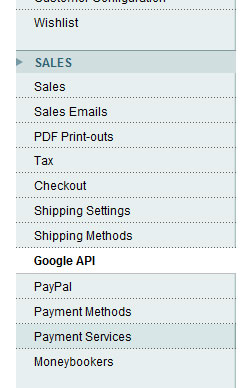
Using Magento, you can account for a myriad combinations of different locations and their resulting differing tax percentages. Setting up tax rates is easy. Under the Sales tab, click on Tax -> Manage Tax Zones and Rates and then click on the Add New Tax Rate button.
Now we’ll configure the core engine so that it adds a sales tax of 6% whenever a customer from Florida purchases an item.
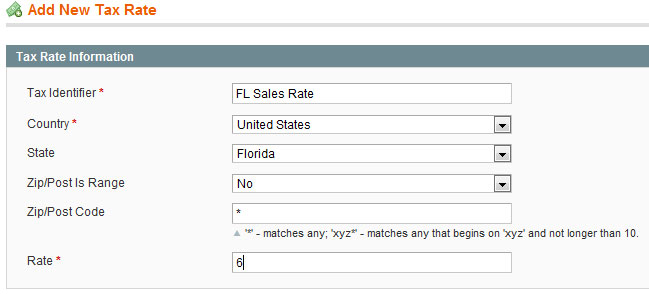
The Tax Identifier field lets you name the rate to your choice. Next, choose your country and if necessary, drill down to state and finally to the zip code if taxes differ by zip codes.
You can then specify the tax rates for the location you’ve selected. If instead, the differing taxes only apply to a range of post codes, you can specify them in the range field.
For basic use, setting up a tax rate alone is sufficient. But if instead you want to drill down further; say, change the tax for different items or offer differ rates for wholesales purchasers, Magento still lets you do that. You need to make use of Customer/Product classes and then define rules for them. This feature, while simple, requires a bit more explanation to get started. We’ll look at this feature in another part of this series.
Step 4 : Setting up Shipping Rates
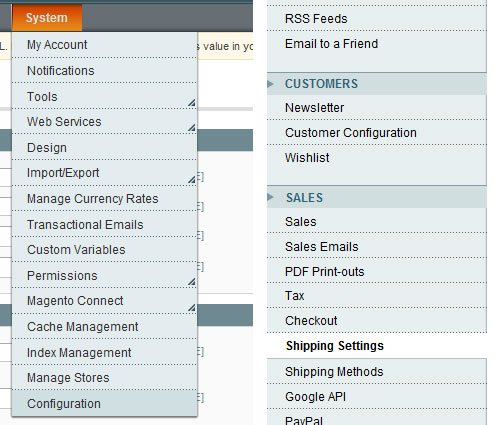
Magento can automatically calculate the shipping rate based from where your warehouse is and the customer’s address. First, you need to tell Magento where you’ll be shipping it from. On the System menu, click on configuration. The shipping settings can be found under the sales section on the left.
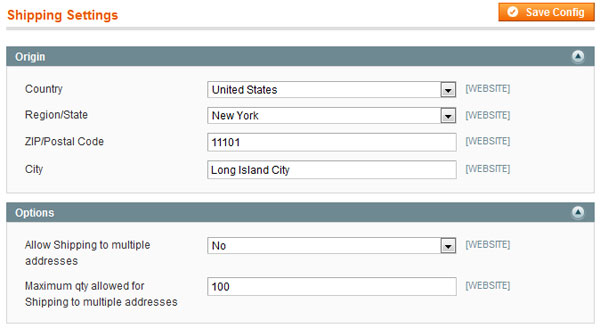
First, you’ll need to let the system know where you are located from or where your warehouse is so Magento can use it as a starting point in calculating the shipping rate.
Next, click on the shipping methods option. You can find it right under shipping settings.
Now, you can choose to charge a flat rate or to let Magento query a number of shipping services to find out their rates.
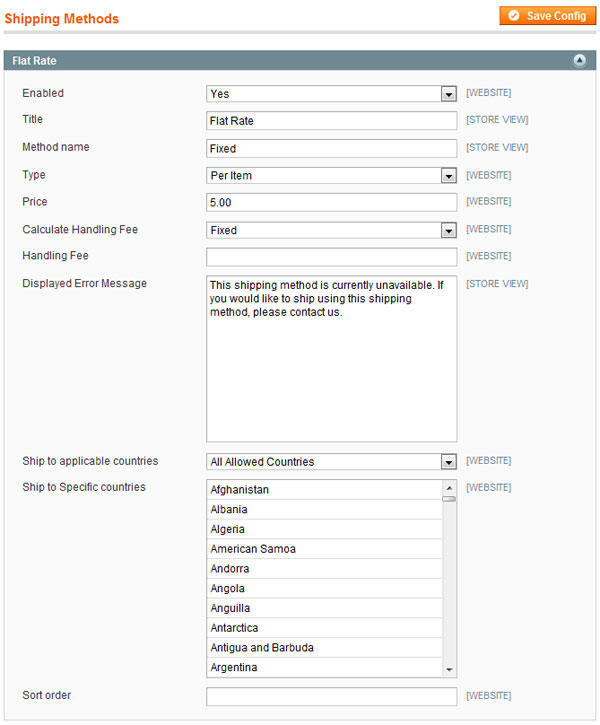
Here, you can modify a number of options including naming it, choosing whether the rate is calculated per item or per order, how much is to be taken for handling, the price itself and so on.
And here is where Magento shines. You can specify this is as an option for all allowed countries or just choose the countries you want to allow individually.
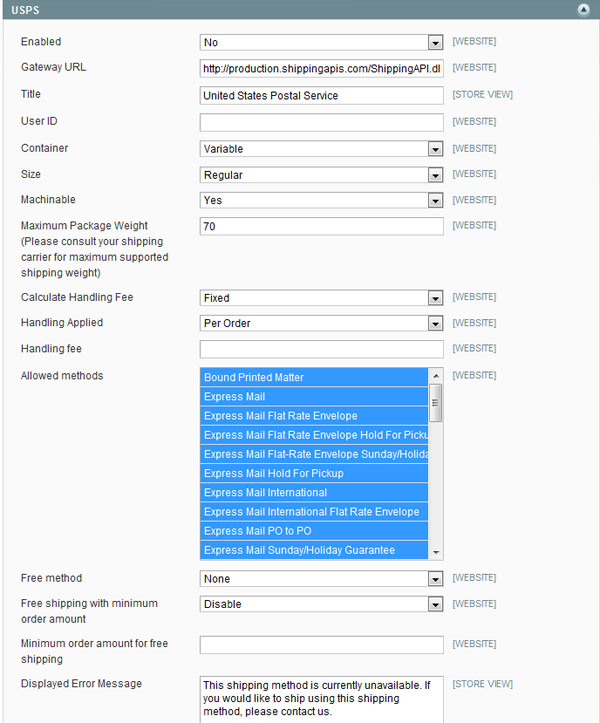
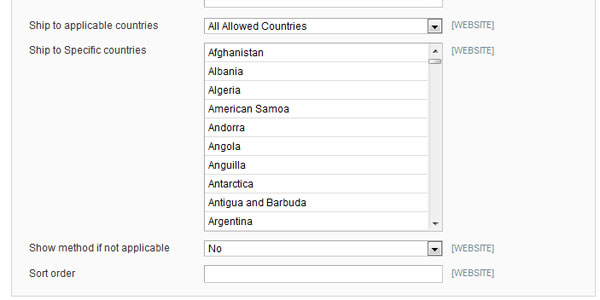
If instead, you’ve decided to let Magento decide the rate based on what each shipping company charges, you can select the service you like. Each of them, however, share the same options.
Most of the fields are rather self explanatory so I’ll go over the more pertinent ones here. First up, notice the gateway URL field. This is where the Magento polls for shipping rate data. If by chance, it gets outdated, feel free to update this field. You can also specify which types of shipping methods are allowed. As before, you can allow/disallow each method of each supported shipping company individually.
Please note that the User ID field is specific to each shipping company and may require registering with them. Depending on the company, DHL for instance, you may also be required to provide an access ID and password.
Step 5 : Setting up a Payment Gateway
Magento supports a number of payment methods right off the bat to simplify your life. Only the check/MO method and saved CC method are enabled by default so you’ll have to pop-in and enable the payment methods you need on the settings page.
You can find this on the sales portion of the configuration page. In case you forgot, you can reach this page through System->Configuration.
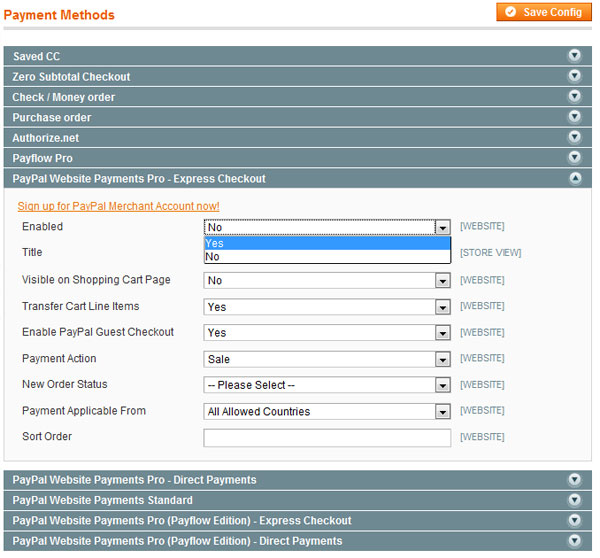
For example, to enable Express Checkout for Paypal account holders, you’d just need to click on the appropriate method and change the enabled field to yes.
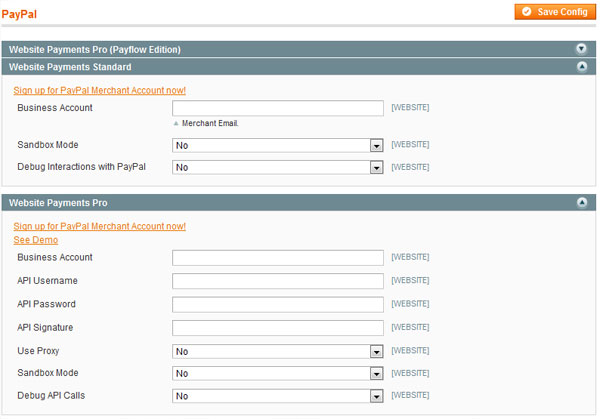
If you’ve chosen a Paypal payment method, you’ll also need to provide your Paypal email address and other credentials depending on which method you chose.
Google Checkout and Moneybookers both get their own section, in case you’re wondering. Just like with Paypal, enabling them can be done in two simple steps.
Step 6 : Setting up your Inventory
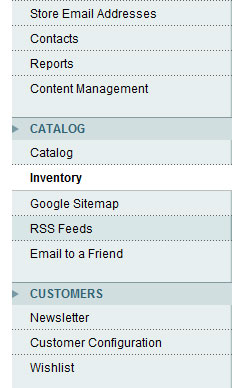
Magento provides a robust inventory management system you can use of to avoid problems in the future. You can access it by clicking on the the inventory menu in the catalog section of the configurations page.
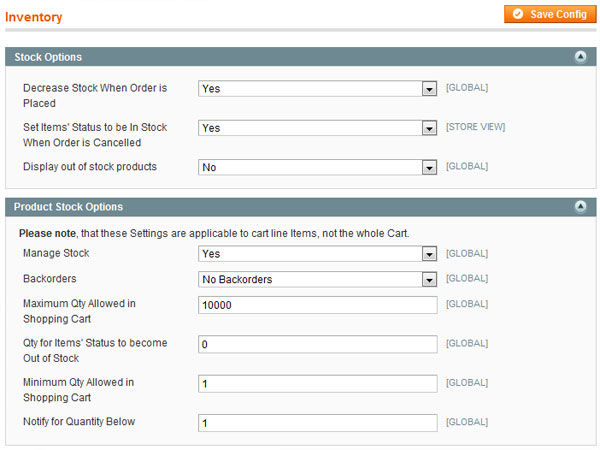
Here, you can specify a number of options including when to mark an item has sold out, maximum numbers of items allowed in the cart, whether back orders are allowed and so on.
You can also denote whether you want your inventory to be adjusted when an order has been placed. If instead you want to manually modify your stock when a product has been shipped out, disable this. You can also specify whether sold out items are displayed and the threshold number of items before an item is marked as out of stock.
Step 7 : Setting up Analytics
Now that we’ve got the brunt of the work done, we can focus on the smaller, often forgotten things. Analytics, for instance.
First, you’ll need to enable Google Analytics. You can do so by going to the Google API link of the sales section of the configuration page. Here choose to enable GA and keyin your account number.
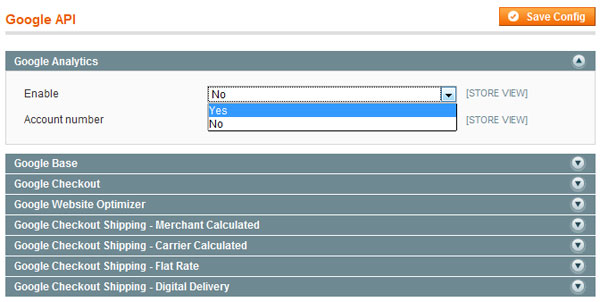
Now, Magento automatically inserts the required Google Analytics code into each page of your web site.
Step 8 : Setting up Pretty URLs
The final step now is to make our store as SEO friendly as possible. While most of the onsite parts of SEO are dependant on the theme you use, user friendly, SEO friendly, semantic URLs are something you can do yourself through tools provided by Magento.
First, you’ll need to enable rewrites. You can do so by clicking on the web link under the general section of the configuration page.
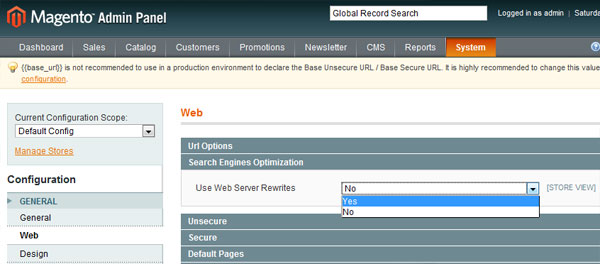
The relevant option can be found under the SEO link.
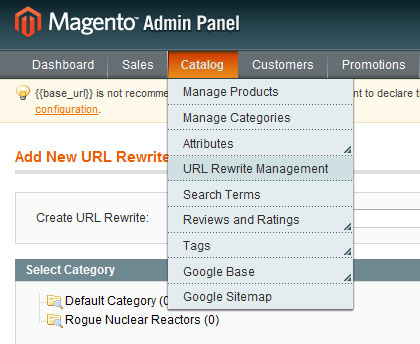
Now, we can create our own custom URLs. Point to catalog->URL Rewrite Management.
The resulting form lets us manage our rewrite.
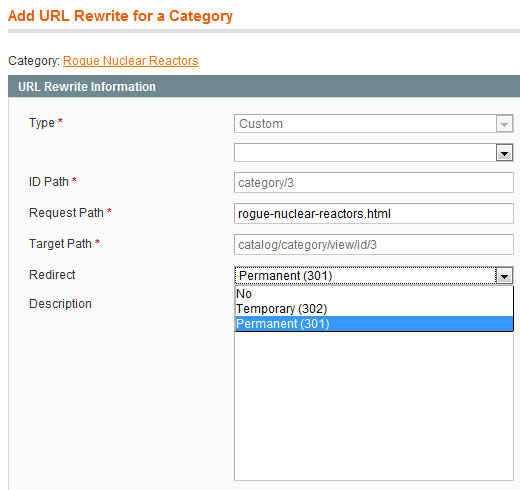
The type, ID path and target path are read-only fields. The request path however lets you keyin our own request path. Essentially, when a URL pointing to request path is requested by the browser, internal rewrites reroute it to the target path.
You can also denote whether the rewrite is permanent or temporary.
The Last Word
And we are done! We looked at how to convert your fresh installation of Magento into a fully working e-commerce powerhouse. We review how to set up your categories, products, taxes, shipping and much more. Hopefully, this has been useful to you. I’ll be closely watching the comments section so chime in if you’re having any concerns or questions.
Questions? Nice things to say? Criticisms? Hit the comments section and leave me a comment. Happy coding!