Texture can add richness and character to a vector illustration, but often those qualities come at a price. Most texture effects in Illustrator are actually raster based, with limitations on size and quality. Here’s a quick way to create a versatile vector texture that can be painted on with a brush, right where you want it.
Step 1
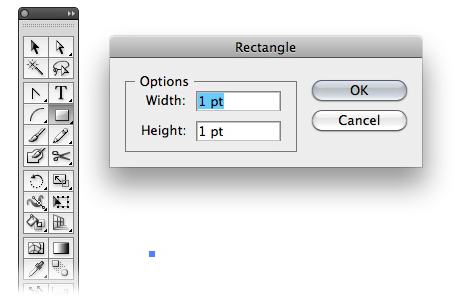
Draw a rectangle, 1 point x 1 point.
Step 2
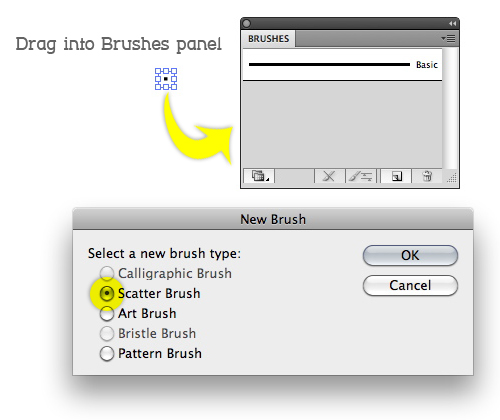
Drag the square into the brushes panel and choose Scatter Brush as the type.
Step 3
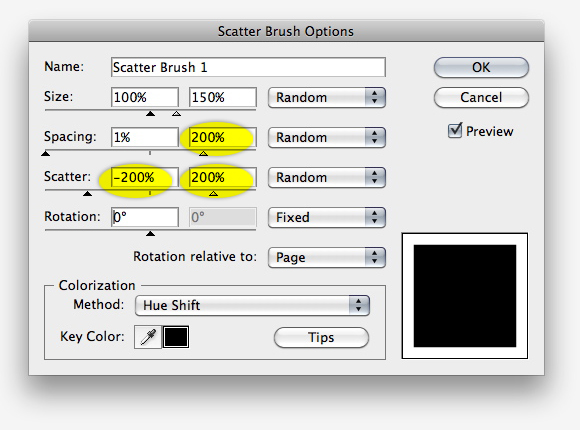
Enter the following values in the Scatter Brush Options dialog box. Be sure to choose Hue Shift as the Colorization method.
Step 4
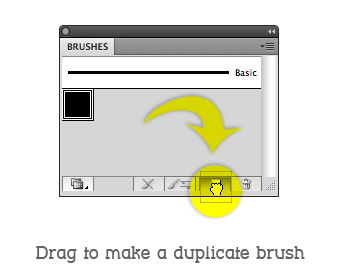
Drag this brush onto the New Brush icon on the Brushes panel to make a copy of it.
Step 5
Double-click the copy to bring up its options. Enter the following values, which are double the previous numbers.

Make a copy of this brush, as before, and again double the values, as shown below.

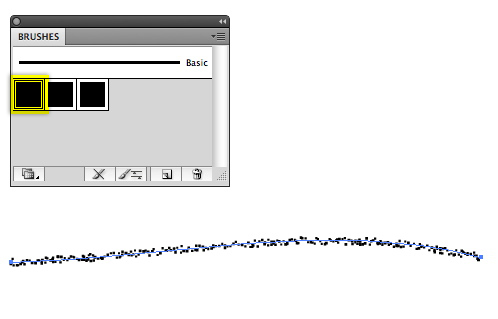
Step 6
Draw a temporary stoke, and apply the first Scatter Brush.
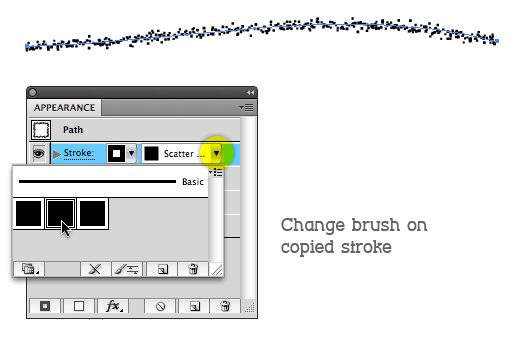
Step 7
In the Appearance panel, drag the stroke to the Duplicate icon. Select the copy and change its stroke to Scatter Brush #2.

Step 8
Repeat the above process, changing the third stroke to Scatter Brush #3.
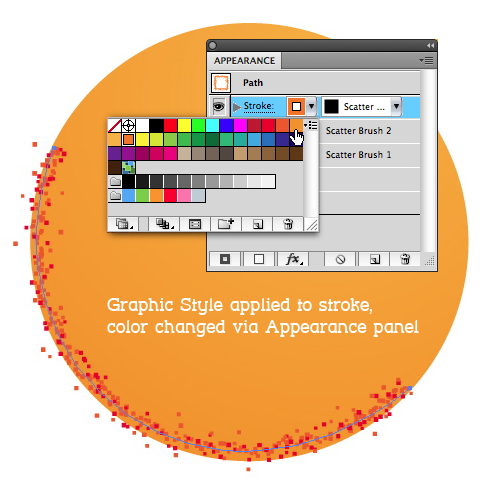
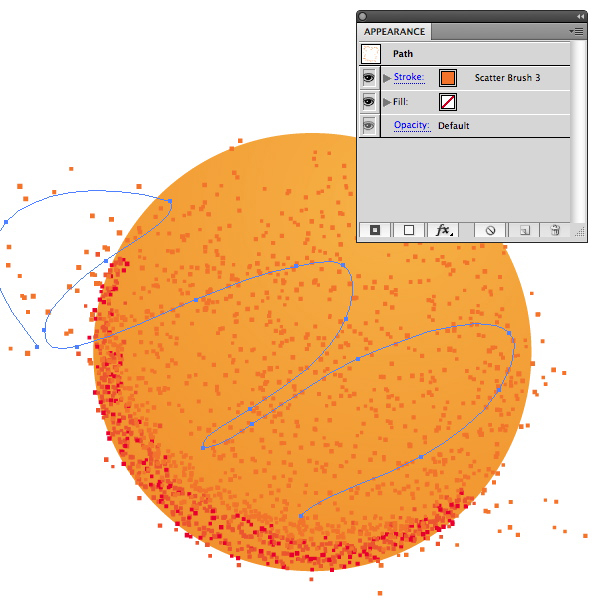
Step 9
You now have a stroke that contains a graduated texture, with enough randomness to look organic. Your Appearance panel should look like the image below.

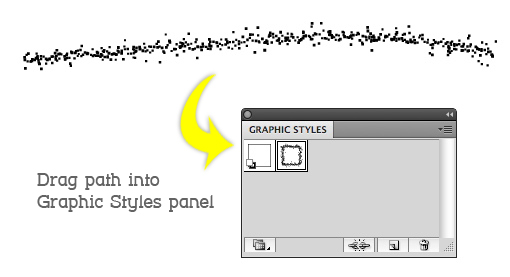
Step 10
Drag this stroke into the Graphic Styles panel to create a new style.
Step 11
Now it’s simply a matter of drawing paths and applying the Graphic Style to them. You can change individual strokes’ colors in the Appearance panel.
Step 12
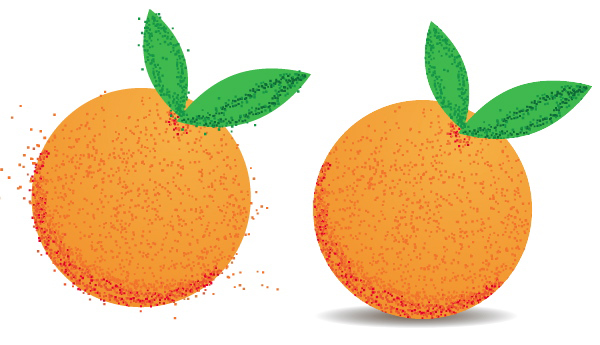
You can create additional subtle texture by painting with a single Scatter brush, and layering paths.
Step 13
For a tidier look, apply a Clipping Mask to the shapes to contain the texture.
{excerpt}
Read More