I’m constantly throwing audio between the different Macs in my home/studio set up. If you have not tried this before it’s a must as it can speed up your workflow immensely. This quick tutorial will look at how to set up the network sharing you’ll need and the fastest way to use it.
Step 1: Enabling File Sharing
Enabling file sharing in Snow Leopard is pretty straight forward, simply navigate to the system preferences application and choose the ‘Sharing’ icon in the Internet and wireless section. Once inside this area you’ll be presented with a pretty dizzying array of choices on the left hand side of the window. The one we need is ‘File Sharing’.

The file sharing icon.
With File Sharing selected on the left of the window you will see the relevant options pop up on the right hand side. You can now choose specific files and folders to be shared across your network.
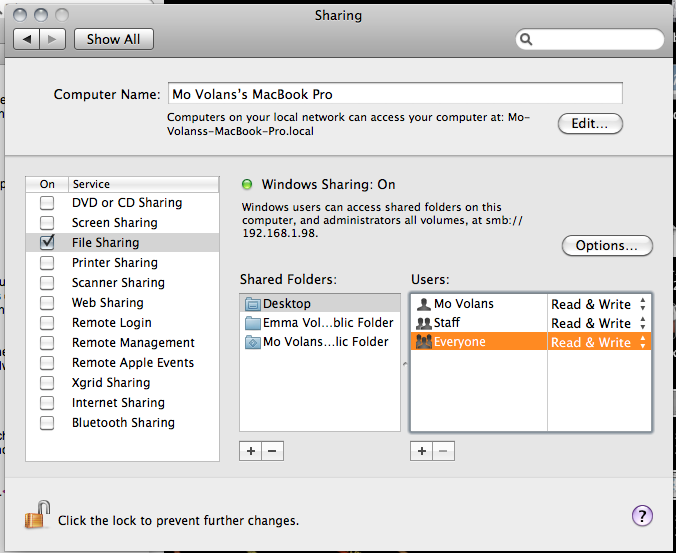
Enabling file sharing.
Step 2: Choosing the Right Folders to Share
The whole point of the file sharing options is that you can choose any file on your system to be shared between the different machines your network but for the purposes of this tutorial we are going to go ahead and share the desktop of our Mac.
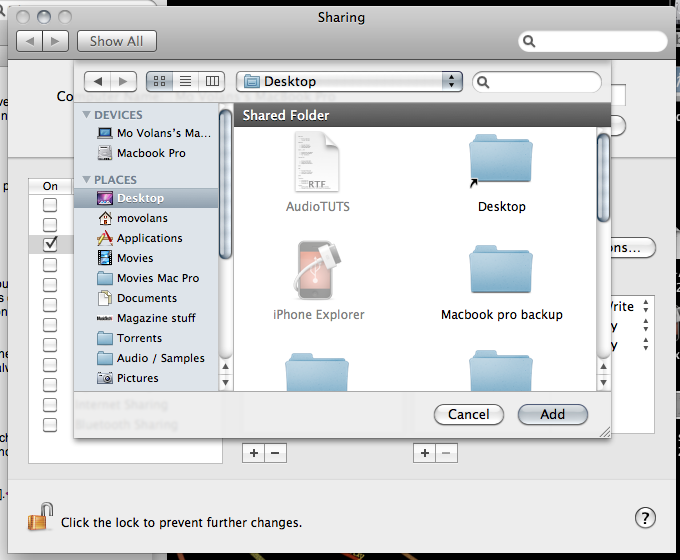
Selecting the desktop as a shared folder
To do this simply hit the plus sign below the ‘Shared Folders’ section and select the desktop (within your ‘users’ folder). This should now show up in your list and it will instantly become an accessible shared folder. You may also want to change the security options at this point. As I live in a pretty secure area with little to no network activity I have mine set to Everyone can read and write but you may want to change this.
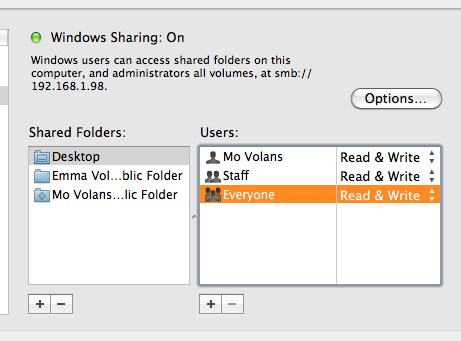
Setting your security level
Step 3: Setting Up Some Quick Shortcuts
You may be wondering why I decided to choose the desktop to share and not a dedicated audio folder. Well the truth is I find that sharing between desktops of multiple computers is an extremely efficient way to work. Drag an audio file or folder to another desktop and when you arrive at the second machine there is your new file ready for use.
To make things even quicker I put a handy shortcut of the second machine’s desktop on … you guessed it, my desktop! This means you can double click it at any time to activate the share and send files between machines. I have found this is the fastest way to send data to easily found location.
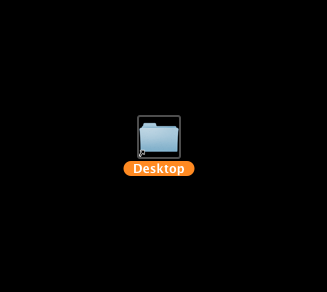
A shortcut to your newly shared desktop on a secondary machine
Remember you can set this up on as many machines as you like. I have it on all of mine. I hope this has helped some of you new to the subject of networking and if you have a more elegant, fast, better way of doing it do please leave a comment!
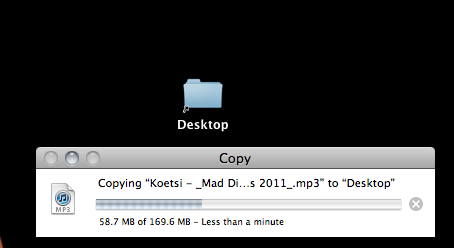
Sending an Mp3 using the new file sharing system
{excerpt}
Read More