This tutorial shows how you can quickly upload your InDesign document for collaborative online commenting via Acrobat.com. This is a great trick if you work as part of a remote team, or need quick feedback from clients, best of all, the comments stay in your InDesign document!
Step 1
Design your document in InDesign CS5. CS Review works across all Creative Suite 5 software, but the text editing/commenting features are only available with InDesign CS5 documents. There are of course other features and functions to CS Live, but I will be focusing on CS Review in this tutorial.
Your document can be any size, color, and can use any number of fonts and images.

Step 2
Upload your document to Acrobat.com via the "CS Live" button in the top right hand corner in InDesign (or Window > Extensions, Access CS Live, Create New Review).

Step 3
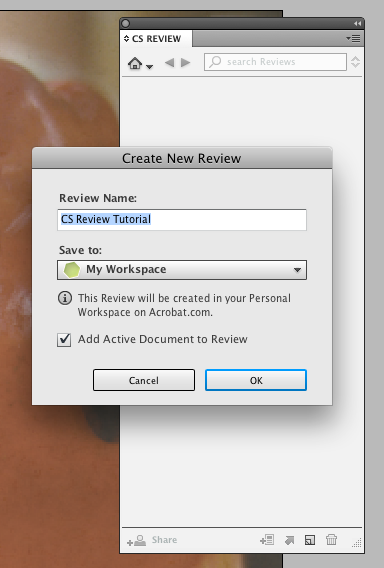
The CS Review Panel will pop up, and Indesign will either ask you to "Create New Review" if you already have an Acrobat.com account, or it will ask you to create an account if you do not have one. You have to sign in toAcrobat.com for this to work, since CS Review works in this way.
Step 4
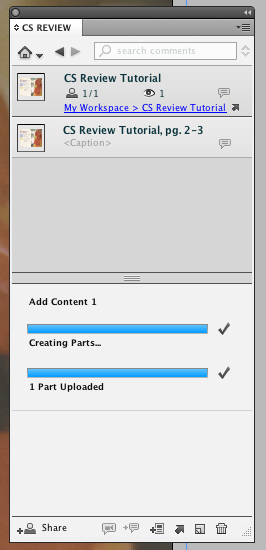
Once you name your review, the "Upload Setting" dialogue box pops up. In this box you can choose which pages in your document you would like to be uploaded for review, as well as the quality, and determine whether the project is intended for Print or Digital use. You can also check the box which says "View Online" after upload complete, this will take you straight to Acrobat.com to view your document online, once the review has been created. When you are happy with your settings, click "Upload" and wait while InDesign uploads your document to Acrobat.com.

Step 5
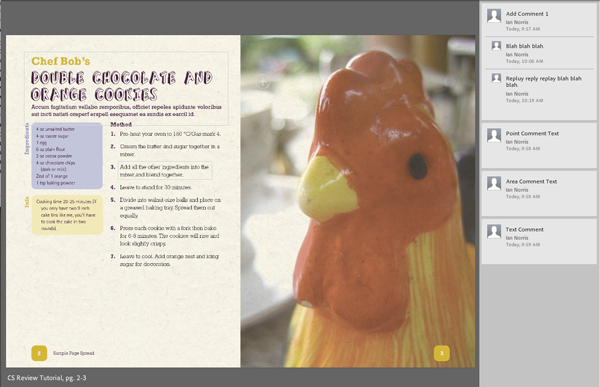
Now you should be taken straight to Acrobat.com, where you will be greeted with your design, and the ability to create a CS Review, complete with all the commenting features. At this point it’s good to note that you can close your InDesign document, there is no need for you to have it open while the Review is in progress.

Step 6
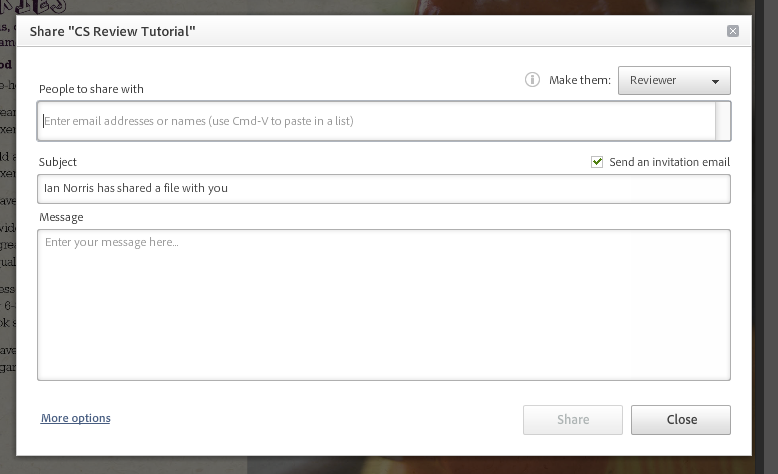
CS Review has a number of handy options, but first you have to add reviews. Simply hover over the Share File button on the bottom left of the main screen, then click on "Share it with individuals" to add reviewers. (As you can see there is another option to Move it to a shared workspace, Acrobat.com provides you with your own online workspace, where you can store reviews, I wont be going into this in this tutorial, but it’s worth looking at).
An email window will pop up, wherein you can enter email address for reviews, add a subject line, and a message. When you are done, click "Share". On the bottom right there is a "More Options" button, if you click on this you have the ability to decide whether everyone the file is shared with can share it with others, or if you want to limit this ability.

Step 7
The commenting tools are really easy to use. Firstly there is a drop down panel in the left which lets you see which spreads are in the current review. To the right of that are several zoom options. The Add Content button lets you add JPG, PNG, FLV files to the review, which will appear as additional spreads. You can also Export as a PDF- either to your workspace or to your desktop.

Step 8
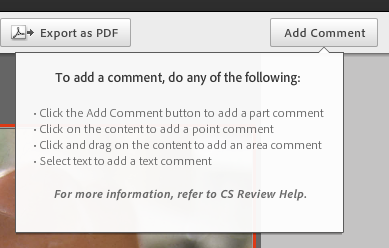
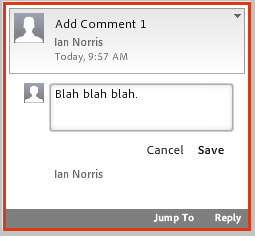
Next up is the "Add Comment" button, click on this to be greeted with all your available commenting options. With "Add a Comment" you can do any of the following:
Click the Add Comment button to add a comment to the whole spread
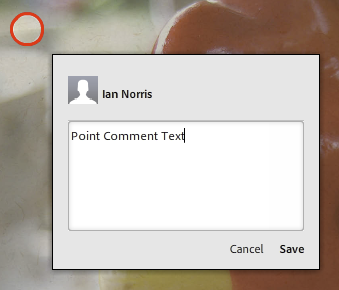
Click anywhere on the spread to make a specific comment
Click and drag on the content to add an area comment
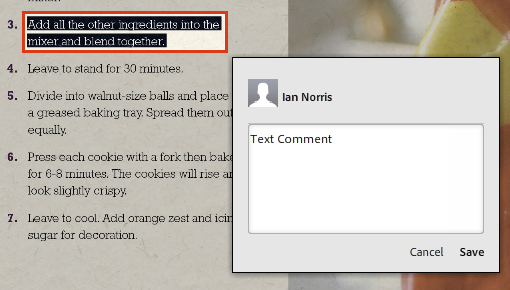
Select text to add a text comment. All you need to do here is hover over some text until the "I-beam" appears, then click and drag over the text to select it.
Click Save after every comment, and you will see the comment added to the right of the screen.

Step 9
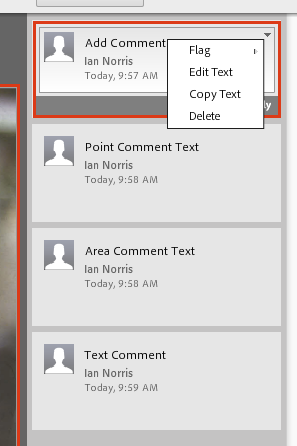
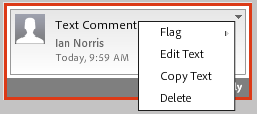
If you click the drop-down arrow on the top right of each comment, you can see some extra options. You can "Flag" the comment (To Do, Done, Approved, Rejected, Disregard, Needs Review), "Edit" the comment, copy it, or delete it. At the bottom right of each comment you can select "Reply" to type in a comment in response to another reviewers comment.
Step 10
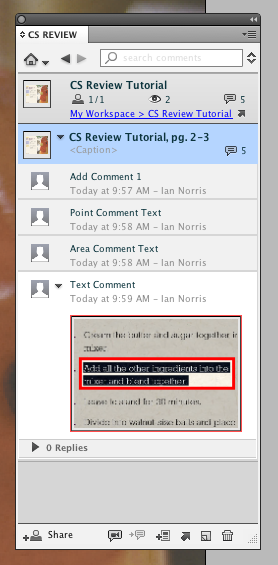
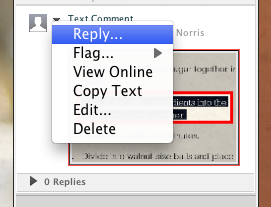
Once you are satisfied that you have made your comments (as a reviewer, you would receive an email link to view this online and can then make your comments in the same manner described above) simply reopen your InDesign document. You will see the CS Review panel now lists all the comments which have been made on the document in CS Review. Click on the little speech bubble to display all the comments, and then click on each comment to see a small representation of the comment, as well as the comment itself. You can click on the comment to "Reply" to it, or "Delete" it, "Flag" it etc.
Step 11
On the bottom left of the CS Review panel, you can select further options. Firstly you can "Show Comments" in Layout, which reveals the locations of the comments via red outlines (in Normal view). You can also"Add More Pages" to the review, "View" the review online again, or "Delete" the review.

Conclusion
And that’s the basic CS Review workflow! The advantages to using this are that fonts aren’t an issue since the document is entirely viewed online by reviewers, and comments can be viewed and commented on from within InDesign at any time during the review.
CS Review is a great tool for working collaboratively, or having a quick commenting workflow. New features are being added to CS Review all the time, and I hope this tutorial encourages more InDesign users to start using it.