Photoshop actions can make lots of tasks easier; from batch processing to handling simple, every day tasks. Actions can seriously improve your workflow. In today’s quick tip we will demonstrate how to use actions to help color your artwork. Let’s get started!
Introduction
I must to tell you, I’m a lazy person and I always want to reduce the amount of extra work I have to do, even if it’s just one more click. I work at an advertising agency and every minute counts, today I’d like to share a quick tip that I learned that really makes my life easier.
Step 1
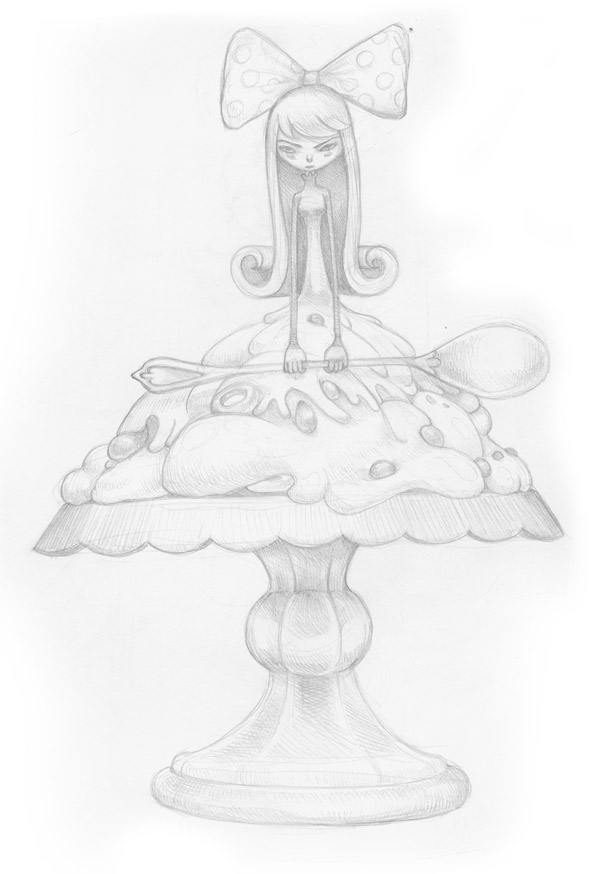
To start things off, I scanned one of my drawings and opened it in Photoshop.
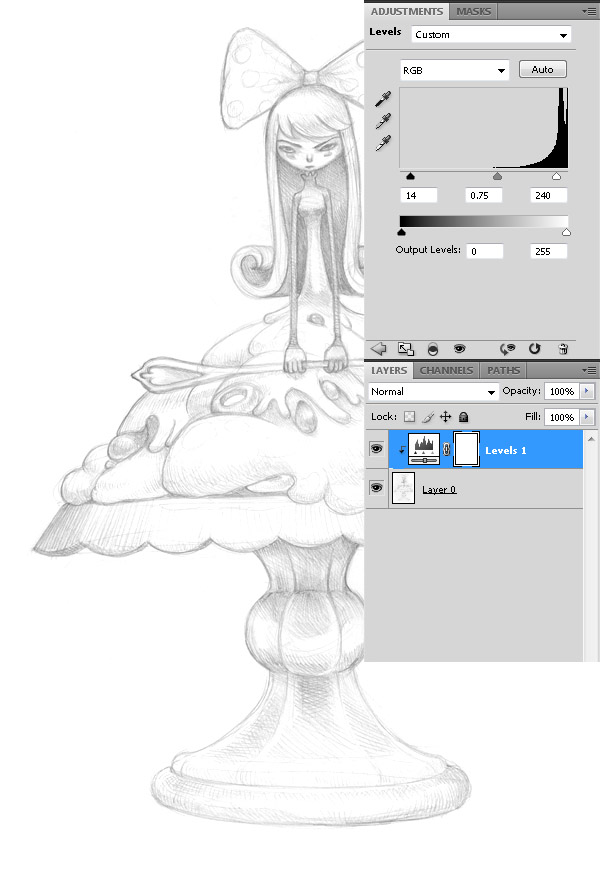
Adjust the image a little with levels to get cleaner lines.
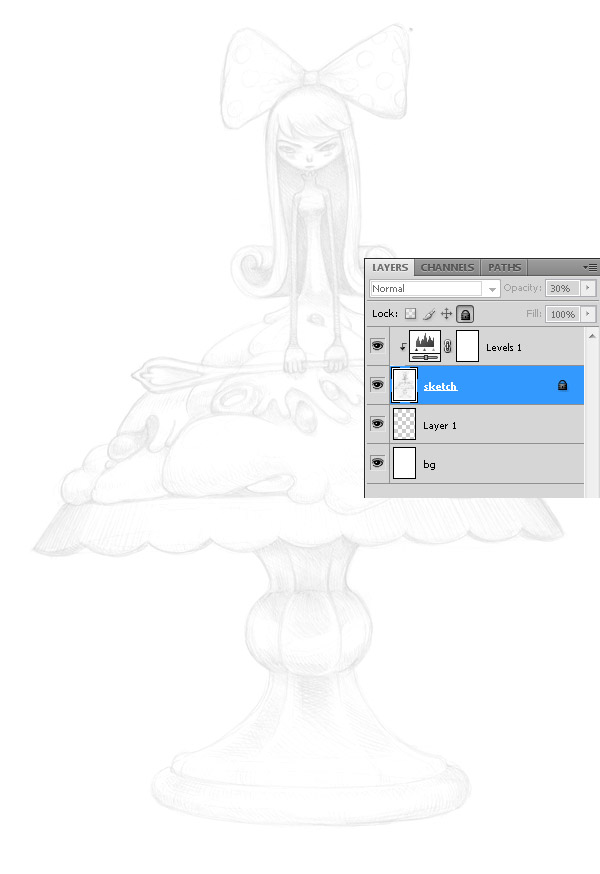
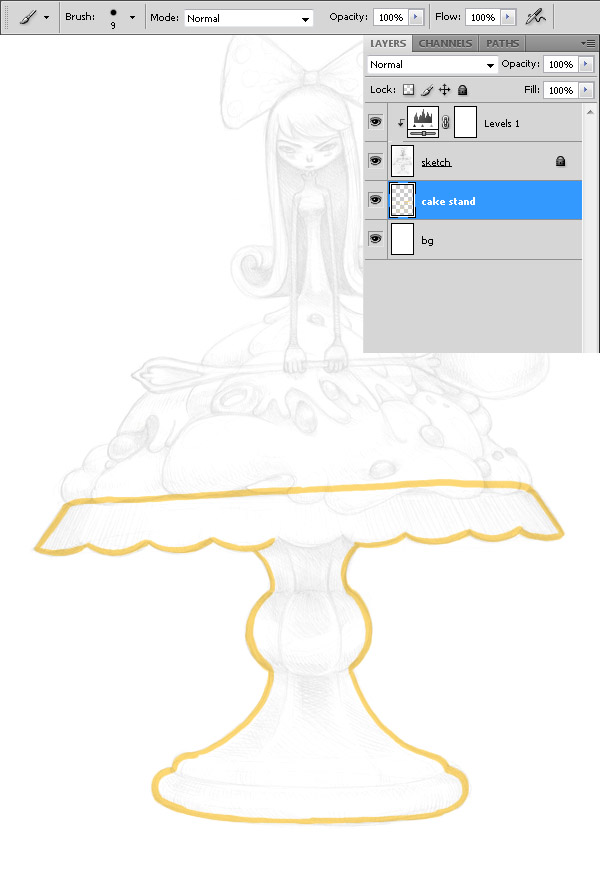
Create two new layers under the sketch layer, fill the lowest layer with white. Set the sketch layer’s blending mode to Multiply and set opacity to 30%.
Now fill it with basic colors. I use small hard-edged brush to paint edges of elements. Paint it on transparent layer between white background and sketch. Some people will ask, why don’t you use pen tool to do that? Right, you can use shapes to make basic coloring, but I prefer the hand-drawn look for my drawings, and not perfectly smooth.
Step 2
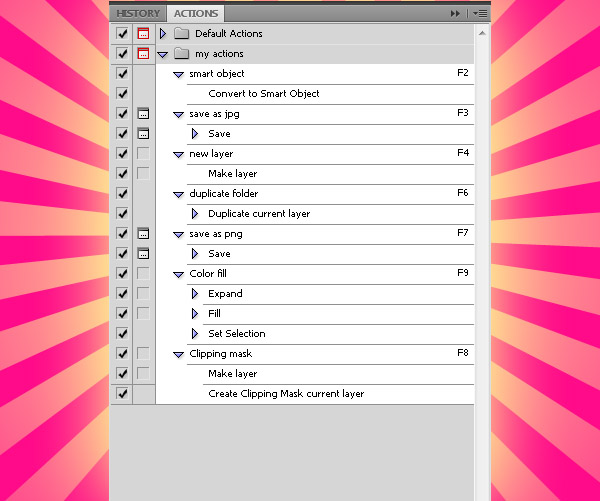
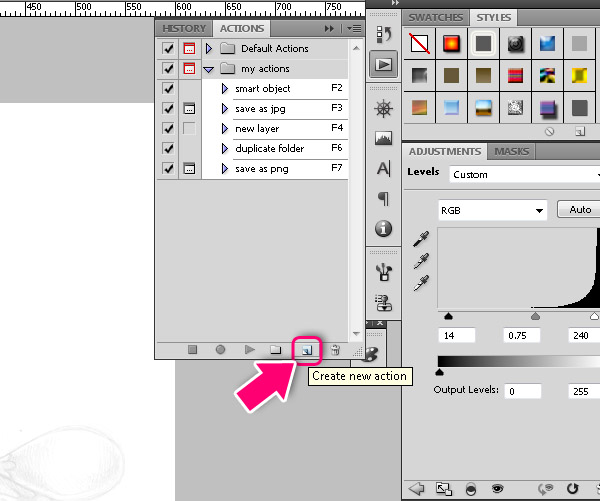
Here comes our first action. Go to Window > Action. Click Create new action icon.
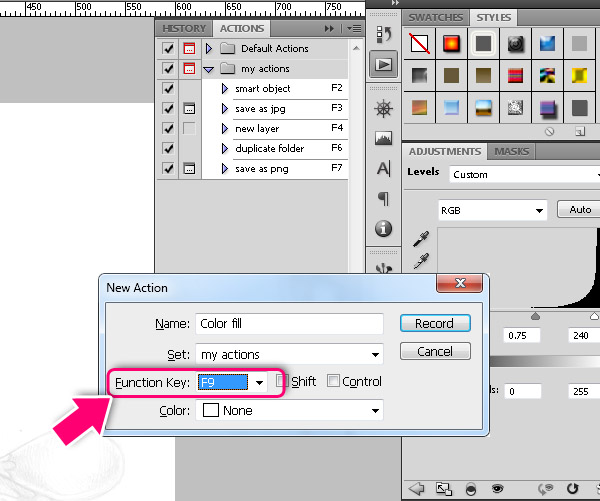
You get new action pop up, now let’s give it a name – Color fill, and most important thing: choose F9 in Function Key drop down. This will be your shortcut for this action. You can use any other F key from the list, just keep in mind what by default F keys bringing some pallets, for example F5 open Brush pallet, so may be you want to keep it. Now click Record.
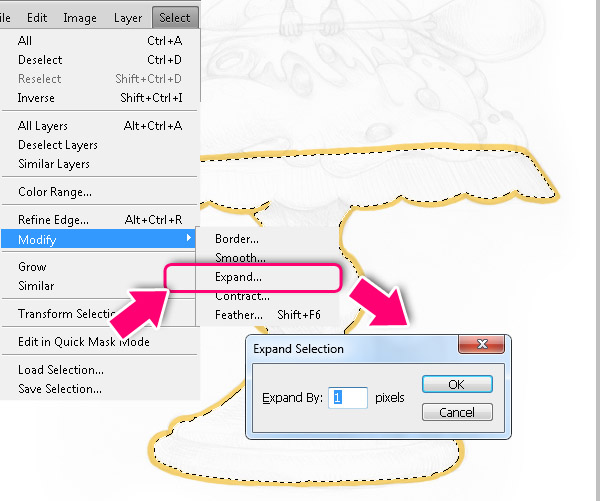
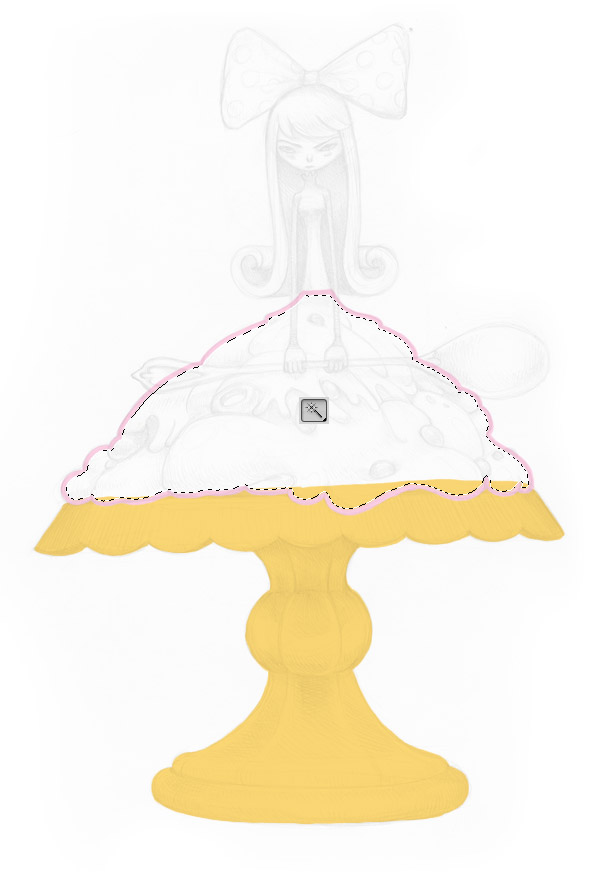
Pick Magic Wand Tool (W) and click to choose empty area inside painted edges. Now go to Select > Modify > Expand, set Expend by 1px and click ok.
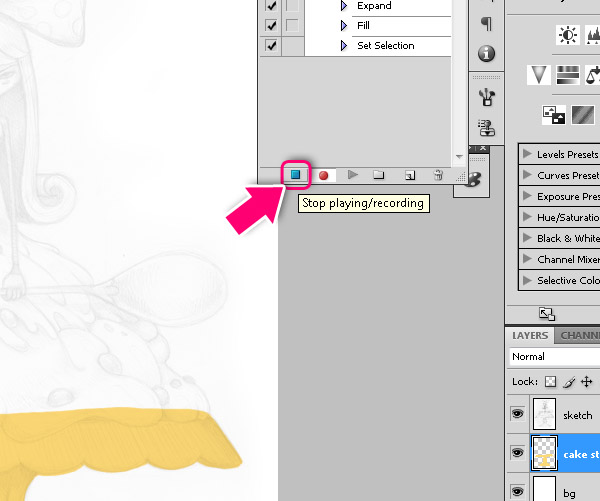
Now press Alt + Backspace/Delete to fill selection with foreground color. And press Command/Ctrl + D to deselect. We finished to record our action, so go to Action pallet and click Stop playing/recording icon.
Now when we have our action ready we can continue paint. I draw edges of cream on new layer with light pink. Using Magic Wand Tool (W) select the inside and press F9 to get a nice and clean fill.
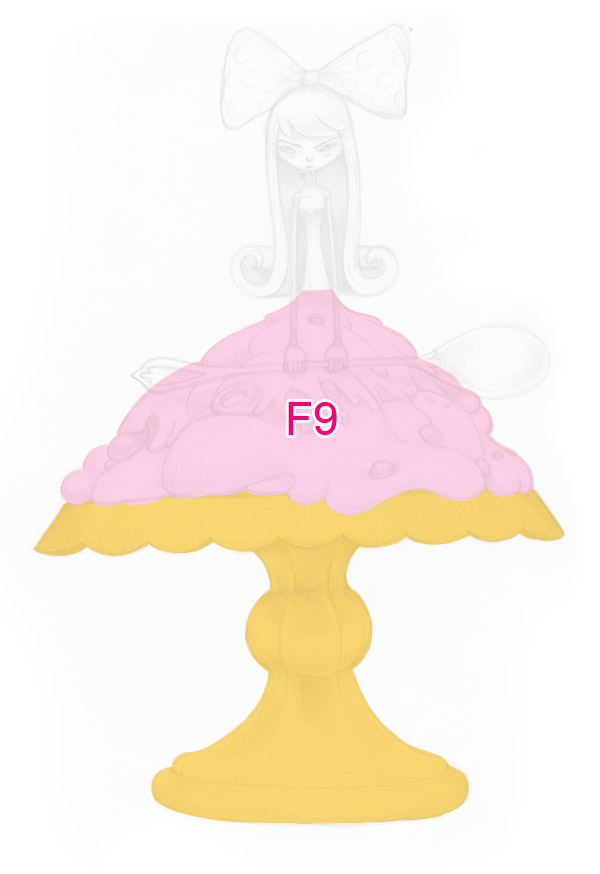
I use same technique to fill all parts of image. I don’t have to use it for small parts, like hands, it’s only good for large areas.
Step 3
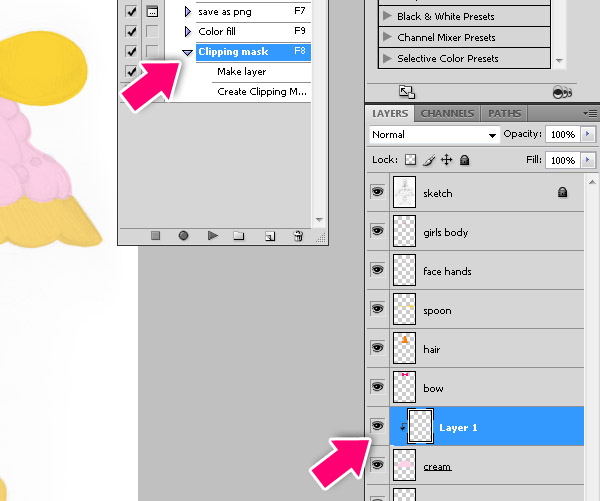
Now draw more details. I will create the action, which make a new layer with clipping masks, this way I can paint inside basic shapes, but each detail on new layer. So, like we done before, create new Action by clicking Create new action icon. Name it Clipping mask, I chose F8 for Function Key, and click Record.

Create a new layer above let’s say the cream layer and make it a clipping mask Command/Ctrl + Alt/Option + G. Then go to the Action pallet and click Stop playing/recording icon. It looks like a really short action, but believe me, its saves tons of time then you use it over and over.
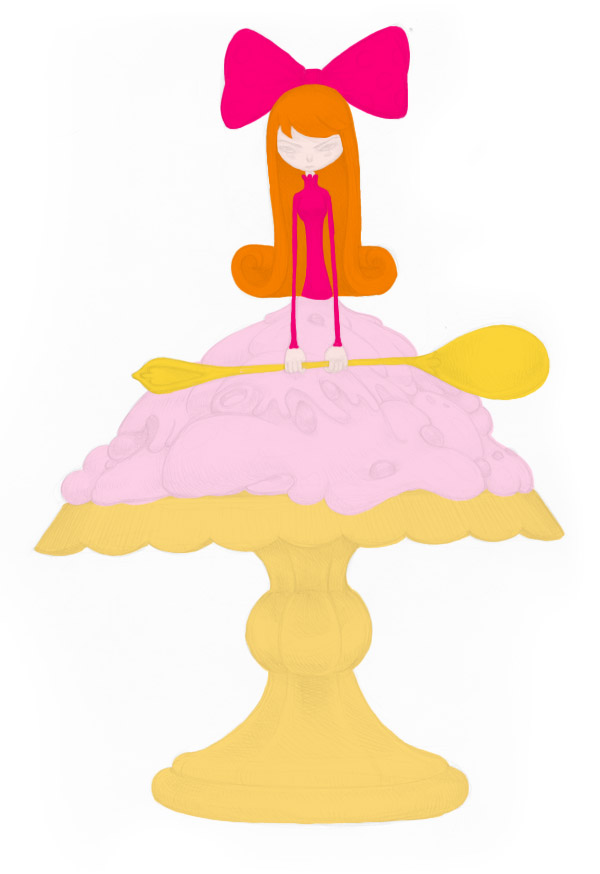
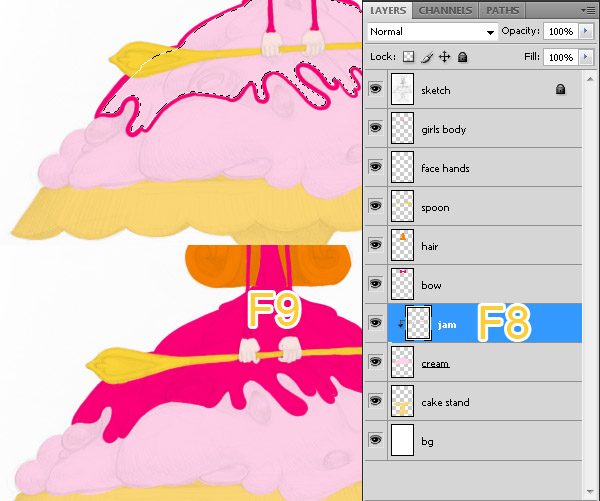
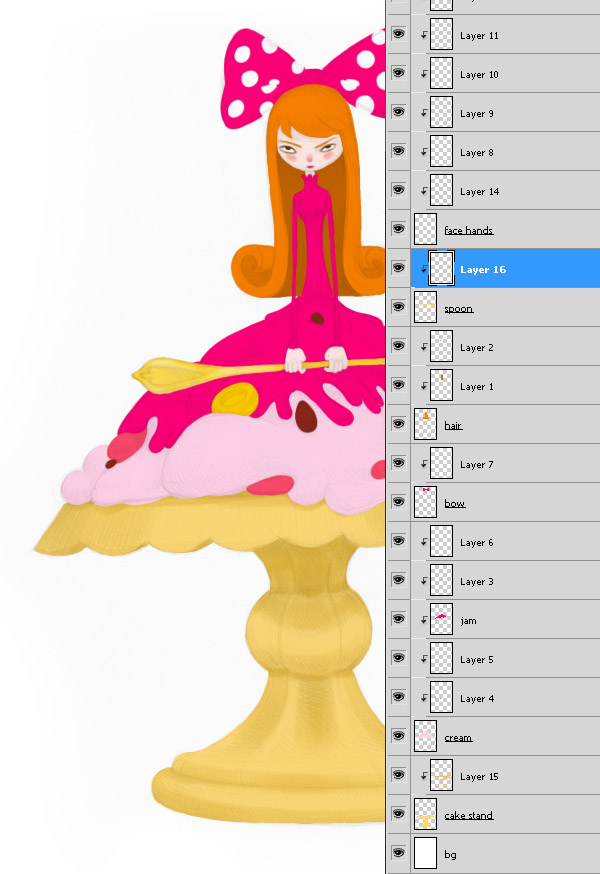
Keep adding details, using the F9 action for fast filling and F8 action to create new clipping masks.
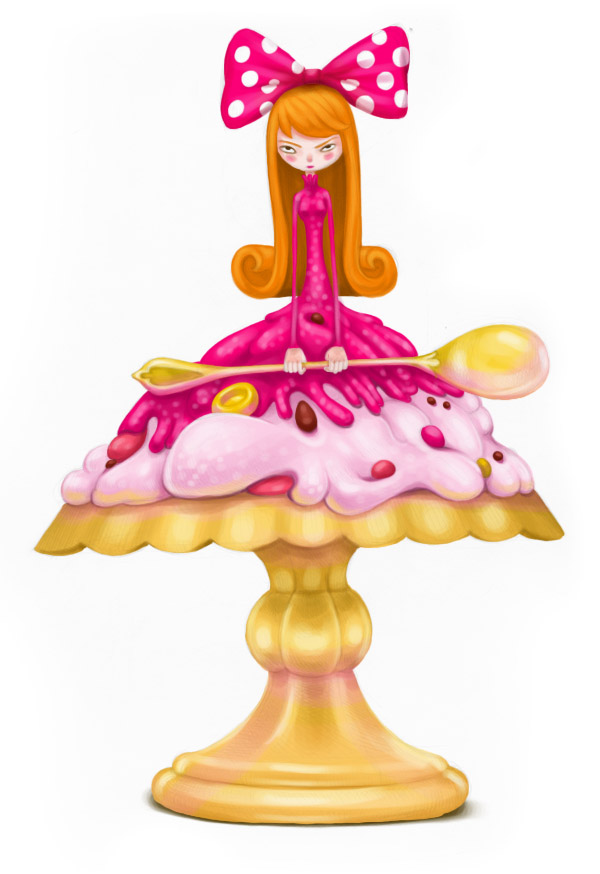
Final Image
Conclusion
As you can see, actions are great for performing small repetitive tasks. For example, at work, I use F keys actions to convert to smart object, save as jpg, duplicate folders – all the small things you use hundreds of times per day. Each one of you can create a set of actions you use the most. You can also use Shift and Ctrl/Command keys combination if you don’t have enough F’s. I hope this little trick will help you to work a little bit less.