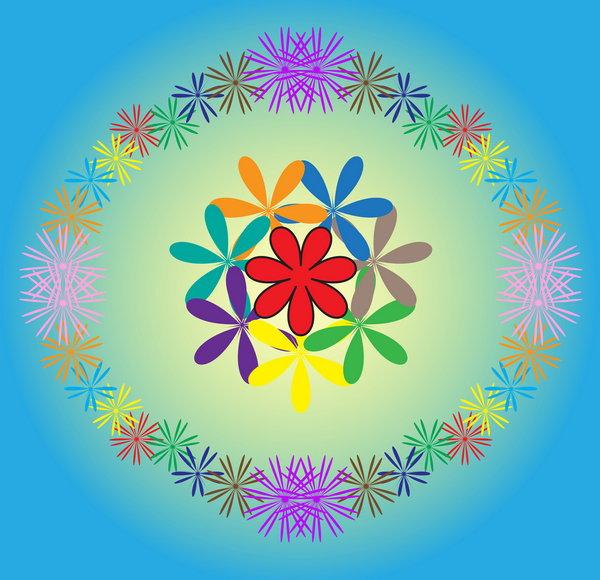
In this Quick Tip you will learn how to create a simple but original flower ornamentation with the help of the Bloat effect and a set of convex regular polygons and stars. This effect is quick and easy. So, let’s start.
Step 1
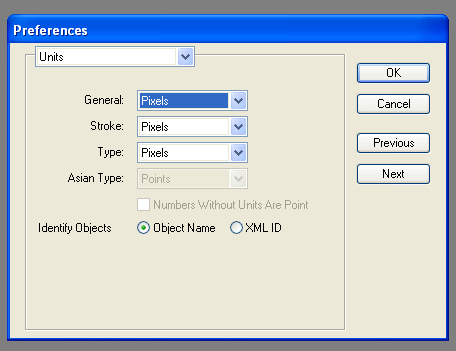
First, after starting the Illustrator program, let’s press the button combination Command + K. In the window of Illustrator preferences choose "Units". After it, set all the values into "Pixels" and press OK.
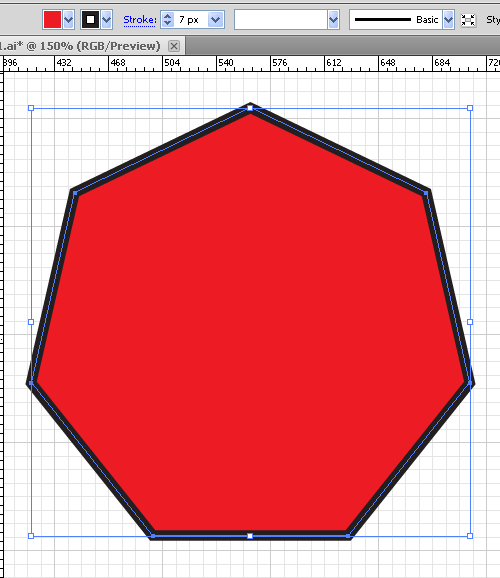
Start out with a blank canvas, and create a polygon by using the corresponding tool of any radius and the number of sides as you want. For this you may click on the blank space of your document with the polygon tool chosen. I have used 150 pixels for radius and 7 sides. Let’s fill our figure with red and turn on a black stroke with Stroke weight 7 pixels (or as you want).
Step 2
Here we need to consider some mathematical expressions. As we know from geometry, any interior angle of a convex regular polygon with n sides is equal to (180-360/n) degrees. Also any exterior angle equals (180+360/n) degrees. And also any side of regular n-gon equals (2R*sin(180/n)), where R means the radius used in the step 1.
Let us calculate with the help of Windows calculator the interior and exterior angles (consequently: A and B), and the side (S) of our polygon and memorize these quantities.
A diagram for these calculations is here.
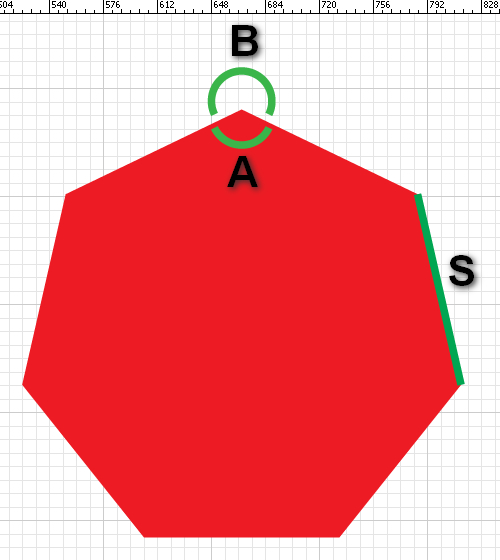
If n=7 and R=150 pixels, then A=128.571 degrees, B=231.429 degrees, S=130.165 pixels.
Step 3
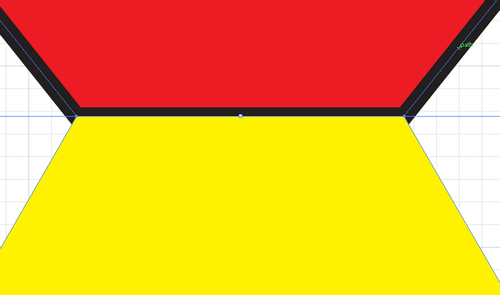
Now let’s create a new polygon with another color of fill (for example, a yellow one) and the radius of the value of S, which has been calculated one step earlier. Also let’s take the number of sides n=6. Activate the command View > Snap to Point, if it was deactivated. This command allows two points of two different objects to stick to each other while moving one of the objects to another. Besides, set the Stroke to deactivating mode (no stroke). Place this second polygon as it is shown on the picture.
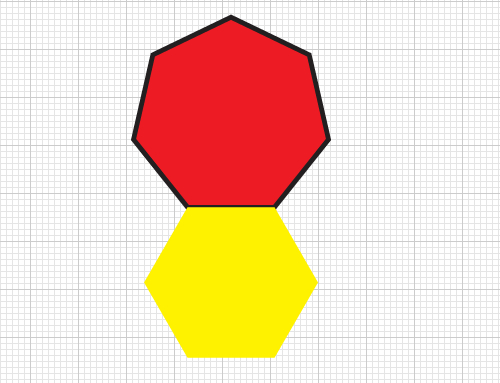
The corresponding sides of the polygons and two corresponding angles must coincide with one another.
Step 4
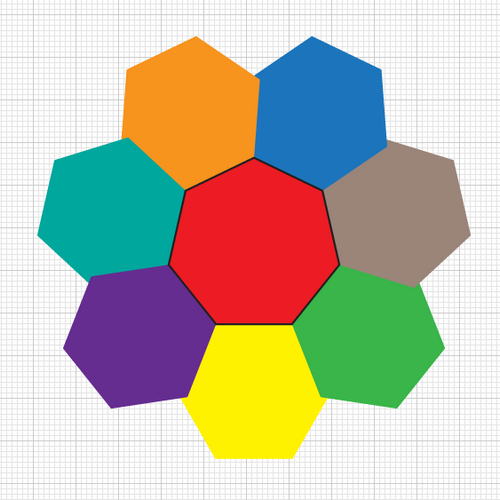
Copy this second polygon as many times as (n-1) and rotate all the copied polygons by using Object > Transform > Rotate command with the "B" angle. (You may do the second, the third, etc rotations by pressing only the "Copy"-button in this command). Fill the received polygons with the colors as you want and attach them to the sides of the first (red) polygon, as you have done it one step earlier. You need to receive the following picture.
Step 5
By opening the Window > Layers palette, we see that our first (red) polygon is located in the bottom of the list.
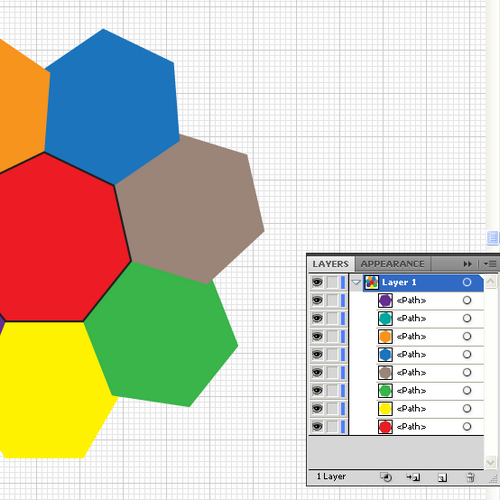
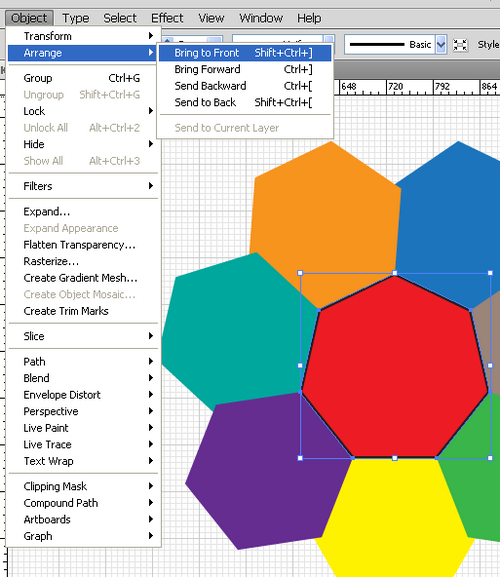
Let’s move it on the most top. Use the command Object > Arrange > Bring to Front.
Step 6
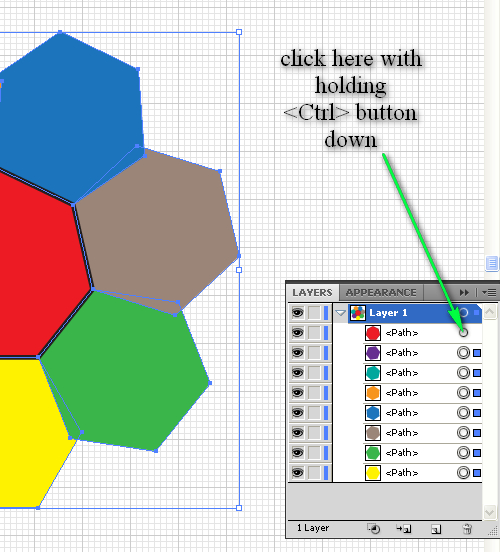
In the Window > Layers palette, press the button combination Command + A which allows you to select all your work (all polygons). Then click the top red polygon selection circle while holding the Control button down. So, you will select all the polygons with exception of the first red (central) polygon.
Now do the command Effect > Distort & Transform > Pucker & Bloat. The following rule will be right here. The more the percentage of Bloat effect, the larger the petals of flowers. You may set the percentage level from 0% to 200%. At approaching this level to 100%, the flower-petals will be coming together to the centers of the polygons. You may set here the value you want. I have set 150%.
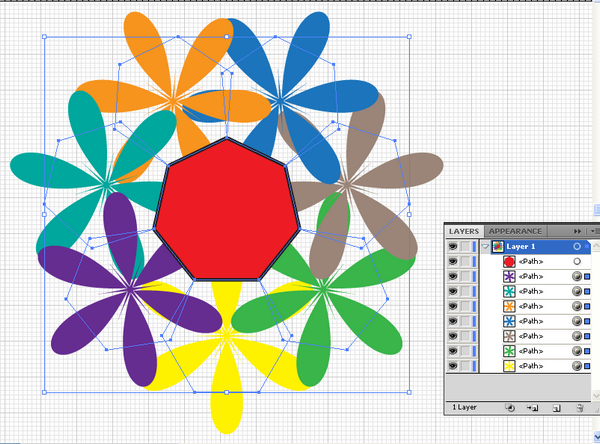
Now select the central red polygon and accordingly do the Bloat effect for it at the percentage level of 75%.
Step 7
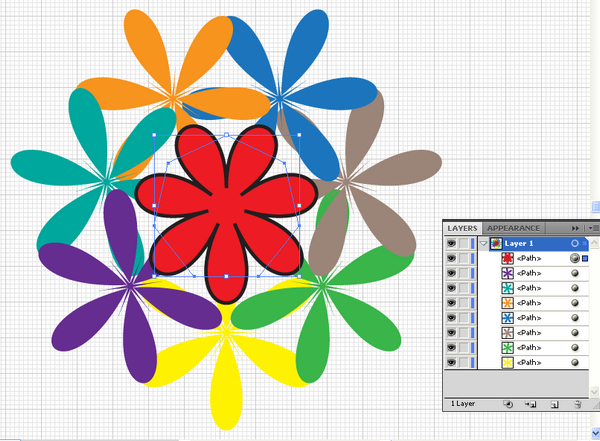
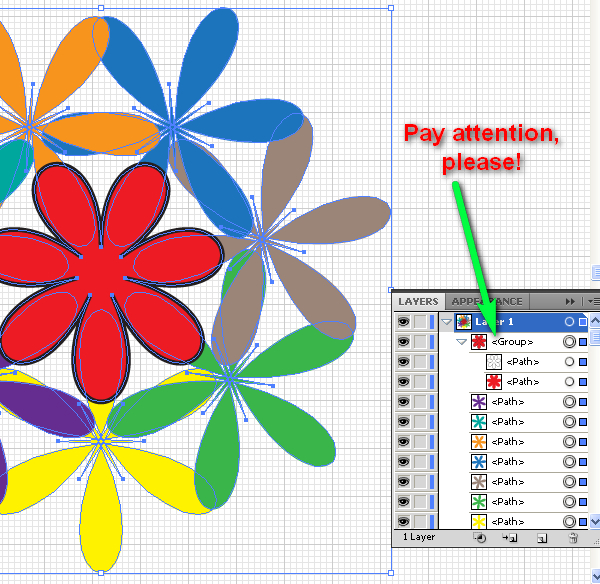
Select all the work by pressing Command + A. Do the command Object > Expand Appearance. Simply speaking, this command transforms the selections of the polygons into the selections of the flowers. Please pay your attention that the central red flower has been expanded into the group of separately: the fill and the stroke.
Step 8
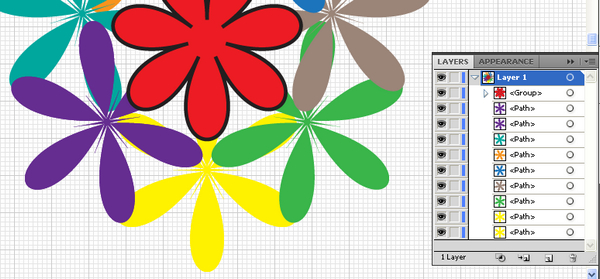
Here we have one problem. The yellow flower lies under the green one and simultaneously under the violet one. We need to place the part of the violet flower under the yellow one. You can make it by using the following commands. We need here to copy and paste in front the yellow and violet flowers. Select the yellow flower. Then press Command + C. Then press Command + F. Do the according acts with the violet flower. After it you will receive the following set of layers.
Step 9
Select two top flowers: the top violet and the top yellow ones.
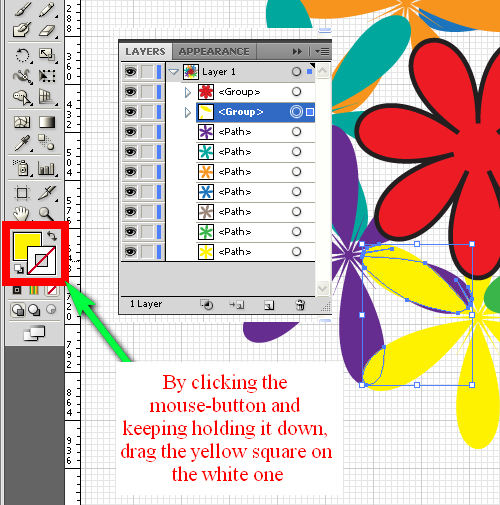
Go to the palette Window > Pathfinder and do there the command Shape Modes > Intersect. Then fill this intersection of two flowers with yellow (the same color of the yellow flower). After it, fill the stroke of this intersection with yellow too. Not deselecting the intersection of two flowers, by clicking the left mouse-button and keeping holding it down, drag the yellow square on the white one.
Step 10
The stroke of the central red flower has rough corners, as we can see it from the picture.
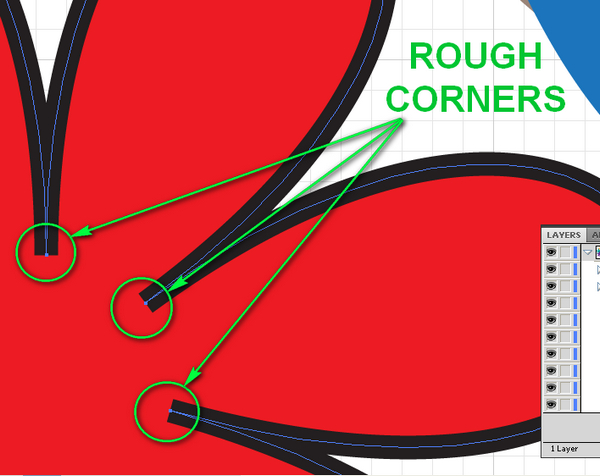
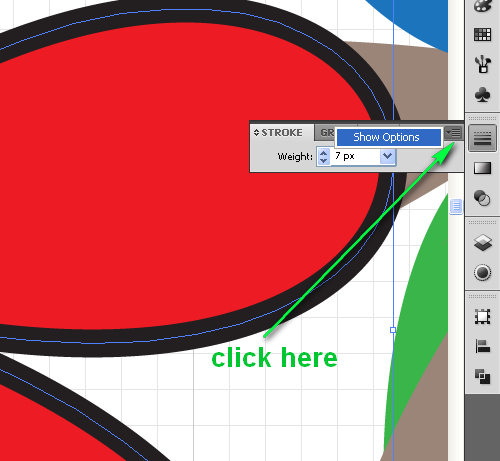
In order to edit it, we need to ungroup the fill and the stroke of the central flower, because as we remember from the step 7, they are grouped together after the expansion. So, let’s do it. While the red flower is being selected, go to Object > Ungroup. After it, select only "Stroke"-path of the flower. Then do the next command. Window > Stroke > Show options, by clicking in the top right corner of the palette (see the picture).
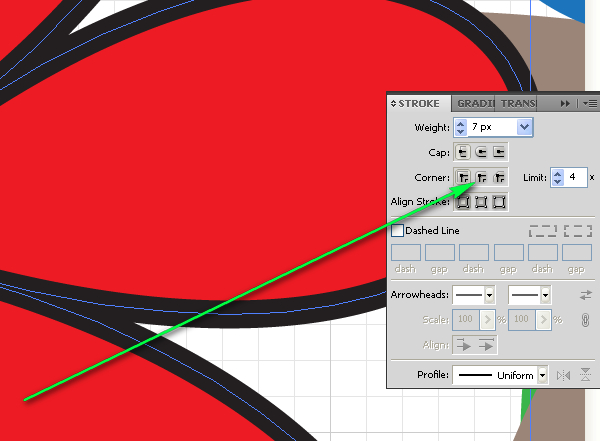
And select here "Round Join" option in the sub-menu "Corner".
Step 11
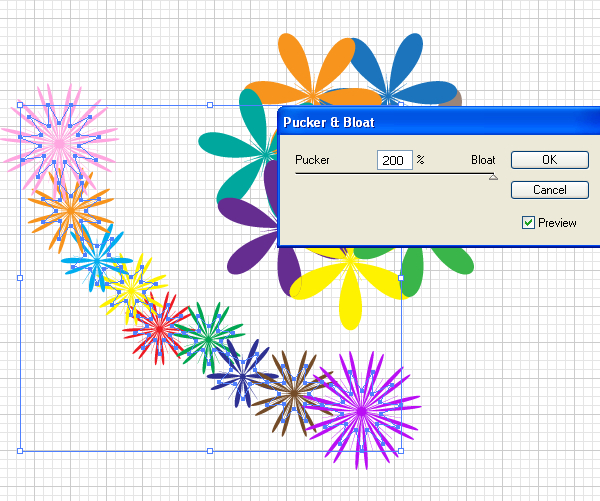
By the same way, you now can expand your work and make an original frame. For this you could use not only polygons, but also stars. Star Tool is located in the same group as the Polygon one. While using the Star Tool, you will need to set two values of the radii (with numbers as you want) and set the quantity of star rays (also with a number you want).
Place the stars so as you see on the picture below. That is, place your stars so their corners is touched to one another.

Apply to your set of stars the "Bloat"-effect with the level of percentage as you want. And after it, group it.

Step 12
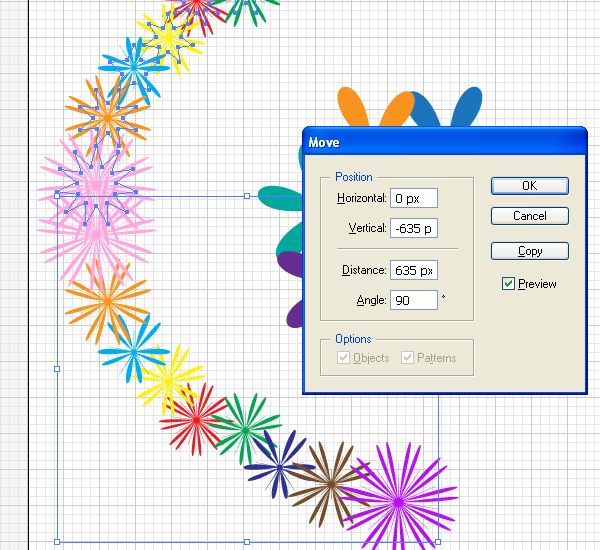
Select the group of star flowers. Then do the command Object > Transform > Reflect > Horizontal > Copy. Now you need to move this copy by the axis Y (Vertical) on a distance, which will allow to intersect the most left pink star flowers with each other. This distance is defined by your preference. Pay attention please that the movement distance by the axis X (Horizontal) equals zero. Also, please, pay attention: the increasing of X begins from the left side to the right one, the increasing of Y begins from the upper side to the bottom one. For the movement do the command Object > Transform > Move and enter the values of horizontal and vertical positions. (Your object is moved by the entered values. So, enter zero for the horizontal position and negative value for the vertical one).
Step 13
Group these two sets of star flowers (without central flowers made from polygons). Do the command Object > Transform > Reflect > Vertical > Copy. Move it accordingly by the axis X. (Enter positive values for the horizontal position, and zero for the vertical one).
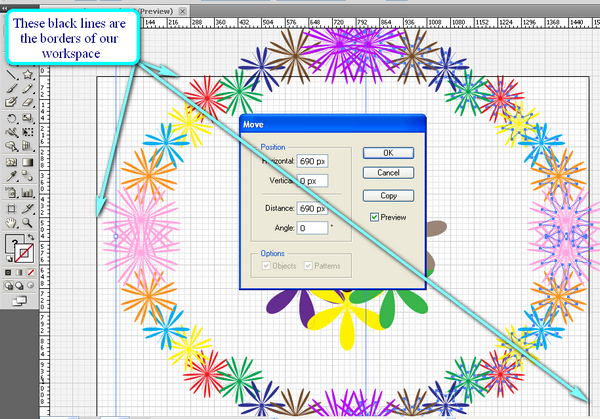
If your artwork goes beyond the black borders of the workspace, you will need to decrease the dimensions of the flowers. Select the exterior flowers (without the central group) and go to Object > Transform > Scale.
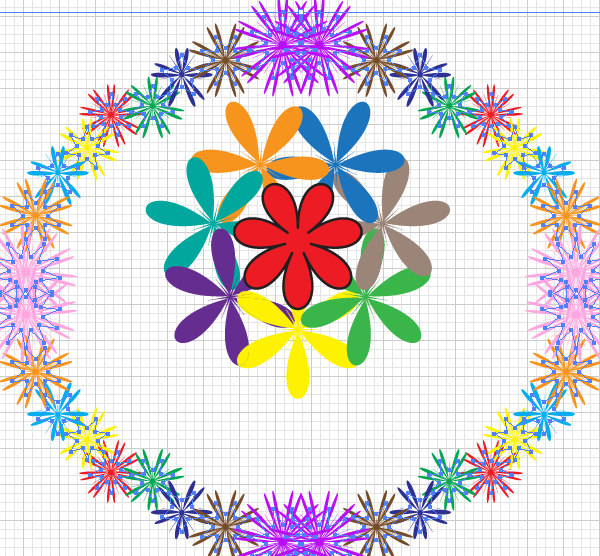
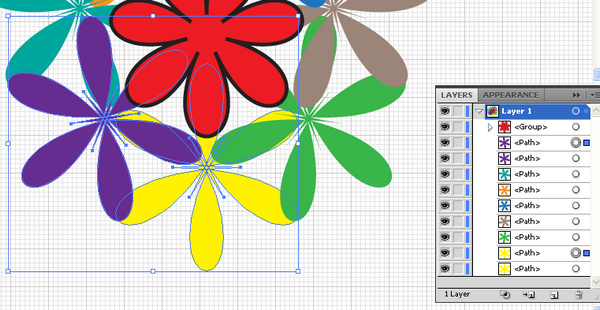
Now you should place the central group of flowers in the geometrical center of the exterior group. You can achieve this by selecting this two exterior groups of flowers, grouping them again, and with holding Shift down selecting the central group of flowers, and go to the palette Window > Align. There you should select the both commands: Horizontal Align Center and Vertical Align Center (shown on the picture by the arrows).

Step 14
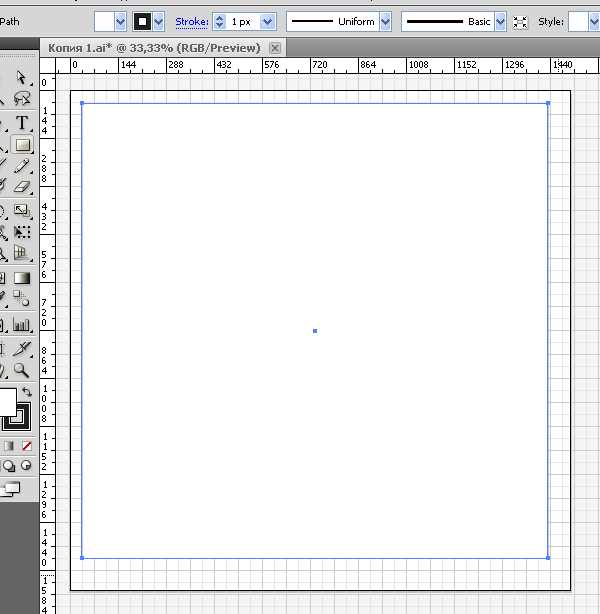
Let’s colorize the background with gradient filling. For this make the rectangle with the help of Rectangle Tool (M) in order to all your work is located under the rectangle.
Then set the Stroke into none and open the Gradient palette (Window > Gradient). Set the type of the gradient into Radial one. You will see the picture as the following.
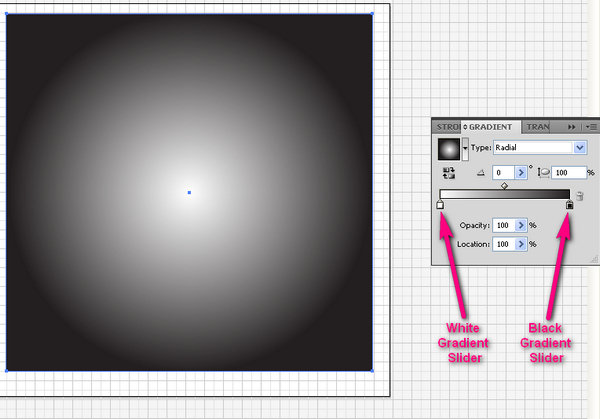
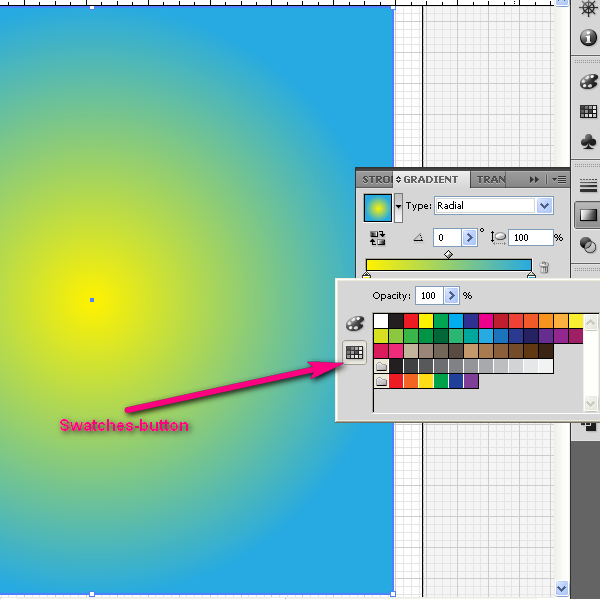
Now, let’s change the tedious black and white gradient colors into something nice. First, double-click on the White Gradient Slider and choose the color you want in the opened sub-window (for this click there on the Swatches button). Second, do the same with the Black Gradient Slider.
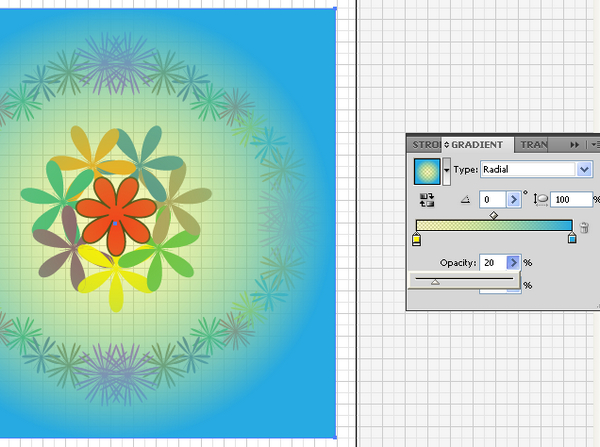
Then set the percentage of opacity for your gradient to the level about 20%.
Step 15
When your rectangle is selected, send it to the back by pressing Command + Shift + Left Square Bracket.
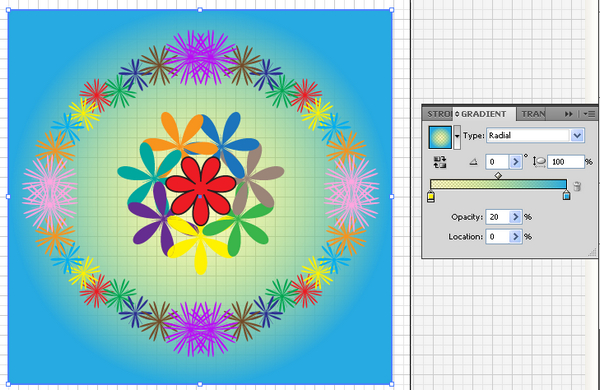
Conclusion
If you do this work by using the help of the Illustrator grid (as I do), now you can turn it off by doing the command View > Hide Grid. After this you may save your work, File > Save (or Command + S). I hope you’ve enjoyed this tutorial. Thank you for your attention!