Quick Tip: How to Export and Resample a VST Instrument in Ableton Live

In this tutorial we’re going to look at a simple way of extracting VST sounds and resampling them into Ableton Live’s Sampler and Drum Rack. This can be helpful in situations where we want our software setup as clean and minimal as possible, with low CPU intensity, especially in live gigs (live keyboards via Laptop), Dj-ing, etc.

It’s most suitable for non-sustained sounds, such as chromatic percussion, drum sounds, staccato and pizzicato orchestra sounds, and more. I don’t really recommend it for sustained sounds, since it seems to get a little too complicated to be worth the trouble. In this example I use Edirol Orchestral, which contains a very nice Celesta sound. I don’t really need the whole VST for my live setup though, and I’d prefer to use only built-in synths and effects in general, to avoid crashes, CPU intensity, and psychological tension.

Step 1: Preparation

So, let’s begin by loading up our VST instrument into a new MIDI Channel. Next we’ll create a MIDI clip with continuous notes in the full 128-note range, from C-2 to C8. Most of the time some of those notes won’t even contain any sound, but it’s great to stay organized and use the same MIDI clip for every VST sound for obvious practical reasons. Switch the quantize (“Fixed Grid”) to “1 Bar” and lower the tempo quite a lot. For this example I set the tempo to 50bpm (just to be sure that every sample gets played as a whole individually). To make it easier and faster, write the first 11 notes from C-2 to B-2, then select all (Ctrl-A), and duplicate (Ctrl-D), then press Shift and Up-Arrow (which brings the whole group of selected notes an octave higher on Live 8). Our first MIDI clip will be at 110 velocity.

Do that until you’ve reached C8. Bring the quantize (“Fixed Grid”) value back to 1/2 (1/8 would be even better) and lower the length of the notes a bit, because some VST sounds contain key-release-triggered samples which would get stuck within every next note’s beginning.

Step 2: MIDI to Audio

Next we’ll “Freeze” that MIDI channel (right click on the Channel’s name, then select “Freeze”), automatically turning the MIDI clip into an audio clip (don’t worry, you can “Unfreeze” the track if you like). Hold Ctrl and drag and drop the clip into a new Audio Channel. Notice that it is two times the original MIDI clip in length, and we only need the second half (or the first, it doesn’t really matter). So, set “Start” to “129 – 1 – 1″, then right click on the audio waveform and select “Crop Sample”.

Step 3: Slicing the Audio File

Now we can right-click on the audio clip and select “Slice to New MIDI Track”. We’re going to select “Create one slice per: Bar” and the “Slice to single Sampler” as a slicing preset.

A new Sampler instrument is automatically created, with the 128 notes distributed equally. Go to Sampler’s “Filter/Global” section and set the Release value to 3 seconds and the Attack to 10ms. You can also disable the “Retrigger” function if you want (When enabled, notes which are already playing will be retriggered, rather than generating an additional voice).

Now we can delete the “empty” notes if we want. They will only keep up more hard drive space and we don’t want that. Also, let’s add a compressor and a limiter, to even out levels and peaks.Do the same for different velocities (if the original VST instrument has mutiple samples for every note). Then we can group those Samplers into one Instrument Rack, sorting them out via Velocity.

Step 4: Staying Organized

Next time you will need no more than one minute to do this technique, since you will already have the MIDI clip ready. You can also keep things tidy by saving your Instrument Rack in a separate folder. Just target Live’s File Browser within your custom Preset Folder and drag and drop your instrument rack. The reason I personally don’t save it as a preset in the Library is that it’s easier to transfer my presets from one computer to the other that way. Whatever suits your needs though!

Conclusion

This technique works quite well for me, I hope you find it useful and helpful. You should probably only use it when there’s no risk of reducing the instrument’s quality a lot though. I’ve included an Ableton Play Pack with the MIDI file inside. You can try the same method using a Drum Rack (select “Built-in” as the Slicing Preset), it’s quite more suitable for beat and drum kits. Thanks for reading, and happy music making!
Download the Play Pack for this tutorial (20 KB)

Contents

  • Ableton Live Source Files


Quick Tip: Create an Animated Banner Ad in Photoshop CS5


Animated Gif files have been the butt of many jokes within the design community. That is because animated gifs are famous for being a bit cheesy and notorious for cluttering up a page. Used properly however, animation can draw interest to an otherwise overlooked area of a page. Today, we will demonstrate how to use Photoshop to create an animated gif in Photoshop CS5. Let’s get started!


Step 1

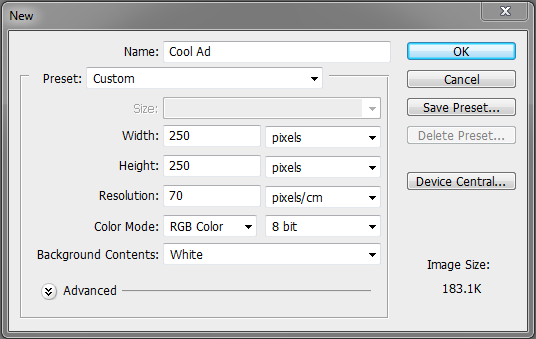
Create a new document 250 x 250 px and set the resolution to 70 px with the background color set to #f2f2f2.


Step 2

Place a logo in the top center of the canvas.


Step 3

Write a tag line under the logo.


Step 4

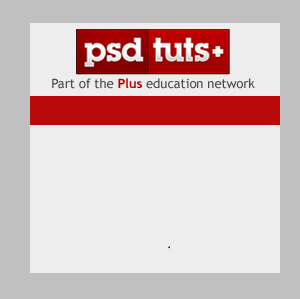
Draw a rectangle box and set the color to #90909.

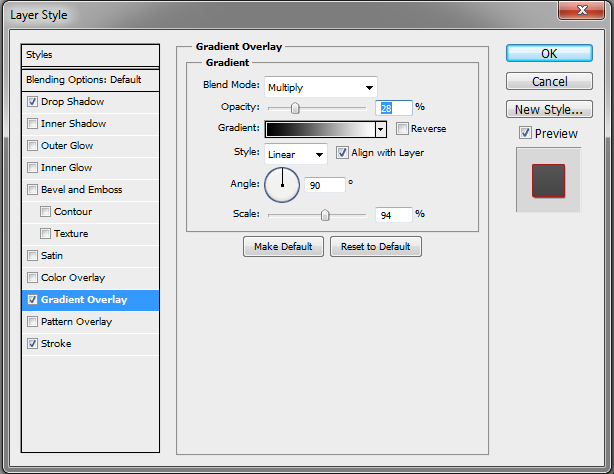
Open the layer styles dialog box and check Drop shadow. Reduce the distance and size to 2px.

Now add a gradient overlay and set the blending mode to Multiply with an opacity of 28%.

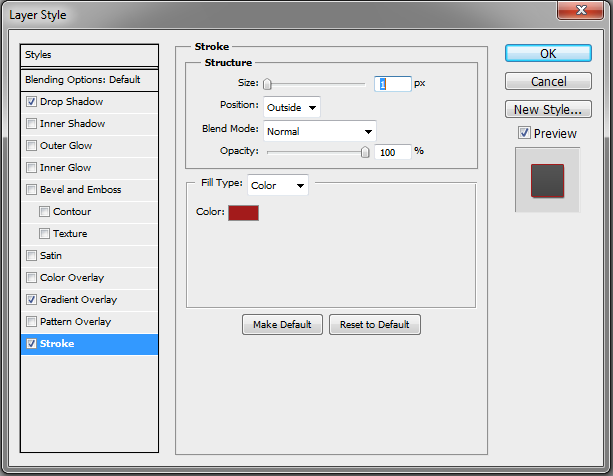
Add a stroke and reduce the size to 1 px. Set the color to #a31b1b.


Step 5

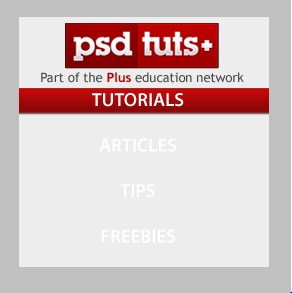
Add some bullet points. In our case we added the text: Tutorials, Articles, Tips, Freebies, Basix, Videos, Premuim, as shown.

.

Rasterize the text layers and create a clipping mask.


Step 6

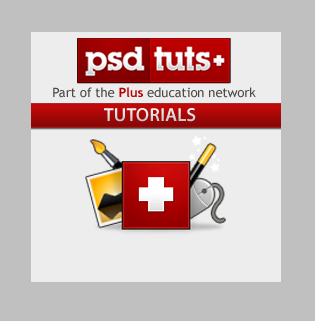
Now place an eye-catching image. In our case we used the premium program icon for Psdtuts but feel free to use whatever suits your purpose.


Step 7

Draft some more supporting text as shown below the image you placed in Step 6.


Step 8

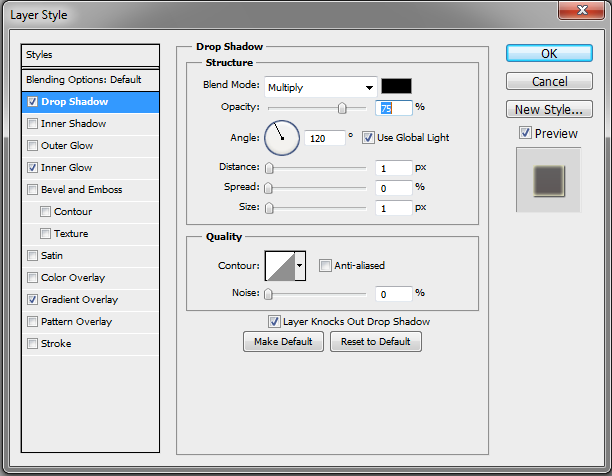
Create an oval Box and set the color to #fdfcfc.

Open the layer styles dialog bix and apply a drop shadow. Reduce the distance and size to 1 px.

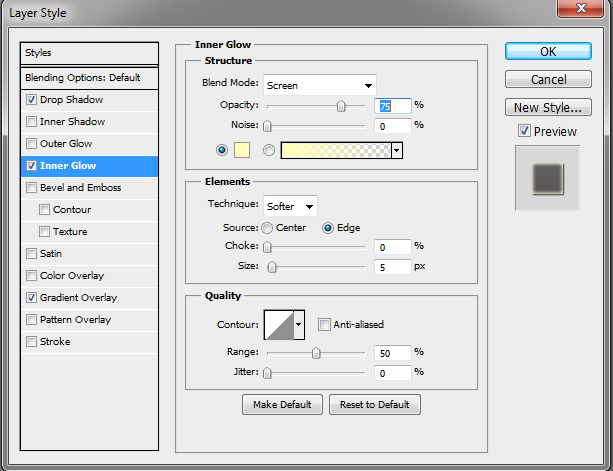
Check Inner glow and leave it as it is.

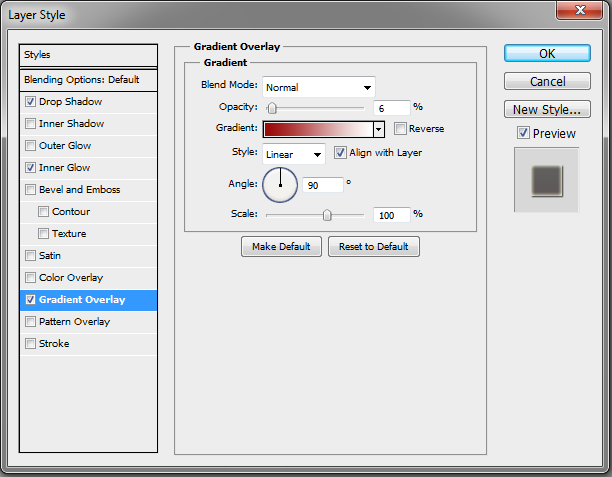
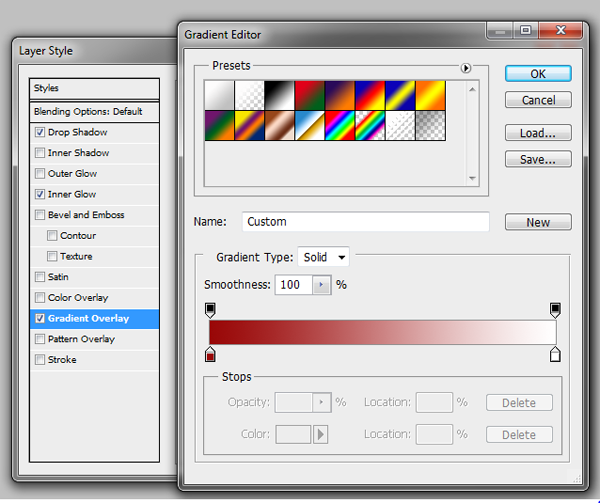
Add a Gradient Overlay with the Opacity set to 6%.


Step 9

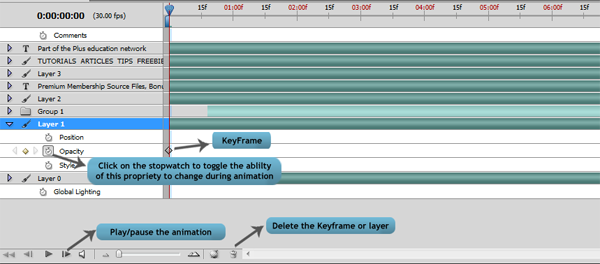
Now that we have finished creating all our layers, we are now ready to start work on the animation. First, open the Animation panel (Window > Animation). I will use the Timeline Animation panel (and not the frame animation). Note: This feature is only in Photoshop Extended.  Now set all your layers to visible but reduce their opacity to 0%.


Step 10

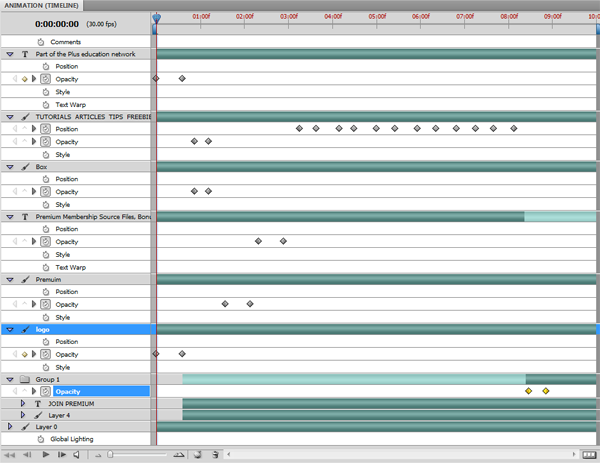
Refer to the image below for instructions on how to insert keyframes and where to increase opacity.


Step 11

Your timeline should look similar to the example below.


Step 12

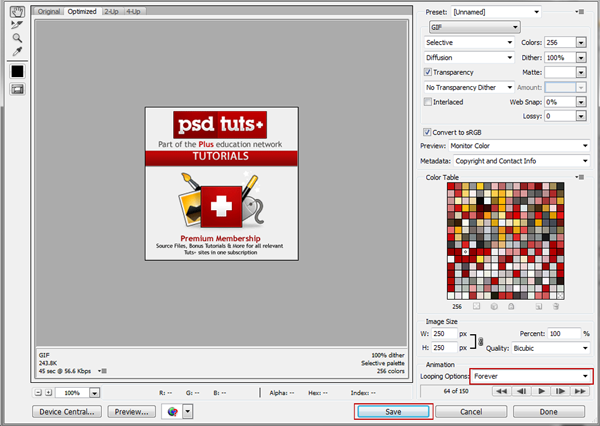
We have now completed our animation. Press play to see the result. Feel free to tweak it where necessary. To save your banner, go to File > Save for Web & Devices. Then use the settings from the following image and click Save.


Final Image

That’s it! You’re finished!

Create Spectacular Smoke and Splash Effects – Psd Premium Tutorial


Today, we have another Psd Premium tutorial exclusively available to Premium members. If you want to take your design skills to the next level, then we have an awesome tutorial for you. Learn more after the jump!


This Premium Tutorial is Filled with Creative Tips

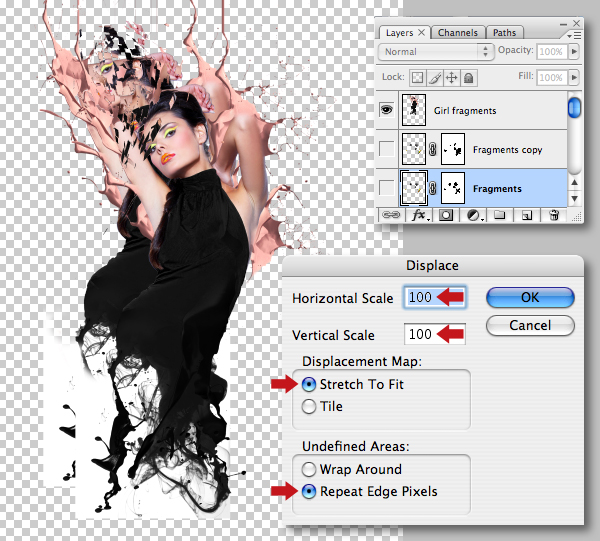
Today I’ll walk you through the creative process of applying some cool liquid and smoke effects to both typography and images. You’ll also discover how to combine 3D renders with Photoshop’s Displace filter to produce those stunning "break away" effects that are currently in vogue. This is a comprehensive tutorial that weighs in at almost one hundred steps, so let’s get started!


Professional and Detailed Instructions Inside

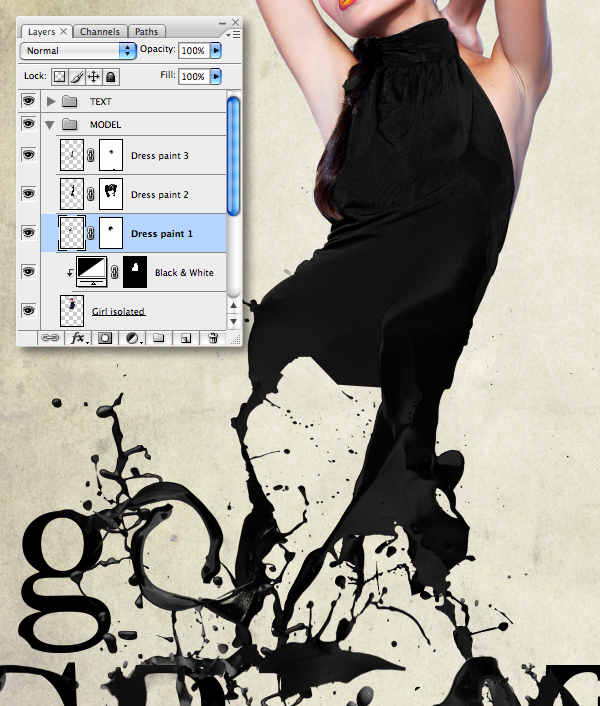
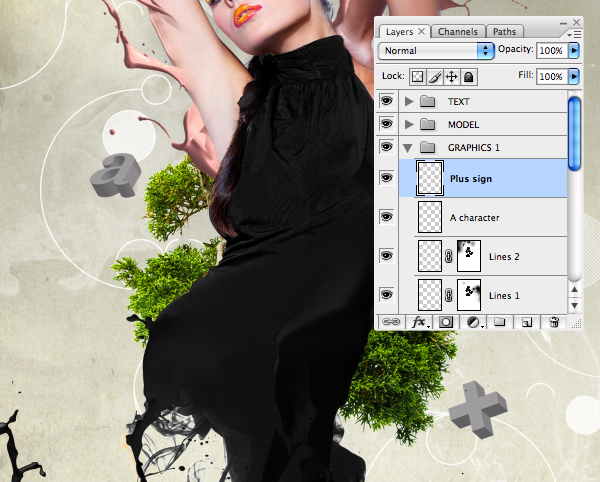
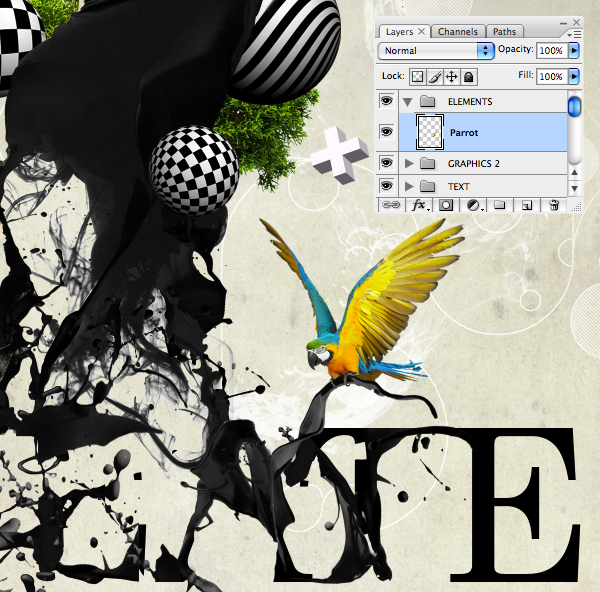
Premium members can Log in and Download! Otherwise, Join Now! Below are some sample images from this tutorial.


Psd Premium Membership

As you know, we run a premium membership system here that costs $9 a month (or $22 for 3 months!) which gives members access to the Source files for tutorials as well as periodic extra tutorials, like this one! You’ll also get access to Net Premium and Vector Premium, too. If you’re a Premium member, you can log in and download the tutorial. If you’re not a member, you can of course join today!

vBulletin user login integration with the current website by Tam2000

I am going to add vBulletin Forum and Blog to an existing site (e.g. http://www.veethi.com). I need to integrate the current website user login with vBulletin user login so that users can sign in to the main site but will be able to use vBulletin Forum and Blog as well… (Budget: $30-250, Jobs: Forum Software, MySQL, PHP, vBulletin)


Ravennuke Video Module Modify

I need this video module (Files been attached) modified. i need the index page and video view page to look like www.dailymotion.com.

Index page
01.) Should contain one featured video (i should be able to add it via admin)
02.) thumbnails should be 145×85 px horizontal.
03.) it should show catagorys like in dailymotion show Channels at the bottom.

video view page
01.)should be just like in daily motion
02.) this script have a pop-up comment window. i need it embed in video view page.

Extra.
Raven nuke have a seo url system. (aka short url’s) i need the module to work with short urls.

Letterhead Designer

Looking to hire someone to create letterhead an envelopes.

I will provide logo, you provide design that works with logo.

YOU MUST SHOW JUST LETTERHEAD PROJECTS WITH BID. I WILL NOT LOOK AT WEB DESIGNS, LOGOS… I ONLY WANT TO SEE LETTERHEAD DESIGNS. I WILL DELETE YOUR BIG IF YOU DO NOT SHOW LETTERHEAD EXAMPLES. I WILL NOT LOOK THROUGH ALL YOUR DESIGNS UNLESS THEY ARE LETTERHEAD ONLY.

I WILL HIRE FIRST PERSON WHO HAS NICE DESIGNS AND IS ABLE TO COMMUNICATE.