What’s Your Summertime Work Strategy?

Traditionally, summertime means kicking back with a cool drink and escaping to the beach. But some people actually use this time to get ahead, taking advantage of a lighter workload to plan for the rest of the year or tackle long-neglected projects.

Both approaches have their merits.

Obviously, it’s nice to slow down and smell the cool ocean breezes so you can return to work relaxed and rejuvenated. That said, beaches and other vacation destinations are crowded this time of year, so it may make sense to save vacation time and forge ahead at work to show your boss how committed you are. As a self-employed writer, I’m planning to do a little of both this summer.  I may be taking a few half days to catch up on reading –  but otherwise it’ll be business as usual.

What do you plan to do this summer? Will you be observing half-day Fridays, as they do in many companies? Maybe taking a week off for some fun in the sun? Or will you keep things at the status quo?

Desktop or Cloud? What Do You Prefer?

I think one of the primary reasons behind web based tools and services not gaining prominence in the early years of internet was due to the fact that there was only one major browser – Internet Explorer. IE had more than 90-95% of market share at that time. But many developers never liked the browser.

The introduction of Firefox around 6 years back, the rise of Google and the subsequent web 2.0 era  has assured people that “the cloud”  is the future. As a result, today we can find solid web-based alternatives for almost any desktop program out there.

There’s even a cloud-based operating system by Google, called Chromium, in the works.

But are we comfortable with staying in the cloud most of the time? Do you love using online tools more often, or do you think their desktop counterparts are more efficient?

Listen, Social Media Expert! Tweeting is Easy, Marketing is Hard
Facebook, Twitter and similar services can make connecting with your customers a breeze. It can quickly foster relationships with new clients and create a community around your products or services. But, having a true mastery of these platforms goes well beyond the simple ability to use them. It’s not that difficult to get a basic social media campaign running, but it is hard to build one that is actually generating revenue or visibility for your business. So, think carefully before putting a phrase like “social media guru” on your resume, or taking on a new social media initiative at work. If you don’t have true marketing skills, a commitment of real resources from your company and a solid chunk of daily time to dedicate, it could land you in a serious bind.

A day to learn, a lifetime to master

Services like Facebook and Twitter were designed with painstaking care (and millions of dollars) to be intuitive, so figuring out even the most advanced capabilities doesn’t truly put anyone ahead of the pack in terms of social media expertise. Social media involves connecting with people, not mastering software. In fact, stereotypes would suggest that software mastery is much more likely to land you in a behind-the-scenes, “computer nerd” position than a prominent, visible spokesman role for your company. So, unless you have social media successes that go beyond logging in and posting content, you’re somewhere in the middle of the social media skill spectrum along with the rest of us. Turning on a stove doesn’t make you a chef – even if you know every setting of the machinery you still need know-how, experience and creativity to make the most of it.

The misguided self-perception of “social media expert” can sometimes be a product of your surroundings. You may work with people who got the marketing work done “the old fashioned way” and seem to have little enthusiasm for (or understanding of) social media. To them, it’s a “fad” that’s not worth pursuing. But for most businesses social media is viewed as the “next big thing” to grow their business beyond expectations.

“Seeking Social Media Rock Star…”

“Social media” is at the tip of every hiring manager’s tongue. Thousands of recent job postings contain mandates for “social media expertise” and every business and group on the planet wants “Facebook integration” for their business and a throng of followers on Twitter to support them. Executives drop buzzwords like “crowdsourcing” and “blogosphere” into sentences that sound like radical innovations. The truth is, they want what they’ve always wanted; to sell more products, to gain more supporters, and to get more subscribers to their services.

Don’t put yourself in the precarious position of promising them some sort of “viral social media campaign” that is going to cause an explosion of interest. Ask yourself “Am I really a social media expert?”

  • Have I helped develop a Facebook or iPhone application?
  • Have I written marketing copy on a company blog?
  • Have I put meaningful information on Twitter that has gotten significant attention?
  • Do I have any tangible results from my social media efforts?

Another question to consider is, “Is my company really committed to social media success?” Many companies are not; they don’t allocate any time or resources to it and basically expect a near-instant, automatic surge of followers to spontaneously appear. Despite being a “top priority” in meetings and conversations, it’s conspicuously absent from accounting books and timesheets. If your company truly wants to delve into social media, make sure they mean it.  Then fit it into all of the necessary schedules, budgets and long-term plans.

Social Media Success is Mostly About the Product

Even if you really are a social media expert, you still might struggle if you don’t have a truly valuable product or service to market. The last thing you want to be doing is marketing an inferior item on the web. Contrast said it best, “If [a company] wants a million hits, followers, lists, comments, links, posts, friends, fans and re-tweets, then they should do something meaningful.” If the product is great, the “social media work” is hardly work at all. But if the product is less than great, all of your marketing turns to empty hype and you disappoint the followers you’ve gathered on the web.  More importantly, you disappoint the employers whom you promised viral success.

So be honest with yourself and your employers, and hedge their expectations. If you really are a social media rock star, the product is great and they’ve committed real resources to social media – then swing for the fences. If you’re just a typical social media user, the product is ordinary at best and there’s no tangible commitment…then don’t “tweet yourself into a corner” with empty promises.

Remember: Tweeting is easy; marketing is hard.

Coffee Shop Etiquette for Mobile Workers

When I wrote about productivity tools for road warriors using wifi hotspots, I touched upon manners. Any boorish or inconsiderate behavior could hurt your reputation.

In case you were wondering what would qualify, I asked my social networks what were some of their pet peeves:

  • Buy something: This actually is a commonly held rule for people who don’t own coffee shops. We realize that wifi is offered for free to encourage us to spend money there. So help subsidize your bandwidth.
  • Don’t hog space: Even if you’re a paying customer, you’re only one paying customer. Unless your laptop and papers are buying expensichinos too, don’t spread all over a four top. Leave room for more customers to gather and subsidize your bandwidth. If you end up at a table larger than needed, offer to share it when someone else is looking for a seat.
  • Don’t overstay your welcome: Like the first item on the list…only longer.
  • Don’t hog bandwidth: You really don’t need to be watching Office reruns on Hulu.com. You really don’t need video chat either. Be realistic about what you need to do so the rest of the patrons don’t start taking the router’s name in vain.
  • Keep it down: Use headphones so the rest of us aren’t forced to listen to your entertainment. A few “You Got Mail” notices every once in a while aren’t awful.
  • Take it outside: There seems to be a gray line here concerning if you should use your cell phone. Some suggest you take the call outside. I’m in the camp that believes a cell phone conversation is the same as talking to someone at the table.
  • Clean up after yourself: Don’t make the staff clean up after you.

Think of the coffee shop as a community or networking opportunity. It’s likely that you will get to know other regulars – including the staff. It’s important to make a good impression.

Boredom Busters

Now that it’s summer, you can hear kids around the world complaining, “I’m bored!” Do you ever feel that way at work? It’s way worse than the kind of boredom you experienced as a kid. A boring job can make you feel trapped, jaded, and constantly frustrated. It’s pure torture. There’s nothing worse than looking at your to-do list and feeling totally unmotivated to do a single thing.
Have you ever worked in a job that was so boring you felt your mind go numb? How did you deal with it? Do you have any boredom busters to give to someone struggling with this issue?

7 Tools to Automate Your Social Media Management

There seems to be two types of people who use social media: Those who use automation tools to multiply their presences across the Internet and those who think auto-anything is a sin against nature.

That may be simplifying things a little, but it’s not too far fetched.

As for me, I fall somewhere in between the extremes – and I’m betting I’m not alone. Sometimes we need some tools to help us manage all our social networks. I understand that using some tools is considered obnoxious behavior by some people. But it’s a free Internet. You make your choices and live with them.

So if you think you can do this responsibly, here are seven social media management software tools to automate your updating and following:

SocialOomph

This website offers many free and premium services to help you manage your Twitter account. And by manage, I mean you can  schedule tweets, send automatic messages to those who follow you and follow all your followers automatically (Which I’m sure can cause a rip in the space-time continuum) for free. The full list of features will take a couple minutes to read.

Sending canned direct messages to welcome new followers is a bit controversial. To many, it’s Spam. Plain and simple. Others don’t mind and appreciate the contact. Those who do employ it swear by it. They say it helps them achieve high numbers of followers. The same goes for automatically following those who follow you.

My favorite though is the e-mail that rounds up all the tweets that manage any of my Twitter handles. Yes, it’s an exercise in ego gratification. I don’t care. I like it.

Hootsuite

Like SocialOomph, Hootsuite will automate your tweets. But it’s most useful feature is how it juggles multiple social media accounts. Not only can you create a dashboard that gives lets you monitor your Twitter accounts, but you can add your Facebook (this includes Facebook pages), LinkedIn, Ping.fm, WordPress blog, MySpace and FourSquare accounts. This is so integrated that you can write one update that goes to any and all of those social media timelines/pages.

I don’t want to do that, but I do use it to monitor and update accounts one at a time. It saves me time to round up all my social media activity onto one page.

TwitterFeed

One of the best ways to get people to read your blog is to send updates to your social networks when you write a new entry. But some people are lucky to get the blog post written. Then they have to write a tweet? Never fear. TwitterFeed comes to the rescue by monitoring your RSS feed and updating your Twitter and Facebook accounts when you update your blog. It’s not pretty but it gets the job done.

I do use this to update @CarlNataleRSS with all the feeds from various blogs I update. Basically, I made this account for my mother who doesn’t know about RSS but wants to keep track of what I write. So it doesn’t hurt my feelings that the account only has three followers.

Ping.fm

This is the granddaddy of updating every social media account in the world. One stop for all your accounts. And it will accept your SMS texts and e-mails for updating.

To be honest, I’m not that interesting that I would need this.

TweetBeep

TweetBeep rather modestly only sends you an e-mail when you – or keywords of your choosing – are mentioned on Twitter. So it’s like Google alerts. It’s great for reputation monitoring, keeping track of what people say about your competition and following specific interests.

Gist

Social networks are like potato chips. You can’t have just one. So if you want to keep track of what your friends and contacts are doing on their multiple networks (assuming they don’t have Ping.fm accounts), Gist will let you know about their latest tweet, post or like.

I consider it a light-weight contact resource manager. Since it also connects to my e-mail accounts, it keeps track of when I communicate with them. I know there are more powerful options out there, but this may be just enough for me.

RSS

OK, this isn’t a specific tool but a technology. One of Twitter’s nicer tendencies is to create RSS feeds for updates. If your RSS reader is how you keep track of the Internet, then add Twitter feeds. Not only can you monitor what any specific tweep posts, but you can have a feed of search results. Again, you can track any keyword.

This works very well for me in Google Reader. I can organize different feeds into categories. This all adds up to a very powerful dashboard. The big drawback is that the updates are delayed. The RSS feeds seem to update on a schedule so it doesn’t give real-time monitoring. Which is fine for me. Your mileage may vary.

For what it’s worth, I don’t see the value of using any of these tools to duplicate messages. Why would someone follow me on Twitter and Facebook if they get the same messages twice? I try to use the networks for specific purposes. But most of the value I get from these tools is in monitoring. There are some very powerful ways to sift through all of those streams.

How do you automate your social media management?

Awesome Links #4: Personal Empowerment, Smartphones, Location-Based Services

5 Strategies for Personal Empowerment in Difficult Situations

How do you empower yourself when there’s negativity all around? Lifehack has an interesting article that explores how to survive, even flourish, in such situations.

3 Productivity Tips for the Corporate Web Worker

Are you one of those fortunate ones whose boss has agreed to let you work from home? If that’s a yes, keep in mind that it won’t be as easy as you think. You could end up being less productive while working from home. Web Worker Daily aims to address this issue in their article.

Smartphone Comparison Chart

This brilliant smartphone comparison charts shows how the top smartphones stack against each other.

Why We Check In: The Reasons People Use Location-Based Social Networks

ReadWriteWeb has an intriguing post on why people broadcast their current location using location based services.

40 Sites for Finding Web Design Jobs

If you are a web designer hunting for a job, Vandelay Website Design blog has a comprehensive resource of 40 sites you could take a look at.

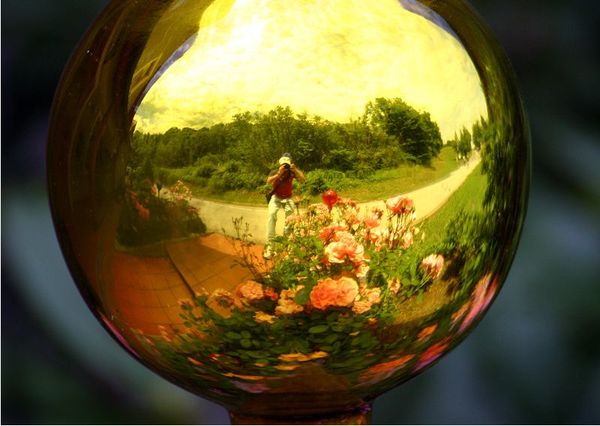
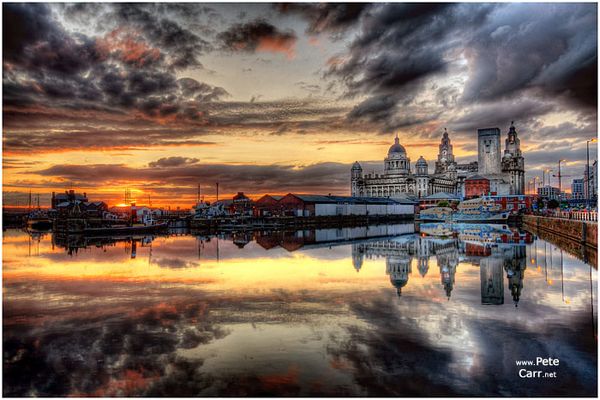
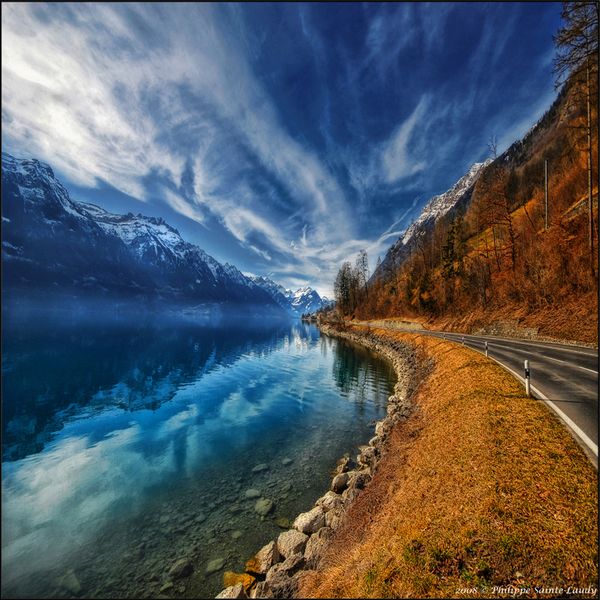
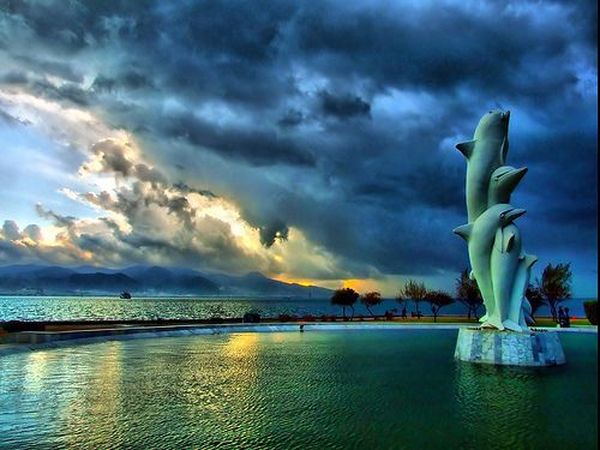
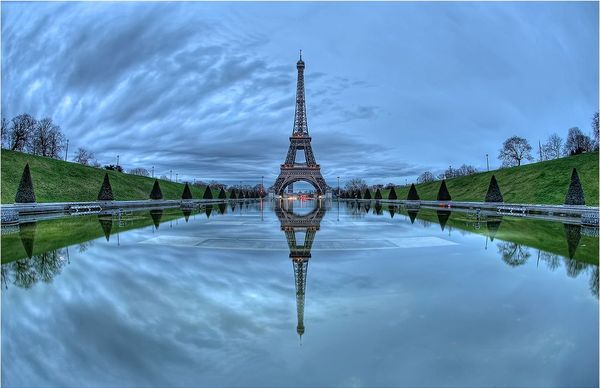
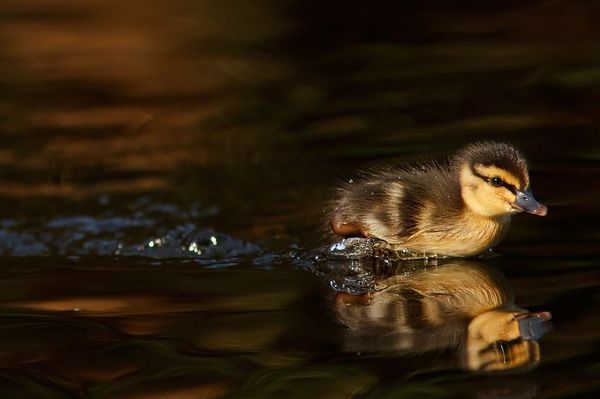
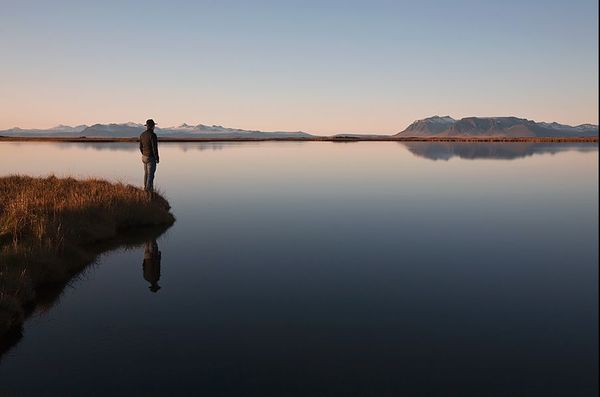
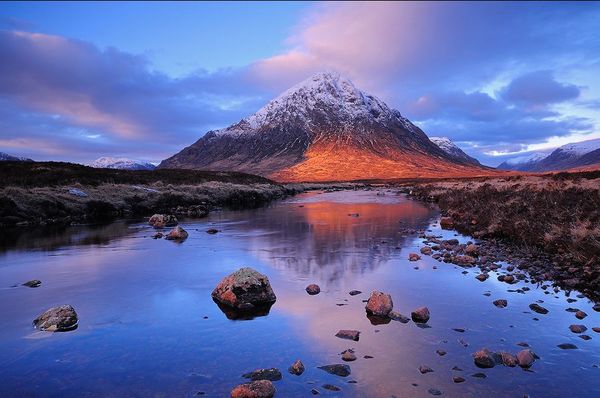
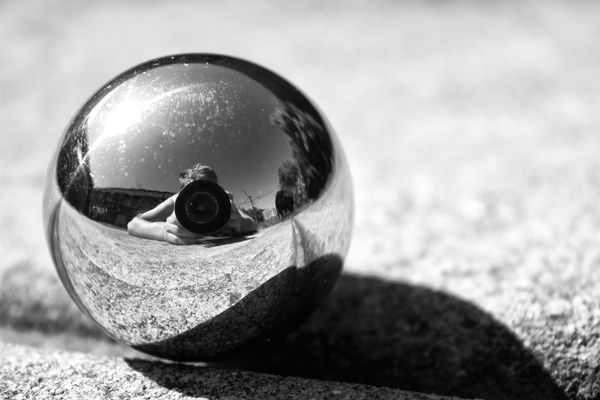
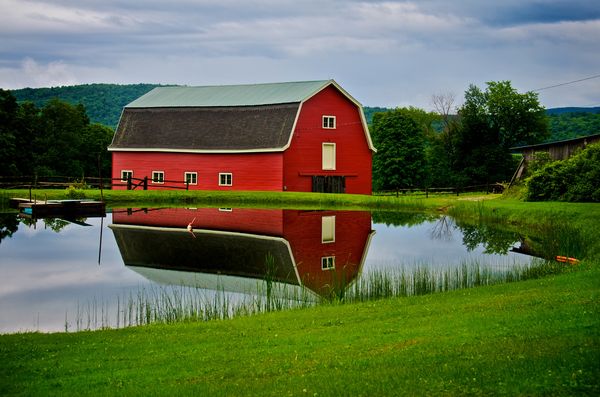
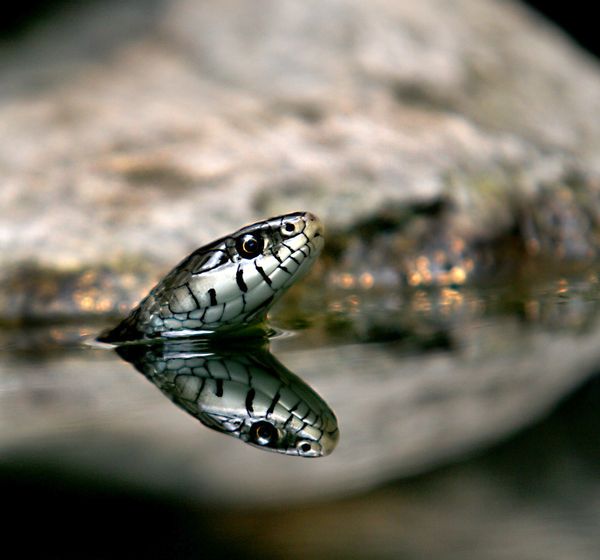
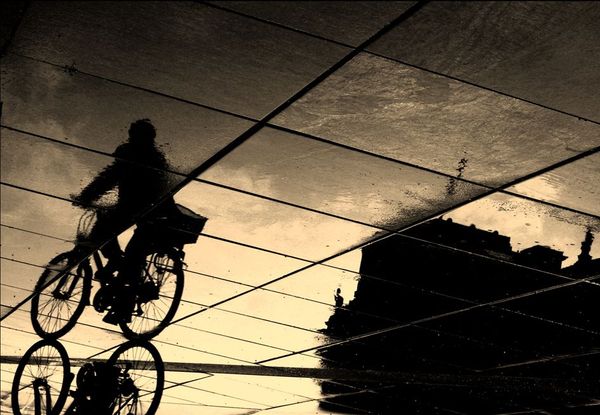
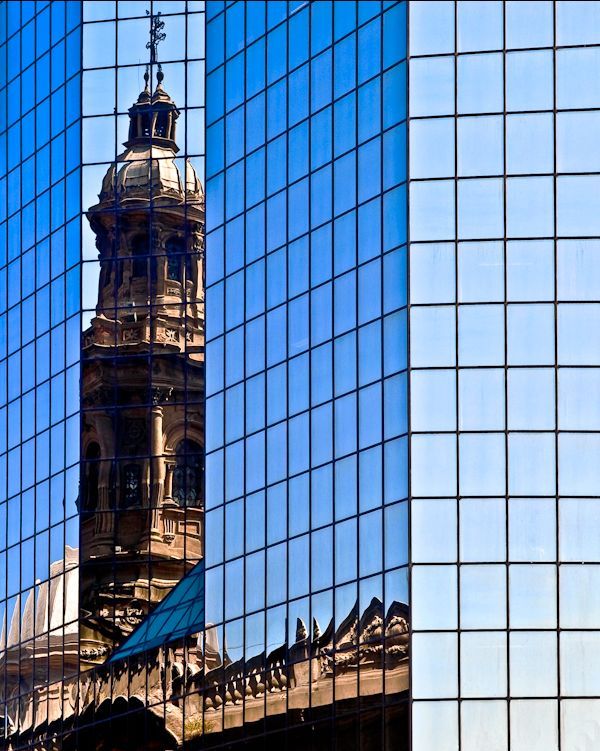
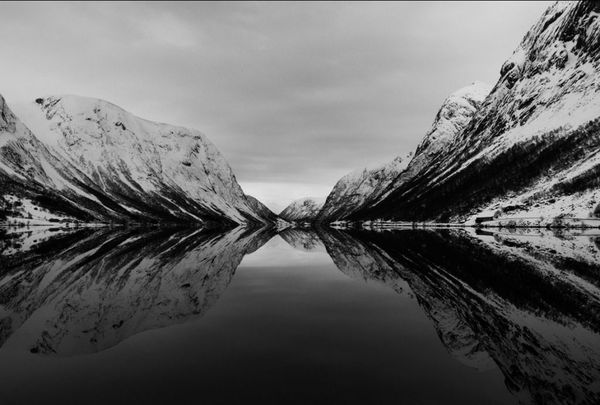
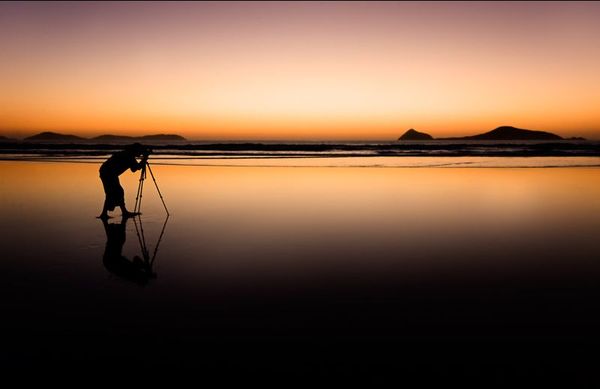
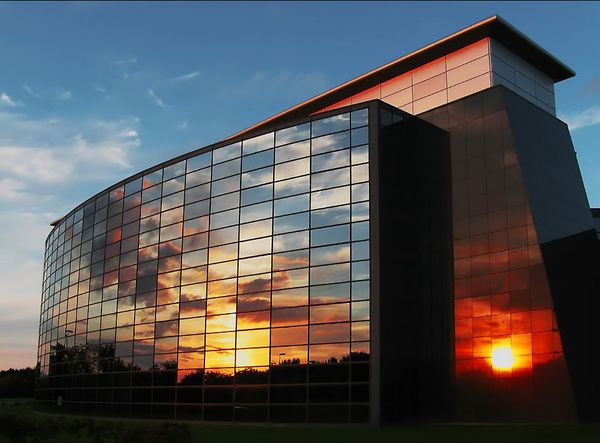
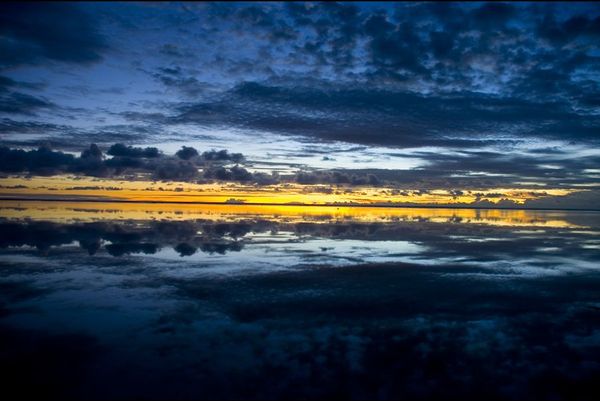
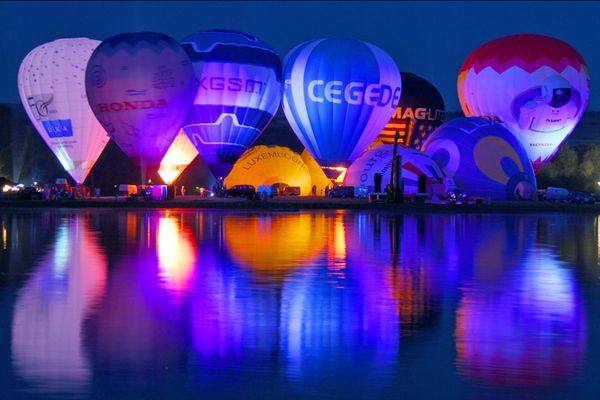
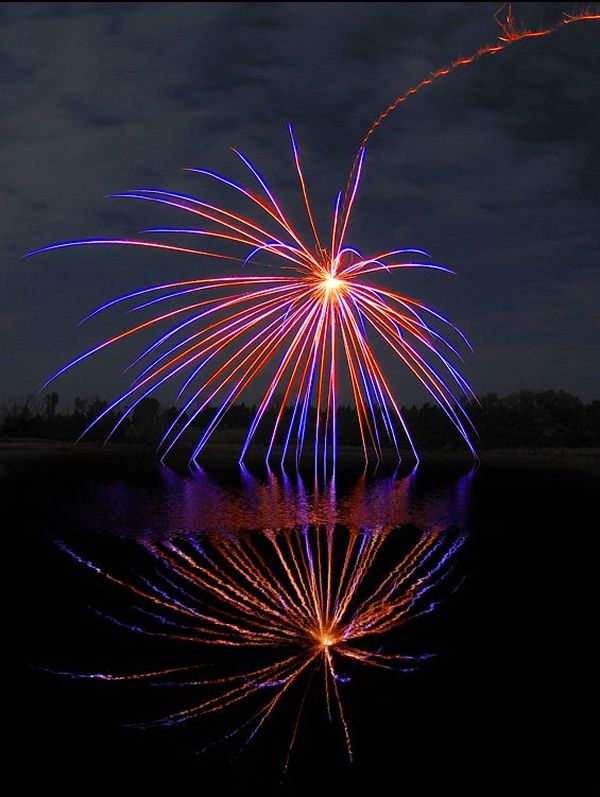
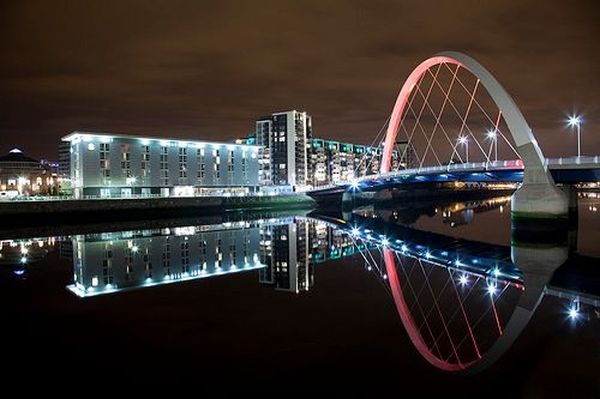
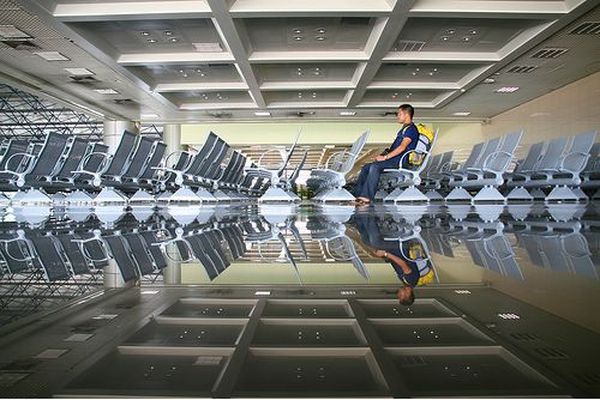
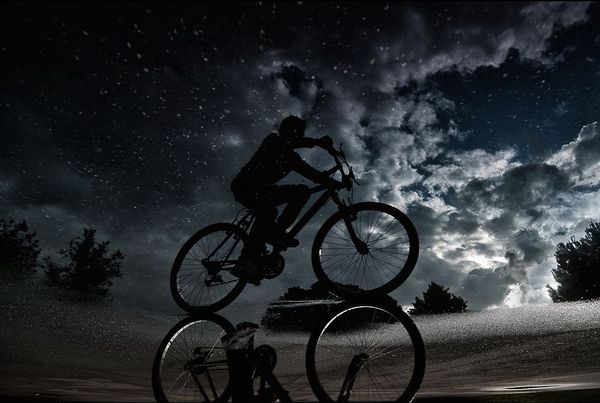
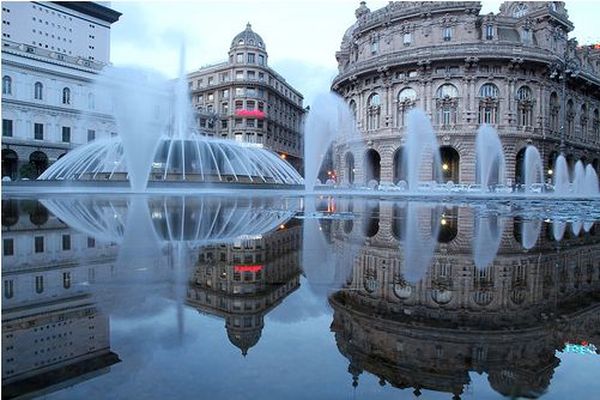
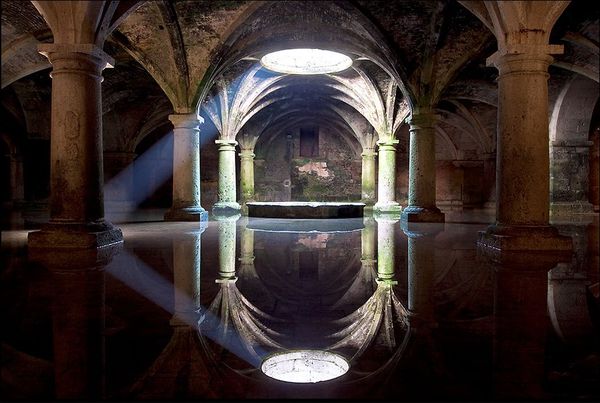
100 Remarkable Examples Of Reflection Photography

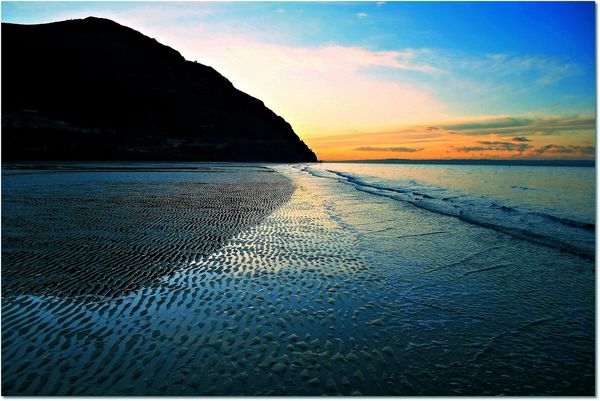
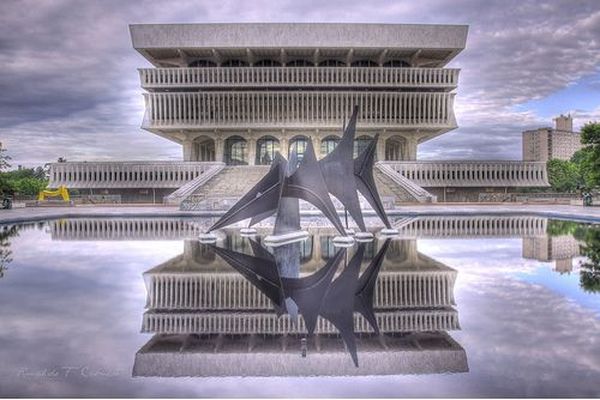
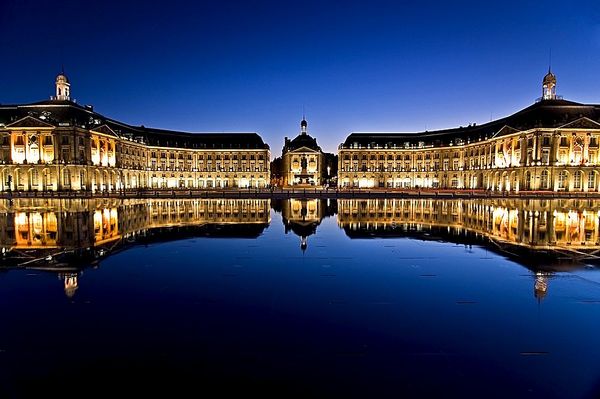
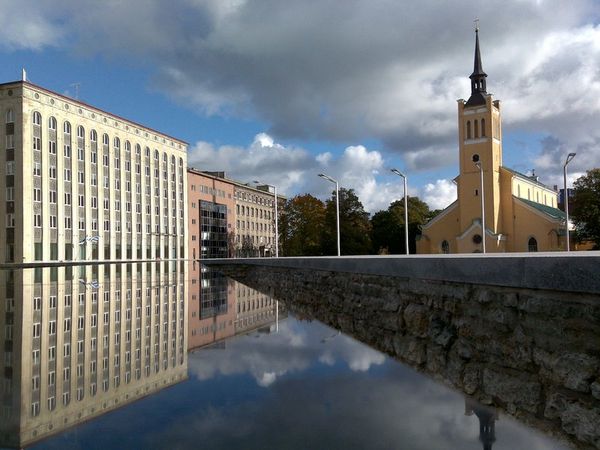
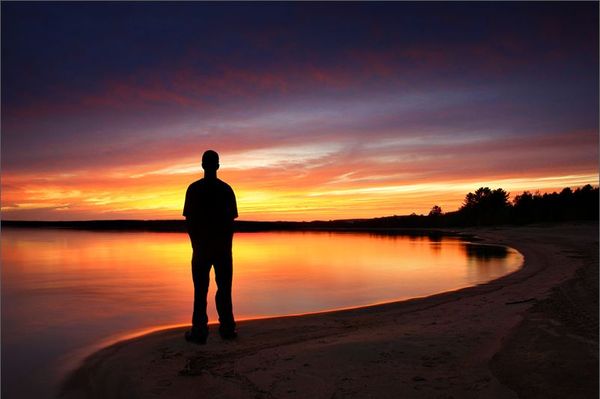
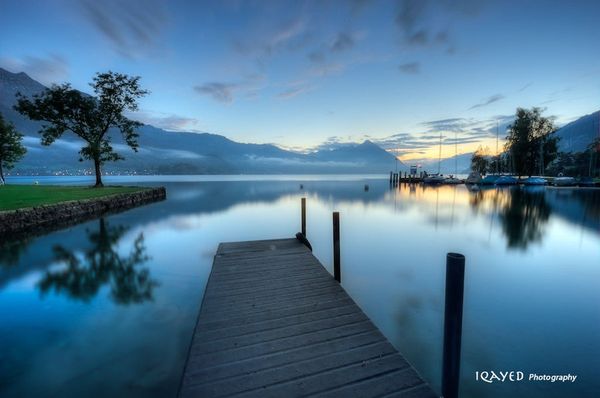
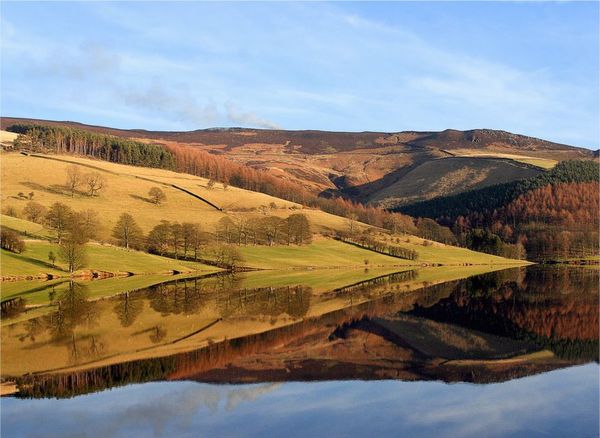
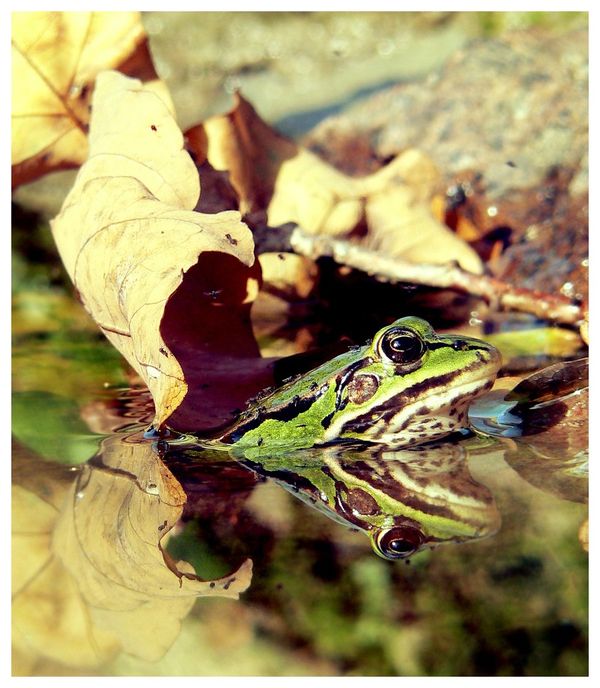
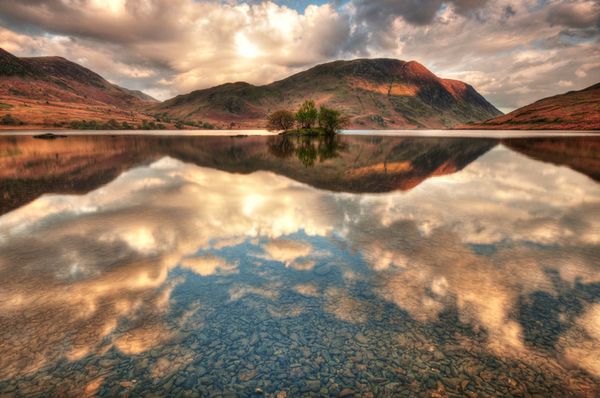
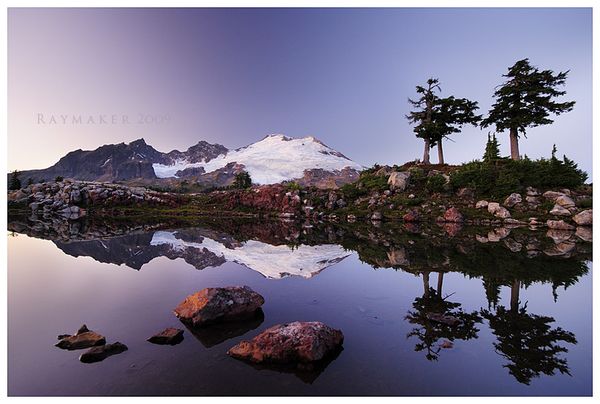
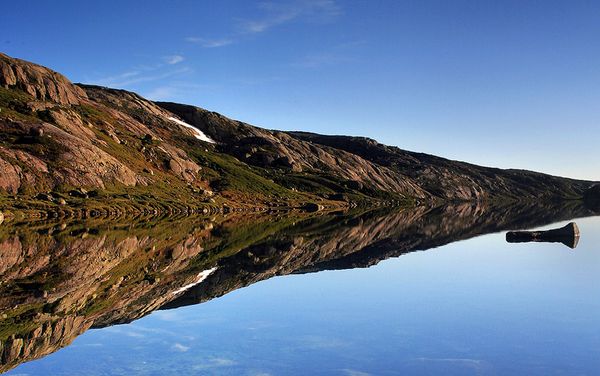
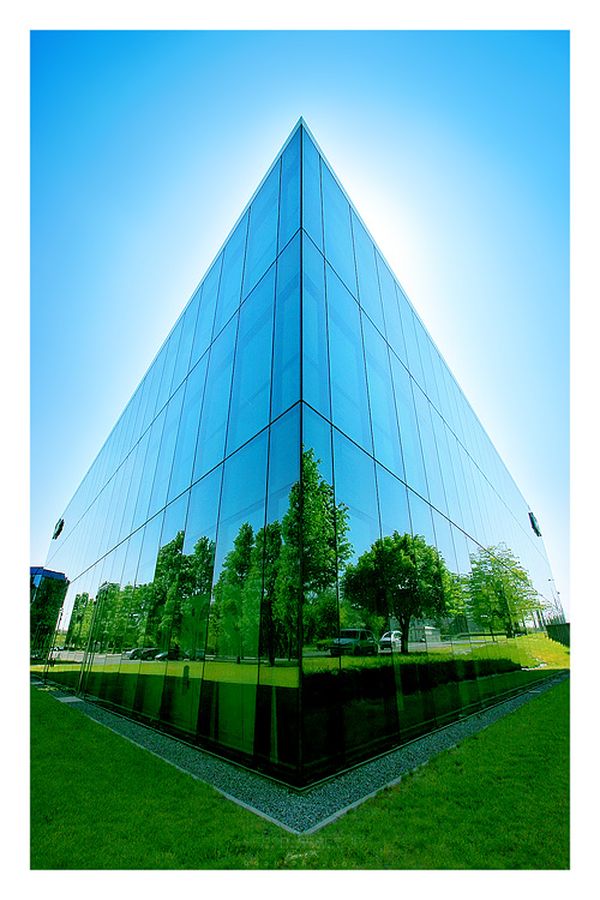
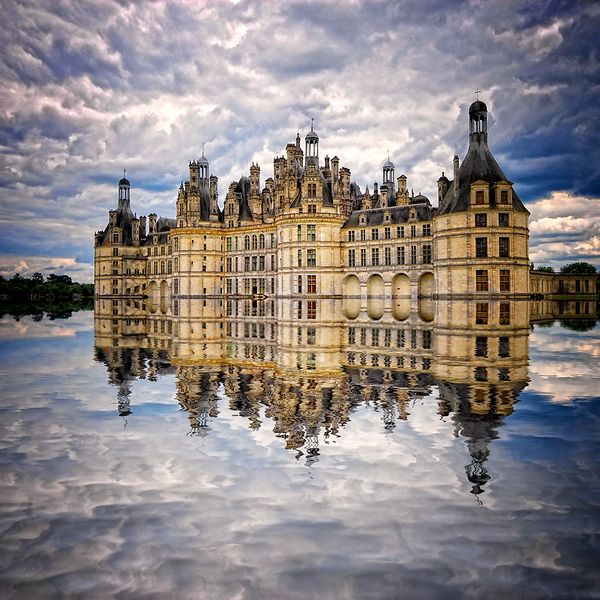
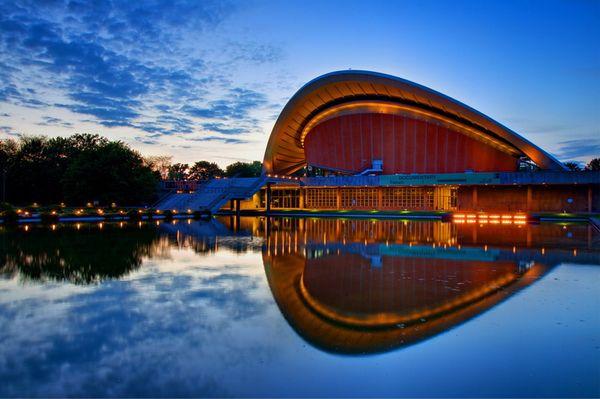
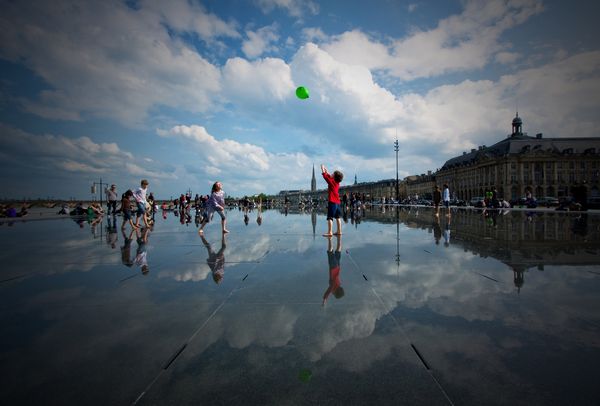
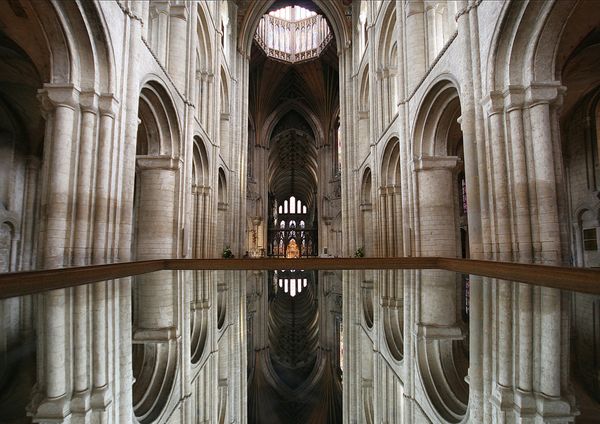
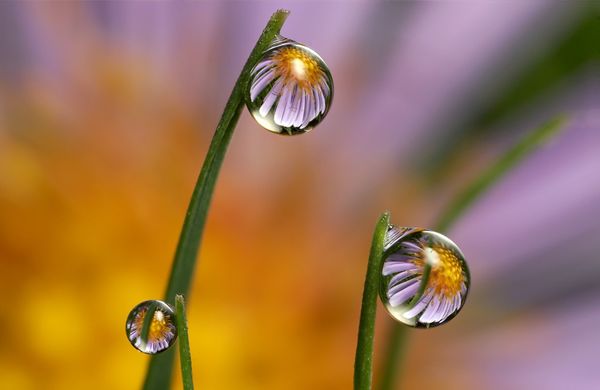
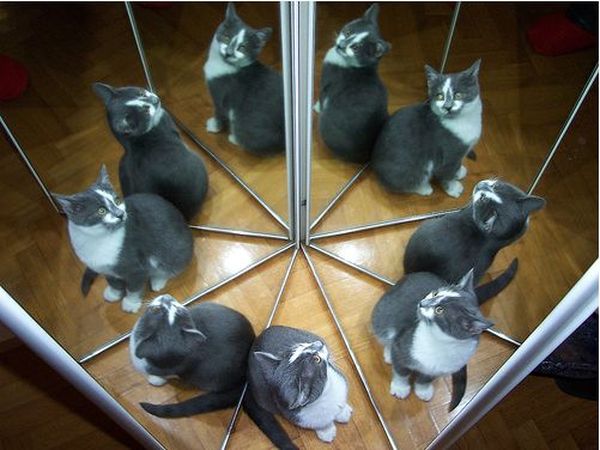
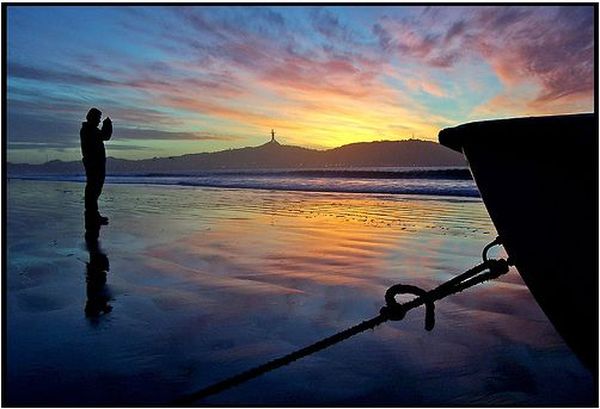
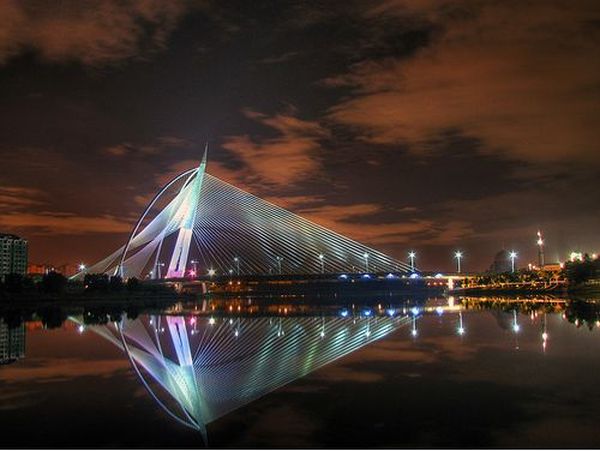
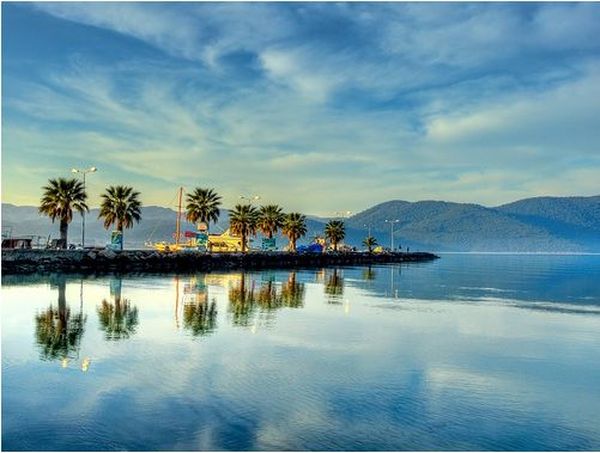
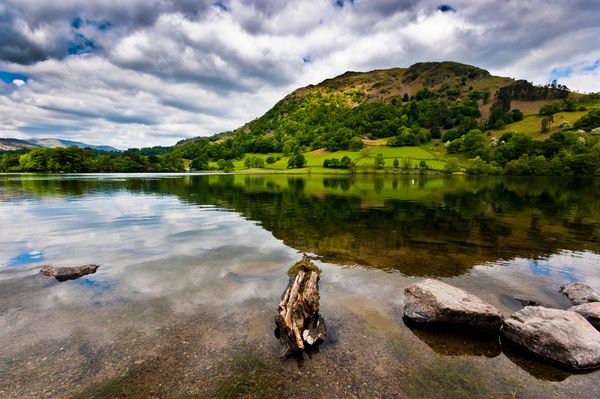
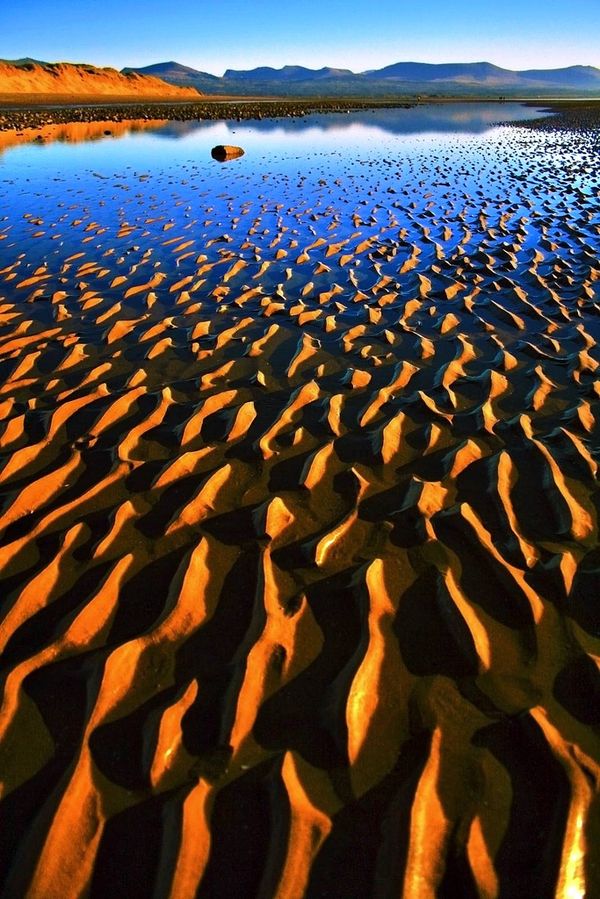
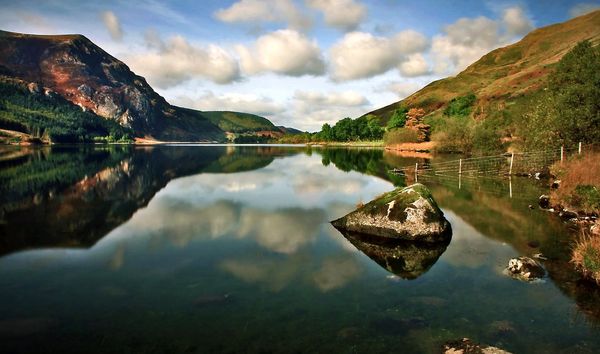
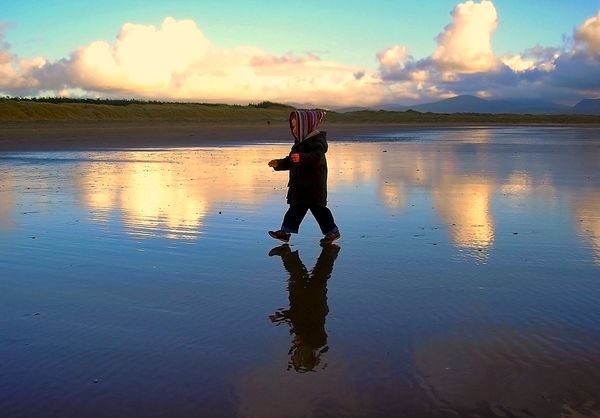
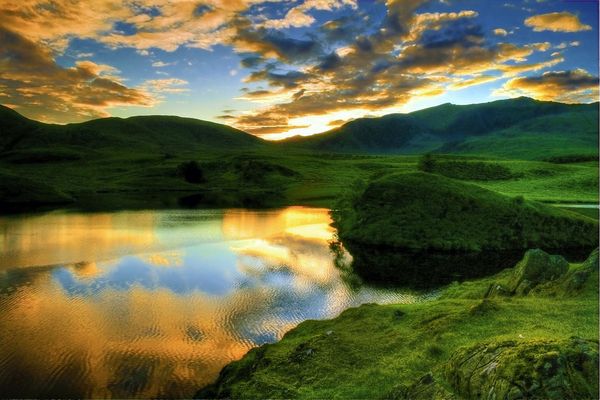
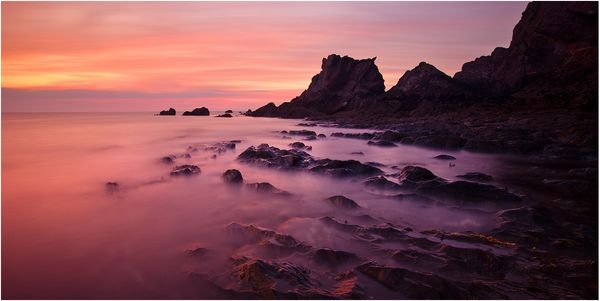
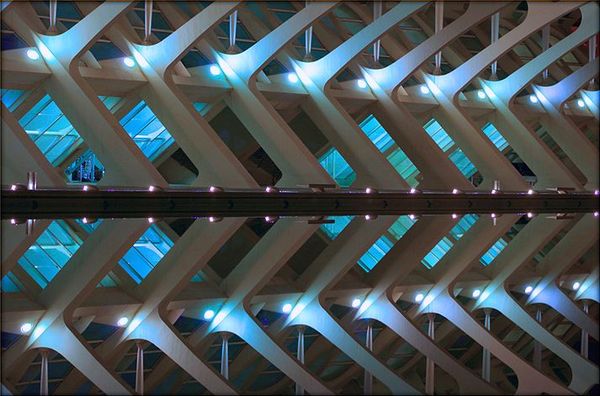
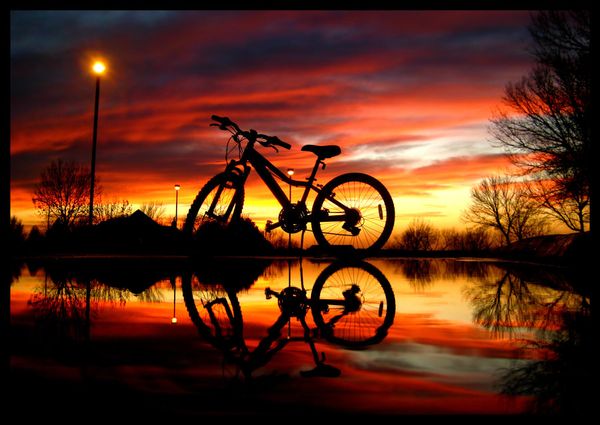
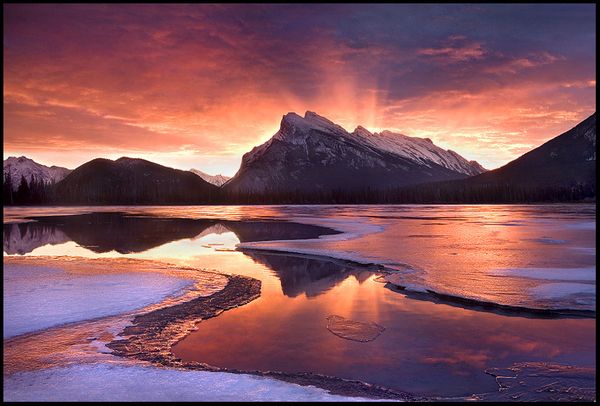
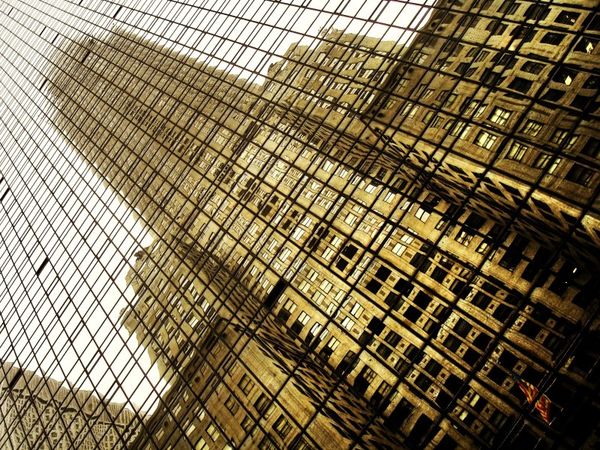
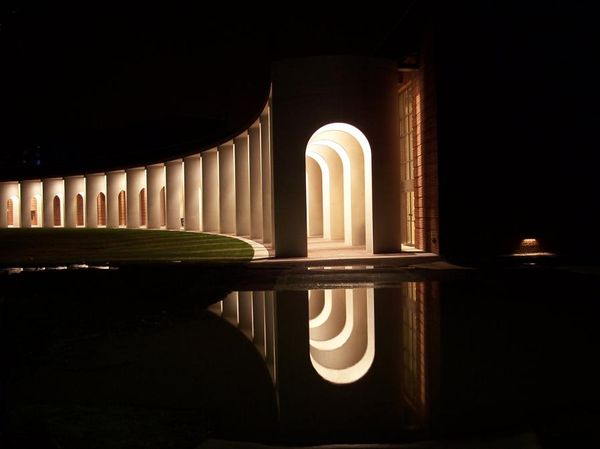
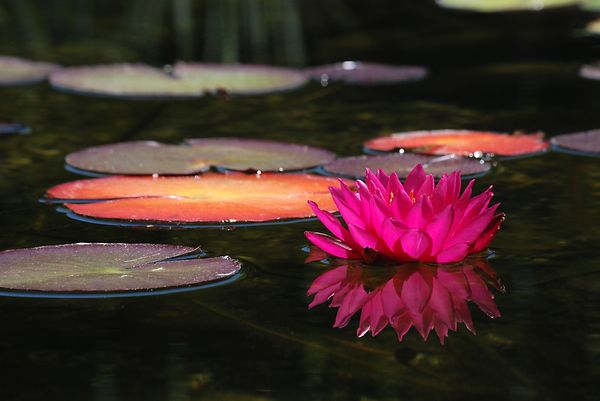
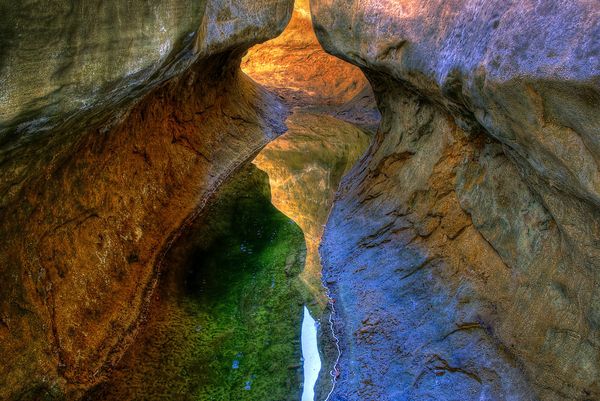
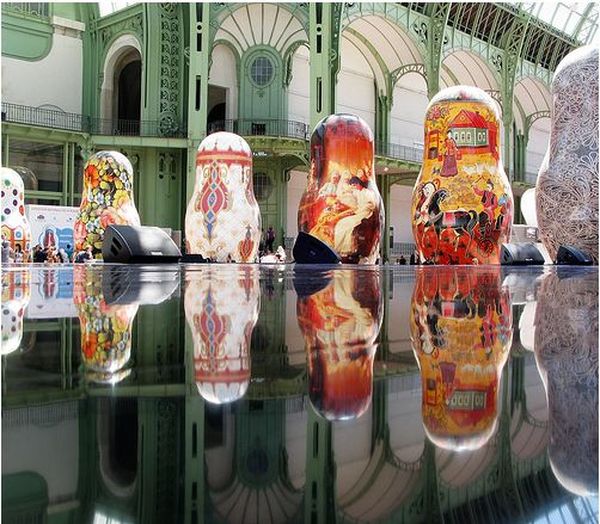
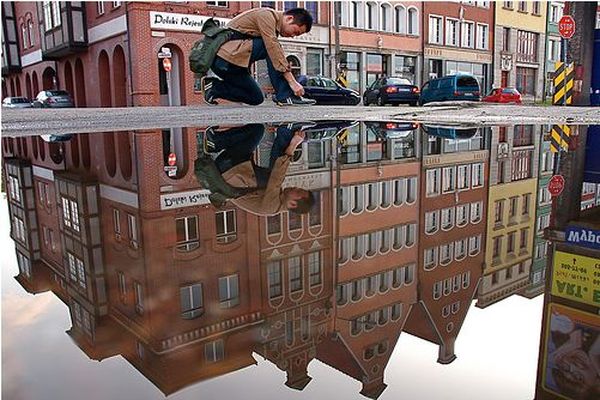
A reflection is an excellent way to instantly create an interesting composition in your photograph. It could involve an expanse of water, a mirror, or even the chrome of an automobile trim! It’s a fascinating addition to any photo, so today we’ve collected 100 remarkable examples of reflection photography for your inspiration and enjoyment!
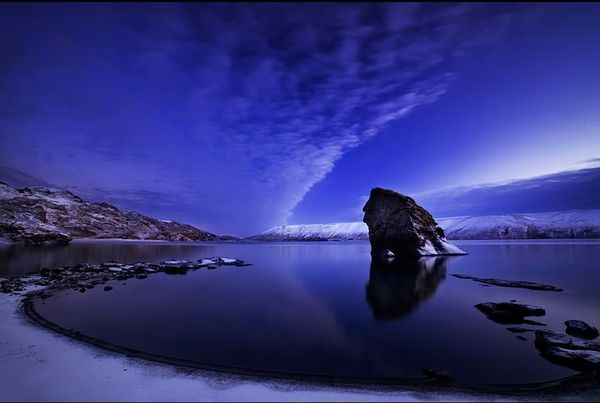
reflection by Amnon Eichelberg

Neighbours by Dirk Eidner

Reflection by Amnon Eichelberg

Infinite Possibilities by Philip Perold

Fall Reflections by Marylee Pope

Morning Reflections by James Marvin Phelps (mandj98)

A reflection of innocence by gilad

a reflection of a reflection by raun

Reflection by DennisChunga

reflection 101 by Enteng Butingting (Watcher Mode)

A time for reflection…. by Richard0

Rewind… by Richard0

Winter landscape by Richard0

What a difference a year makes…. by Richard0

New York State Museum by Ronaldo F Cabuhat

I Got The Blues… in Bordeaux by Nathan Bergeron Photography (so busy)

corner of the mouth by IHP

Reflection. by Siim538

Lost in Reflection by tfavretto

Reflection by iQayed

reflection 4 by mzkate

Reflection by EmiratesSignature

Reflection by wolf-minori

A Place For Reflection by taffmeister

Park Butte Reflection by Raymaker

Reflection by JarleGrindhaug

Bridge of Reflection by MandarinManMark

urbanKeops2 the green desert by bosniak

Reflection by UnUnPentium115

Swampy, Swornes by everydaydude

Liverpool Reflected by petemc

Reflected Sunset by pat1926

Road To No Regret by Philippe Sainte-Laudy

Dolphins… by Nejdet Düzen

Chambord Dream by Philippe Sainte-Laudy

Kingdom Of Desire by Philippe Sainte-Laudy

Haus der Kulturen by Heinz_H

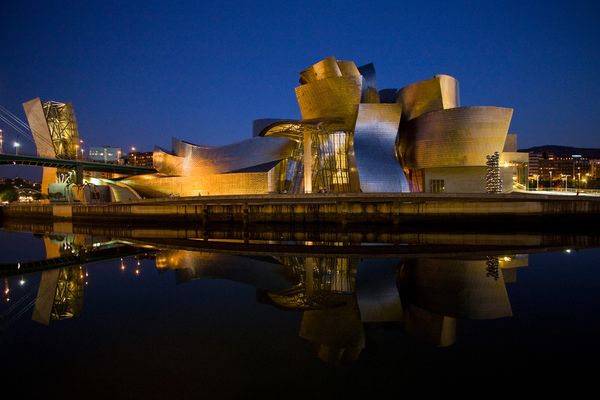
Guggengorry by Boccalupo

Milan Kundera by Boccalupo

heaundae night reflection… by Andrew8RRR

Ely Cathedral – Mirror image by Heaven`s Gate (John)

Gooooood morningggg Paris by anto XIII

Got a whole lot of Living to do….. by Roeselien Raimond

Autumn by Brin

Golden reflections by Dominic Fletcher

Michaelmas daisy dewdrop refraction by Lord V

Mirror skies by John Adkins II

Un gatto e nove vite – a cat and nine lifes by Parnas-io

FIRE SHOT by Luca Brasi

It’s a Laugh… by law_keven

Half way through by SSH Photos

Wawasan Bridge by vedd

I need to be here… by Nejdet Düzen

Lily by The Photography Factory

Rydal Water, Lake District, England by Anthony Lawlor

Ripples by Richard0


Lakeland by Richard0

Mummy! by Richard0

Here comes the sun…. by Richard0

remains of the day by sassaputzin

Prince Felipe Science Museum by MaoriOne

Ride ‘Til the Sun Sets by billyunderscorebwa

The Beginning by MarcAdamus

Reflected Liberty by B3NO

Cygnes reflechis by WestLothian

reflective by otsego-amigo

Night Lights Reflection by doppelger

reflection by danielh85

Reflection by by George Brooks

Reflection by Giess Monika

One Sunday in April by latoday

HEMMED IN by Colmar Wocke

Reflection of a fjord by Øystein Tveiten

In the Moment by Christopher J Ashdown

Self Portrait Times 16 by David Wynia

Cool and warm reflections by U. Midtgaard

Reflection of Maldives by Shazeen Samad

Floating Reflections by Vivion Mulcahy

Solitude by Gordito73

Reflection by Alyssa

Fire Spider by Jeffrey J. Meyers

Mirror Reflection by Fanny Li

The Squinty by philip t mack

lilly by twitchyfinger

Nature’s Abstract Reflections by nmjeeptours

Palais Royal by Coses que passen

1, 2, 3, 4, 5, 6 … by . ADRIEN . Allez les Bleus !

reflets by siempresam

corner work by maybemaq

individualism and socialism by maybemaq

Self-Reflection by SyAmsi

Last Winter’s Arms by shotbart

Reflected in the stars… by Antonio Grambone

curtains to close by maybemaq

Reflex on "il Campo" by Paolo.Sammicheli.iperni ty

Raincatcher by Mandy Schoch

My own little sun by Lev Tsimring

Awakening by Brin

Follow the Flow by Photonook

Quick Tip: Giving a Subject Looking Space

One of the earliest techniques that you learn as a photographer relates to the rule of thirds, and how placing a subject towards one side of an image – rather than straight in the middle – often creates a more pleasing composition. Today I’m going to discuss a related idea; giving your perfectly positioned subject somewhere to look.


Looking Left or Right

Whenever you have a subject that is looking right or left, the best place to position them is away from the side of the image that they’re looking towards. If someone is looking left, position them towards the right of the image (and vice versa).

Here are a selection of images that show this technique being executed well:

Looking Space Rule of Thirds

Leading the Subject

This idea holds true whether a subject is walking, running, diving, or even dancing towards a certain area of the image. Give them space to move into, and you’ll ensure that the action feels real in your photograph. The viewer can envision the action progressing, and create a picture in their mind of what will happen next.

In video and film, this technique is known as “leading the subject”. It involves leaving approximately two thirds of the screen space in front of a subject, giving the feeling that the subject has room to continue to move in the composition.

Again, let’s take a look at an example of this being done particularly well:

Looking Space Rule of Thirds

Breaking the Mould

There are, of course, circumstances where this isn’t always the best route to take. If you get the chance, shoot a couple of images at the time so you can pick your favourite later. Here’s an example of when you might want to leave more space behind the subject than in front, and the following image also breaks the mould for a great result:

Looking Space Rule of Thirds

Share Your Image!

Do you have an image that you’ve taken using this technique? Leave a link in the comments below so that we can take a look!

Shooting an Incredible Lit Landscape From Start to Finish

Landscape photography is an area rarely associated with artificial lighting – there are few forms of photography more dependent on the sun than outdoor and landscape shooting. However, in this tutorial, I’ll show you how tricky or even boring landscapes can be brought to life with a little lighting.


Step 1. Recommended Equipment

For this tutorial, you’re going to need all the basics and, if you’d like, some special gear. First, you’ll need a camera with manual shutter speed that extends to at least 30 seconds. A tripod is also pretty important to keep that camera steady during those 30 seconds.

You’ll also need at least one standalone flash that has a test fire button and at least a full power setting. Better yet, get one with manual settings. I used an old Vivitar 283 with a varipower modules. And finally, you’ll need your running shoes.


Step 2. Optional Equipment

To make this technique easier to execute, several flashes could be used. You could also elect to use wireless flash triggers (although they may not transmit the distances that you need them to) or you could enlist your friends to help you.

A camera that has a remote trigger could also make things easier, and a remote with a bulb or T setting would really be nice. That said, the execution of the photo I made for this tutorial was completed without any of this optional equipment.


Step 3. Scouting An Area

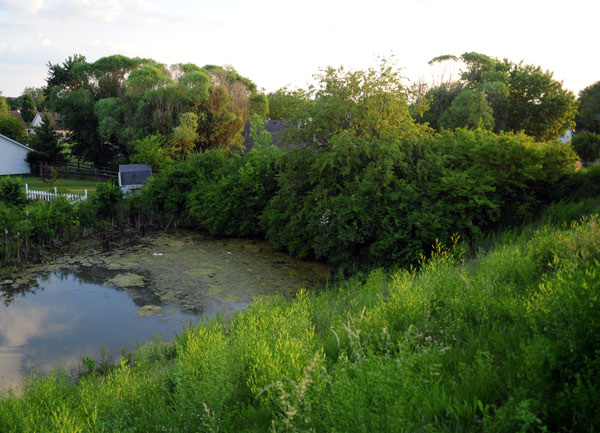
In the photo below, you’ll see the initial area that I was hoping to do this shoot. It’s a pond in a location I’m familiar with. Upon arriving, I noticed that the shore was completely overgrown with branches, trees and poison ivy. This led me to rethink my plan.

I needed to find a scene in which I could move around easily in the dark, and that didn’t carry with it a severe danger of drowning. With multiple flashes and some friends, your area of coverage could essentially be endless.


Step 4. Looking Beyond The Clutter

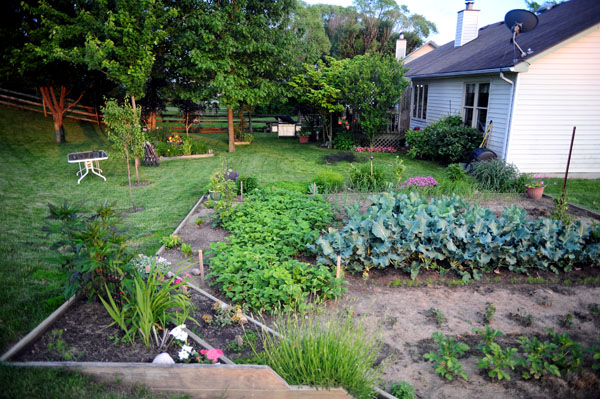
I switched locations to a quaint garden scene with some nice trees in the background. As I waited for darkness, I snapped the photo below. As you can see, the scene is cluttered. There are tables, part of a house, a grill, and some chairs sitting in the yard.

Using natural light, it’s hard to isolate a subject. You’re eye floats around the scene because there’s nothing to latch on to. If that’s not bad enough, the sun was directly to my back when this was shot, so the light is very flat and not very dramatic.

During this time before dark, I decided what items in the scene I wanted to emphasize. These ended up being the trees, and some of the plants in the garden.


Step 5. Determining Your Angle

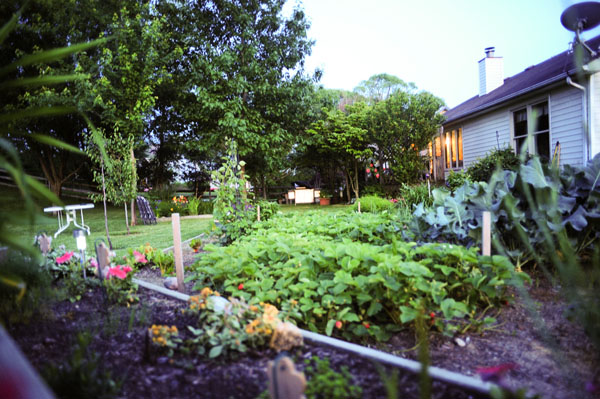
Once I chose the items in the scene that I felt were most important. It was easy to determine the best angle to make them fill the frame. The plants could cover some of the empty yard, so I needed to get low.

Think of it as editing an entire set of images from a photo shoot. There will be a lot of images in the full set that aren’t bad, but every single picture doesn’t need to stay in for you to accomplish your goal. By carefully framing and by choosing a low angle, I was able to “edit” out some of the less important parts of the scene.


Step 6. Determining Your Exposure

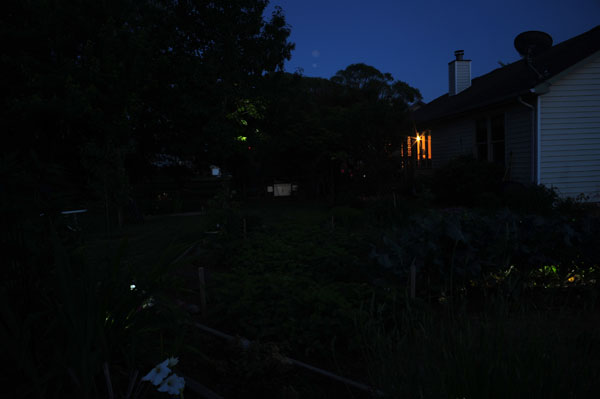
Once you’ve got your angle determined, you’ll need to determine what your camera’s exposure should be set at. I always start by setting my camera to it’s lowest ISO setting. This means that the camera will need a lot of light to make an exposure. I then set my shutter speed to it’s longest setting. My camera does have a bulb setting, but since no one will be manning the camera during the exposure, I set it at 30 seconds.

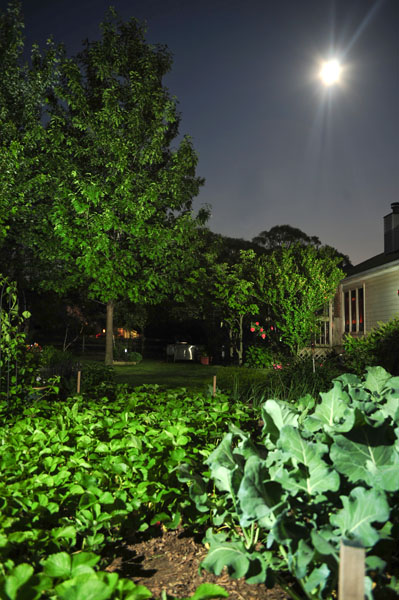
This is the time to bust out that tripod. I then use the camera’s light meter to adjust the aperture to expose for the sky since this is the only bit of natural light I want to show up. You can also see that the light from the window showed up. I didn’t notice this before, so for the next shot I composed vertically to continue the “editing” process I mentioned earlier.


Step 7. Determining Flash Distance

The process for taking this image is pretty straight forward. I tripped the shutter on my camera and ran around the area popping my flash at the things I wanted illuminated. The tricky part is nailing the flash exposure.

In my final image I fired my single flash four different times in four different locations. The entire time my flash was on full power. In order to ensure that the flash exposures were all relatively equal in each area, I just took some test shots where I fired the flash at different distances.

The closer you are to the thing you’re illuminating, the brighter the exposure will be. So instead of trying to adjust the power on my flash, I just made sure that I was the same distance from each of the subjects. For this situation, I found the correct distance to be around 5 meters.

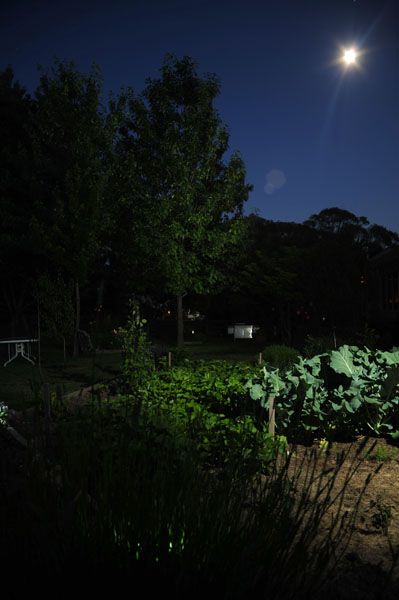
You can see a test shot below where I only illuminated one part of the image. You’ll also notice that by flipping the camera to a vertical orientation, I was able to incorporate the moon into the photo… a lucky break!


Step 8. Doing A Test Run

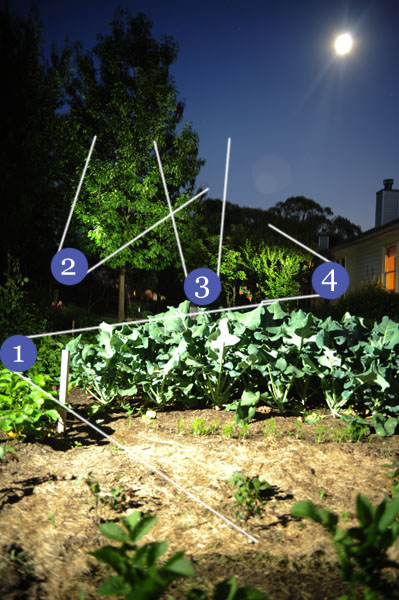
You’ve got your running shoes, right? In the photo below, you can see very distinctly where I fired the flash. Once in the foreground and then three separate firings on the trees in the background. To give myself some extra time, I also turned on the self-timer feature of my camera. This allowed me to get in position for my first flash before the shutter tripped.

As soon as the shutter tripped, I would fire the flash and run to the next position and the next and the next and the next. All in 30 seconds. As you can tell, because I was moving and the light from the flash wasn’t hitting me, I didn’t show up in the photo at all. You can see that this shot looks different from my final image. Read on to find out why.


Step 9. The Final Shot

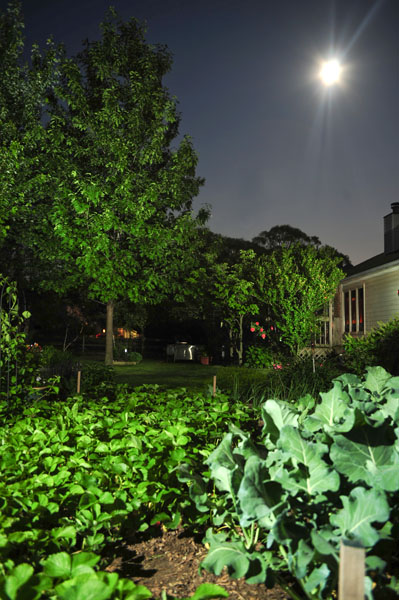
The image above was shot at the same height and angle as the final image shown below, but in the final image, the camera is positioned about 1 meter closer to the row of plants. I didn’t realize how bright the dirt in front of the plants was going to be, and I found it to be too distracting.

So, again, I kept editing what I didn’t want in the frame. This technique gives you complete control over what you want to emphasize. Under natural light, the house and the objects in the yard were the brightest points in the image. With this type of lighting, they play a much less dominant role.

Also, when shooting this in natural light, all the elements were equally lit, competing with each other for attention. Now there is a clear subject.

I hope this tutorial inspires you to experiment with shooting lit landscapes. Flash doesn’t need to be relegated to the studio – bring it out at night, and see what you can produce! Get a few friends together and make a night of it.

Inspiration: The Top 36 Musician Web Designs


Musician websites have a bad name for themselves. They are often behind the times, either poorly designed or poorly coded – or both. It’s not all blue and gloomy though; there are a bunch of fantastic band and musician web designs out there – thirty-six of which can be found below. From textured designs, including Paolo Nutini and Rocket Club, to simplistic and minimalistic design, including Jamie Cullum and Jennifer Lopez, these designs cover the spectrum.

If you ever find yourself working on an artist or band’s website in the future, be sure to keep these examples in mind. This showcase includes various styles of design, from those that act as just a simple online home for the band/musician, to those which contain full-blown online stores, discographies and forums. If your favorite band has a great website, or you’ve even designed a great band website yourself, feel free to link us and the other readers to them in the comments section below.


Textured

The use of texture in modern web design is something that web designers are no longer afraid to use on a regular basis. It helps to add a certain “style” and “feel” to a design, whether it’s a subtle grunge texture you’re using, or a lovely clean plank of wood.

The use of texture in band and musician web designs can really help to complement the style of music by that particular artist; for example, the subtle and noisy background texture in James Morrison’s design suggest his music is easy to listen to and soft, and the dark, grungy and dirty textures in AC/DC’s design suggests their music is quite loud and hard.


Paolo Nutini

Paolo Nutini’s unique music is matched with a rather unique, elegant and slightly “vintage” style look. It’s made much more appealing by the use of illustrated typography and hanging frames which are brought to life by being different sizes and unaligned.


Zac Brown Band


Paramore


Grizzly Bear

A hand-drawn colorful and retro texture has been used on Grizzly Bears web design, suggesting that they produce feel-good music that is easy to listen to and fun.


Lily Allen


James Morrison


Rocket Club

Rocket Club have combined photography and grungy texture with vintage layer styles to produce a unique and compelling design. Hand-drawn patterns and bold, fancy text has been used to top the designs vintage feel off.


AC/DC


Third Eye Blind

Third Eye Bling (3EB) have cleverly incorporated their band names meaning into their design, by making the title “Third Eye Blind” almost blind for the human eyes to see. It’s clever, unique, and adds a bit of interest to their design, helping users to remember it.


Plan B


Robbie Seay Band


Florence + the Machine


Simplistic/Minimalistic

Simplicity and minimal styles are a popular, and still upcoming trend in modern web design. It is typically used on sites whose owners want the viewers to focus on the websites content rather than the design itself. It is popular among design, illustration and photography portfolios, as well as some online stores and news sites.


Jamie Cullum

Jamie Cullum’s site design is actually quite well known across the design community for its simplicity and great use of white space. The design is elegant, easy to view and navigate, and incorporates some lovely typography and sleek silver buttons in the top right hand corner.


The Black Keys


Arctic Monkeys

The Arctic Monkeys use a black and white color scheme, with very little other colors being used in the design whatsoever. The high-threshold portrait images are used to fit in with the curvy illustrated-style design.


Jennifer Lopez


The Temper Trap


The Rolling Stones


U2

The navigation in U2′s design makes use of strong, bold white typography to draw attention to what’s important: the ways in which to find yourself around the site. The design is separated into three columns, making it easy to present and view lots of information on a single page, similar to columns in a newspaper or magazine.


Nine Inch Nails

Large Typography

Large typography tends to be bold, strong and “powerful.” It’s quite often the first and last thing we look at when entering and leaving a website. It usually has the power to tell you the nature of a website. For example, Limp Bizkit’s website uses a messy and grungy typeface for the word “Bizkit” in a bright yellow against a dark background. This immediately suggests loud and intrusive.


Limp Bizkit


Daniel Moir

Daniel Moir’s design uses a bucket-full of modern-day effects and “trends”, such as huge typography, desaturated and low opacity images and almost (but not quite) monochrome color schemes.


Photographic

Photographic-based web designs usually consist of photographs being used as main backgrounds. It is a great way to set a mood for your design, which is especially important with band and musician websites, as it suggests the style of music before even listening to it. For example, a shot of an illuminated street will suggest modern and pop, whereas a long-exposure shot of a torch will suggest “rave” music and dance.


Pendulum


The Chemical Brothers

The Chemical Brothers have used a long-exposure “light photography” shot in their background, suggesting they produce electronic and dance music. The vivid streaks of light help to bring the simple foreground content to life.


Britney Spears


Imogen Heap


Pixie Lott

A great motion-blurred nightlife shot of an illuminated street has been used in the background of Pixie Lott’s website design. The motorcycle with her sitting on it is Flash animated, helping to bring the background photograph to life.


Kasabian


Paloma Faith


Plants and Animals

“Plants and Animals” is another design in this showcase that is following the latest web design trends; in this case, a three-dimensional anaglyphic effect is used to bring the photographic background and bold typographic links to a completely new level of visual interest.


Illustrated

Like photographic-based web design, illustration is generally used in the background or header of a design, although it is sometimes used in the foreground, as well. Again, like photography, it can help to set the mood of a design, and helps to suggest what kind of music the artist produces.


Katy Perry


Muse


Christina Aguilera

The background used in Christina Aguilera’s web design is highly-illustrated, using light gradients, strong strokes and sudden bursts of slightly desaturated colors to make matching colors in the main content pop (referring to the lips in the background and red typography).


The Decemberists


Jason Mraz


Jimi Hendrix

Jimi Hendrix’s site is stylish, modern and is virtually one big illustration. It uses vivid watercolor style color schemes to make the illustrations compelling, and makes use of the lighter areas to present important information such as navigation links and upcoming events.


You May Also Like…

Increase Productivity by Creating PHP Helper Functions


Every workman needs a good toolbox, and web developers are no different. PHP helper functions are designed to speed up and homogenise repetitive tasks, and make your life that much easier. This first tutorial explains how to make link helpers that will improve your methods for adding hyperlinks and mailto links in your web applications.


An Introduction

Yes, there’s nothing quite like awesome, time-saving devices that make lives easier. There are many useful tools out there that can improve your workflow, from CSS grids and layouts to fully fledged content management systems and frameworks.

This tutorial, however, is going to delve into the concept of PHP helper functions, and how you can write generalised snippets for your site that you will be able to use over and over. These are functions that both speed and clean up your coding process, so that repetitive tasks can be minimized, and you can spend more of your time worrying about the important things in life… like dinner.


Hyperlink Helpers

One of the most common repetitive tasks we find ourselves having to write is the hyperlink. By creating a helper function for this we can save time whenever we need to write one, remove any chances of syntax errors, and make sure the code is easy to update if files are moved around, or if you are moving a site to a different domain. To begin, we will make a very simple function in a file called helpers.php:

<?php
function get_domain()
{
	//the variable $domain can be set to the domain your application is running from.
	$domain = "http://www.my-site-domain.com/";
   	return $domain;
}

This little baby can be referred to whenever we need to get the full path to a file, and can be referenced over and over during your site development. This is a more useful method than simply calling the domain with the $_SERVER[‘HTTP_HOST’] method, because it will not change if someone has typed in the domain with or without the “www”, and works happily if your site is on a subdomain, for example “http://localhost/my-site”.

It is also incredibly useful when moving the site, because all absolute paths will be referring to this single function, so changing the $domain variable to the new domain will change all of your links sitewide, in one single swoop.


Streamline that Code

What we’ll aim to do now is to create a new function called “anchor” that will output a compliant, standard string of html complete with a title. Here is an example of what we’d like to output:

<a href="http://www.my-site-domain.com/new-page.php" title="New Page">New Page</a>

And here is what we’d like to actually be typing:

echo anchor('new-page.php','New Page');

So here we have a PHP function being referenced which has two variables being passed along: one for the link, and one for the display text. So now, still in our helpers.php file, we can start writing the new function:

function anchor($link, $text) // 1
{
	$domain = get_domain(); // 2
    $link = $domain . $link; // 3

    $data = '<a href="' . $link . '"';
	$data .= ' title="' . $text . '"'; //4
	$data .= '>';
	$data .= $text; //4
	$data .= "</a>";

	return $data;
}
  1. Here, we set up the function “anchor” with two passing variables.
  2. We then get the domain name from the get_domain() function we’ve already created
  3. Next, we append the $link variable that has been sent to the function.
  4. We then begin to create the output string in a variable called $data, and use the $text variable to double up as both the visible text for the site, as well as the ‘title’ tag for the link.

Now we can test this out. Create a new file called index.php, in the same folder as this helpers.php file, and type:

require('helpers.php');
echo anchor('new-page.php','New Page');

Here, we’ve connected the two files with the require() function, and then called the anchor() function, sending two custom variables with it. If you test this in a browser you will see our desired result:

New Page

Make it Flexible

This simple function can be useful, but will no doubt become constricting soon enough. We need to add three new features before it becomes truly awesome and flexible; firstly, an option to add custom title tags; secondly, to be able to add CSS rules; and thirdly, an option for it to open in a new window, if need be.

Let’s review custom title tags first. Title tags are very important for SEO purposes, and if you don’t put them on your links at the moment, I strongly recommend it becomes a habit from now on. This function will help force you into doing so — actually, as it’s a lot easier to add, and if you haven’t added one manually, a default copy of the display text will be used instead.

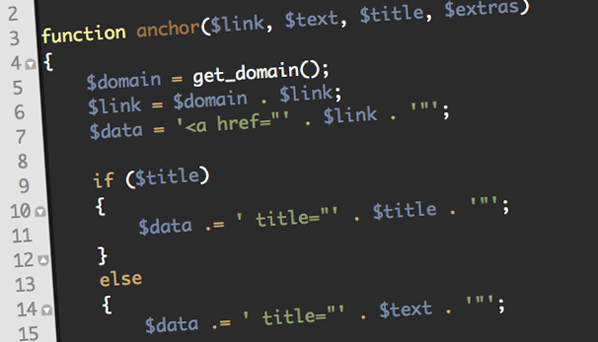
function anchor($link, $text, $title) //1
{
	$domain = get_domain();
	$link = $domain . $link;
	$data = '<a href="' . $link . '"';

	if ($title) //2
	{
		$data .= ' title="' . $title . '"'; //3
	}
	else
	{
		$data .= ' title="' . $text . '"'; //4
	}

	$data.= '>';

	$data .= $text;
	$data .= "</a>";

	return $data;
}

So here is a modified and improved version of our anchor() function.

  1. Now we have added a third variable, $title.
  2. We then run a check to see if a custom title tag has been entered.
  3. If it has, we add a portion to our output $data string that sets the title tag3.
  4. If nothing has been entered, it will default the title tag to the display text, $text, as it was before.

Now, if we change our function call in index.php to:

echo anchor('new-page.php','New Page','Custom Title Message!');

We will end up with this satisfactory output:

<a href="http://www.my-site-domain.com/new-page.php" title="Custom Title Message!">New Page</a>

Styling and Target Options

To make sure we can still use this helper even if we need to add custom CSS or target tags, we will now add a part to our function that will read a fourth variable, and output the correct html accordingly.

We need this function to be intelligent enough to see if we want to put in a CSS class, a CSS ID, or a target tag, and we also want to be able to put in multiple options, or a singular option, or no options at all. First, let’s modify our anchor function a little:

function anchor($link, $text, $title, $extras)//1
{
	$domain = get_domain();
	$link = $domain . $link;
	$data = '<a href="' . $link . '"';

	if ($title)
	{
		$data .= ' title="' . $title . '"';
	}
	else
	{
		$data .= ' title="' . $text . '"';
	}

	if (is_array($extras))//2
	{
		foreach($extras as $rule)//3
		{
			$data .= parse_extras($rule);//4
		}
	}

	if (is_string($extras))//5
	{
		$data .= parse_extras($extras);//6
	}

	$data.= '>';

	$data .= $text;
	$data .= "</a>";

	return $data;
}
  1. First up, we add a fourth passing variable, called “$extras.” This will contain all of our extra custom options.
  2. Next, we check to see if we are passing an array in this variable. We will be using an array if we’re passing multiple extras to the function, for example if we need it to have a CSS ID and a different CSS class for our link.
  3. If it is an array, we will loop through it, and push each item through a new function called “parse_extras.” This function will take what extra bits we have entered, and create the correct, corresponding html output.
  4. If $extras is a string, it means we have only passed one rule through; so we can run our new function parse_extras() on the single item. Usefully, the function is_string() returns FALSE if the variable is empty; so with this piece of code, if nothing is passed through $extras, then no code will be run, and it will skip through.
  5. Now we need to make our new function, parse_extras():

    function parse_extras($rule)
    {
    	if ($rule[0] == "#") //1
    	{
    		$id = substr($rule,1,strlen($rule)); //2
    		$data = ' id="' . $id . '"'; //3
    		return $data;
    	}
    
    	if ($rule[0] == ".") //4
    	{
    		$class = substr($rule,1,strlen($rule));
    		$data = ' class="' . $class . '"';
    		return $data;
    	}
    
    	if ($rule[0] == "_") //5
    	{
    		$data = ' target="' . $rule . '"';
    		return $data;
    	}
    }
    

    This function makes use of the fact that all our extras will start with a unique identifier. If we’re passing a CSS ID, it will begin with a hash (#), if we’re passing a CSS class, it will start with a period (.), and if we’re passing a target, it will start with an underscore (_).

    1. We can check what the first character of a string is by using the syntax $string[0]. You may be used to using this syntax to retrieve the first item in an array, but it is also a very helpful and quick method for finding specific characters within strings.
    2. Next, we create a new variable, which is our inputted $rule, with the first character chopped off. Now that we have identified what the rule is for, we no longer need it for our html output. This combination of substr() and strlen() is a useful snippet for chopping the first character off a string.
    3. We can now create our $data html output string, ready to return. This method can now be repeated — firstly for if the $rule is a CSS class, and then if it is an html target tag. It’s worth mentioning that we do not need to crop off the first character for the target tag, as html uses the preceding underscore (_), unlike in the CSS rules.

    Now that we have created all our necessary functions, we can return to our index.php file and modify our anchor() call.

    echo anchor('new-page.php','New Page','Custom Title Message!','#special_link');
    

    Here we’re passing a CSS ID, and we receive an output of:

    <a href="http://www.my-site-domain.com/new-page.php" title="Custom Title Message!" id="special_link">New Page</a>
    

    If we were to add an array of extras, in case you wanted it to open in a new window and to have a specific ID and class (unlikely, but worth showing off the flexibility!), we’d do it like this:

    $extras = array('#special_id','.special_class','_blank');
    echo anchor('new-page.php','New Page','Custom Title Message!',$extras);
    

    Here, we pre-establish an array variable called extras, just to keep the code tidy, and then send it along with the anchor() function. This will produce the following output:

    <a href="http://www.my-site-domain.com/new-page.php" title="Custom Title Message!" id="special_id" class="special_class" target="_blank">New Page</a>
    

    Mailto Links

    Finally, we’ll have a look at how to create mailto links in your applications. We’ll make a function called mailto() which will be quite similar to the anchor() function, with one major difference: we will be implementing a cipher on the html output so that the email address can’t be crawled by spam-spiders, and will keep your client’s email addresses secure.

    The method we’ll use to hide the email address uses the rather awesome str_rot13() PHP function, which simply takes a string and moves all alphabetical characters thirteen letters along, in the alphabet. If you ever went to boy scouts, you probably remember mucking around with such codes, and deciding you were probably going to be a spy when you grow up.

    The cipher will output our code in a garbled fashion, and then, using a JavaScript ‘antidote’ function, we can pull the characters back thirteen places on the alphabet and restore their original meaning. However, as this function is client-side, the ‘antidote’ only actions, and the text returns to its normal self, when showed on a screen. Thus, spiders, crawlers and spambots, for the most part, won’t have a clue what they’re reading.

    It’s probably worth mentioning that there are many methods of hiding mailto links, some a lot more secure than this, some less so. I like to use this method, and have never seen any spam come through to any of my clients because of it. It’s worth mentioning too that the JavaScript method itself was developed by Christoph Burgdorfer, and looks like this:

    <script type="text/javascript">
    document.write("Njrfbzr frperg fcl pbqr".replace(/[a-zA-Z]/g, function(c){return String.fromCharCode((c<="Z"?90:122)>=(c=c.charCodeAt(0)+13)?c:c-26);}));
    </script>
    

    This takes the garbled string “Njrfbzr frperg fcl pbqr” and shifts all the characters, so that the display on your screen looks like:

    Awesome secret spy code
    

    However, if you review the source code, which is what the spiders and crawlers will see, you will see no mention of this result — thus, it remains hidden.

    We won’t look at the ins and outs of how this JavaScript works, as this is a PHP tutorial, after all. Instead, we’ll examine how we can implement this in our new mailto() function.

    function mailto($email, $text, $title, $extras) //1
    {
    	$link = '<a href=\"mailto:' . $email; //2
    	$link = str_rot13($link); //3
    
    	$data = '<script type="text/javascript">document.write("'; //4
    	$data .= $link; //5
    	$data .= '".replace(/[a-zA-Z]/g, function(c){return String.fromCharCode((c<="Z"?90:122)>=(c=c.charCodeAt(0)+13)?c:c-26);}));
    </script>';
    	$data .= '"';
    
    	if ($title) //6
    	{
    		$data .= ' title="' . $title . '"';
    	}
    	else
    	{
    		$data .= ' title="' . $text . '"';
    	}
    
    	if (is_array($extras))
    	{
    		foreach($extras as $rule)
    		{
    			$data .= parse_extras($rule);
    		}
    	}
    
    	if (is_string($extras))
    	{
    		$data .= parse_extras($extras);
    	}
    	$data .= ">";
    
    	$data .= $text;
    	$data .= "</a>"; //7
    	return $data; //8
    }
    

    So let’s have a look at what is different here.

    1. Firstly, we’re still passing through four variables to this function, although, for cosmetic purposes, we have renamed the first variable to $email.
    2. Now, we create a new variable with the html output for the mailto link. It’s worth noting that we have added a backslash before the quote marks as this string will later appear inside the JavaScript function, and we need to make sure that the quote marks don’t confuse it.
    3. Next, we implement the str_rot13() function on the $link variable, so that it is encoded.
    4. We can then create our returning $data variable, which contains the JavaScript ready for outputting.
    5. We put our encoded $link in the middle of all this – ready to be translated.
    6. Now that the JavaScript has been added to our $data variable, the rest of the function will look familiar.
    7. We check to see if a custom title tag has been added, and then we parse our $extras, just as before. Once again, we get our tags closed up…
    8. …and return the data.

    We can now use the following syntax in our index.php file to bring up our mailto link:

    echo mailto('[email protected]','Contact Me');
    

    Or, if we need custom elements, just as before, we can add more variables:

    $extras = array('#special_id','.special_class','_blank');
    echo mailto('[email protected]','Contact me','Contact your good pal Barry.',$extras);
    

    Conclusion

    This concludes our first foray into PHP helper functions. This is very much the tip of the iceberg, and, next time, we’ll begin reviewing some more complex tools, in the name of form helpers.

    Form creation and validation has to be one of my pet peeves when creating them from scratch- there is a lot of repetitive code, painstaking writing, and chances for errors. A series of functions that both output correctly structured forms and check the post data for valid email addresses, passwords, string length, etc, can be a true lifesaver. Ah yes, creating html forms from scratch needs not be so groan-worthy as you previously thought.

    If you have any other ideas of what would be really helpful to see in a PHP helper function, be sure to comment your ideas!