Nintendo's Switch is on a roll. The youngest of the games consoles is punching above its weight with a mix of core Nintendo games that have pushed iconic characters like Mario and Link into the modern gaming age. The Switch is also a portable console…
Category: Tutorials
Tutorials,freelance,projects,joomla,php,mysql,wordpress,blancer.com
Twitter trolls hijack Epilepsy Foundation hashtags with strobing images

Apple, Amazon and Google unite to help create a universal smart home standard
17 Best WordPress Slider & Carousel Plugins of 2020
{excerpt}
Read More
How to Create a Pizza Logo & Pizza Box Design

Always
wanted to create a packaging design, but never knew exactly how to do
it?
Well,
why not start with your own design for custom pizza boxes because we all
love pizza. Follow this tutorial and learn how to draw a simple but
effective pizza logo and a pizza box design. This includes
text, a cartoon pizza logo, and icons like a pizza oven, hot pizza boxes,
delivery truck, and 24-hour delivery.
This design can be easily
recolored and, at the and of the tutorial, you will be able to see it
applied to a pizza box packaging mockup.
Hungry
for more pizza designs? Make sure to go to GraphicRiver, where you’ll
find plenty of resources and inspiration for your projects. You will
find a great selection of icons, fonts, vector graphics, and packaging mockups that you can use to create other creative and professional
designs.
Let’s
start the fun!
Tutorial
Assets
To
complete the tutorial, you will need the following assets:
1. How
to Open a New Document
Launch
Illustrator
and
go to File
> New to
open a blank document. Type a name for your file, set the
dimensions, and then select Pixels
as
Units
and
RGB
as
Color
Mode.
Next,
go to Edit
> Preferences > General and
set the Keyboard
Increment to
1
px and
while there, go to Units
to
make sure they are set as in the following image. I usually work with
these settings, and they will help you throughout the drawing process.

2. How
to Create the Pizza Oven Icon
Step
1
Grab
the Line Segment Tool (\) and draw a straight line on your artboard
with a length of 380 px. Give it a dark brown, 4 pt Stroke and select the Round Cap option in the Stroke panel.
Switch
to the Ellipse Tool (L), draw a 320 x 300 px ellipse, and then
align its left and right anchor points with the brown line. Draw a
new 250 x 230 px ellipse and align it to the middle. The
fill colors are not important at the moment.

Step
2
Before
you continue, make a copy of the bigger ellipse and hide it for now.
We will need it a bit later in the tutorial.
With
the two ellipses still selected, press Minus Front in the Pathfinder
panel, and you will get a ring shape.

Step
3
Take
the Line Segment Tool (\) again and draw a straight line of about
194 px that starts from the center of the ring and goes above it.
Give it an 8 pt Stroke using any color and then go to Effect >
Distort & Transform > Transform. Type -13 degrees in the
Rotate Angle field, change the number of Copies to 7, and choose the bottom
middle point as the Reference Point. Hit OK and you will get more
lines starting from the center at an equal distance.

Step
4
Copy
and Paste
in Front (Control-F)
the blue line and open the Transform effect applied in the Appearance
panel. Change the Rotate Angle value to 13 degrees and keep the rest
of the settings as they are. Hit OK and you will get the same effect but on the opposite side.
With
both blue lines still selected, go to Object > Expand Appearance to
expand the effect applied, followed by Object > Expand to turn the
strokes into filled shapes. Next, press Unite in the Pathfinder panel
to merge them into a single shape.

Step
5
Select
the green ring along with the newly obtained shape and press Minus
Front in the Pathfinder panel followed by Ungroup (Shift-Control-G).
Delete the bottom half of the ring and keep all the small resulting
shapes (1).
Unhide
the copy of the bigger ellipse made earlier in the tutorial (2) and
go to Object > Path > Offset Path. Apply an Offset value of
-10 px and hit OK to get a smaller ellipse inside (3).

Step
6
Select
only the small shapes indicated below and then go to Object >
Compound Path > Make (Control-8) (1). Keep the resulting compound
path selected, along with the ellipse, and press Intersect in the
Pathfinder panel. This will cut them a bit smaller than the others
(2).

Step
7
Use
the Rectangle Tool (M) to draw a 390 x 6 px rectangle and arrange it
above the brown line.
Now,
select the remaining green shapes and go to Object > Compound Path
> Make (Control-8). Keep the resulting compound path selected,
along with the thin rectangle, and press Minus Front in the Pathfinder
panel. This will create a small space between the oven icon and the
brown line. Color all the shapes that make up the oven with dark
brown and Group (Control-G) them.

Step
8
Select
the brown line and then go to Object > Transform > Move. Type
125 px in the Vertical field and hit Copy to obtain another line
below. This will define the area where the “Pizza” text will be.

3. How
to Create the Pizza Text Design
Step
1
Grab
the Type Tool (T) and write “PIZZA” on your artboard between the
two lines. Use the East Market Font, with a size of 115 pt.
Position the text in the middle (1).
With
the text still selected, double-click on Characters in the Appearance
panel so you can see the attributes. Change the fill color to red and apply a 3 pt Stroke using the same dark brown color (2).
With
the text still selected, go to Effect > Stylize > Drop Shadow
and apply the settings shown in order to add a small flat shadow on
the bottom right side (3).

Step
2
Use
the Type Tool (T) again and write “Fresh & Hot” on your
artboard at the bottom of the oven symbol. Use the Yellowtail Font, with a size of 46 pt and the same dark brown fill color to
match the rest of the pizza box design.

4. How
to Create the Cartoon Pizza Logo
Step
1
Use
the Ellipse Tool (L) to draw a 248 x 235 px ellipse on your artboard
(1). Select only its top point with the help of the Direct Selection
Tool (A) and press the Delete key on your keyboard (2).
Now, close
back the shape using the Pen Tool (P) but create a slightly rounded
top (3). Add more anchor points
along the path with the Add Anchor Point Tool (+) and move
them to distort the shape and give it a cartoonish look (4).

Step
2
Use
the Pencil Tool (N) or the Pen Tool (P) to draw four paths on the
pizza shape, as shown in the image below (1). You
don’t have to be precise—the more random the better as this will
contribute to the overall cartoon style.
Select only one of them along with the pizza shape
and press Divide in the Pathfinder panel. This will cut that shape
out, and you can delete it (2).
Repeat the same thing using the other
three paths to obtain the holes (3). Continue to draw a shape on each
side as the pizza crust (4).

Step
3
We
will continue to draw the ingredients on the pizza. For the tomato,
first draw a rounded shape using the Pencil Tool (N) or the Pen Tool
(P). Color it with the same dark brown (1). Continue to draw two
bean-like shapes inside it and go to Object > Compound Path >
Make (Control-8) (2). Select the brown and orange shapes and press
Minus Front in the Pathfinder panel to obtain the empty areas inside
the tomato (3).
Next,
draw a few small shapes as the seeds, and the tomato slice is ready
(4). Following the same process, you can create a half slice of
tomato as shown in the image below (5).

Step
4
Make
copies and arrange tomato slices inside the pizza holes created
earlier (1). Continue to draw a few rounded shapes between them and
then go to Object > Compound Path > Make (Control-8) (2). Keep
the newly obtained compound path selected along with the pizza shape
and press Minus Front in the Pathfinder panel to obtain the small
holes (3).

Step
5
To
create an olive slice, draw two rounded shapes of different sizes on
top of each other. While both shapes stay selected, press Minus Front
in the Pathfinder panel. Create other olive slices in the same way or
make copies of the existing one and arrange them inside the small
holes created earlier. Color them with the same dark brown color in
order to maintain the same style for the pizza logo, although we
will create a colored version of the design a bit later in the
tutorial.

Step
6
Select
and Group (Control-G) all the shapes that make up the pizza logo,
scale it down, and arrange it under the pizza text (1). Next, use the
Rectangle Tool (M) to draw a rectangle shape that covers the pizza up
to the second brown line (2). Select both the pizza logo and the
rectangle and go to Object > Clipping Mask > Make (Control-7).
You will obtain a clean pizza box design (3).

Step
7
Grab
the Type Tool (T) and write “TO GO” at the bottom of the pizza.
Use the Arimo Font, with a size of 36 pt and a dark
brown color.
Keep
the text selected and go to Effect > Warp > Arc. Type -21 px in
the Horizontal Bend field and, as a result, the text will be slightly rounded.

Step
8
At
this point, the main design on the custom pizza box is ready. You can keep it more
monochrome by using only the color brown and a pop of red, but it can also be
easily recolored. Use the shades indicated to color the pizza shapes, the
tomatoes, the olives, and the text.

5. How
to Create the Hot Pizza Boxes Icon
Step
1
To
create a pizza box icon, start by drawing a rounded rectangle and a
rectangle with the dimensions shown. While both stay selected,
press Horizontal Align Center and Vertical Align Center in the Align
panel (1).
Draw a 43.5 x 43.5 px circle followed by a smaller 23.5 x 23.5 px
circle in the center. Use the Direct Selection Tool (A) to select
only the top points of these circles and delete them. Close back the
paths using the Pen Tool (P) to obtain two semicircles (3). Keep the semicircles selected and press Minus Front in the Pathfinder panel
to obtain the opening tab (4). Finally, select everything and press
Unite in the Pathfinder panel to merge them into a single shape (5).
Color it with the same dark brown R=82, G=58, B=58.

Step
2
Make
copies of the first pizza box icon and arrange them on top of each
other, making them overlap a little (1). Add three rounded rectangles
above as the steam coming out of the boxes. At this point, the stack
of pizza boxes is complete (2).

6. How
to Create the Delivery Truck Icon
Step
1
Take
the Pen Tool (P) and draw a path on your
artboard, as shown in the image below. Give it a 13 pt Stroke and press the Round Cap and Round
Join options in the Stroke panel (1).
Next, use the Rounded Rectangle
Tool to draw a small rectangle with the dimensions shown and align
it to the bottom (2). Draw three more rounded rectangles
of different lengths and arrange them on the left side of the
delivery truck icon (3).

Step
2
The
wheels are made of two circles of different sizes; use the Minus
Front function to obtain the wheel shape. Make a copy of the wheel
and arrange both of them at the bottom of the truck (1). To connect
the wheels, draw a rectangle between them using the Rectangle Tool
(M) (2). Complete the icon by drawing a path as the windscreen and
give it a 13 pt Stroke (3).

7. How
to Create the 24-Hour Delivery Icon
Step
1
Use
the Ellipse Tool (L) to draw two circles of 160 x 160 px and 120 x
120 px aligned in the center. Before you continue, Copy and Paste in
Back (Control-B) these circles and keep them for later use.
With
the help of the Direct Selection Tool (A), select and delete only the
top points of the two circles (1) and then close back the left and
right end points (2) to obtain the half ring shape (3).
Now,
select both circles along with the half ring shape and Rotate them
-10 degrees in the Transform panel (4).

Step
2
Draw
a triangle shape but with slightly rounded corners, and arrange it at
the left end of the half ring as the arrow. Next, use the Rounded
Rectangle Tool to draw six small rectangles and then rotate and
arrange them using the copies of the two circles as reference (2).
Color
the shapes that make up the icon with dark brown R=82, G=58, B=58
like the others (3) and finally, type “24” in the middle using a
basic Illustrator font. Fill it with the same color and apply a
2 pt Stroke to make it bolder (4).

Step
3
The
hot pizza boxes, delivery truck, and 24-hour delivery icons are
ready, and we can include them in the design of the pizza box. Scale them down as much as needed and position them below the cartoon pizza logo.
Our design for the custom pizza box is starting to come together, right? The icons we have created will give an effective visual message once applied to the pizza box packaging mockup.

8. How
to Add a Grain Texture on the Pizza Logo
Step
1
First,
let’s create a new shape that we’ll need to mask the texture.
Select
the pizza shape, crust shapes, tomatoes, and olives; then Copy
and Paste in Place (Shift-Control-V) to make copies in front of
everything. Press Unite in the Pathfinder panel followed by Object >
Compound Path > Make (Control-8) to merge them into a single
shape.

Step
2
Next,
use the Rectangle Tool (M) to draw a rectangle that covers the pizza
up to the horizontal brown line. Keep it selected, along with the
pizza compound path obtained in the previous step, and press Intersect
in the Pathfinder panel followed by Object > Compound Path >
Make (Control-8). This is the masking shape that we need next.

Step
3
Download
a free grain texture or use a favorite texture that you might have and copy it into your
file. Scale it down or up, depending on how small or big you want the
grain pieces to be.
Now,
select the pizza compound path obtained in the previous step along
with the grain texture and go to Object > Clipping Mask > Make
(Control-7). I want the texture to be visible only on the cartoon
pizza logo to enhance the style, but feel free to apply it to the
entire packaging design.
You
can color the texture either with white or dark brown. Both look
great—it depends on what you prefer.

9. How
to Create a Pizza Pattern on the Pizza Box
Step
1
Use
the Ellipse Tool (L) to draw a circle filled with light gray; then
set it to Blending Mode Multiply and 65% Opacity. Continue to draw a
few smaller circles inside; color them with the same light gray shade
and set the Blending Mode to Multiply. The salami icon is ready now.
The
other pizza ingredients like mushroom, olive, and piece of
pepper are simple shapes drawn with the Pen Tool (P) and the Ellipse
Tool (L). Fill them with the same gray color and set the Blending
Mode to Multiply so they will blend with any background color that
you choose for your pizza box packaging mockup.

Step
2
Let’s
finalize the packaging design with a pizza pattern on the bottom
half of the artboard. Start to arrange copies of the salami icon
followed by mushrooms, olive slices, and pieces of pepper. Group
(Control-G) all the items and send them to the back.

Step
3
Draw
a rectangle the same size as your artboard, and use it to
mask the pizza pattern. Also, reduce the Opacity of the entire group
of ingredients as much as needed, depending on the background color
you choose.

Congratulations!
You’re Done
Here
is the final design of the pizza box. I hope this tutorial was
fun for you and that you learned some new techniques today. Now you
have the knowledge to make other creative logos and packaging designs
in Adobe Illustrator.
Below
you can also see the simple yet effective design we made applied to a
pizza box packaging mockup.


Expand Your Design Skills!
Keep drawing and learning with these recommended tutorials:
-

How to Create a Logo
Designing a logo from scratch can seem like a daunting task. In this article I’ll walk you through the process of creating memorable, unique and distinctive… -

How to Create a Modern Single-Letter Logo in Adobe Illustrator
In this tutorial we’re going to go over the process of creating a simple logo with the shape of the letter P, which can be used for business, products,… -

How to Create a Nautical-Themed Logo in Adobe Illustrator
In the following steps you will learn how to create a nautical-themed vector logo in Adobe Illustrator. -

Packaging Design for Beginners: How to Create a Simple Box
Using Adobe Illustrator and Adobe InDesign, here we’ll create a template for a simple rectangular box that’s adaptable for cosmetics and other products…. -

10 Top Tips for Designing Awesome Packaging and Labels
Designing packaging can seem daunting at first glance, but it needn’t be—some of the most effective designs are based on surprisingly simple templates…. -

How to Make a Colorful Pizza Pattern in Adobe Illustrator
In this quick tutorial we’ll learn how to make a tasty seamless pizza pattern using the Pen Tool, basic shapes, and the Pattern Tool in Adobe Illustrator.
{excerpt}
Read More
28 Cool New Party Flyer Templates for Photoshop & InDesign for 2020
Need a party flyer fast? Check out this list of creative resources below.
28 Cool Party Flyers for Photoshop & InDesign
Party flyer templates take the headache out of custom flyer design. Usually, you can complete these designs in mere minutes by updating the template with simple event details and more.
And today we’re bringing you another awesome round of premium goodies, this time from Placeit, Envato Elements, and Envato Market.
Get inspired by flyer templates perfect for Adobe Photoshop or InDesign users. And be sure to check out the online flyer maker over at Placeit to deliver impeccable results in less time.
Stay inspired! Create promotional marketing flyers for fundraising, parties, and so much more.
Think you can tackle these flyers yourself? Check out this tutorial from instructor Grace Fussell for awesome event flyer design tips.

Retro Party Flyer
Check out this cute, fun retro themed party flyer! It’s a quirky 4 inches by 6 inches, and easy to edit with Smart Objects in Adobe Photoshop. Swap in your images and content to create a fun, memorable flyer quickly and easily!

Summer Party Flyer
If you’re looking for a colorful composition, look no further! This ready made Photoshop file is fully editable. Just download and place your images and content! The graphics are vector too, so there’s so much room to customize this design to your liking!

Abstract Party Flyer Template
What fun fit this template could be for your next party! This flyer features fun, abstract imagery, and also comes in a host of colors, ready to use. Easily customize the layout in Adobe Photoshop with your event information, for a fun design in a snap.

Music Party Flyer
What a fun, throwback design! The retro nod here is such a fun design solution. Perfect for parties, concerts, and more, this template is easy to customize. Fancy cyan over magenta? Just open up the Photoshop file and easily switch things around.

Summer Party Flyer Template
Planning a summer party or event? This fun design comes in both A4 and A5 sizes. It uses free fonts that you can download and use commercially. Open this design up in Photoshop, pop in your content, and you’ve got yourself a fun flyer, ready for drumming up excitement for your event.

Ladies Night Party Flyer
Get the locals out to your venue with this electric party flyer. It features a cool ladies night theme with plenty of room for all your event details. Easily change the colors and fonts using fully adjustable layers and free typefaces. Check it out!

Christmas Party Flyer
Having a Christmas or Holiday party? This flyer pack features a wintry party flyer along with a convenient Facebook page cover to help promote your event. Enjoy two Photoshop files at standard flyer formats.

Neon Glow Party Flyer
This unique flyer will dazzle your partygoers
with bright neon colors. Inspired by the electric vibes of the 80s, this
party flyer pays homage with exciting colors and graphics. Just swap
out the model graphic for one of your own to customize it today!

New Year Party Flyer
Are you ready to bring in the New Year? Celebrate in style with this stunning New Years party flyer. Designed with incredible 3D elements, this flyer features awesome text titles, balloons, and more celebratory decorations. Bring down the house with a fun NYE flyer.

Halloween Party Flyer Maker
Halloween is the best night of the year for spooktacular activities! So invite your friends over with this Halloween party flyer maker from Placeit. Just customize the details and graphics right on the screen for a unique flyer design made by you!

Urban Neon Party Flyer
Make your club the hottest place to go to on a Friday night. This urban neon party flyer is bold and unique. It features a bright neon sign you can customize with your own text. Enjoy perfectly aligned layers and 100% scalable elements for an exceptional party flyer.

The Lounge Club Flyer
Promote your next luxury event with this special lounge club flyer. This template features only free fonts, vector backgrounds, and easily interchangeable layers. Get a brilliant A1 poster design that comes in two convenient formats (Photoshop and InDesign).

Super Bowl Party Flyer
One of the biggest past times is just around the corner, so are you ready? Gather all your friends for the best Super Bowl party of the year with this awesome party flyer. This premium template features a brilliant modern design with classic American football elements and fully editable text. Check it out!

Electro Party Flyer Template
Create the right party vibes with this exclusive design. This next flyer features a trendy geometric theme that is both modern and stylish. It fits for nearly any style of music and can be easily customized to other events. Get two amazing formats for both Photoshop and InDesign graphics.

Party Flyer
Upload your own stylish photos to this party flyer for an epic, customized look! Whether you need a flyer for a special festival or a weekly event, this flyer is definitely cool and sexy. A detailed help guide has also been provided to help you get started.

Disco Party Flyer
Or get the party started with this fun disco party flyer. Designed with Adobe Photoshop, this flyer features a retro 90s design with simple geometric shapes and vibrant colors. It’s fully editable and completely print ready, so you’ll be able to use it right away!

Wedding Poster Flyer Templates
There’s no party quite like a wedding event. Check out this next elegant design made for Photoshop and InDesign formats. This download features high-resolution, print-ready files, along with images made in vector format so you can customize them quickly.

Summer Party Flyer Maker
Placeit flyer templates make it simple to customize your own party flyers with stunning summer graphics. Check out this design, for instance, with an interesting watercolor background and simple text. Just update it right from the page to see the new result.

Event Flyer Template
Need a party flyer template you can quickly update with Microsoft Word? Then check out this amazing design. This fashion and architecture-themed template is inspired by minimalist modern designs for a clean, simplified look. Just update the text and graphics fast with Microsoft Word or Adobe InDesign.

Exhibition Flyer
Throw an incredible art event everyone will remember with this smart exhibition flyer. Created in Adobe InDesign, this template features A4 and letter sizes with free fonts and fully editable files. Get the professional look you need without all the fuss!

Winter Event Flyer
We party even when it’s cold! This next winter event flyer features a lovely watercolor design that will fit many party styles. Get access to standard flyer sizes along with print-ready formats that are easy to use. Download free fonts and more for this amazing flyer.

Princess Kids Party Flyer
Adults aren’t the only ones with the fun parties. Check out this lovely princess design for a children’s party or special event. This template comes in A4 and standard invitation sizes for a super pretty flyer. Although the kids pictures aren’t included, you can easily update them with your own little prince or princess!

Birthday Party Flyer
Your birthday is a special time of the year, so why not celebrate it with a one-of-a-kind flyer? Check out this brilliant design from Placeit, which lets you customize it quickly with preset graphics and text. Update the design to fit your event details and save countless hours!

Pool Party Flyer
Get inspired to sit out by the pool with this next party flyer. Made with bright pink and blue colors, this flyer is right on trend with minimalist graphics. It was designed in Adobe Photoshop but you can easily edit any of its details for a completely new look. Check it out!

Club Party Flyer Poster
Another great trend in design features colorful gradients paired with artistic pictures. This club party flyer is a great example for an amazing, yet editorial result. The background and photo stock is also included, so you won’t have to change any other part but the text. Try it now!

Night Party Flyer
Throw the best bash of the year with this glitch-inspired night party flyer. This download features one high-quality Photoshop file you can modify quickly for extraordinary results. Discover which fonts were used with the helpful documentation that has also been included.

Party Flyer
Not all party flyers need a beautiful subject. Some, like this epic geometric design, shine on their own. This premium flyer template features AI and EPS files that are well organized, with bleed lines and more. Get access to the free fonts used and a detailed help guide.

BBQ Party Flyer
They say the best way to anyone’s heart is through their stomach. That’s why we know you’ll want to invite your family over with a delicious-looking BBQ flyer. This party template features a modern and elegant design you can customize with your very own food pictures.

More Party Flyer Templates
Party flyer templates are a great alternative to spending countless hours on a custom flyer design. I hope these creative options give you the inspiration to tackle your own flyers for more incredible effects!
Want more party flyer templates? Check out these tutorials and articles for inspiration:
 FlyersHow to Make a Boxing Event Flyer Template in InDesignGrace Fussell
 Adobe PhotoshopPhotoshop in 60 Seconds: How to Customize a Flyer TemplateMelody Nieves
 FlyersHow to Create a Summer Club Flyer in Adobe InDesignGrace Fussell
 FlyersHow to Create a 90s Style Event Flyer in Adobe InDesignGrace Fussell
 Flyers24 Cool Event Flyer Templates Using a Flyer Maker (Without Photoshop)Nona Blackman
Tried any of these assets? Let us know! Tell us your favorites in the comments below.
This has been a selection of premium resources perfect for the avid creator. For more party flyer templates, check out Placeit, Envato Market and Envato Elements, or enlist the help of our talented designers at Envato Studio. Happy creating!
{excerpt}
Read More
Better Navigation: How to Add a Dropdown Menu in WordPress
{excerpt}
Read More
20 Best Membership Plugins for Your WordPress Site
{excerpt}
Read More
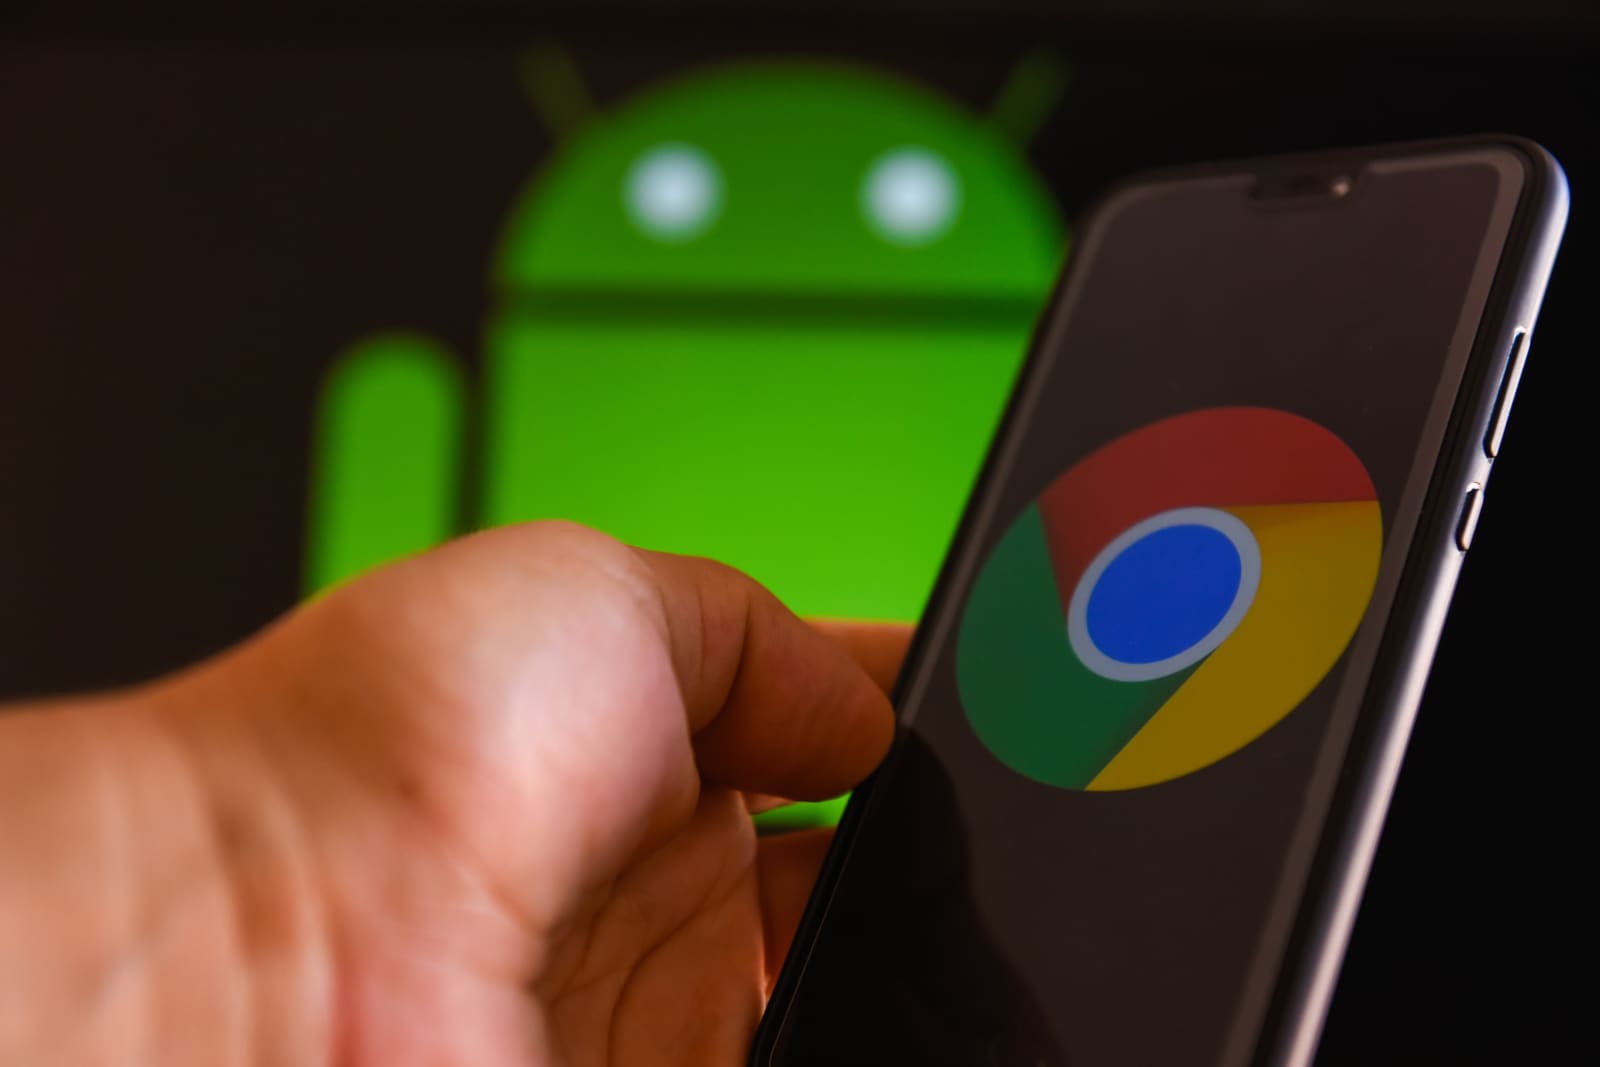
Google pauses Chrome update for Android after reports of app data loss
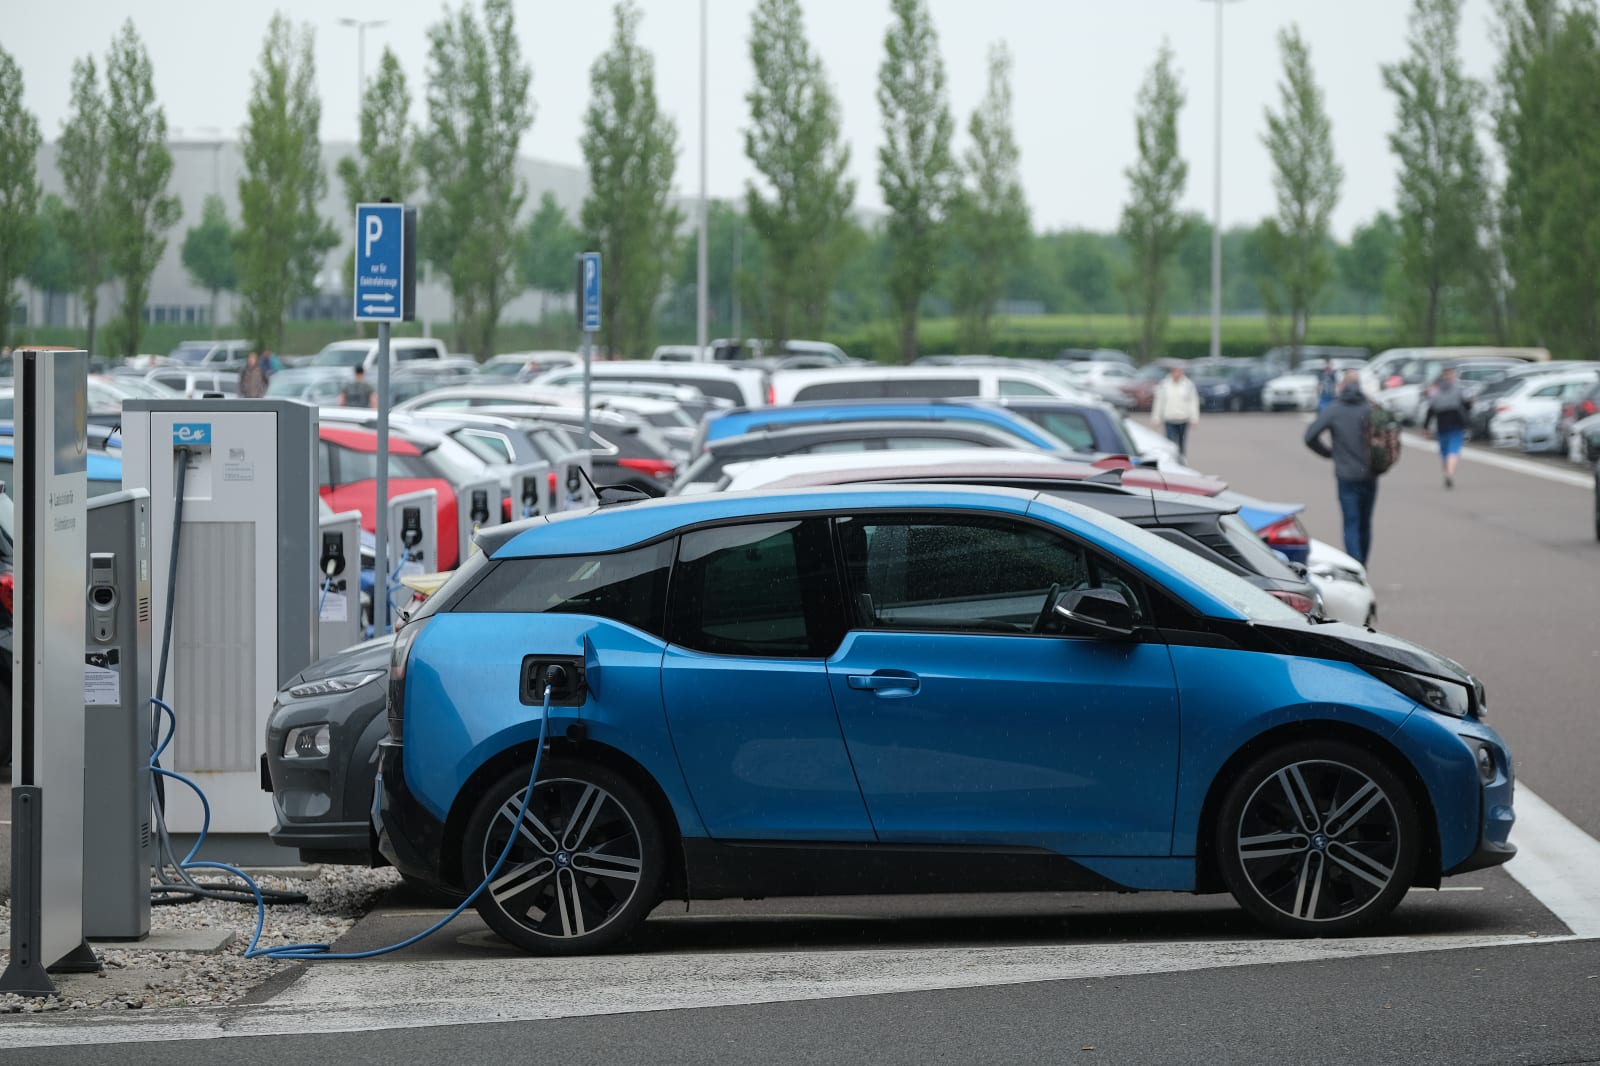
Google Maps helps you find EV chargers that work with your car
RCS messaging is now available to all Android users in the US
PewDiePie is ‘taking a break’ from YouTube in 2020

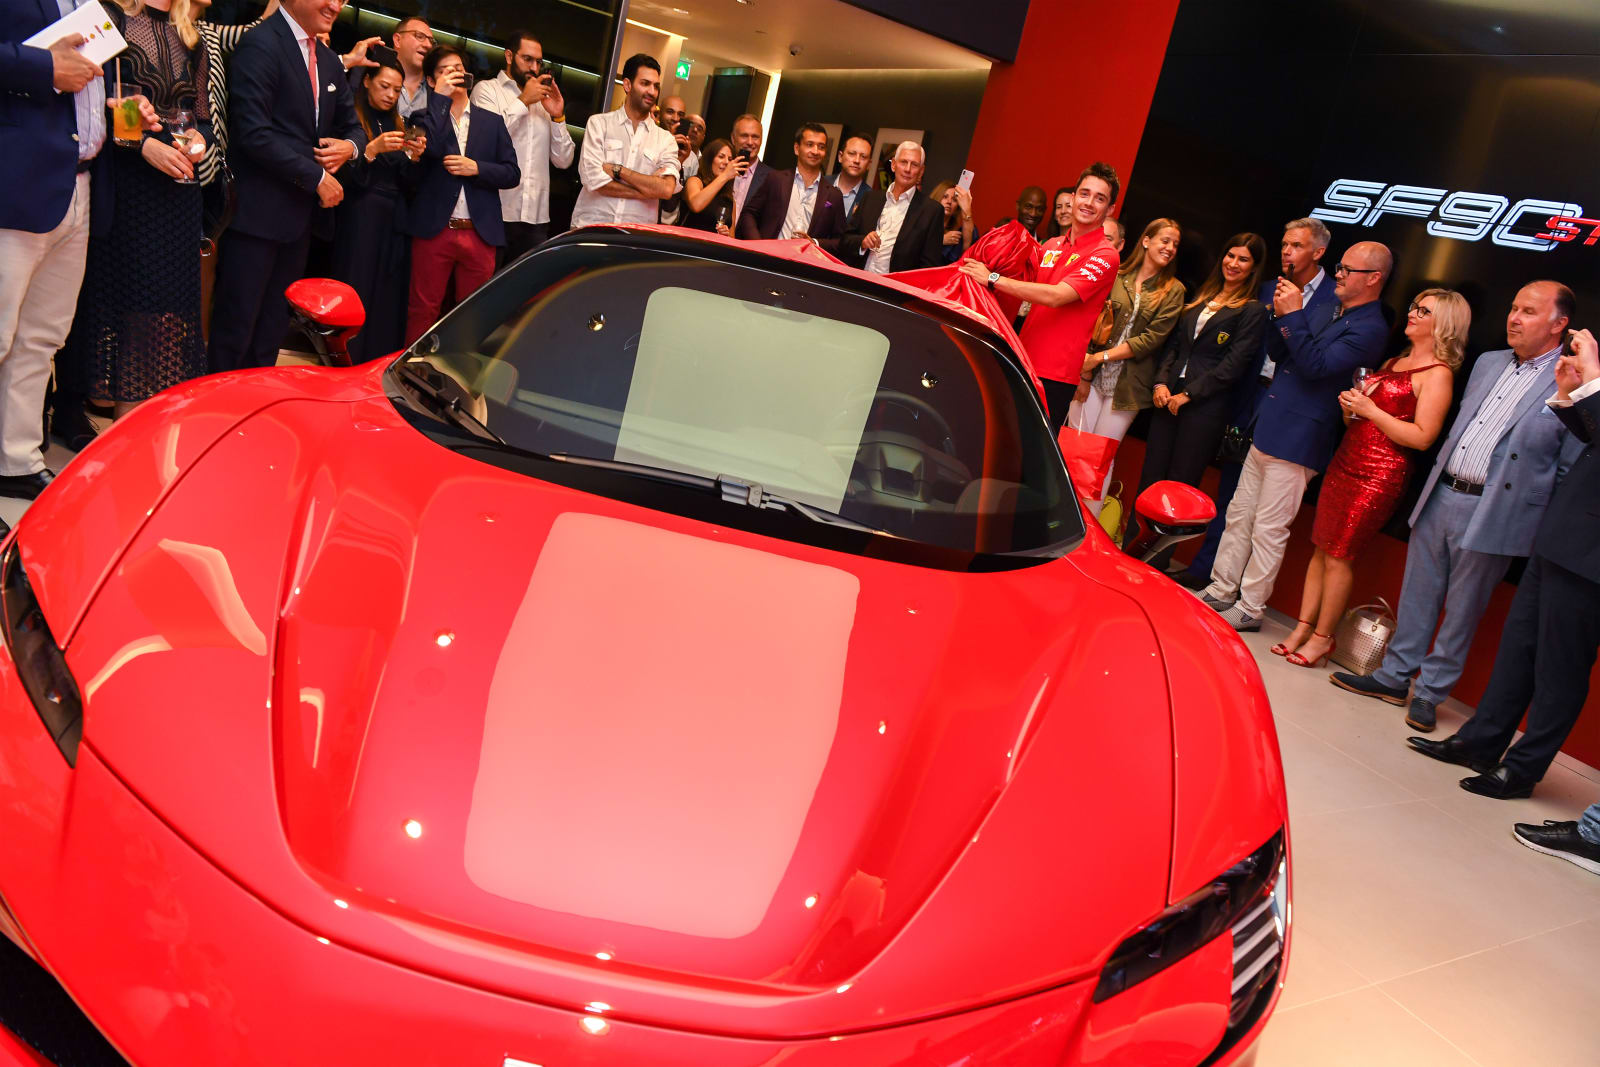
Ferrari won’t produce an EV until after 2025
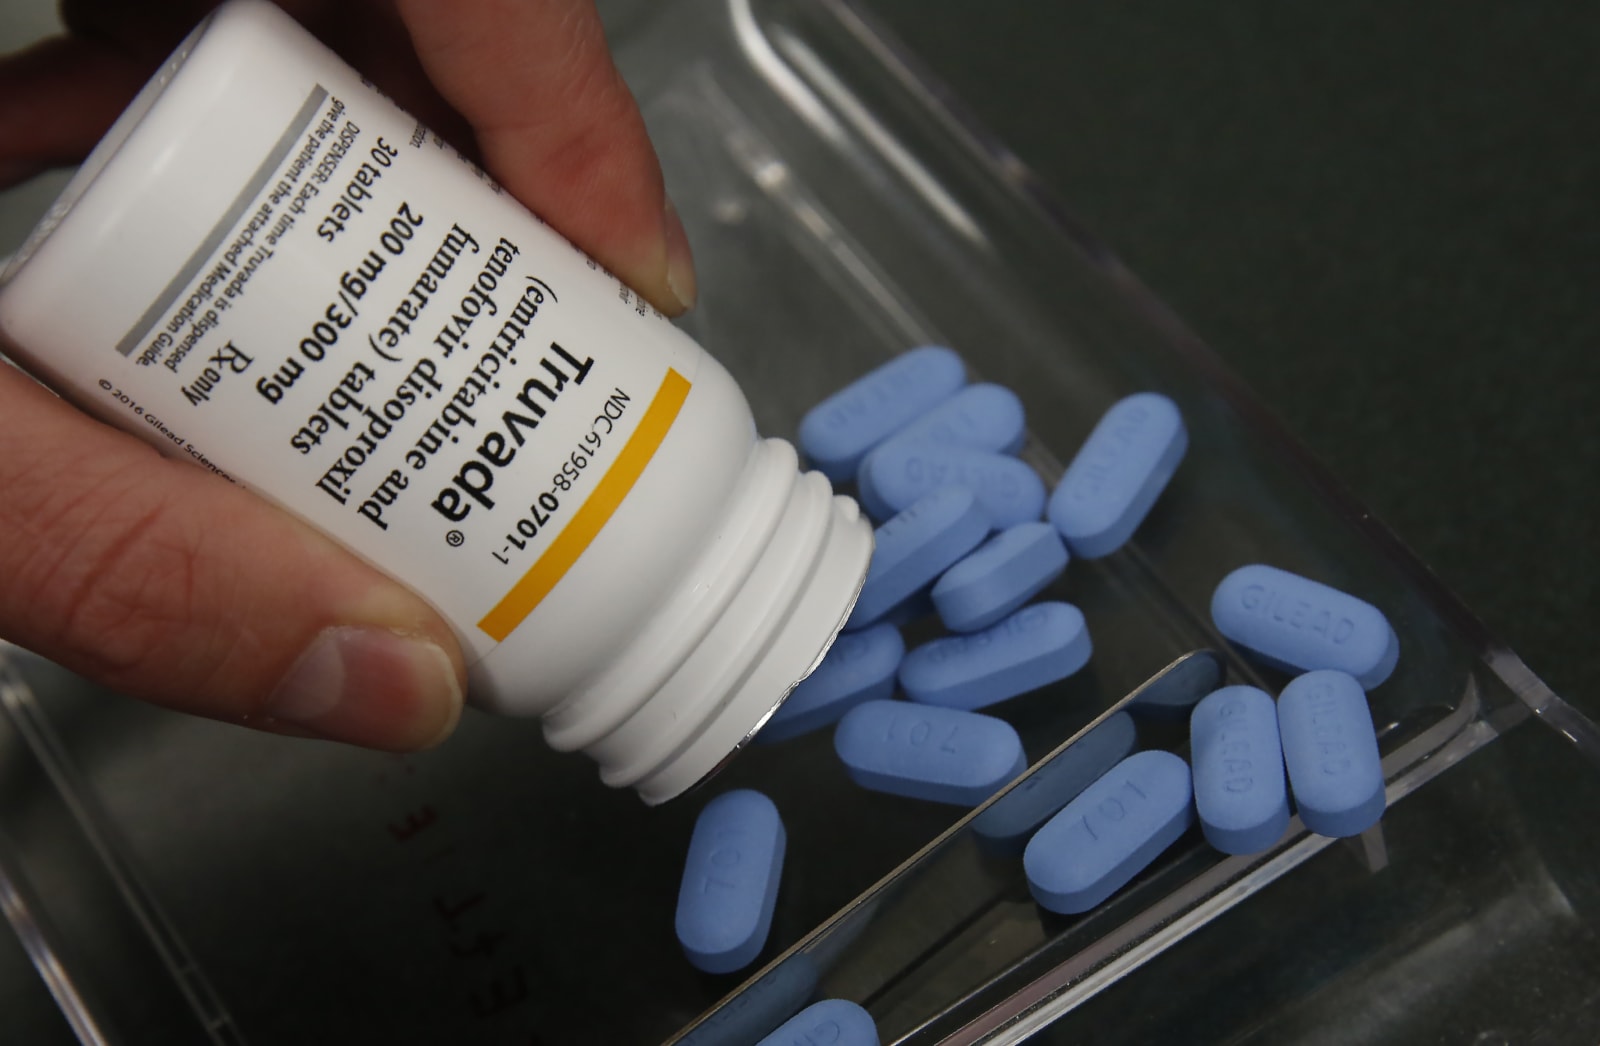
Ads on Facebook are spreading misinformation about anti-HIV drugs
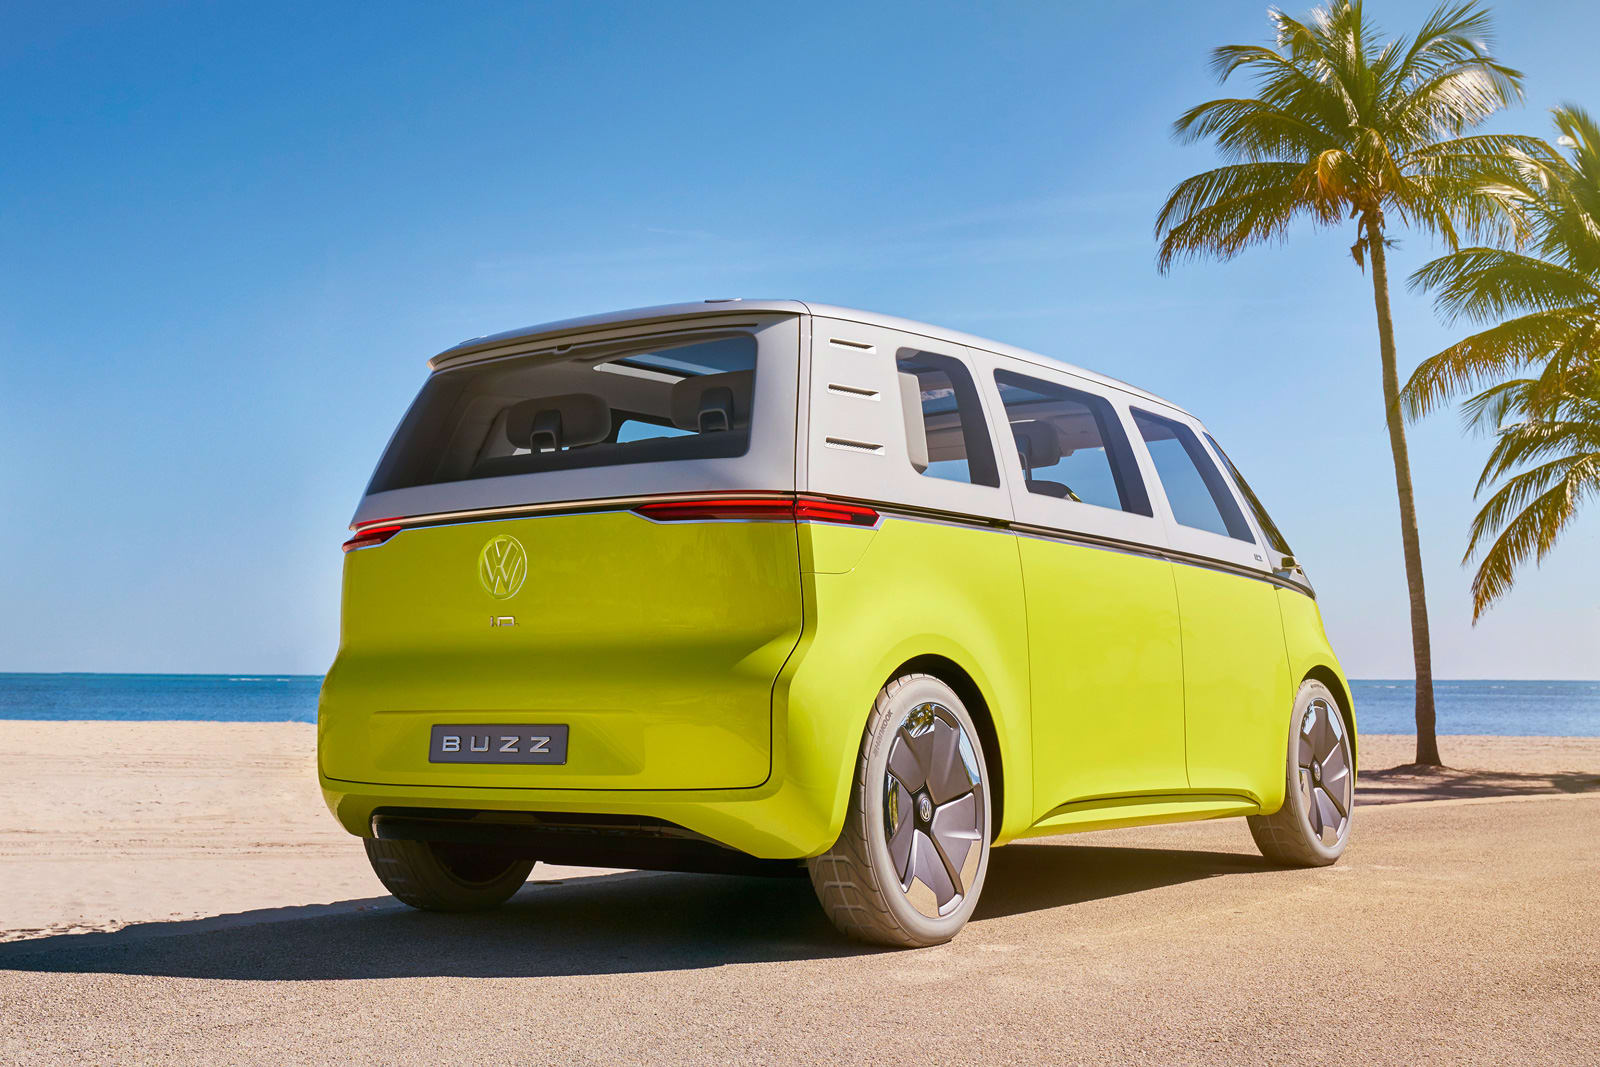
VW will roll out self-driving electric shuttles in Qatar’s capital