The arson attacks against 5G masts in the UK have become serious enough that carriers are joining together to put a stop to the incidents. EE, O2, Three and Vodafone have issued a joint statement both urging people not to set fire to cellular masts,…
Category: Tutorials
Tutorials,freelance,projects,joomla,php,mysql,wordpress,blancer.com
Origin’s EON15-X laptop is powered by AMD’s 12-core desktop Ryzen 9 CPU
Origin has unveiled the revamped EON15-X laptop with an impressive trick: It packs the 12-core AMD Ryzen 3900 desktop processor. As a reminder, this chip (for OEMs only) gives you many of the benefits of the powerful Ryzen 9 3900X gaming processor wh…
TCL’s first real flagship phones look nice for the price
Months after teasing us with a preview of its flagship series at CES, TCL is finally ready to officially launch its first full-fledged smartphone line under its own brand. This isn’t the company’s debut phone, of course — it showed off the TCL Plex l…
25 Best Free Restaurant Menu Templates for MS Word & Google Docs 2020
Are you struggling to create a stylish looking menu for your restaurant? Do you spend countless hours trying to perfect your design only to have it look unprofessional?
Give your diners an elegant and easy to read menu by using a professionally crafted restaurant menu template. These templates help you quickly create a menu that your diners will enjoy reading and ordering from.

By starting the menu creation process with a premium and free restaurant menu template, you start with a high quality and ready to customize template that’s sure to impress.
With the free and premium restaurant menu templates, you can spend your time running your restaurant business rather than designing menus. To start, let’s explore the best premium restaurant menu templates available for 2020. Then, we’ll look at some free menu templates for Word and Google Docs.
Find the Best Premium Menu Templates on Envato Elements in 2020
Premium menu templates from Envato Elements are a good place to start your next restaurant menu design. Free menu templates for Word and Google docs don’t offer nearly as many features as you can find on professionally designed menu templates.

The best thing about Envato Elements is that you can get unlimited downloads of restaurant menu templates and other design assets for your restaurant. Simply pay one low fee. You’ll never struggle to find design ideas again.
Before we dive into our free menu templates for Google Docs and Word, let’s take a closer look at premium restaurant menu templates.
Top 5 Premium Adobe Photoshop & InDesign Restaurant Menu Print Templates (Envato Elements 2020)
Envato Elements offers you a huge library of professionally designed premium restaurant menu templates to choose from. To help you find the perfect menu template for your business, I’ve collected five of the best-selling restaurant menu templates on Envato Elements for you to check out below:
1. Organic Menu Template

Organic Menu features a simple and clean design that’s sure to impress. This menu works especially well for cafes and smaller local restaurants. The elegant fonts, well-structured layout, and cool colors make this menu pleasant to look at.
2. Modern Food Menu

This flashy menu can be used for any cafe, bar, restaurant, or bistro. The front cover features a contemporary looking design that invites you to open it. The menu is structured so you can have your main courses and appetizers at the top and your desserts, beverages, and other items at the bottom. Download this restaurant template now!
3. Food Menu

This menu is suitable for any type of restaurant because of how easy it is to customize it. To impress your diners, this is your go-to menu. The spacious design, eye-catching images, and detailed layering make this template a must-have. Here’s what you can expect from this template:
- two pages of layered templates
- InDesign CS4 and Photoshop CS4 files
- A4 & US letter format with bleed
- CMYK, Print Ready
4. Menu Restaurant

What really makes this menu pop is the layout and fonts. The line and block objects help create a three-dimensionality to the menu along with the different sized fonts. Also, the simple grey color scheme makes this menu easy to read and navigate. This menu template comes with Adobe Photoshop and InDesign files that are print-ready.
5. Simple Modern Menu

This is one unique menu template. The beautiful illustrations and use of an all-blue color scheme help make this menu stand out. This menu will be ideal for any special event that you’re hosting. Here’s what you’ll find in this menu template:
- PSD files
- 21×29.7 cm + Bleed
- well-organized layers
- fully editable
- CMYK 300 DPI
Next up, we’ll cover five of the best-selling restaurant menu templates available on GraphicRiver
Top 5 Premium Restaurant Menu Print Templates From GraphicRiver for (2020)
If you need a contemporary, flexible, and professional-looking restaurant menu template to present your restaurant diners, then menu templates are a must-have tool. Here are five of the best-selling restaurant menu templates of 2020 available for individual sale on GraphicRiver:
1. Simple Restaurant Menu

Give your restaurant or cafe menu an update with this trendy looking menu. The simple black and white color scheme make this menu look classy and modern. If you need a front and back menu, this is a perfect choice. This template comes with two Microsoft Word menu templates and two Photoshop ones as well.
2. Restaurant Menu

This print ready menu puts an emphasis on the images of the food offered at your restaurant. Having these images featured on the template will help drive sales of specific menu items that you choose to feature. The centered layout and layered design make this menu unique. Don’t miss out on this well-designed Restaurant Menu.
3. Modern Restaurant Menu
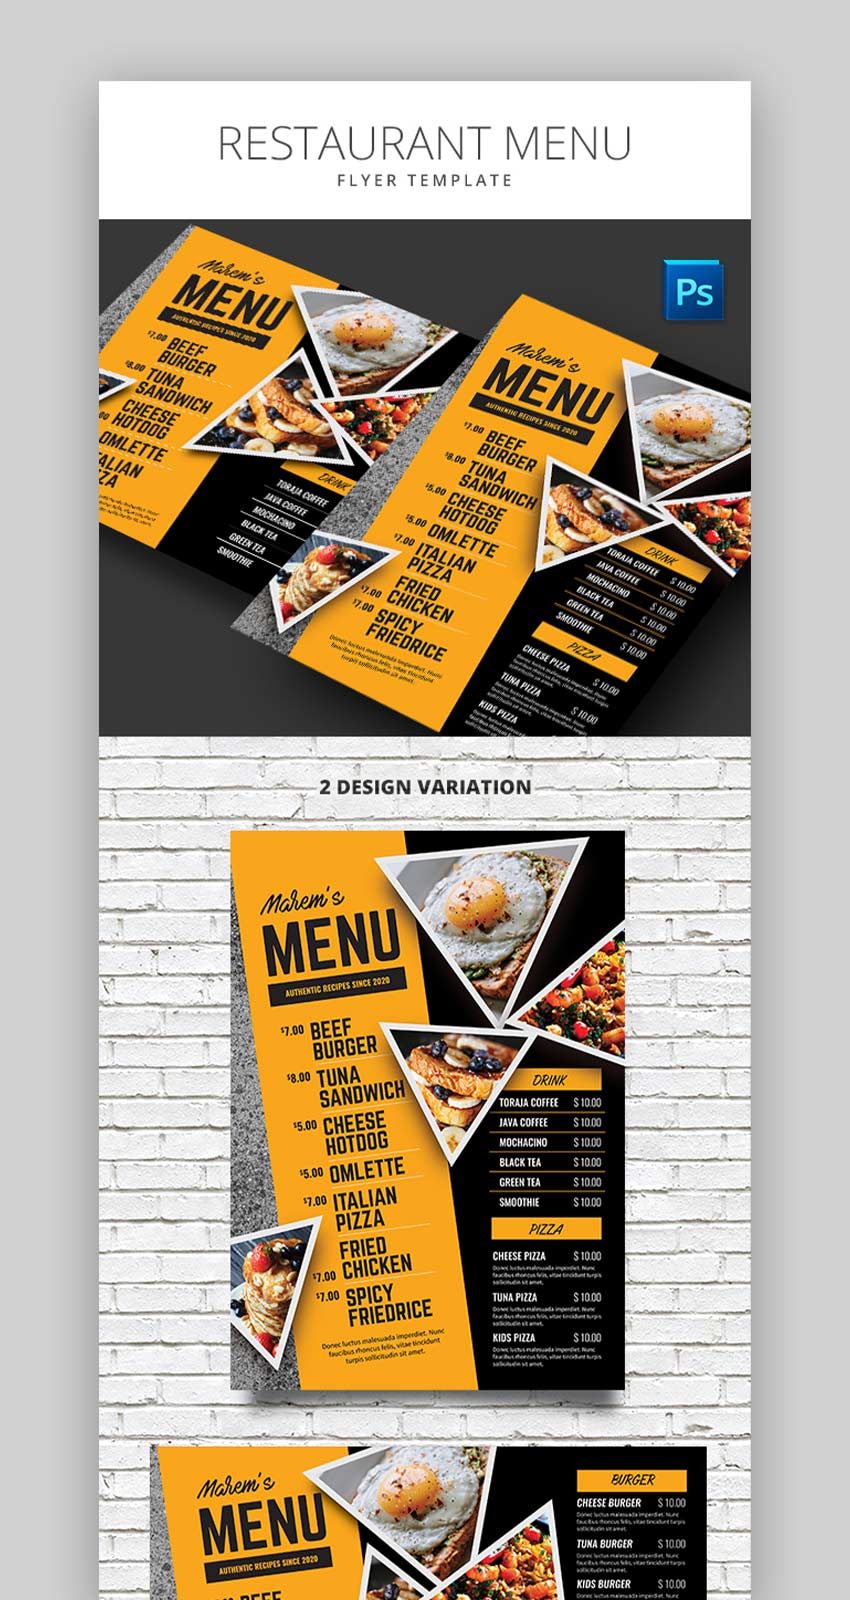
This menu template will immediately catch the attention of your diners. The yellow and black color scheme combined with the triangle-shaped images creates a flashy menu. While the menu can be used for a wide variety of restaurants, cafes, and bistros, this menu works particularly well for diners. Impress your diners with the Modern Restaurant Menu.
4. Restaurant Menu Flyer Template

This is another menu template that focuses on images of the food your restaurant offers. If you’re looking for a multi-page menu that’s got alternative designs, then this is the menu template for you. Here’s what you’ll find in this menu template:
- size A4 210×290mm + Bleed area
- CMYK / 300 dpi
- easy to edit text
- well organized PSD file
- Five alternative designs
5. Contemporary Restaurant Menu

What makes this menu shine is its detailed layering. Included in this menu template is four different design variations for maximum flexibility. The PSD that’s included contains smart objects, so you can change the layers with ease. Also, you won’t need to buy any new fonts as all the fonts used are free fonts.
Now that we’ve gone over some of the best-selling premium restaurant menu templates, let’s now go over the best free menu templates for Word.
20 Free Microsoft Word Restaurant Menu Print Templates for Download in 2020
The premium restaurant menu templates give you immediate access to the highest quality designs available for your restaurant menus. This ensures that the user experience is the best it can be. If you’re on a tight budget and can’t afford premium templates, but still need to create an elegant looking menu for your restaurant, there are plenty of free templates you can download.
Before looking for free menu templates for Word and Google Docs on the web, check Envato’s free offerings first. Try out various premium template files (not always free restaurant menu templates for Word) at no cost to you.
Here’s the deal:
-
Every month Envato Elements offers 12 different hand-selected files, (fonts, presentations, videos, and more). Create a free account to download this month’s free premium files now.
Or try Envato Market for free. They offer seven handpicked monthly freebies. Log in with your Envato Market account to get this month’s handpicked premium freebies.
I’ve collected a list of twenty of the best free menu templates for Word for you to download below (some will work in Google Docs as well):
1. Holiday Dinner Menu Template

This straightforward menu design will work great for any restaurant. Whether the menu is for a special event or for everyday use, this menu can suit your needs. Try using this dinner menu template in Google Docs.
2. Easter Party Menu
If your restaurant is going to be open for Easter, then this is a great design to use. The menu features a baby blue background with an Easter bunny, flower, and Easter egg graphics.
3. Chinese Food Menu Template
While this menu is designed for Chinese food, you can use it for other types of restaurants as well including American, French, and Italian. This Microsoft Word menu template comes with two pages, a cover page and the menu page.
4. Party Menu

This free restaurant menu template for Word features a straightforward design that’s easy and enjoyable to read. You can add any image to the right-hand side of the menu. Enter up to five different menu items.
5. French Food Menu Template
This French Microsoft Word menu template is a two-page template. The front page has a nice layered design and the second page has eight different sections for your menu items.
6. Autumn Leaves Thanksgiving Menu
You can create an elegant menu for Thanksgiving with this template. The template allows you to change the fonts and colors around to what you see fit.
7. Italian Food Menu Template
This two-page menu template for Word gives you plenty of space to add a lot of menu items. While the menu may be very simple, it’s got a solid layout that’ll work for more than just Italian restaurants.
8. Basic Menu

This modern free restaurant menu template for Word is ideal for any special event. You can detail your three-course meal with graphics for each course.
9. Kids Menu Template
This menu template for Word is ideal for kids. It’s colorful and full of graphics. This menu has a three-step layout to choose from an entree, dessert, and drink.
10. Thai Food Menu Template
The menu page in this free menu template for Word gives you plenty of room to detail your menu item. The menu is broken down into four separate sections and contains a cover page with an image.
11. Takeout Menu Template

This takeout menu gives your diners a condensed overview of what menu items you offer, where you’re located, and contact information. This is a one page, front and back free menu template for Word.
12. Free Restaurant Menu
With this menu template for Word, create a professional two-sided menu with ease. Change it daily if need be with this free restaurant menu template for Word. The simple design can be changed to fit any restaurant, bar, bistro, or cafe.
13. Informal Event Menu
This free restaurant menu can work great for informal events. The centered design with starter, main course, and dessert sections and graphic on the top of the page are more than enough to look professional to your diners.
14. Winter Holiday Party Menu

This menu template for Word features a Christmas background with snow, a hot cup of cocoa, and cookies to help get your diners into the holiday spirit. This template’s got enough room to display a four-course meal.
15. Dinner Menu Template
This two-page template is a simple but modern design. The fonts used are clean and easy to read and the color scheme is a classic black, red, and blue scheme.
16. Football Party Menu

This menu adds a little fun to the menu with the football graphics. This menu will work great for any bar and grill that features sporting events.
17. Drink Menu Template
This free Microsoft Word menu template is great if you’ve got an extensive wine and cocktail list. This menu can be a separate menu from the food menu or included in your main menu.
18. Football Party Menu
This menu adds a little fun to the menu with the football graphics. This menu will work great for any bar and grill that features sporting events.
19. Menu Card Template

This horizontal menu card is separated into two columns. Use the first column to notify your diners of any specials that you’ve got. Or, use it to give contact information if you’re using the menu as a takeout menu. The second column can then display the rest of your menu items.
20. Free Party Menu

Serve your party with this one-page floral design menu template. This free restaurant menu template for Word has enough space for up to five menu items with descriptions. Replace the image at the top of your menu with an image of your choice.
5 Quick Tips to Make Great Restaurant Menus in Word for 2020
The premium restaurant menu templates on Envato Elements and GraphicRiver give you a great starting point for creating a professional-looking menu. But you’ll want to do further customization to make the template unique for your restaurant.
To help you get the most out of the restaurant menu templates I’ve gathered five quick tips to make great restaurant menus in Word for 2020:
1. Include Item Prices
Depending on the design template that you choose to use, consider having the price of each item under the description. By placing the prices in a far-right column, your diners may select menu items based on price and not what they really want. Having the price under the description helps avoid this.
2. Don’t Clutter the Menu
A cluttered menu will make your restaurant look disorganized and professional. Make sure to leave plenty of space around the different sections of your menu as well as in between the menu items. Including this extra space makes the design seem modern and is easier to read.

3. Choose an Easy to Read Font
A sub-par dining experience is sure to ensue if your diners have a hard time reading the fonts on your menu. While many of the fonts used in the free templates feature easy to read fonts, some don’t. A few free, elegant, and easy to read fonts to use are Helvetica, Open Sans, and Roboto.

4. Use Shapes to Segment Your Layout
Shapes such as squares, lines, and triangles can be very effective for separating the different sections of your menu. This helps create distinct sections such as main courses, appetizers, and desserts. Using these shapes as well in combination with the space left between each section and your menu items makes the menu very easy to navigate.

5. Use Complementary Colors
Complementary colors will help add another dimension to your menu. Use the complementary colors on headers and on specific menu items. By leaving the font color of the description and price black, you allow the complementary colors that you chose for the menu to pop out. Choose complementary colors that fit with your business’s color scheme.
Discover More Microsoft Word Templates
While the free menu templates for Word listed in the previous section will give you a great start on creating a restaurant menu template, they may not be exactly what your restaurant needs. It’s better to use a professional restaurant menu template if you can afford it. Also, don’t forget to check out some of the best-selling restaurant menu templates available for individual sale on Envato Elements and GraphicRiver.
If none of the templates above work for you (or if you’re looking for a different kind of template), check out our other articles that contain plenty more high-quality premium and free menu templates for Word:
 Flyers20+ Best Free Microsoft Word Flyer Templates (Printable Downloads for 2019)Nona Blackman
 Microsoft Word20 Best Free Microsoft Word Business Document Templates (Download 2020)Sarah Joy
 Microsoft WordBest of 2019: 20 Microsoft Office Word Document Templates to Download NowNona Blackman
Still struggling to learn Microsoft Word? Find out how to master important skills in Word in the section below.
Learn More About Using Microsoft Word
Microsoft Word is an advanced program. It’s got all the features that you could ever want with a word processor and then some. To help you navigate through Word’s features, I’ve collected a few articles for you to check out. These articles explain in detail how to perform certain functions that’ll be essential for editing your free or premium restaurant menu templates:
 Microsoft WordHow to Quickly Add, Move, and Format Pictures in Microsoft WordAlexis (Lexi) Rodrigo
 Microsoft WordHow to Quickly Format Basic Text Styles in Microsoft Word DocumentsAlexis (Lexi) Rodrigo
 Microsoft WordHow to Make Awesome Page Layout Designs in Microsoft WordAlexis (Lexi) Rodrigo
Grab a Restaurant Menu Template Today!
Don’t be trapped by the limitations of free menu templates for Google Docs and Word that you may find online. Premium restaurant menu templates will offer more options than free menu templates.
If you need a modern-looking and professionally polished premium restaurant menu template, Envato Elements has a massive library of high-quality restaurant menu templates available. The templates on Envato Elements will help you start off the design process with a professional design already in place.
If you need to buy premium restaurant menu templates one at a time, head on over to GraphicRiver to browse through their library of restaurant menu templates. Find the right restaurant menu template for your project. New designs are added weekly, so you’re sure to find one that suits your needs.
Don’t wait! Update your old restaurant menu and make your business look more professional!
{excerpt}
Read More
Top 10 Tips for a Better WooCommerce Store
{excerpt}
Read More
How to Create an Islamic Art Pattern Brush in Illustrator

‘Marhaba’! Learn how to create an Islamic geometric pattern with an Illustrator brush. In this tutorial, we will go through the step-by-step process of how to create Islamic patterns with ease!
For starters, you will learn how to set up the artboard and prepare the document to create the Illustrator brushes. Then we will use basic Illustrator tools and shape-building techniques to create a stylish corner tile and the side Islamic pattern border block for our Islamic pattern brush.
I hope you can follow and pick up the techniques along the way, and then perhaps create your very own Illustrator borders using those techniques.
1. How to Set Up a New Document
Open Adobe Illustrator.
File > New (Command-N) to open a blank new document.
Name the file ‘Islamic_Pattern_Brush’, and set the dimensions and Settings to:
- Number of Artboards: 1
- Width: 2 cm
- Height: 2 cm
- Units: Centimetres
In the Advanced tab, use the following settings:
- Colour Mode: RGB
- Raster Effects: High (300ppi)
- Preview Mode: Default

2. How to Design the Islamic Corner Pattern Tile
Step 1
To create an Islamic geometric pattern, we need to create two tiles for the design: one corner pattern tile and one basic pattern tile.
Let’s begin with the corner pattern tile first, because it’s the more complicated one, and it will make our side tile design easier to create.
Enable Smart Guides (Command-U), so we can create accurately aligned artwork.
From the toolbar, set the Stroke to null and apply a beige #d89c6a Fill.
Grab the Rectangle Tool (M), click once on the artboard to open the Rectangle dialog box, and set the Width & Height to 2 cm. This will be our tile backdrop.

Step 2
Next, let’s create a reverse L-shaped diamond lining within the box.
With the Rectangle Tool (M) selected and a white Fill applied, click once on the artboard to open the Rectangle dialog box, and create a 0.1087 cm square.
Then select the Rotate Tool (R), hold down the Shift key, and drag the cursor to snap the angle to 45°. Position the diamond at the base of the artboard as shown.

Step 3
Use the Selection Tool (V) to select the white diamond shape. Hold down the Shift–Alt keys to constrain the movement, and duplicate the selection by dragging the cursor vertically until the edges touch.
Use the Command-D shortcut to Transform Again and duplicate. Repeat until you reach one block away from the top of the artboard.
Then repeat horizontally to the end of the artboard.

Step 4
Now let’s create a red border to encase the diamond lining rows.
Open the Stroke panel (Window > Stroke). Select the Pen Tool (P), and apply a brick red Stroke color of #902319 and a Stroke Weight of 0.2 pt.
With the help of the Smart Guides, draw a border around the diamond shape edges. Make sure you hold down the Shift key to constrain the line.

Step 5
Use the Shift-X shortcut to Swap Fill & Stroke.
With the shape selected, Object > Arrange > Send to Back (Shift-Command-[).
Then Shift-Command-] to Bring to Front, in front of our background shape.

Step 6
Next, let’s create two more backdrops for our corner tile pattern.
For the first square, select the Rectangle Tool (M) and apply an Evergreen Fill color of #203523. Starting from the bottom right of the artboard, hold down the Shift key and drag upwards to create a 1.61 cm square.
Then, in the bottom right corner, create a smaller square with a Brick red color Fill of #902319 and 0.15 cm.

Step 7
Moving on, take the Direct Selection Tool (A), select the bottom diamond shape, and drag horizontally to the end of the artboard, while holding down the Shift–Alt keys to constrain movement. Copy the shape into our red square.
To Bring to Front, use the shortcut Command-Shift-].

Step 8
Now we need to create the segments for our intertwining circle braid design. We will create ellipses within each other and then cut them into a quarter segment.
Let’s start with the outer ellipse.
Grab the Ellipse Tool (L) from the toolbar, and apply the Evergreen Stroke color #203523. Holding the Shift key down to constrain proportions, create a 1.33 cm circle.
In the Stroke panel, apply:
- Weight: 1.68 pt
- Cap: Butt Cap
- Corner: Miter Join
- Align Stroke: Align Stroke to Inside

Step 9
For the second ellipse, with the first ellipse selected, Object > Path > Offset Path, set the Offset to -0.059 cm, and click OK.
Set a Stroke Weight of -1.68 cm, and apply a Beige color Stroke of #d89c6a.
Then for the third ellipse, and with that second ellipse selected, Object > Path > Offset Path, and set the Offset to -0.059 cm.
Set the Stroke Weight to 5 cm, and apply a Light Beige color Stroke of #ffefe3.

Step 10
After that, with the third ellipse selected, Object > Path > Offset Path, and set the Offset to -0.059 cm.
Set the Stroke Weight to 1.68 cm, and apply a Beige color Stroke of #d89c6a.
And again, Object > Path > Offset Path, and set the Offset to -0.059 cm.
Set the Stroke Weight to 1.68 cm, and apply an Evergreen Stroke color of #203523.

Step 11
For the final section of the circle Islamic pattern, select the Ellipse Tool (L).
Apply a Brick red Fill color #902319, hold down the Shift key to constrain proportions, and from the center, start drawing a 0.51 cm circle.
Then take the Selection Tool (V), and select all the ellipses.
Object > Expand Appearance, to turn the paths into compound shapes.

Step 12
Next, let’s cut our circles into a quarter segment.
From the Tools menu, hold down the Eraser Tool in order to select the Knife Tool.
Let’s start with the outer circle and work our way inwards. Select the outer circle.
In order to cut through a straight path with the Knife Tool, hold down the Shift-Option keys as you click the artboard, and then drag to cut. Cut the mid-top and mid-left sections. The cuts created will appear as strokes on the object.
Then take the Selection Tool (V), and select the three-quarter section on the right, and hit Delete.

Step 13
Now repeat the previous step for the remaining five circles.
Once you are done, Group (Command-G) all six arcs together, to create our quarter segment.

Step 14
Once our quarter segment is complete, let’s align it to our artboard.
Open the Align panel (Window > Align). Simply select the quarter segment and choose Align to Artboard from the Align Options dialog box.
Select Horizontal Align Right, and position the quarter segment on top of the green square backdrop.
Then take the Reflect Tool (O) and set the center reference point to the bottom edge of the segment; Option-Shift-Drag and release when the group is mirrored below, as shown.

Step 15
Now let’s select both circle segments using the Selection Tool (V), and mirror them to the base of the artboard.
Simply select the Reflect Tool (O). Set the center reference point to the right corner of the artboard; Option-Shift-Drag and release when the group is mirrored as shown. Once that’s done, we can create our Fleur de Lis design to place in the corner section of our Illustrator brush.

3. How to Draw the Fleur de Lis Design
Step 1
Moving on, we need to create a Fleur de Lis design to complete our corner tile.
We will create half the flower and then mirror it for the symmetrical look.
Select the Pen Tool (P) and apply a color Fill of #d89c6a, null Stroke.
To start drawing, begin with the mid-section of the flower, which will be our mirror point. Hold down the Shift key, draw a 0.9 cm straight line down, and then continue to freehand draw the right half of the flower design, as I have.
Once you are done, take the Reflect Tool (O) and set the center reference point to the left edge of the design; Option-Shift-Drag and release to mirror.

Step 2
Next, we need to create flower petals to place within the design.
Grab the Ellipse Tool (L), and apply a white Fill, null Stroke.
Draw a long ellipse, about 0.15 x 0.5 cm.
With the ellipse selected, hold down the Shift–Alt keys to constrain movement, and duplicate the selection. Drag the selection a short distance horizontally to duplicate it.
Then open the Pathfinder panel (Window > Pathfinder).
Select both ellipses using the Selection Tool (V), and apply the Shape Modes: Intersect option. The Smart Guides will help you align the selection to the center of the flower.

Step 3
Now, we need to create a curved petal on each side of the middle petal design.
Grab the Pen Tool (P), and apply a white Fill, null Stroke.
Freehand draw an S-shaped petal design, as shown.
Then take the Reflect Tool (O) and set the center reference point to the bottom of the mid-petal design; Option-Shift-Drag and release to mirror across.

Step 4
Now let’s create the pistil and sepal parts of the flower.
Using the Ellipse Tool (L) in a Brick red FIll of #902319 and null Stroke, draw a 0.08 x 0.07 cm oval.
Then take the Rectangle Tool (M) and draw a 0.03 x 0.14 cm rectangle underneath the ellipse, as shown.

Step 5
Select the Pen Tool (P), and apply a Fill in the Evergreen color #203523 with null Stroke. Next, freehand draw an S-shaped sepal.
Then use the Reflect Tool (O). Set the center reference point at the bottom of the sepal, and then Option-Shift-Drag and release to mirror across.

Step 6
Next, using the Selection Tool (V), select all the Fleur de Lis elements and Group (Command-G) together.
Take the Selection Tool (V) to move the group onto our corner tile, as seen below.
Pick the Rotate Tool (R), hold down the Shift key, and drag the cursor to snap to a 45° angle. Beautiful!

Step 7
Now that our corner tile Islamic art pattern is ready, open the Swatches panel (Window > Swatches). Then simply Select All (Command-A) and drag the corner tile elements onto the Swatches panel to save it as a pattern. We will use it later to create our Illustrator borders.

4. How to Design the Side Islamic Pattern Tile
Step 1
Moving on, we need to create the basic side tile of the Islamic pattern brush. To do that, we need to draw the most important part of our design, the intertwining circular Islamic braid design.
Select the two circle segments that are aligned to the right corner of the tile.
Grab the Reflect Tool (O) and set the center reference point outside the artboard; Option-Shift-Drag and release, to mirror across and off the artboard.
Then, with the mirrored segments still selected, set another center reference point to the center of the white section as shown below. Option-Shift-Drag and release to mirror. Make sure the green arcs are aligned back to back.

Step 2
Next, take the Selection Tool (V), and select the bottom-right circle segment.
Object > Arrange > Send to Back (Shift-Command-[), to create our braid look.
Select all four segments using the Selection Tool (V). Then, with the Reflect Tool (O), set the center reference point to the right edge of the group; Option-Shift-Drag and release to mirror across. Our main circular braid design is now ready for our Illustrator border.

Step 3
Let’s create the backdrop for the side tile design for our Illustrator brush.
Grab the Rectangle Tool (M), and apply a #d89c6a Fill, null Stroke. Use the Smart Guides to draw a rectangle 1.85 x2 cm, to fit from edge to edge of the design.
Object > Arrange > Send to Back (Shift-Command-[).

Step 4
Take the Selection Tool (V), and select all the white diamond shapes on the top row of the corner tile.
Hold down Option-Shift and drag across horizontally to duplicate onto the side tile design. Position as shown.
Then, with the row still selected, Option-Shift and drag vertically to the base of the artboard, to duplicate again.

Step 5
Moving ahead, let’s create the red bars that encase the diamond rows.
Grab the Rectangle Tool (M), and apply a brick red #902319 Fill, null Stroke. Use the Smart Guides to draw a 1.85 x 0.16 cm rectangle that runs from left to right of the tile, and top to bottom of the diamond row.
Repeat the same for the lower deck.
Select both red bars with Selection Tool (V).
Object > Arrange > Send to Back (Shift-Command-[). Then, move the bars one step towards the front by choosing Object > Arrange > Bring Forward (Command?]).

Step 6
And for the last bit of our side Islamic pattern brush tile, we need to create a green backdrop that runs behind the circular braid.
Grab the Rectangle Tool (M), and apply the Evergreen color #203523 Fill, null Stroke. Use the Smart Guides to draw a 1.85 x 1.46 cm rectangle.
Object > Arrange > Send to Back (Shift-Command-[), and move forward by Object > Arrange > Bring Forward (Command?]).

5. How to Create the Islamic Pattern Brush
Step 1
Now, open the Swatches panel (Window > Swatches).
Take the Selection Tool (V) and grab all the side tile elements.
Then drag the group elements onto the Swatches panel to save it as a pattern.

Step 2
Now, let’s save the Islamic pattern brush, so we can use it to create our Illustrator borders.
Open the Brushes panel (Window > Brushes), and click the New Brush button. Check the Pattern Brush box and click OK.
Name your new brush ‘Islamic Pattern Brush‘.
Open the Outer Corner Tile and select New Pattern Swatch 1 from that list. Make sure Fit is set to Approximate path.
Open the Side Tile and select New Pattern Swatch 2 from that list.
Open the Inner Corner Tile and select the Auto-Sliced pattern from that list, and click OK.

Step 3
Wow, now that you’ve learned how to create an Islamic pattern in Illustrator, here’s how you can use your Illustrator brushes to create amazing Illustrator borders.
Select the Rectangle Tool (M). Hold down the Shift key to constrain proportions, and draw a square. Make sure that there’s no fill color, and select the stroke. Apply your Islamic Pattern Brush from the Brushes panel.
Open the Stroke fly-out panel and adjust the applied brush size through the Stroke Weight value.
Wonderful!

Amazing Job! You’re Done!
Experiment with the brush weight and shapes and try to create your own variety of border designs, as I have. Check out the patterns I created.
I hope you’ve enjoyed this tutorial and you were able to learn how to draw an Islamic geometric pattern brush using Illustrator. Please share your final results in the comments section, and show me what Illustrator border designs you come up with.

Want to learn more? Check out these awesome Illustrator brush tutorials:
 BrushesQuick Tip: How to Create a Pencil Pattern Brush in Adobe IllustratorAndrei Marius
 BrushesHow to Make a Vintage Pattern Brush in IllustratorAndrei Marius
 Illustrator BrushesHow to Make a Pickle Pattern Brush in IllustratorDiana Toma
 Text EffectsUse a Pattern Rope Brush to Create a Rope Text Effect in IllustratorAndrei Marius
 Illustrator BrushesHow to Make a Tentacle Art Brush in Adobe IllustratorDiana Toma
{excerpt}
Read More
Skype rolls out ‘Meet Now’ calls that don’t need a a sign-up or installation

Google rolls back Chrome feature that blocks cross-site tracking

Apple’s latest acquisition could help Siri understand what you’re saying

FCC, FTC give providers 48 hours to block COVID-19 scam robocalls

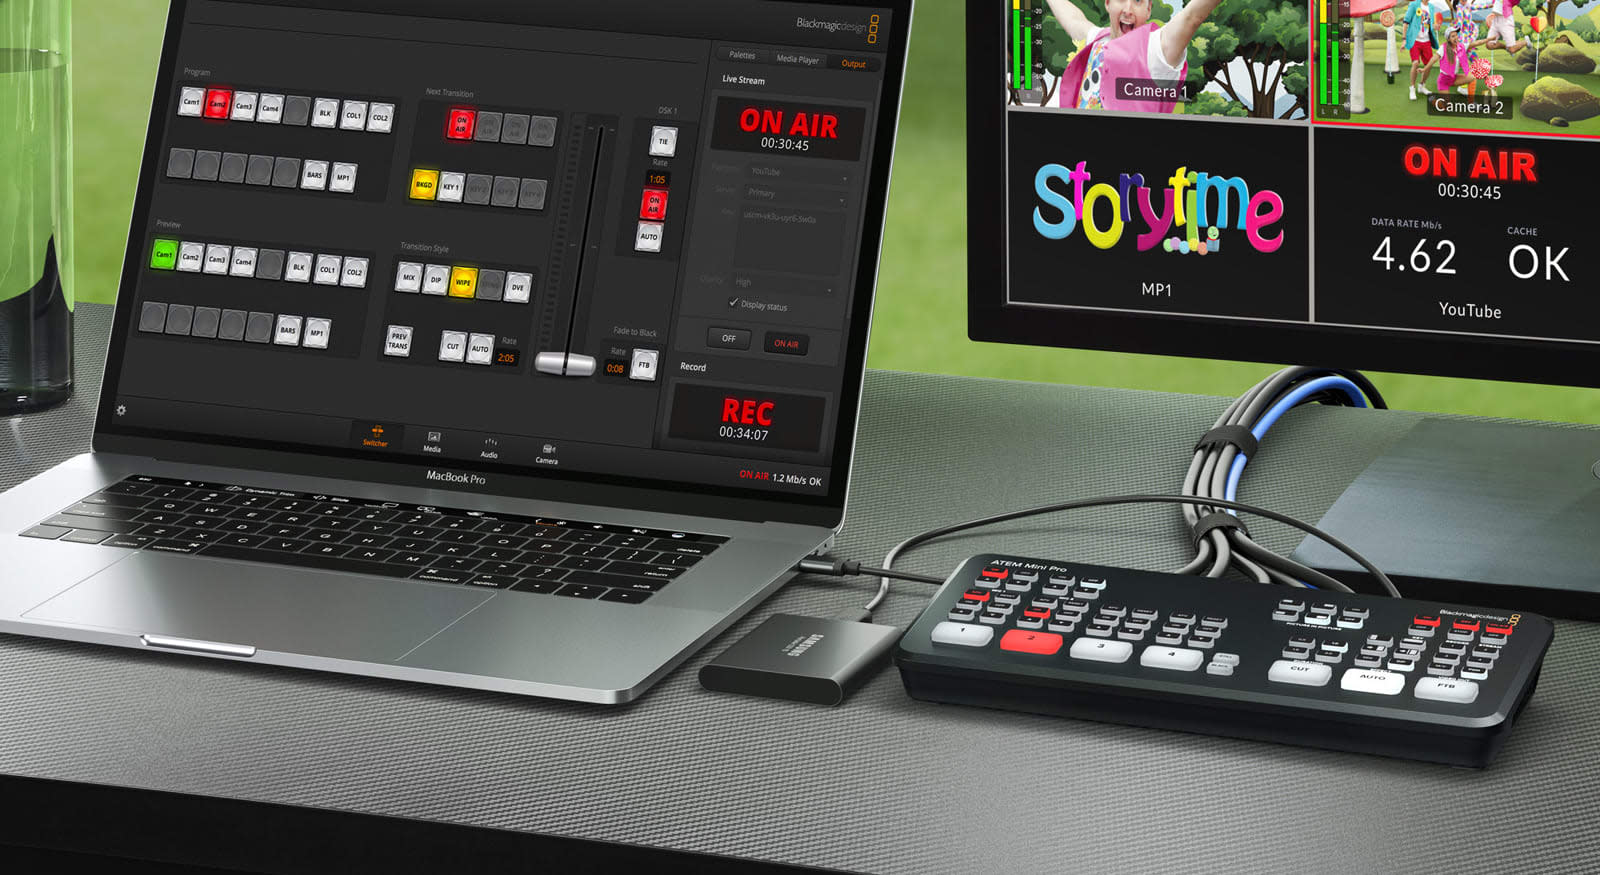
Blackmagic’s pro livestreaming switcher can broadcast without software
Porsche’s virtual race series starts tomorrow with pro drivers at the wheel

The forgotten dream of second-screen gaming

The latest iPad Pro disables mics when its case is closed

Deadpool is Fortnite’s latest playable crossover cameo
