JUGNOON GAMIFY Solution For PHP Websites
Gamification is the concept of applying game mechanics and game design techniques to engage and motivate people to achieve their goals. Gamification taps into the basic desires and needs of the users impulses which revolve around the idea of Status and Achievement.
JUGNOON Gamify is a complete professional script with all basic and advance features that can allow you to build any level of gratification system within your website.
Script is written using angular js as front end and pure php as backened.
You can easily create gamification system like implemented by stackoverflow, freelancer.com, themeforest.com or any other big networks.

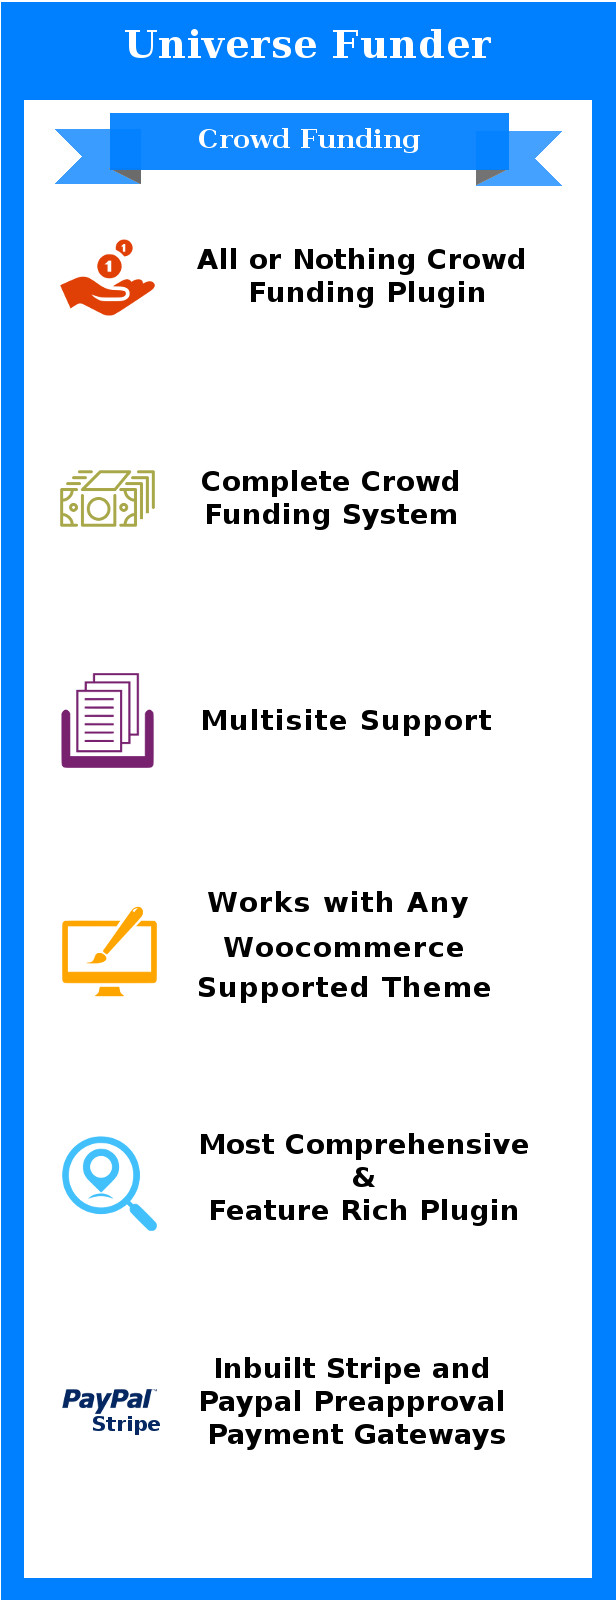
Features
Core features include
- Badges
- Rewards
- Levels
- Points
- Credits
- Packages
I: Badges:
Jugnoon Gamify allow site administrator to manage (add, update, delete) unlimited badges. Badges to be awarded when user achieve certain goal in website. Badges can be grouped into one or more categories.
Main attributes of badges include
- Title: Badge Title
- Description: Detail about badge.
- Notification: Message to be sent or saved in user achivement table when user award this badge.
- Category: Assign category for selected badge
- Priority: For listing badges top to bottom based on priority
- Is Hide: Whether to display this badge in main badge listings or will be hidden.
- Is Multiple: Whether this badge to be awarded multiple times.
- Icon: Badge thumb or use badge css with littlbe bit customization.
How to create badge?
- Go to badge section
- Click on add button
- Fill form and submit add button.
- In Next step choose icon for badge
- Thats it, badge will appear in main badge listing.
How to award badge?
Badge can be awarded when user complete certain action in website. e.g completing public profile 100% will award ABC badge.
Steps to follow to write code for awarding ABC badge. lets support when you create ABC Badge, it’s generated with id e.g “45”
- Go to badge section
- Select badge ABC from listing
- On right side click on “show code” link
- Form will appear with instruction to copy, paste and usage.
Sample badge usage can be seen here
You can either award badge using auto generated code by example shown above or using direct core bll. Both examples shown below.
include_once("include/events/ga_badge_item_events.php");
$obj = new ga_badge_item_events();
$obj->trigger_item_45($userid);
or via by using core bll
include_once("include/bll/ga_core_bll.php");
$obj = new ga_core_bll();
$obj->trigger_item($userid, 45);
where 45 is id of badge.
II: Rewards:
Rewards are almost similar as badge but with additional attributes. Rewards can be used to unlock website features and services to selected user when unlocked. Rewards can be unlocked either by calling on certain function e.g user purchased premium membership or can be unlocked automatically by some other events e.g increase discount 1% when user reach to level 4.
Main attributes of rewards include
- Title: Reward Title
- Description: Detail about reward.
- Notification: Message to be sent or saved in user achivement table when user award this reward.
- Category: Assign category for selected reward
- Priority: For listing reward top to bottom based on priority
- Credits: Credits required to unlock reward. e.g buy reward by utilizing account credits.
- Is Hide: Whether to display this reward in main badge listings or will be hidden.
- Is Multiple: Whether this reward to be awarded multiple times.
- Icon: Reward thumb or use reward css with littlbe bit customization.
How to create reward?
- Go to reward section
- Click on add button
- Fill form and submit add button.
- In Next step choose icon for badge
- Thats it, reward will appear in main reward listing.
How to award reward?
Reward can be awarded when user complete certain action in website. e.g upgrade premium account will unlock ABC reward or reward can be awarded automatically e.g completing level 5 will award XYZ reward that can increase 4% discount for selected users .
Steps to follow to write code for awarding ABC badge. lets support when you create ABC Badge, it’s generated with id e.g “45”
- Go to reward section
- Select reward ABC from listing
- On right side click on “show code” link
- Form will appear with instruction to copy, paste and usage.
Sample badge usage can be seen here
You can either award badge using auto generated code by example shown above or using direct core bll. Both examples shown below.
include_once("include/events/ga_reward_item_events.php");
$obj = new ga_reward_item_events();
$obj->trigger_item_45($userid);
or via by using core bll
include_once("include/bll/ga_core_bll.php");
$obj = new ga_core_bll();
$obj->trigger_item($userid, 45);
where 45 is id of reward.
How to unlock website features by awarding reward?
When script award reward to specific user, it will call a custom function process($rewardid).. located in /include/events/process_reward_features.php
This function include cases for all rewards you generated.
Go to rewards section and on right side of Add button you will notice “Generate” button, click on it. You can see sample page here which is responsible for generating all cases for process function.
Sample code will look like this
switch($reward_id, $userid) {
    /*********************************
     -> Unlock -> Level 5 Reward 3
     -> +2 Skills for your profile
    **********************************/
    case 32:
      /* Put your custom code here associated with Level 5 Reward 3 reward. */
      break;
      /*********************************
      -> Unlock -> Level 5 Reward 2
      -> +2.5% Faster bid refresh rate
      **********************************/
     case 31:
     /* Put your custom code here associated with Level 5 Reward 2 reward. */
     break;
    /*********************************
     -> Unlock -> Level 5 Reward 1
     -> +1 Extra bids per month
    **********************************/
    case 30:
       /* Put your custom code here associated with Level 5 Reward 1 reward. */
    break;
      /*********************************
      -> Unlock -> Skills
      -> Increase the total number of skills allowed for your profile
      **********************************/
    case 19:
       /* Put your custom code here associated with Skills reward. */
      break;
    /*********************************
    -> Unlock -> Bids
    -> Increase the number of bids you received per month
     **********************************/
   case 18:
     /* Put your custom code here associated with Bids reward. */
     break;
  /*********************************
   -> Unlock -> The Network Slot
   -> Increase the number of network slots in your contact list.
  **********************************/
  case 17:
    /* Put your custom code here associated with The Network Slot reward. */
    break;
}
Now you have to write custom code for each reward you want to execute when reward is awarded to user. in case case. Before adding, make sure its 100% working code and test process($rewardid, $userid) to make sure its working fine.
Levels:
Site administrator can create unlimited levels and associate unlimited rewards with each level using manage gamify application level section.
Levels can be completed when user reach to maximum points from initial points (reset after completion of level). Levels can be upgraded manually or automatically when user points exceeds maximum points required to unlock another level.
Main attributes of level include
- Level: Current number of level e.g 1, 2, 3,… n (can’t be edited by site admin, its automatic)
- Title: Level Title
- Description: Detail about level.
- Notification: Message to be sent or saved in user achievement table when user complete this level.
- Category: Assign category for selected level
- Priority: For listing rewards top to bottom based on priority
- XP: Maximum points required to complete this level and unlock next level.
- Is Hide: Whether to display this level in main level listings or will be hidden.
- Icon: Level thumb or use css with little bit customization.
How to create reward?
- Go to level section
- Click on add button
- Fill form and submit add button.
- In Next step choose icon for level
- That’s it, reward will appear in main reward listing.
How to associate rewards with this level?
You can associate unlimited no of rewards with each level. when level upgrade, script will automatically look for all association and unlock it by executing reward script.
How to complete level?
Level can be awarded manually by site administrator or automatically when user complete points.
Steps to follow to write code for completing level manually. lets suppose you want to complete level 5 with id “45”. Note when you complete user level, all level 4, 3, 2, etc will be automatically completed.
- Go to level section
- Select Level 5 from listing
- On right side click on “show code” link
- Form will appear with instruction to copy, paste and usage.
Sample level usage can be seen here
You can either complete level using auto generated code by example shown above or using direct core bll. Both examples shown below.
include_once("include/events/ga_level_item_events.php");
$obj = new ga_level_item_events();
$obj->trigger_item_45($userid);
or via by using core bll
include_once("include/bll/ga_core_bll.php");
$obj = new ga_core_bll();
$obj->trigger_item($userid, 45);
where 45 is the id of level.
Points:
Site administrator can create unlimited no of points event that can be trigger or call on certain events. e.g award 15 xp points when user upload video or deduct 5 xp points when user delete video.
Main attributes of points include
- Title: Point Title
- Description: Detail about points.
- Notification: Message to be sent or saved in user achievement table when user award or deduct points associate with this event.
- Category: Assign category for selected point
- Priority: For listing point event top to bottom based on priority
- Is Hide: Whether to display this point event in main point listings or will be hidden.
- XP: XP points to be awarded to user when this point event trigger.
- Is Deduct: When this point event will deduct or increment user points
- Icon: Assign thumb or not required for such items
How to create point event?
- Go to point section
- Click on add button
- Fill form and submit add button.
- In Next step choose icon for badge, leave blank as its not required in points
- Thats it, point event will appear in main badge listing.
How to trigger point event?
Point event can be trigger or call multiple times when certain event occurs in site. e.g you can call ABC point event to award 15 points when user upload video.
Steps to follow to write code for awarding ABC point event. lets suppose when you create ABC point event, it’s generated with id e.g “45”
- Go to points section
- Select points event ABC from listing
- On right side click on “show code” link
- Form will appear with instruction to copy, paste and usage.
Sample badge usage can be seen here
You can trigger point event using code generated by example link shown above or using direct core bll. Both examples shown below.
include_once("include/events/ga_points_item_events.php");
$obj = new ga_points_item_events();
$obj->trigger_item_45($userid);
or via by using core bll
include_once("include/bll/ga_core_bll.php");
$obj = new ga_core_bll();
$obj->trigger_item($userid, 45);
where 45 is id of point event.
Credits:
Credits is almost similar to xp points but instead of points in this case, user credits will be incremented or decrements on certain credit event calls. Points can be used to unlock levels whiles credits can be used to unlock rewards.
Rest is almost same
Packages:
Its optional feature which will allow site administrator to create unlimited no of packages for purchasing credits on real payment. Credits will be added to user account when user purchase specific package. Click here to check more about package information.
Events:
Its optional feature that allow site administrator to group multiple events (badge, reward, level, points, credits, package) that can be called for single event. e.g creating account and activation will award abc badge, reward xyz reward, complete level 1, reward 100 xp points, reward 50 credits. so via event management, you can create event and associate all items that should be called with this event.
When event created, go to show code, this will display code with usage instruction.
For more detail click here.
Simulate Events:
Jugnoon Gamify include additiona gamify simulation application that can provide detail of how badges awarded, reward unlocked, level completed, points rewarded or deducted, credits rewarded or deducted, buy packages etc.
For real time review check simulation demo here.
Dispaly Events:
Jugnoon Gamify include additiona gamify display events that can show you how user information, rewarded badges, rewards, credits, points, levels, packages to be displayed and user achivement history generated.
For real time review check demo here.
Technical Information:
Jugnoon Gamify application uses angular js for front end application and core php for backened processes. If you are using any php framework then make sure to adjust core bll and entity files according to framework infrastructure. e.g if you are using codeigniter, make sure you adjust /include/bll, include/entity and include/events classes in /application/services
The main backened operation involve just receiving and sending JSON data between angular js application and php.
PHP code is written very clean way here is example how it works.
Below code will add badge information in database.
function add($fields, $queryanalysis = false)
 {
    $db = new DB;
    return $db->Insert($this->tableName, $fields, true, $queryanalysis);
}
Directory Structure:
Core directory includes
api : Core php handler files responsible for receiving and sending JSON data
app: Core angular js application
include: Core business layer, entity classes and event classes php script
contents: Save badges here
image: Site images here
plugin: plupload and other plugins here
css: core site css here
js: core site js here
Help & Assistance:
We build this application in a way that can be easily used in any type of php websites. Integration is easy if you are php developer still if you face problem you can send us query on our support mail or post your topic in Q&A or Forum section. We will try our best to give you response as soon as we can.
Download PHP JUGNOON Gamify Application (Add-ons)


 <center>