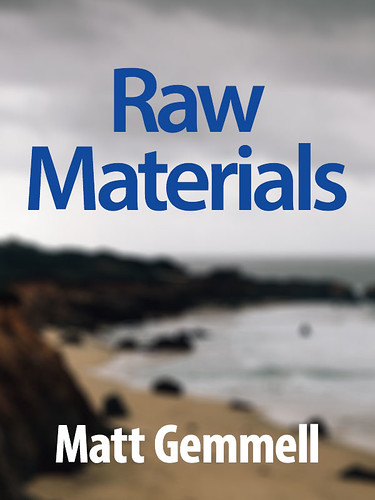
I recently published an anthology of some of my most popular personal essays. It’s called Raw Materials, and I’m pleased that it’s garnered many positive reviews.
I used Scrivener to assemble the anthology, and I’d like to talk briefly about that process, and how I went about adding a few finishing touches.
Before you start
Gather together the pieces that will go into your anthology: perhaps they’re essays like mine, or short stories, poems, vignettes, diary entries, blog articles, or something else.
They’re not ready for inclusion yet. The first thing you need to do is revise them, carefully. I’d advise that you take each one individually, then:
-
Read the piece as your readers will; straight through.
-
Read it again, closely, in groups of a few paragraphs (or a stanza, or whatever) at a time. Find the rough edges.
-
Clean it up. Overused phrases, excessive adverbs, fussy speech-attribution, fatiguing paragraphs, complex sentences… just fix what’s wrong. The pieces need to be polished to a dazzling shine.
Have patience. The book is its content. Don’t skimp on editing.
Organising the anthology
I used Scrivener’s standard Novel template, treating each piece as a chapter. This has the nice side-effect of automatically giving you a sensible table of contents, copyright and dedication pages, and reasonable default formatting.
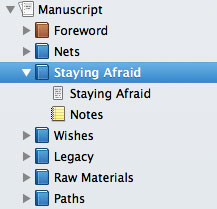
I made a folder for each piece, then put the content of that piece in a text document within the folder. In each case, I also added a file of author’s notes to be appended to the piece itself, giving some extra insight and context. With collections of short pieces, I very much enjoy hearing the author’s own thoughts after each one. It gives the reader some breathing room, and further personalises the work.
Candidates for the author’s notes include:
- Original (and additional) publication dates and locations
- The genesis of the piece
- Details on any interesting revisions
- Your current feelings about the piece
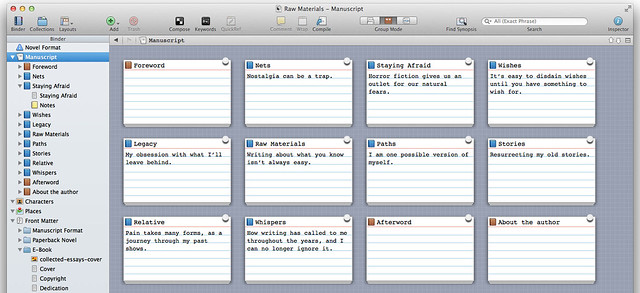
The next major task, and second only in importance to the editing process, is to decide on an order for the anthologised works. Given the previously described chapter setup, it’s a simple matter of using Scrivener’s index card view to shuffle the pieces around.
It may be tempting to just include the pieces in chronological order of creation, and maybe that’ll work for you. I’d advise you think more deeply about the overall reading experience, though. An anthology is a thing in itself, not just a collection of discrete experiences. It has a pulse, and an arc. It’s a mixtape, if you like.
-
Start strongly. Put one of your very best pieces up front. Pull the reader in, and give her a reason to continue.
-
If your best piece is rated ten out of ten, you should only be including stuff in the eight to ten range; drop everything else. A shorter collection of great stuff is much better than a longer, hit-or-miss one. For those few pieces you wouldn’t count as your very best, make sure they’re distributed through the collection. The 50% and 70% points are logical places.
-
If the tone of your pieces shifts, try to work that into the order you choose. Maybe you want to reinforce a mood over several pieces, or perhaps you want to jar the reader and challenge them with juxtaposed pieces of very different tones. Make a conscious choice, and test it with a read-through.
The ebb and flow of pieces in a collection isn’t something to trust to arbitrary factors like the order of original creation (unless there’s an inherent chronological narrative element, as with a set of diary entries, of course). The goal is to take the reader on a deliberate journey. Make sure that the arrangement of your works shows them in the best light.
Formatting
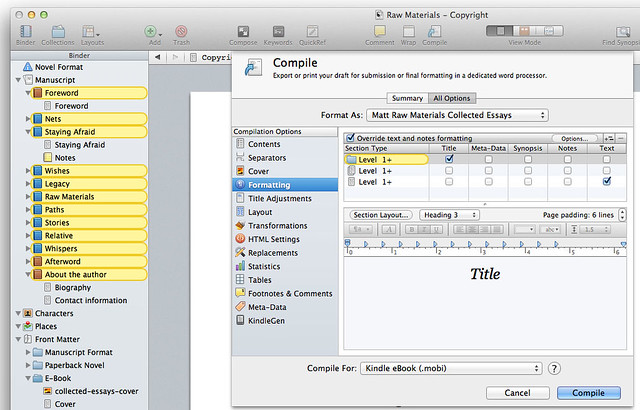
I find Scrivener’s default formatting perfectly serviceable for my needs, so very few tweaks were necessary. I like to set reading material in Georgia, with a decent line-spacing, for maximum readability. You can readily do that in Scrivener’s Compile Settings sheet, in the Formatting section.
The best tip I can give you is that, when you select a Section Type, the Binder on the left side of your project window will automatically highlight those sections using a yellow background. This makes it very easy to know what formatting will be applied, and where.
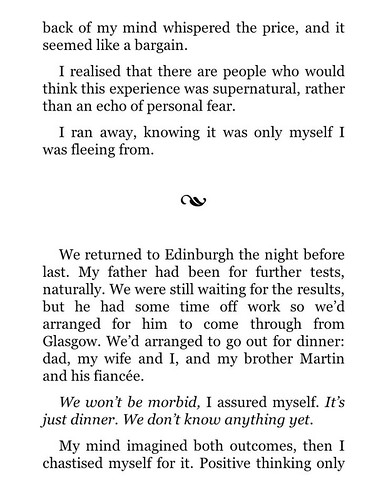
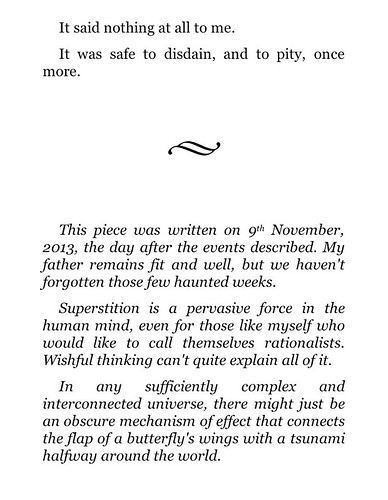
I wanted to add a visual flourish to my book, by using a graphical ornament as a scene-separator:
I also wanted to use a different ornament to mark the end of each essay, separating it from the attached author’s notes:
Scrivener makes this very easy indeed. I created the necessary graphics in Photoshop (they’re both part of the default shape library), and exported them as PNG files.
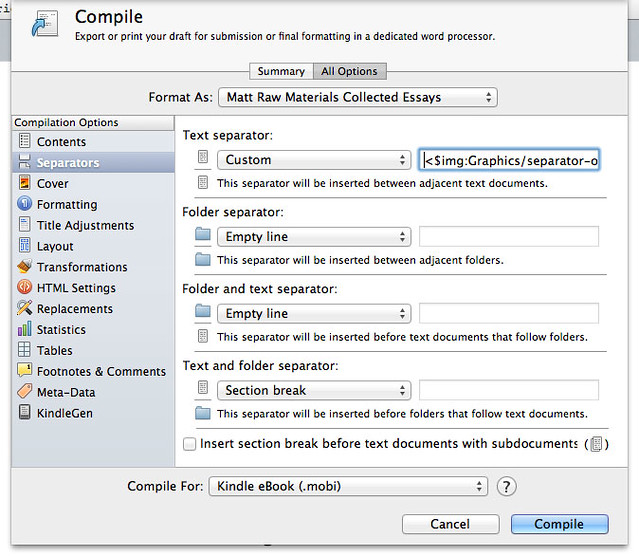
You can refer to images in your Scrivener project (or even on disk, regardless of whether they’re included in the project) using the <$img> placeholder. To use images as separators, you just specify the appropriate image in the Separators section of the Compile Settings.
The “Text separator” option clearly applies to the boundary between each essay and its author’s notes. For scene-breaks within the essays themselves, I simply inserted a similar <$img> placeholder each time, with the line set to be centred. To preserve the alignment, make sure the relevant text document is set to compile “as is”, in the Inspector.
Cover pages in PDF versions
You can set a cover image for your book in the Compile Settings for mobi (Kindle) and ePub (iBooks etc) formats, but PDF versions don’t automatically get a cover image. You probably want the first page of your PDF to be the cover image, and that’s easy to do.
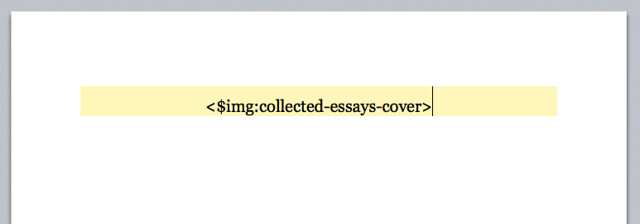
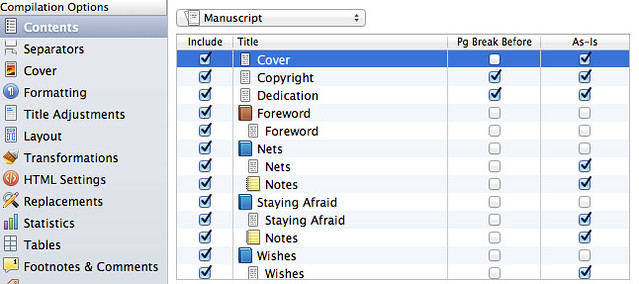
Just add a text document called ‘Cover’ to the Front Matter subfolder for your chosen export format (presumably ebook), and make sure it comes first in the list. Add a suitable <$img> placeholder, ensuring it’s centred.
When you’re compiling your PDF, just check the Include checkbox for the Cover file, and it’ll become the first page of your PDF book.
You should uncheck that checkbox when compiling Kindle or iBooks versions, because they will automatically be given the cover you specify in the Compile Settings sheet.
The finished product
You can download the compile settings I used for the anthology below. Tweak them to suit your needs.
Download the Scrivener Anthology Compile Settings
I’d love it if you checked out Raw Materials too. It includes revised and updated versions of each piece, with new author’s notes after each one, plus an exclusive extra essay written especially for the collection. It’s around 90 – 100 pages long, and you can read it either on a Kindle, or in the free Kindle app on your Mac, PC, iPhone, iPad or other device.
Raw Materials is available on the Amazon.com Kindle Store, and also on Amazon.co.uk and your own local Kindle Store.
Good luck with your book!
![]()
