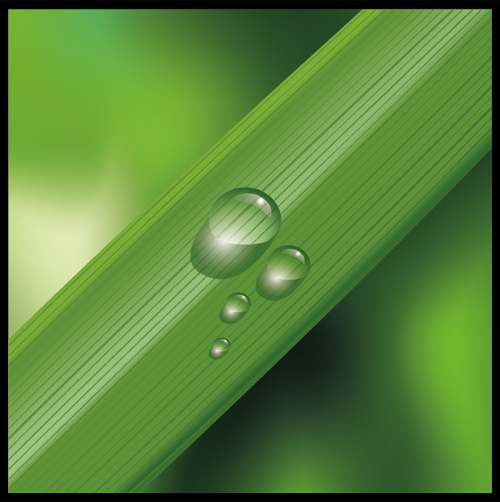
In this tutorial you will learn how to create all-purpose water drop using the Clipping Mask and gradient fills. Water drops created in this way can be placed on any texture, both vector and raster, and the texture under the drop will look enlarged – just like a real drop of water. Creating the drop only takes a few minutes but adds a level of detail to your illustration that looks great.
Step 1
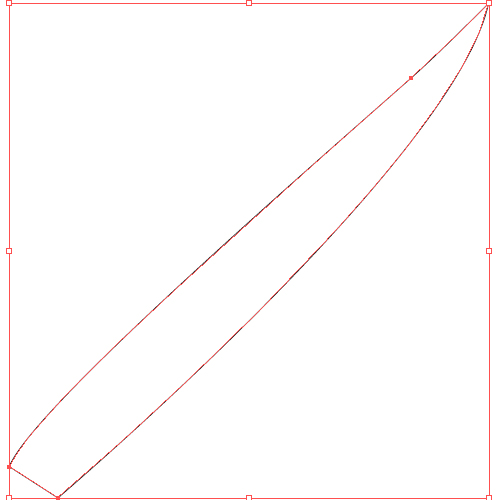
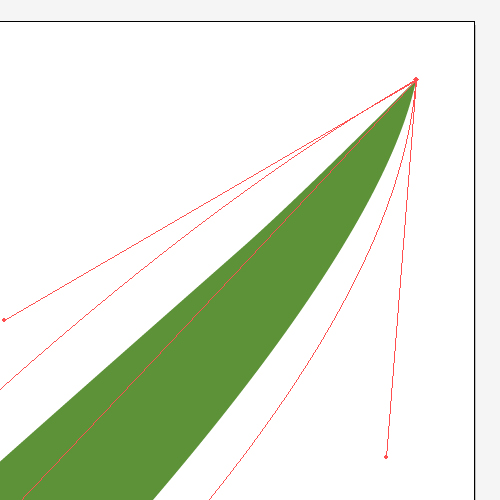
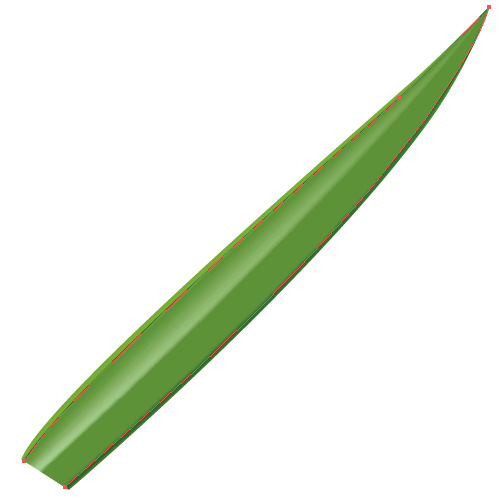
Let’s start our tutorial creating a grass blade. Take the Pen Tool (P) and create a closed path, similar to one shown in the figure below.
Step 2
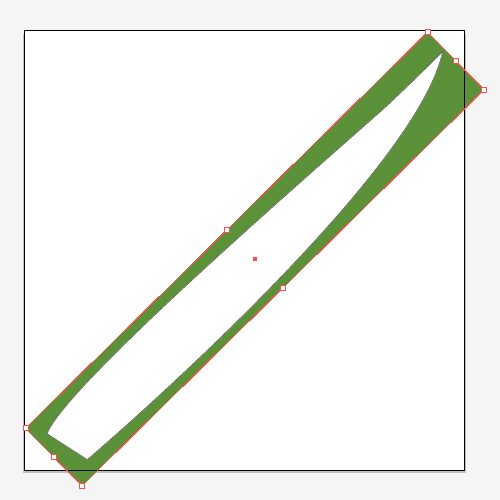
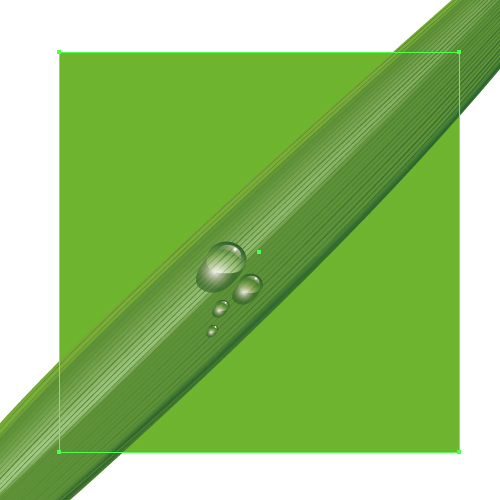
Create a rectangle using the Rectangle Tool (M) and rotate it so that it is placed along the grass blade. The rectangle should be placed in the underlayer below the shape, while the grass blade path should not cross the rectangle boundaries.
Step 3
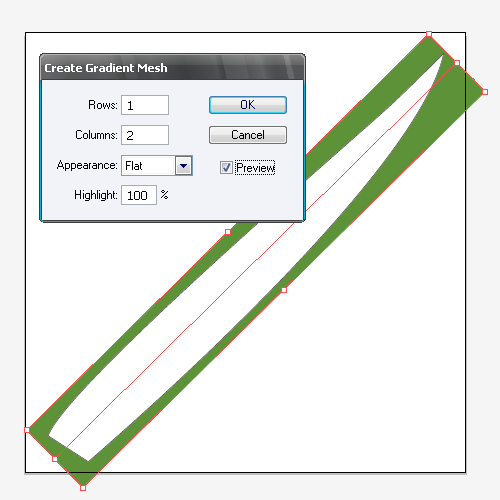
Keep the rectangle selected, go to Object > Create Gradient Mesh, and set the values shown in the figure below.
Select the rectangle and grass blade and go to Object > Clipping Mask > Make.
Step 4
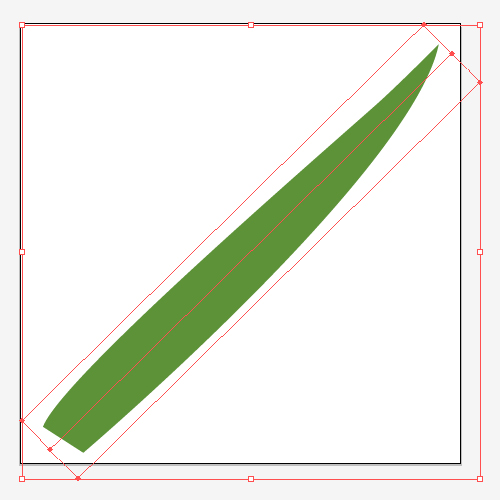
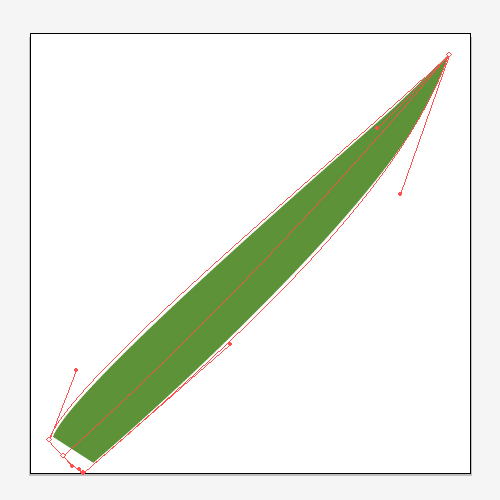
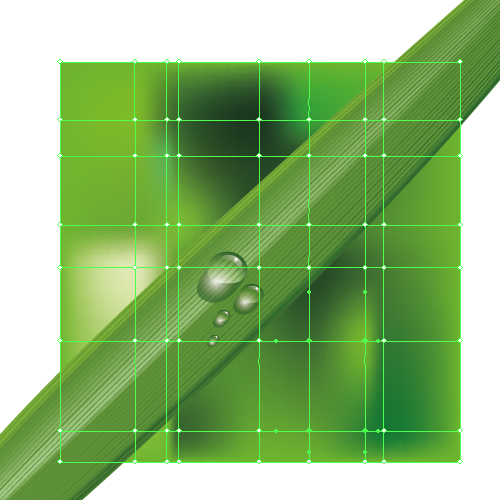
Now proceed to the gradient mesh points. Converge the top points in a single point so that it was located on the tip of the grass blade. It should be noted that the lines of the gradient grid cannot intersect the shape of grass blade, otherwise the shape of its path will be corrupted.
Place the points of gradient mesh so that the Mesh shape as close to the shape of the grass as possible.
Step 5
Take the Mesh Tool (U) and add a few lines to the gradient mesh by clicking on its lower boundary.
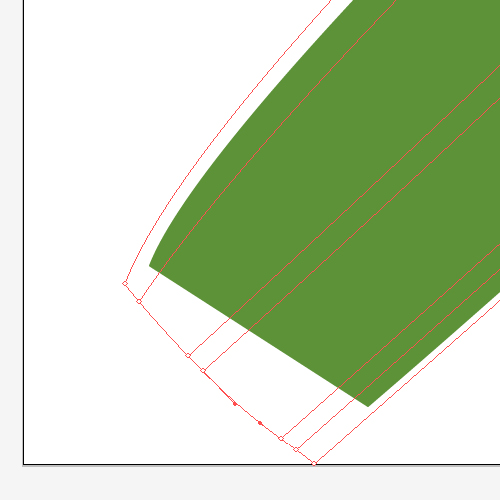
Replace the colors of the created points with different shades of green.
Step 6
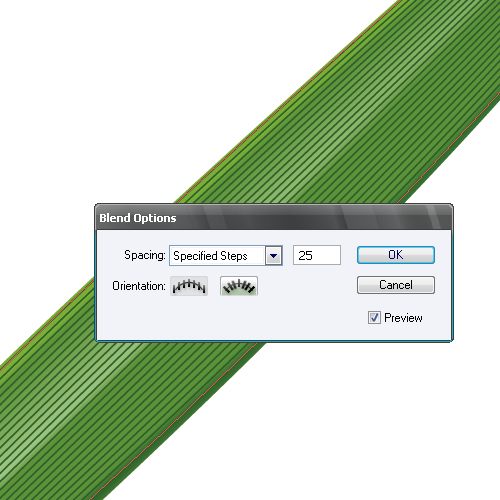
Proceed to create the veins on the grass blade. Take the Pen Tool (P) and create two curves 1 pixel in width each, resembling the shape of grass blade edges.
Select these curves and go to Object > Blend > Make. Now go to Object > Blend > Blend Options and set the step size equal to 25.
Step 7
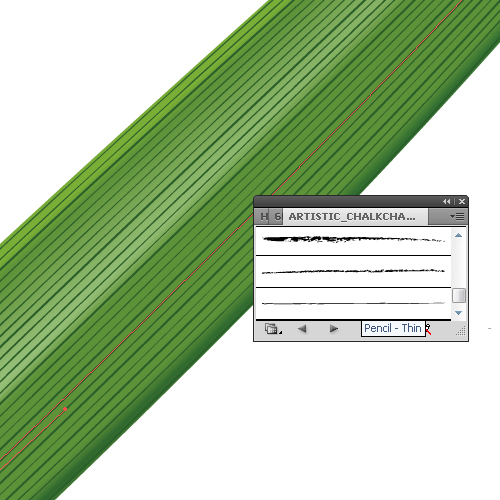
Keep the Blend selected, go to Object > Blend > Expand. We now have a collection of curves of the same width and color. Let’s make the grass veins more diversified. Select separate lines using the Direct Selection Tool (A) and change their width in the Stroke palette, within the range 0.75 – 2 pt. To make the veins more realistic, you can apply the Art Brush for them, such as the Pencil Thin for example.
Step 8
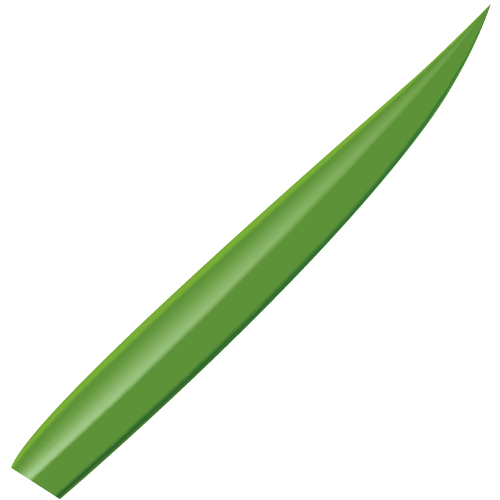
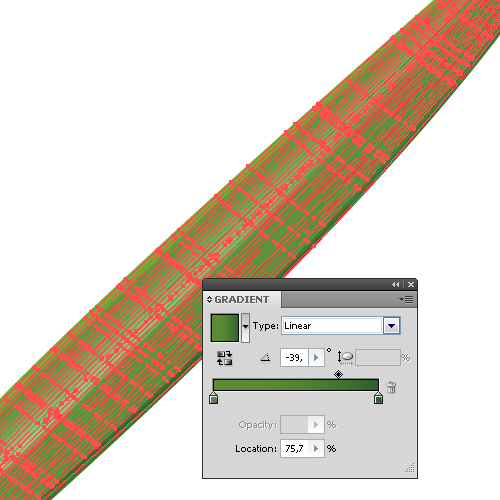
Select all the veins and go to Object > Expand Appearance and fill them with linear gradient consisting of two shades of green.
Step 9
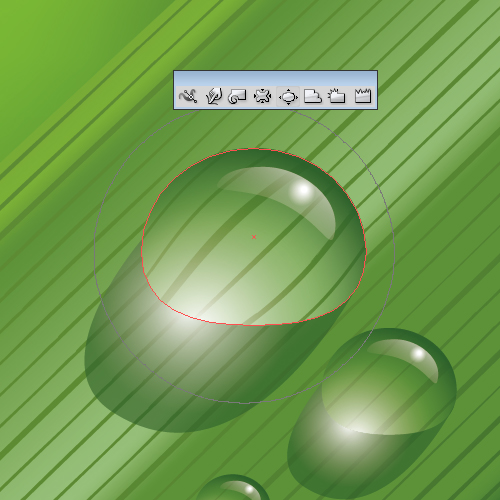
Now to proceed to the topic of our tutorial – water drop creation. Take the Ellipse Tool (L) and create an ellipse. Deform the ellipse using the Direct Selection Tool (A) so that we can make the shape as shown in the figure below.
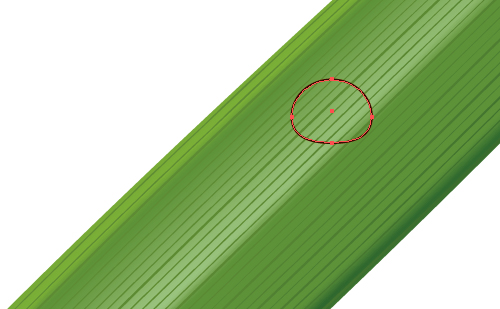
Step 10
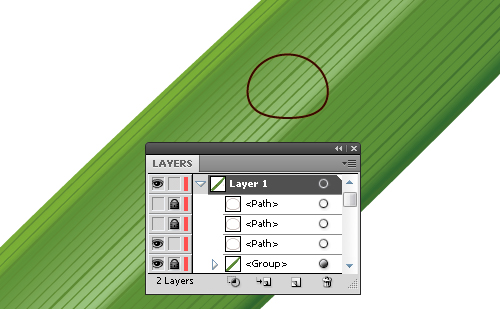
Copy this shape and paste it in front twice. Make the two upper shapes invisible and lock them in the layer palette. We will need them for further build ups.
Step 11
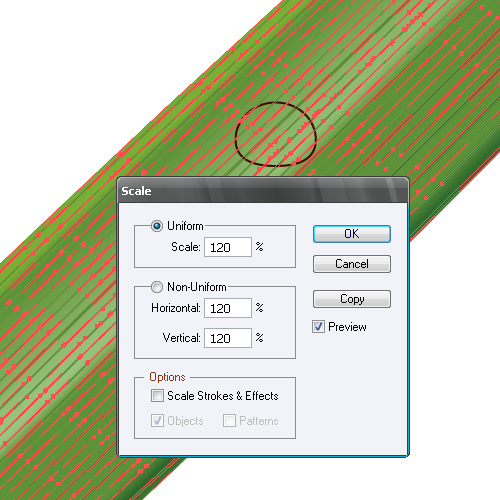
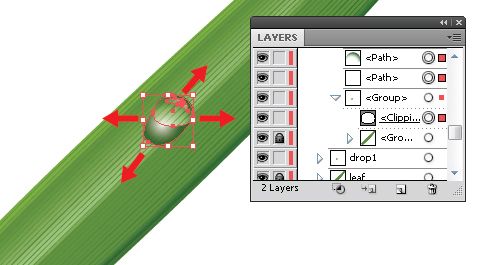
The texture of the grass blade where it is covered by a drop should look larger due to the optical characteristics of the drop. Group all the elements of the grass blade, copy and paste it in front. Keep the copy selected, go to Object > Transform > Scale and set the value of 120% in the dialog box, click OK.
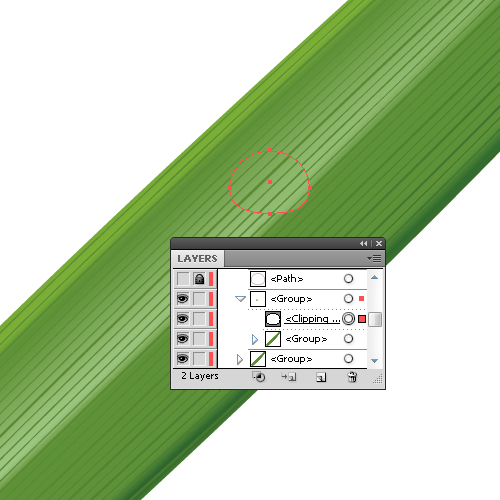
Select the drop shape and the enlarged grass blade and go to Object > Clipping Mask > Make.
Step 12
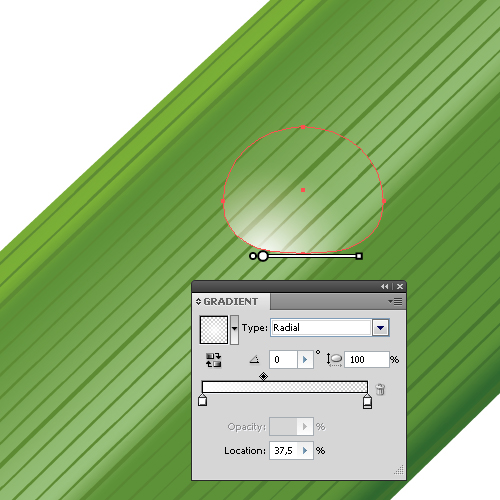
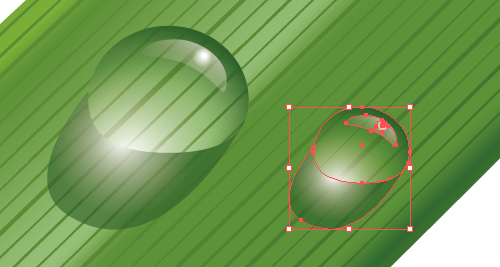
Unlock the lower drop shape and make it visible in the layers palette. I hope you did not skip step 10? Fill this shape with radial gradient from white to white color with 0% opacity .
Unlock the upper shape of the drop and make it visible in the layers palette. Fill this shape with radial gradient from dark green color with opacity 0% to dark green color.
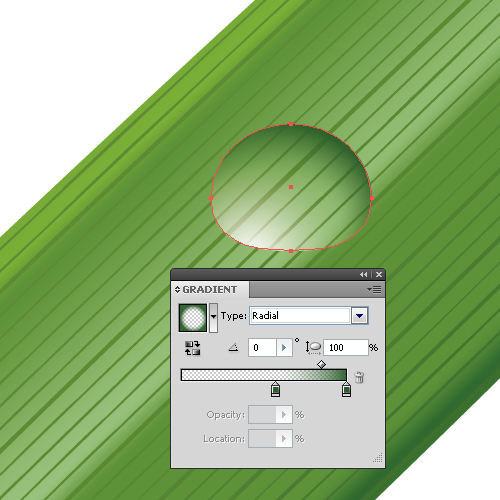
The color of this gradient depends on the color of the object on which the drop lies, you can pick the basic color of the object using the Eyedropper Tool (I) and make it darker by adding black to the Color palette (I’m using the CMYK color model). Now apply this color to the gradient.
Step 13
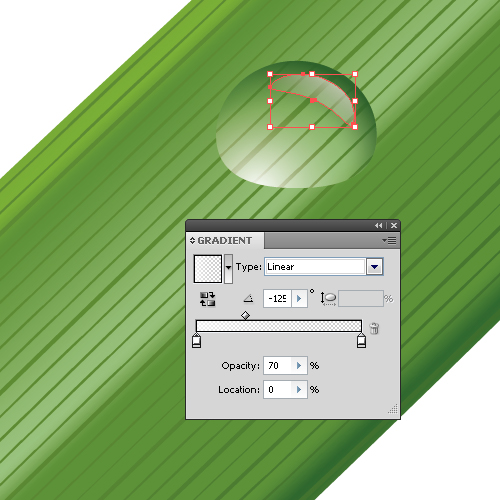
Create a highlight on the drop. Take the Ellipse Tool (L) and create an ellipse. Deform the ellipse using the Direct Selection Tool (A) so that we could get the shape shown in the figure below. Fill the shape with linear gradient from white with 70% opacity to white color with 0% opacity.
Step 14
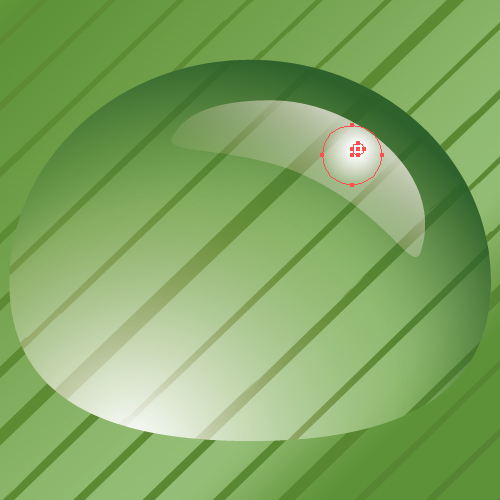
Create a light source reflection in the drop. Create two circles using the Ellipse Tool (L). Fill both circles with white, make the bigger one look transparent.
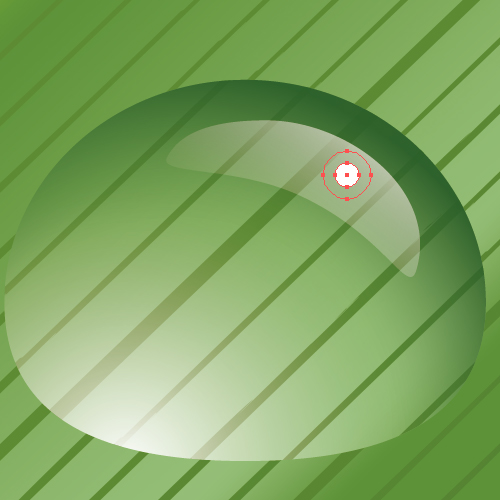
Select both circles and go to Object > Blend > Make.
Step 15
Create a shadow of the drop. Take the Pen Tool (P) and create the shape of the shadow. Now copy the shape of the drop and paste it in front, select both the drop and shadow shapes, press Minus Front from the Pathfinder palette.
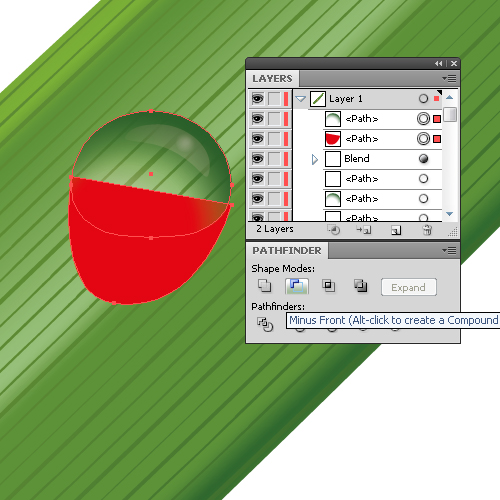
The shape of the shadow should be located outside the light source, fix the shape using the Direct Selection Tool (A).
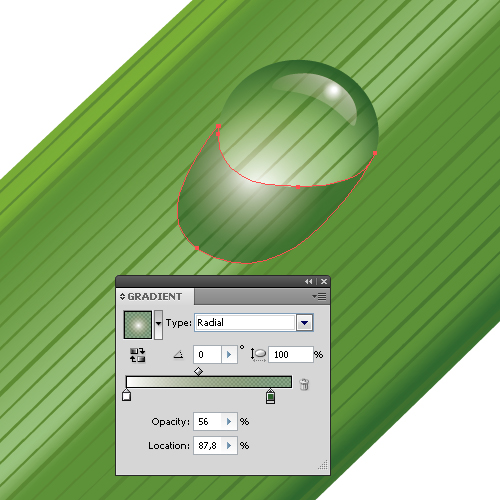
The shadow of the drop is not going to be smooth, so fill it with radial gradient from white to dark green with an opacity of 56%.
Step 16
The created drop can be moved over the texture, having done a simple procedure in the layers palette. First, group up all the elements of the drop, select the drop, and lock the underlayer with the enlarged grass blade in the layers palette. Now you can move the drop over the texture.
Step 17
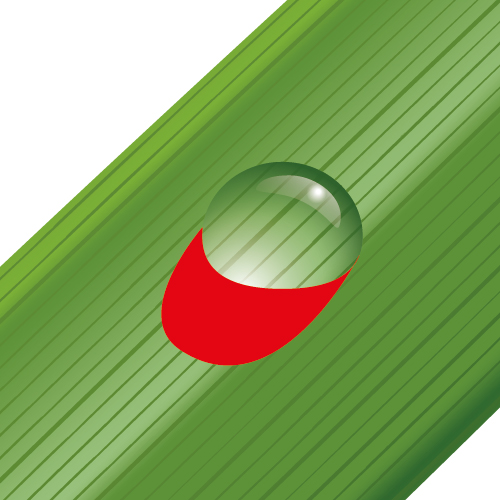
Create a few more drops. Duplicate the drop and reduce its size.
The texture in the smaller drops is less enlarged. Select the enlarged grass blade that is blocked by the clipping mask in the layers palette and reduce it by 90%.
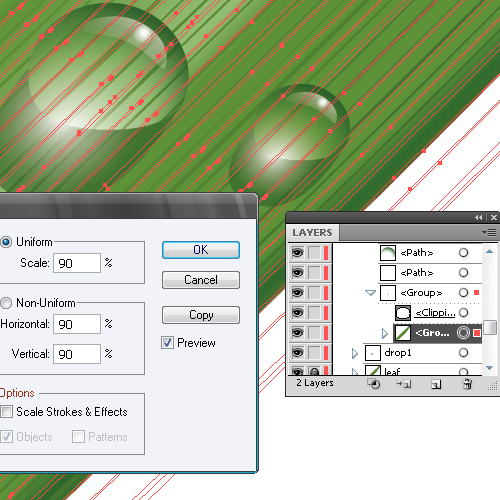
Create a few more drops using the same technique.
Step 18
Finally create the background. Take the Rectangle Tool (M) and create a rectangle of green which lies under all the objects of the composition .
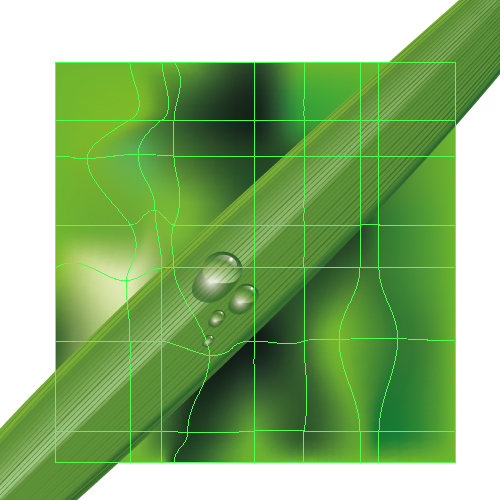
Take the Mesh Tool (U) and add plenty of points, forming a gradient mesh. Replace the color of these points with various shades of green. The background will create the illusion of plants that are in the background, but not in focus.
Take the Direct Selection Tool (A) and distorts some of the lines of the gradient mesh.
Step 19
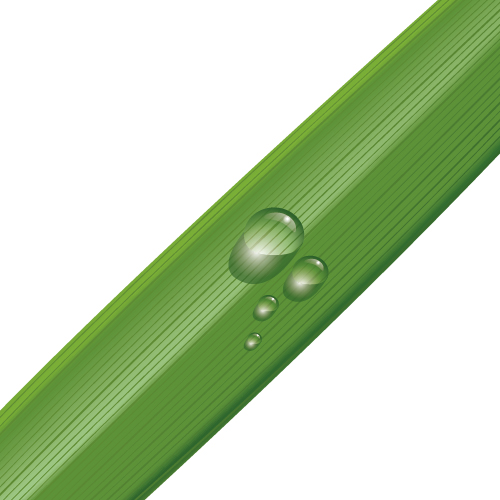
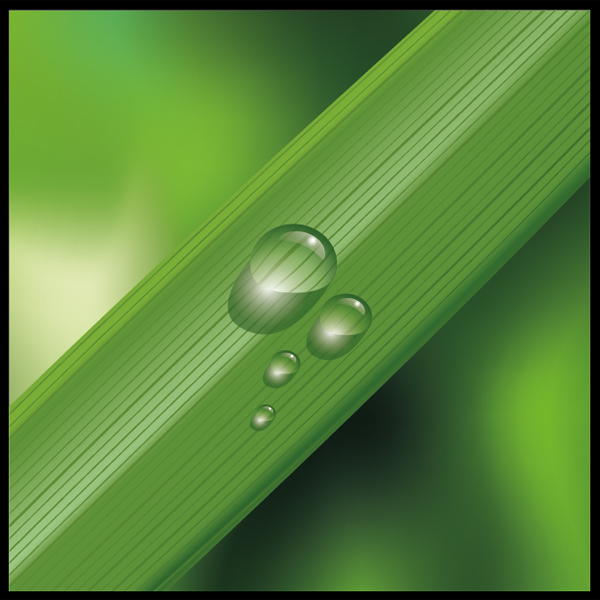
Create the final composition. Take the Rectangle Tool (M) and create a square.
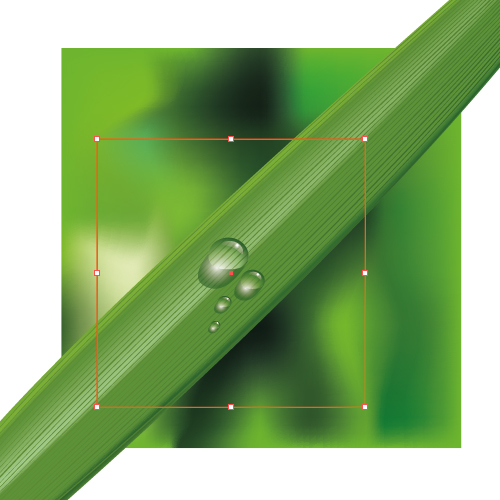
Select all the objects of our composition (Command + A) and go to Object > Clipping Mask > Make. For a better contrast you can set your composition in a black frame, creating a black square and placing it in the layer below our artwork.
Conclusion
The created drop is all-purpose, and you can place it over any objects of raster and vector type. The texture inside the drop is not only increased but distorted too. In these cases you can deform the enlarged object, which is located under the Clipping Mask with the Bloat Tool. Remember, the underlayer with the Clipping Mask should be locked when distorted.
This Quick Tip is available as a Free Download to all Vectortuts+ visitors, and is just a fraction of the content you can access via our Premium Membership System and Tuts+ Marketplace!
Tuts+ run a Premium membership system that costs $9 a month (or $22 for 3 months!). Members have full access to the hundreds of full length tutorials, professional source files and periodic extra tutorials available from all our Premium Program sites!
We also have a new Tuts+ Marketplace that’s bursting with Premium quality tutorials – both from our Tuts+ Premium program and from unaffiliated authors – now, non-members will be able to purchase selected Premium tutorials on a one-off basis, without a Premium membership.
To begin downloading High Quality Vector Resources and Tutorials visit Vector Premium or the Tuts+ Marketplace today!