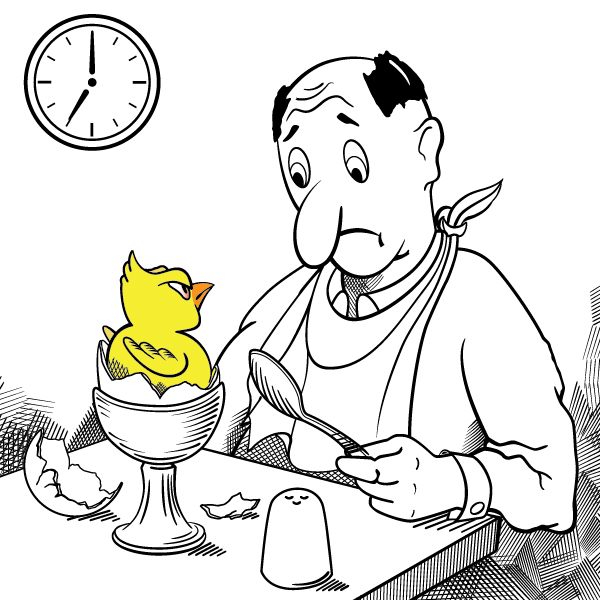
You can find the vintage comic style in newspapers, magazines, and in animation. In this tutorial you will learn several techniques for tracing a sketch, including how to make custom brushes, how to combine shapes and brushes and how to combine multiple brushes. You will also learn how to simulate shadows with a hatching technique.
Step 1
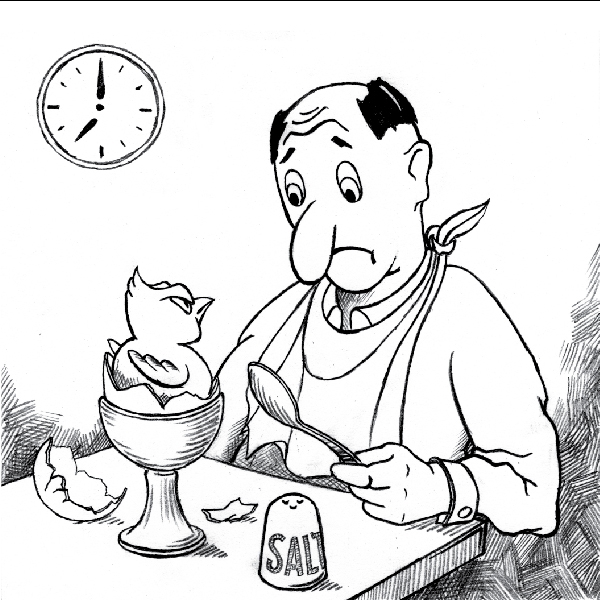
Let’s begin with the creation of the sketch and place it on the artboard (File > Place). Pay attention to the lines and make sure they have variable widths. Lock the layer with the sketch in order not to move it during tracing.
Step 2
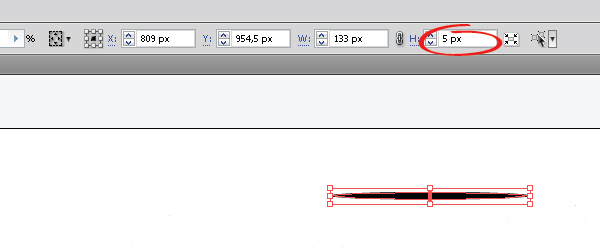
Let’s get down to tracing the contours. Create a new layer over that one with the sketch, the picture is to be traced in this new layer. It’s easy to create brushes for the stroke with an ellipse. Take the Ellipse Tool (L) and create an ellipse. The height of the ellipse will correspond to the maximal width of the stroke. You can define the height value in the Control Settings.
Step 3
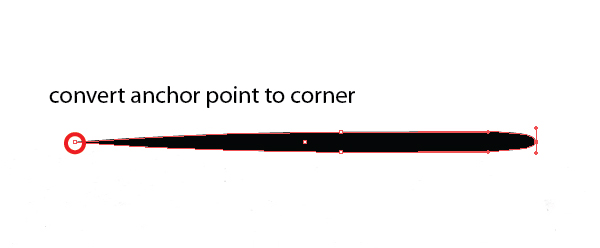
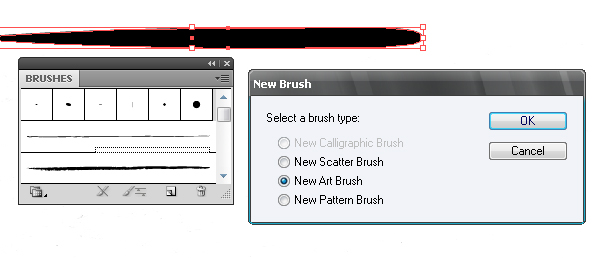
A drop-like brush is the preferred shape for the stroke. Make a form out of the ellipse similar to the shape below. Once you’ve made the shape, drag it into the Brushes palette and save the brush as an Art Brush.
Step 4
Here are a few tips that will make your work easier.
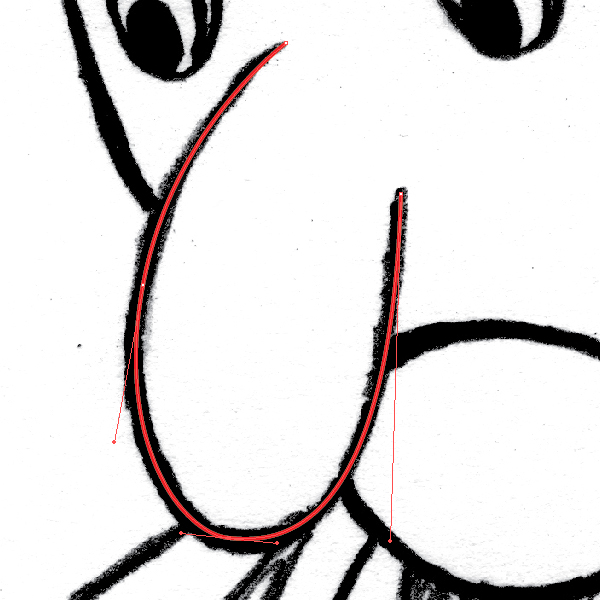
- Choose the brush color different from that of the sketch. I chose red color. Use the same color for the stroke, when you work with the Pen Tool (P).
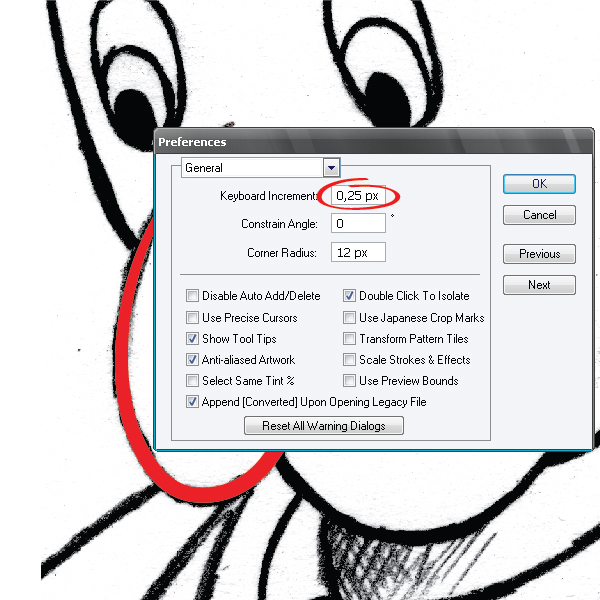
- Set the Keyboard Increments to 0,25 px. This will help you move the points of the contour very accurately. Jump to Edit > Preferences > General to do this
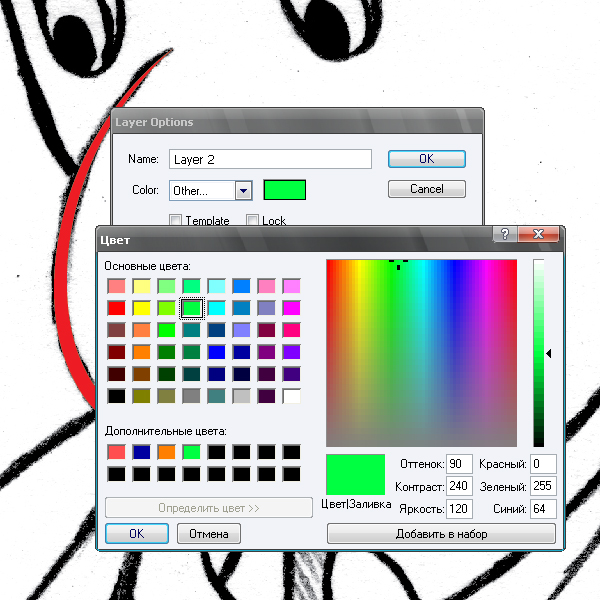
- Set the color of the layer, in which you work, so that it differs from the color of the sketch and the brushes. It will help you differentiate all the secondary elements of the contour: points, lines, handles. I chose green. To set the color double-click the layer in Layers Palette and select the color.
Step 5
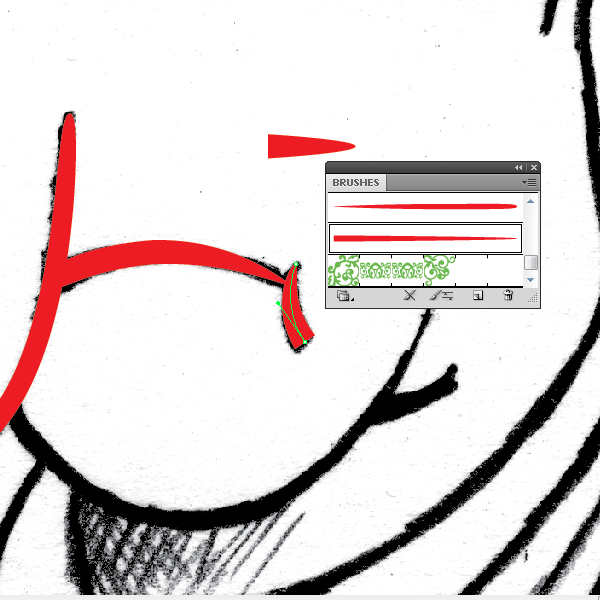
Let’s get down to tracing. Take the Pen Tool (P), create the curved segments and apply the brushes to them.
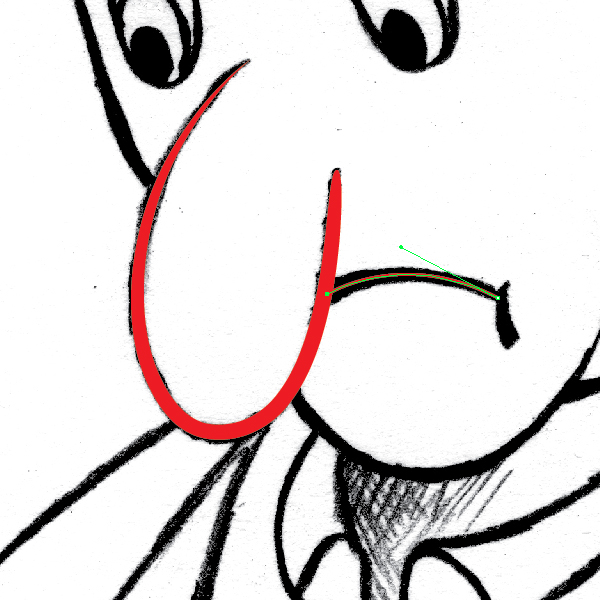
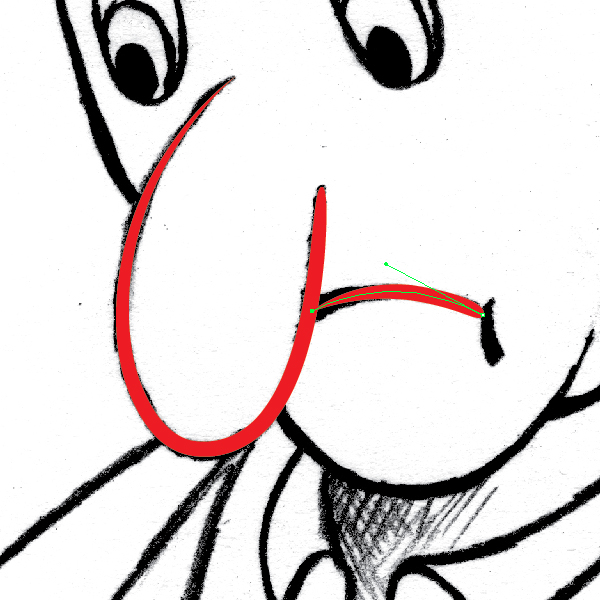
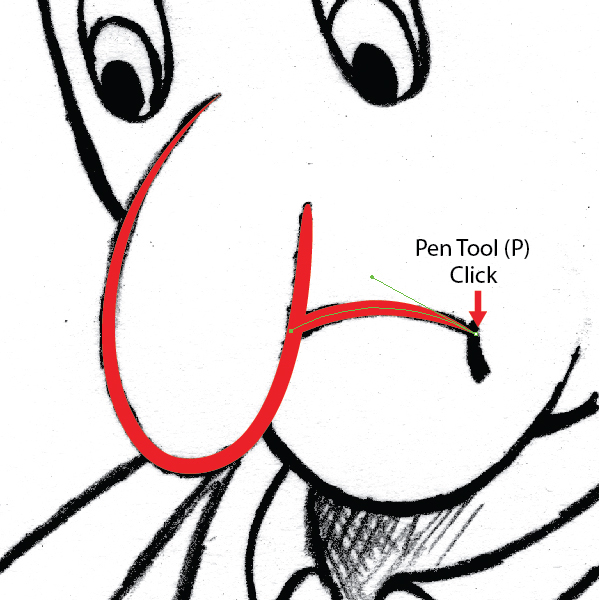
Note: Often the direction of the brush doesn’t coincide with what you need. It’s easy to correct. Take the Pen Tool (P) and click on the anchor point, the direction of the brush will change. See below for reference.
Step 6
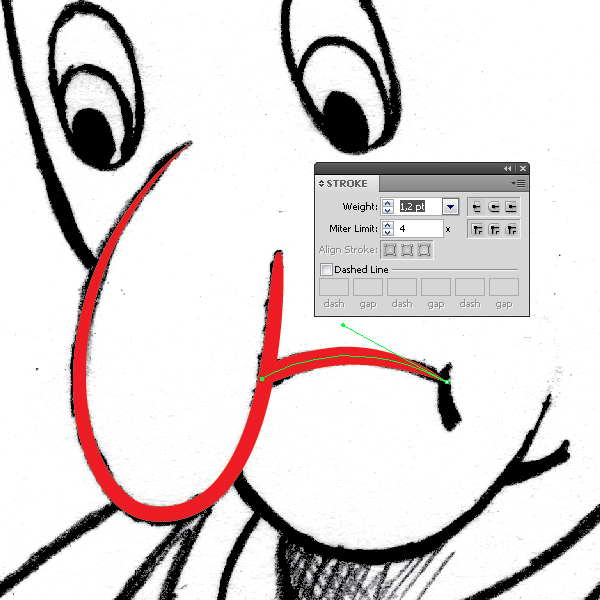
You can change the width of the brush by changing the Weight value in the Stroke palette.
Step 7
Examine the form of the lines your tracing and create the necessary forms for the brushes.
Step 8
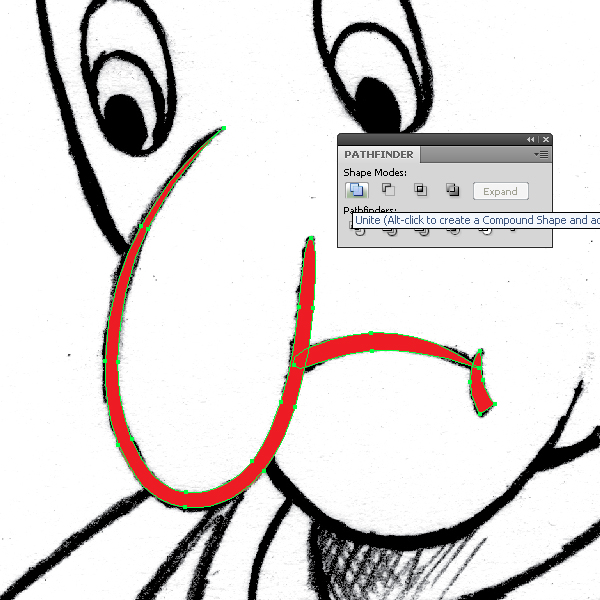
Select the created lines and jump to Object > Expand Appearance and click Unite in Pathfinder Palette. Here you get some form. We’ll add all following elements to this form, the result will be a single form that makes up the image.
Step 9
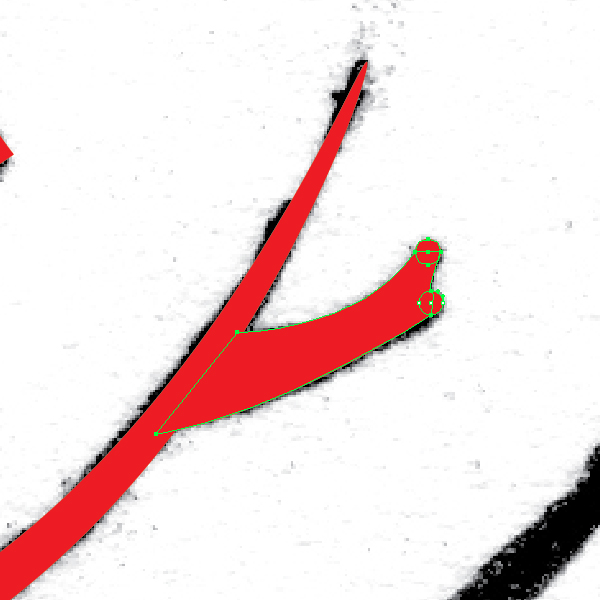
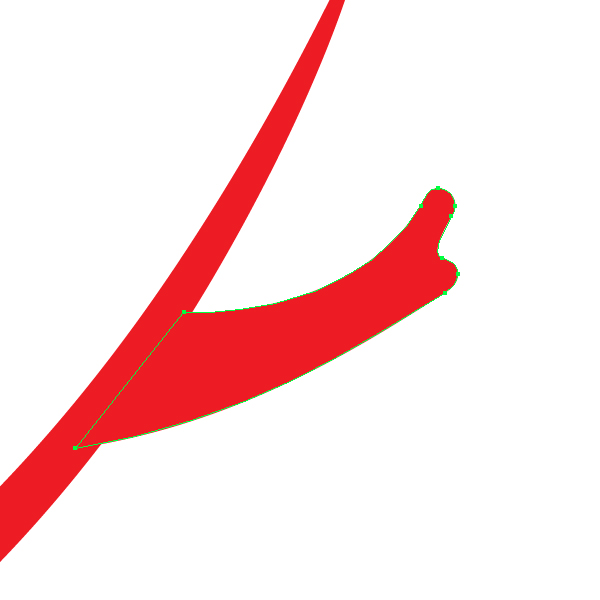
It’s not always possible to create a brush that will reflect the sketch’s lines. In this case we can combine shapes, created with the help of the Pen Tool (P) and simple geometric shapes.
Step 10
Let’s examine the technique of combining two brushes. Create the ear contour with the help of the Pen Tool (P). Now take the Scissors Tool (C) and cut the contour into two parts. Make two brushes as shown in the picture below.
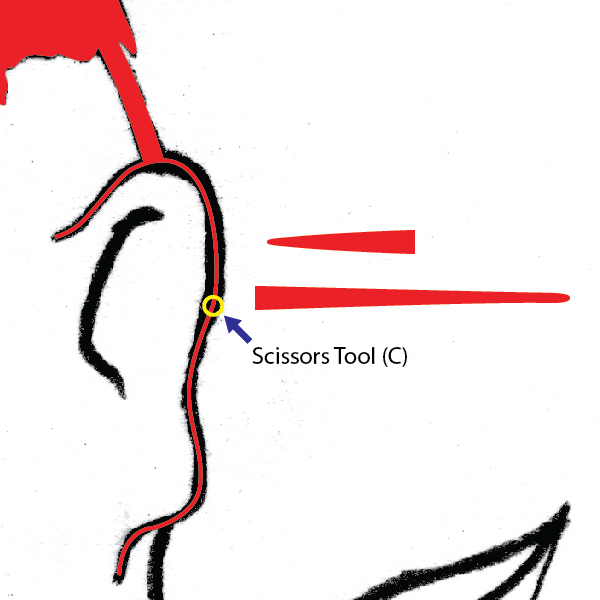
Apply the created brushes to each part of the contour. Select two parts of the contour and jump to Object > Expand Appearance and click Unite in the Pathfinder palette. Delete unnecessary anchor points.
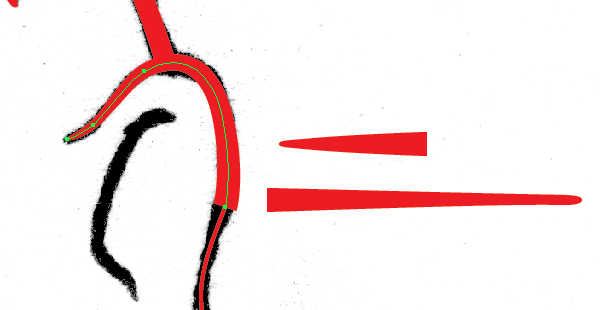
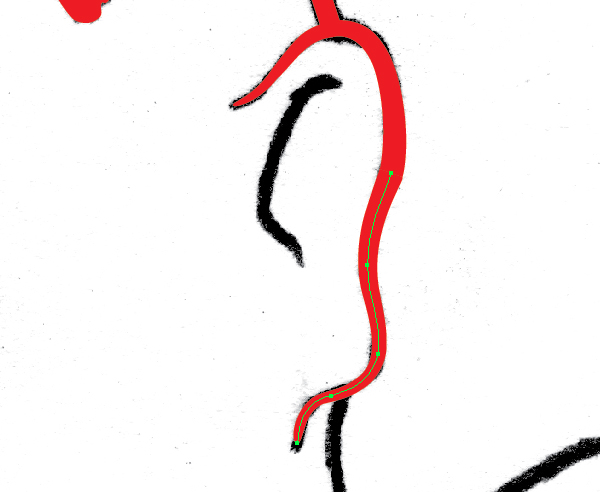
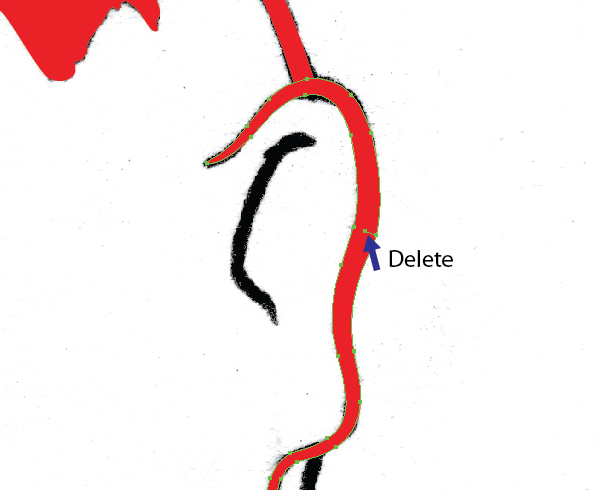
Step 11
Let’s consider one more way of stroke creation with a variable width. Take the Pen Tool (P) and make the curve shown in the picture below.
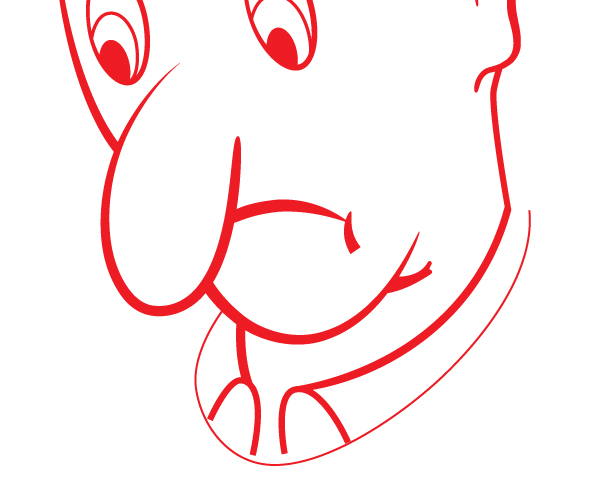
Copy the line and paste it front (Command + C then Command +F). Now select the line copy and move it up horizontally.
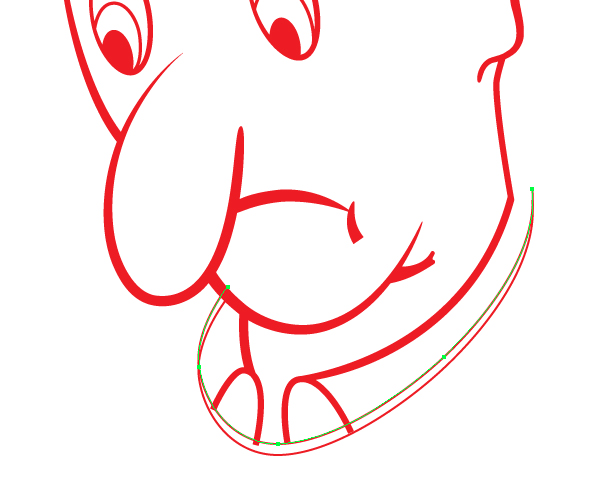
Dragging anchor points of the upper line, transform it into the form, shown in the picture below.
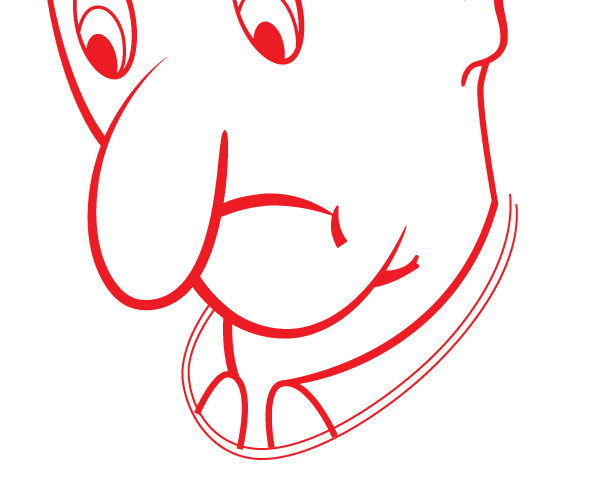
Close the contour with the Pen Tool (P).
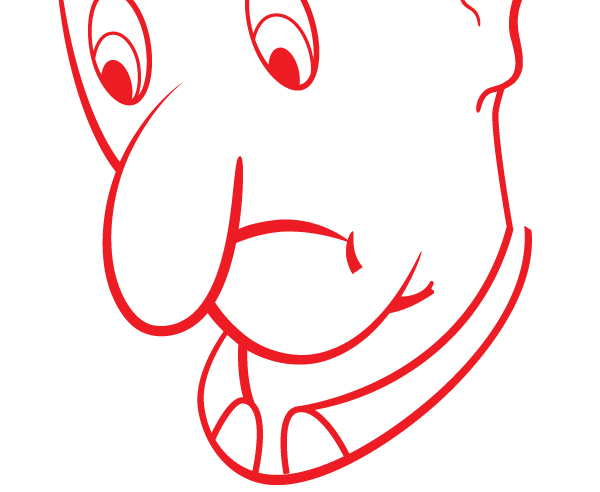
Step 12
The last method of stroke creation. Take the Pen Tool (P) and create contour following the sketch. Without de-selecting the line selection, jump to Object > Expand Appearance.
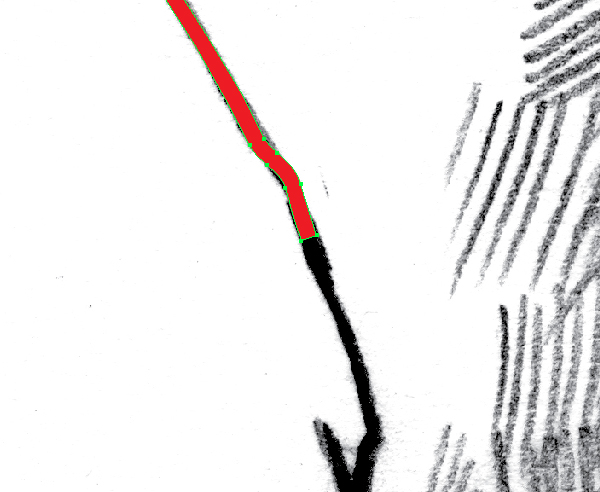
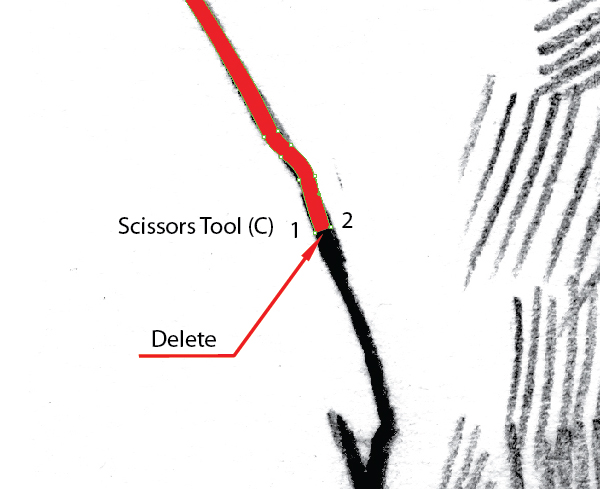
Cut the contour in point 1 and 2 with the Scissors Tool (C). Select the unnecessary part of the contour with the help of the Direct Selection Tool (A) and press Delete.
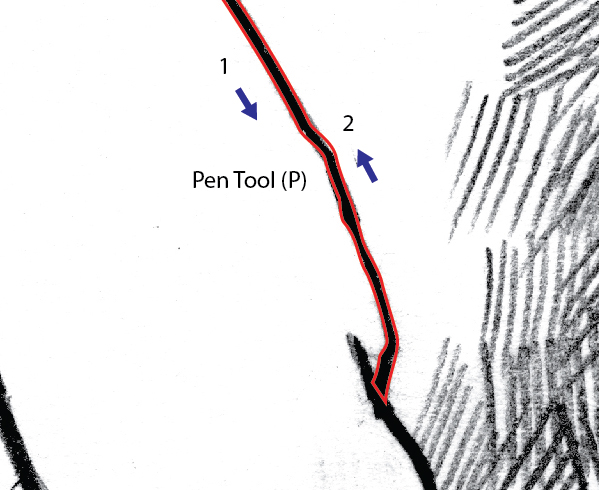
Contour the lines from point 1 to point 2 with the Pen Tool (P).
Step 13
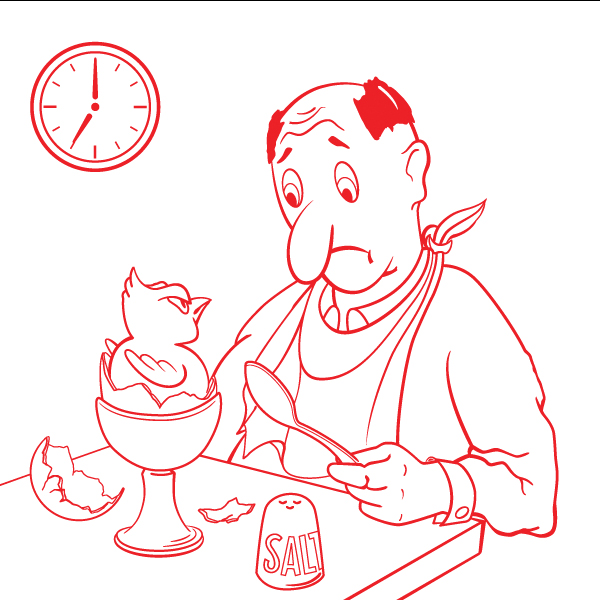
Using all the techniques demonstrated, trace the entire image.
Step 14
Tone with image with the help of hatching. Create an Art Brush by transforming the ellipse as usual.
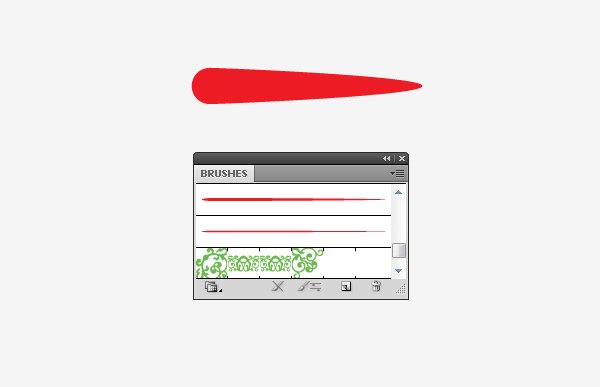
Create a new layer below the one with the main image, but above the sketch layer, here we’ll implement hatching. Take the Line Segment Tool (Backslash), create two lines and apply the created brush to them. Without de-selecting the line selection jump to Object > Blend > Make.
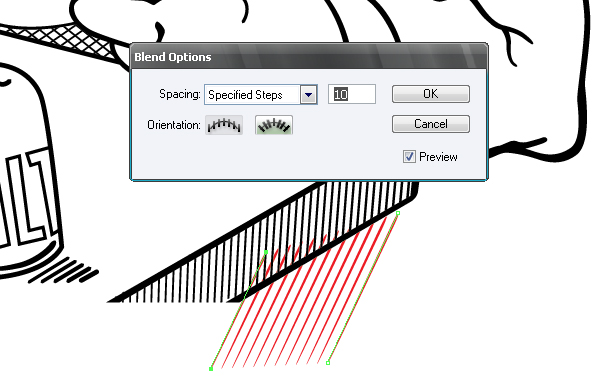
The width of the lines and the number of blend steps depends on the shadow’s density in a given place. The density of the shadow can also be reflected with the help of putting the one hatch on top of another.
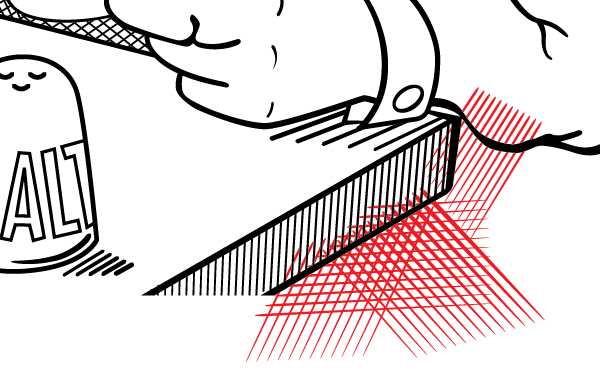
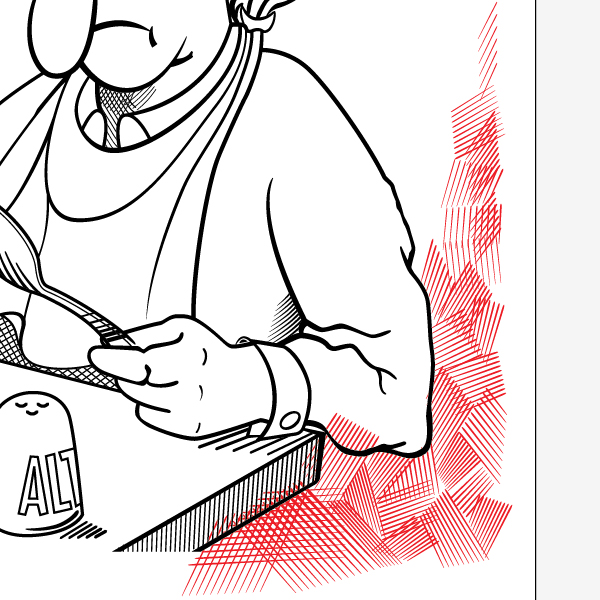
Don’t worry if the hatching overlays the main image.
Step 15
Select all the lines of the hatching and jump to Object > Blend > Expand and Object > Expand.
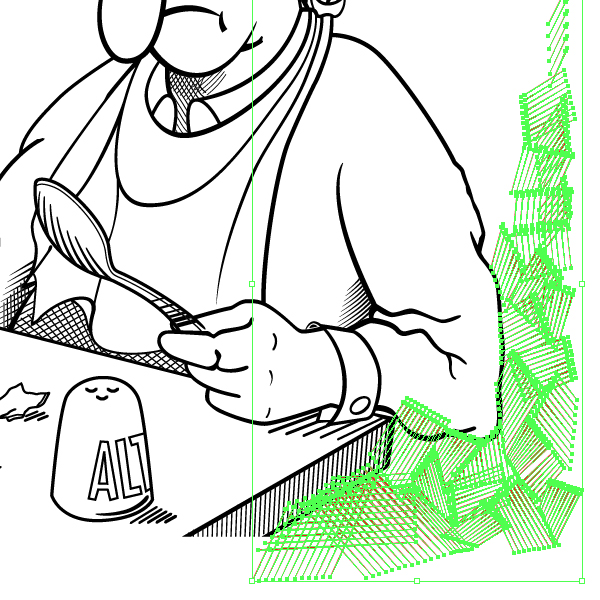
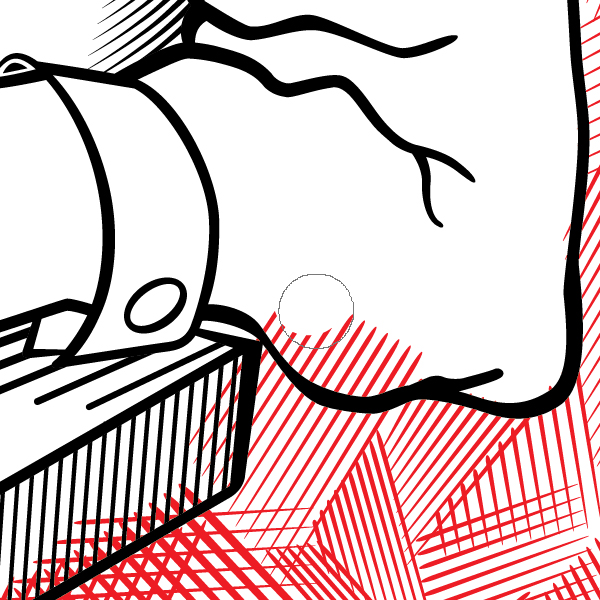
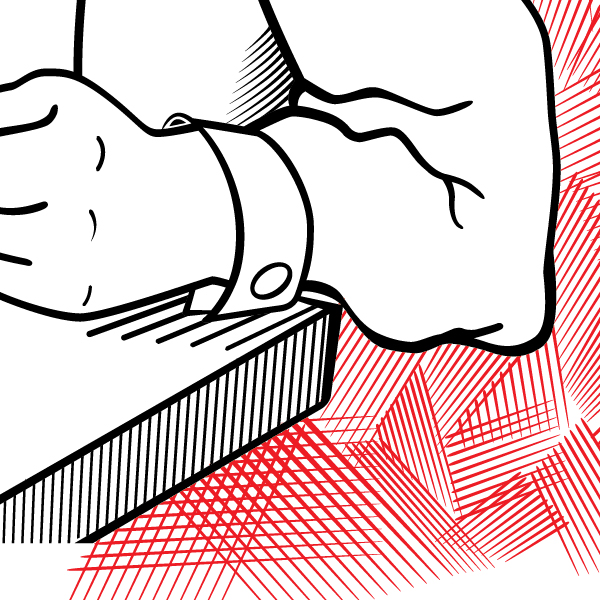
Now, without un-checking the hatching selection take the Eraser Tool and remove the hatching, overlaying the main image. It’s important to note that the layer with the main image should be locked in the Layers’ palette, otherwise we’ll remove parts of the main picture.
Step 16
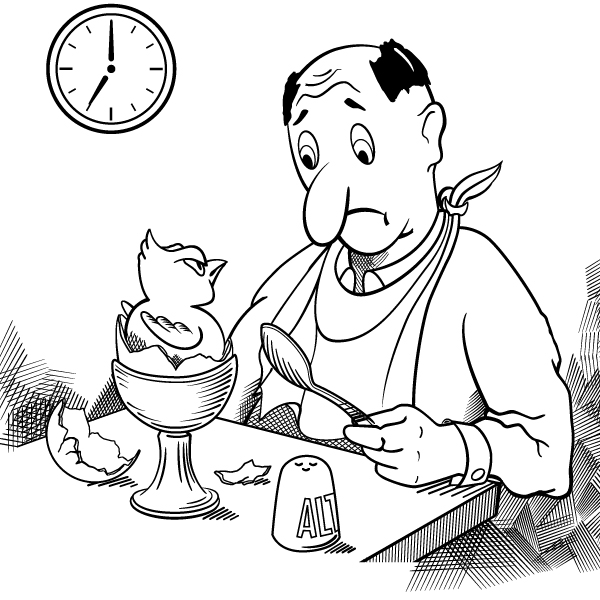
Add hatching to the rest of the image, using this technique.
Step 17
Now let’s trim the image. Create a rectangle with no fill and with a stroke of any width.
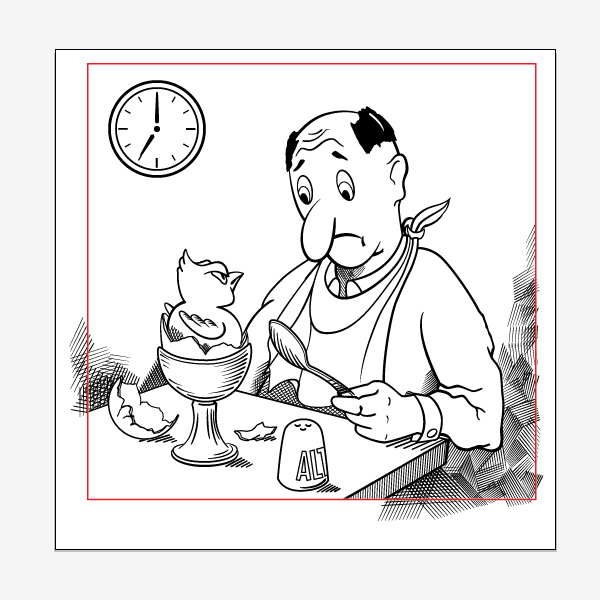
Unlock all the layers and sublayers (it’s very important in this step), select all the objects (Command +A) and click the Crop button in the Pathfinder Pallet.
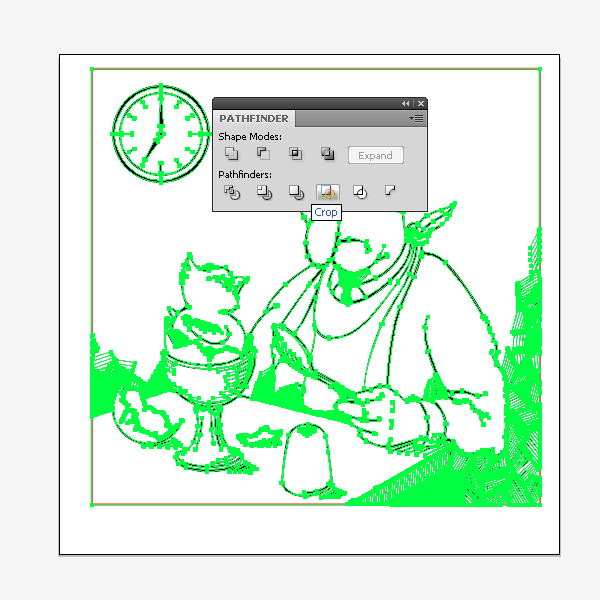
Implementing this operation will perform two tasks, 1. Cut the image according to the rectangle shape and 2. Cut the hatching with accordance to the shape of the image!
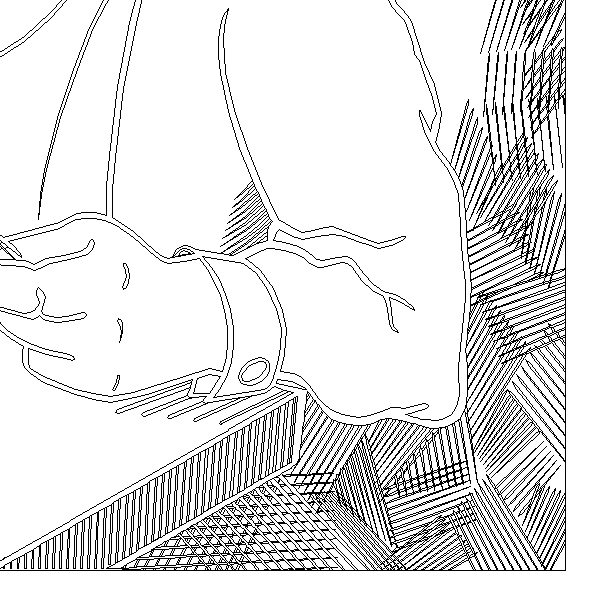
Conclusion
You can add a color with the Live Paint Bucket (K) to accent the caricature. You can fill the chicken’s body with a yellow color. Your image is now complete. To keep the vintage comic look, try and use as much line work and hatching as possible and only add one or two accent colors.
