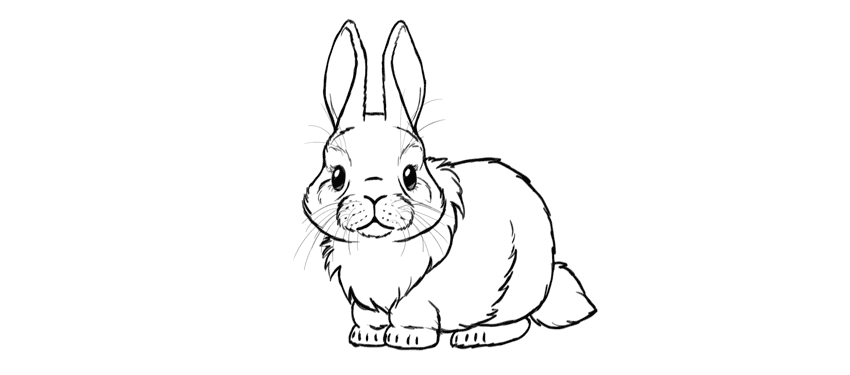
Do you want to draw something cute and simple? In this tutorial I
will show you how to draw a bunny from scratch, step by step. You don’t
need any reference and you can use any tools you want. This will be
simple and fun!
Before You Start
Let’s take a look at some
bunnies first, shall we? You may know what a bunny looks like, but it’s
always good to refresh your memory before you start drawing.
1. How to Draw a Bunny Head
Step 1
Draw
an oval—this will be the forehead. Draw it very lightly, because it’s
just a guide line for later. The smaller it is, the smaller the whole
drawing will be, and drawing small is a good way to keep the proportions
right! Also, you don’t need to draw the whole oval with one continuous
line—draw it with short, subtle lines, and then connect them.

Step 2
Draw a circle below. Keep sketching, and don’t press too hard!

Step 3
Cross the circle with a “smile”. This will help us place the cheeks properly.

Step 4
Draw two circles on the sides—these will be the fluffy cheeks.

Step 5
Draw a smaller circle inside the middle circle. This will help us with the chin.

Step 6
Draw two other circles on top. Can you see a bunny smile already?

Step 7
To give the eyes a cartoon cuteness, draw “butterfly wings” where the eyes will be.


Step 8
Draw two narrow ovals inside the “wings”.

Step 9
Outline the shape of the head going around the circles.

Step 10
Draw the cute mouth and nose.

2. How to Draw Bunny Ears
Step 1
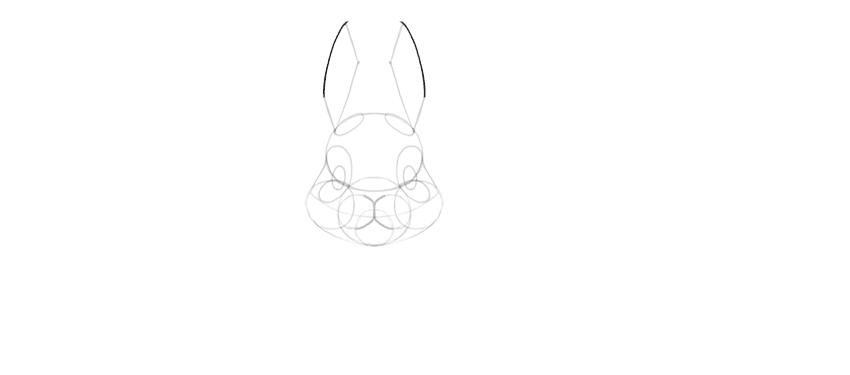
Draw two ovals on top of the bunny’s head. This will be the base of the ears.

Step 2
Draw two lines from the outer edge of the circles, going towards the central line of the head.

Step 3
Now turn outside with shorter lines.

Step 4
Draw a similar short line at the base of the ears.

Step 5
Close the shape with subtle curves.
Step 6
That’s not all! Draw small curves at the tips of the ears.

Step 7
Draw a line towards the inner side of the base circles.

3. How to Draw a Bunny Body
Step 1
Add
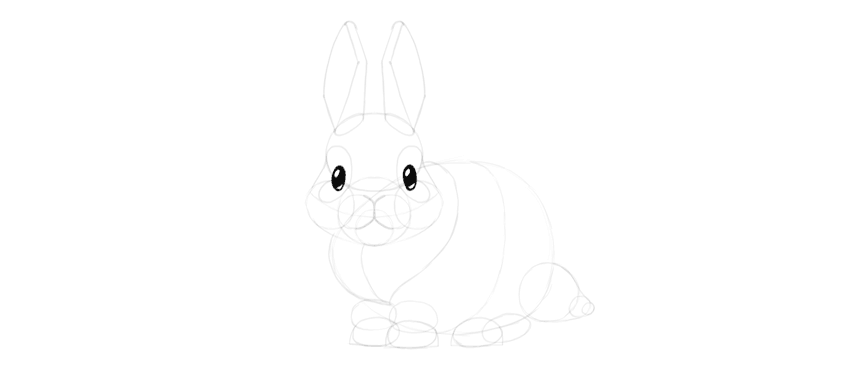
a body to the head. You can choose any shape and size you wish. I
decided to use a fat egg shape for a half-realistic, half-cartoon style.

Step 2
Draw the oval paws under the body.


Step 3
Draw horizontal lines under the paws.

Step 4
Draw curves around the paws to make their shape less basic.

Step 5
Draw ovals over the paws to create a part of the leg.

Step 6
Draw an oval behind the hind paw to create a foot.

Step 7
Draw a fluffy tail out of a few circles.


Step 8
You can a little fluffy ruff around the head to cover the neck.


Step 9
Additionally, you can draw a curve around the body to better see its 3D form.

4. How to Finish the Drawing of a Bunny
Step 1
Time
to finish the drawing! If you’ve been drawing digitally, create a new
layer for these final lines. If you’ve been drawing traditionally,
either take a darker tool to cover the lightly drawn sketch, or put a
new sheet of paper on top to draw the final lines here.
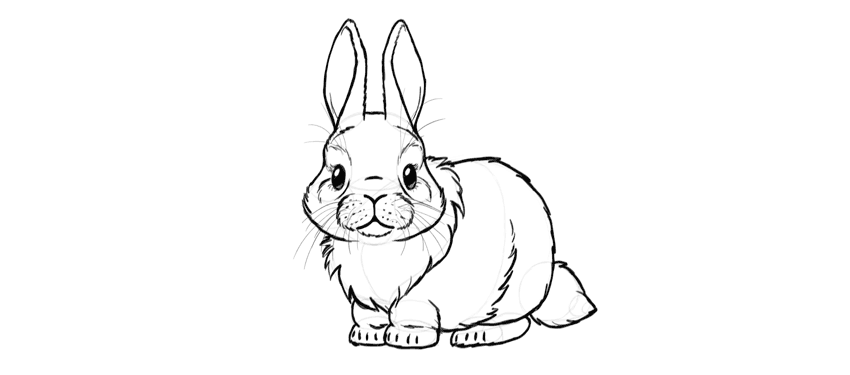
Outline the shape of the eyes.

Step 2
Outline the shine dots inside them.

Step 3
Draw smaller shine dots on the opposite side.

Step 4
Fill the eyes with dark shading.
Step 5
Subtly darken the smaller shine dots.

Step 6
Outline the mouth…

… and the fluffy muzzle.

Step 7
Don’t outline the whole shape around the eyes. Instead, sketch a suggestion of fur without closing the shape.

Step 8
Outline the ears with quick, short lines.


Step 9
Outline the whole head, but don’t close the shape entirely.

Step 10
Outline the rest of the fluff.


Step 11
Add the whiskers!

Step 12
Finally, add a darker outline to the body and make some lines thicker for a more interesting look.
So Cute!
Congratulations!
You have learned how to draw a cute little bunny! If you want to learn
more about real rabbits and hares, don’t forget to check this tutorial:
And if you want to learn how to draw other cute animals, you may like one of these:
 DrawingHow to Draw a Super Cute Kitten Step by StepMonika Zagrobelna
 DrawingHow to Draw Simple Cute Animals in Chibi Style (With Videos!)Monika Zagrobelna
 AnimalsHow to Draw a Dalmatian DogEugenia Hauss

{excerpt}
Read More
