This is part two of our seven-part video series on Advanced Photo Manipulation Techniques.
If you haven’t already, make sure to catch up on the Introduction in part one in order to learn where to find the references you need for this lesson.
Find more incredible Design & Illustration Courses on Envato Tuts+.
How to Set Up the Document
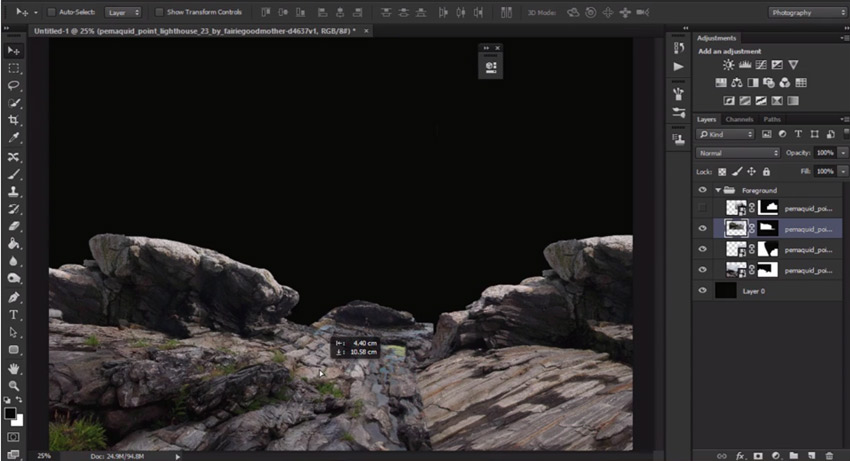
In this lesson, Lewis Moorhead will go over how to set up the initial document in Adobe Photoshop. Then he’ll start with the foreground elements for the fiery lava manipulation.
This video goes over a few tools and techniques you’ll need to know. Here are just a few:
Quick Selection Tool
The Quick Selection Tool (W) helps you create a quick selection of the rock reference used for the first part of this manipulation. To edit your selection, click the Mask Mode and use either a white or black Hard Round Brush to refine your selection.

Layer Masks
Layer Masks allow you to edit your work non-destructively. To create one, first create a selection. Then press the Layer Mask button located on the Layers panel. Edit your mask to blend images together by using the Brush Tool (B) to paint black or white onto the mask.

How to Finish the Landscape
In this next part, learn how to complete the rock landscape. Use the same non-destructive techniques as before to continue adding more rock elements to the foreground and background.
How to Add the Sky
Now that the foreground is ready, we can add the sky to the composition. Then we’ll fix the lighting and exposure of the scene by using several Adjustment Layers.
Want More?
Continue this manipulation in the next lesson, where we’ll learn how to use patterns to create a realistic lava effect.
And for more amazing lessons, check out these articles:
{excerpt}
Read More