Drawing is like magic—you can create many different surfaces using only a sheet of paper and a few pencils. But, just like magic, the whole process is not so easy to understand.
In this new series of tutorials I will show you how to create various textures using the same tools. I will be using a simple cylinder as an example, but you can use the same process to draw the texture on every form.
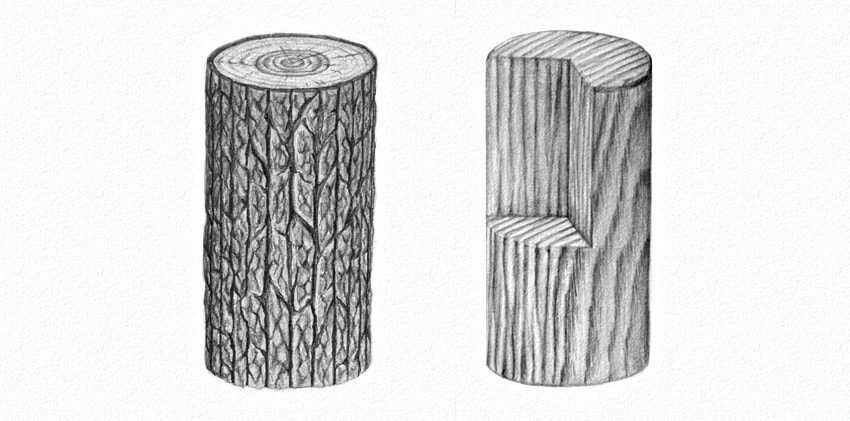
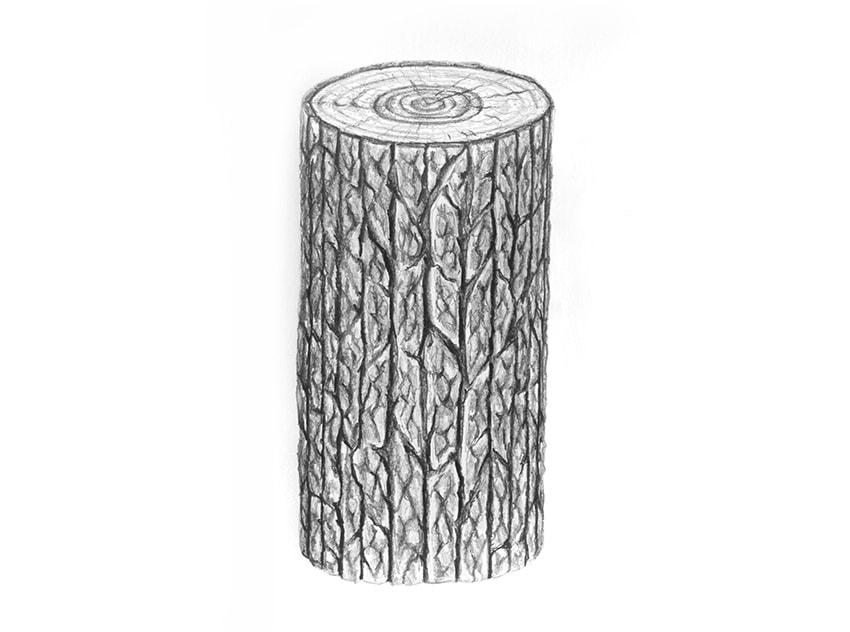
Today, you’ll learn how to draw wood!
What You Will Need
You will need the following things in order to complete this exercise:
- Some sheets of paper
- Hard pencil (HB)
- Medium soft pencil (2B)
- Soft pencil (5B)
- Very soft pencil (8B)
- Pencil sharpener
- Eraser
- Cotton swab/blending stump
- Ruler (optional)
1. How to Draw a Log
Step 1
Define the width and length of the cylinder by drawing perpendicular lines with an HB pencil and a ruler, if you need it. The exact values are not important, but keep in mind that the bigger the drawing, the harder it is to keep the proportions right (but also the smaller it is, the fewer details you can use).

Step 2
Cross the upper and lower line with a short line to create the dimensions of an ellipse. The longer the line, the more rotated the cylinder. Use these lines to build identical ellipses on the top and bottom. Draw them lightly, and don’t force yourself to draw the whole outline at one time.

Step 3
Connect both ellipses with straight lines, parallel to the middle one.

Step 4
Draw more parallel lines between both ellipses, gradually decreasing the distance between them as you get away from the central line.

Step 5
Cross these lines randomly, creating diamond-like shapes in each band.

Step 6
Separate the log from its bark by adding a slightly smaller ellipse on top.

Step 7
Add more ellipses inside. They don’t need to be perfect, so feel free to wave them a little.

Step 8
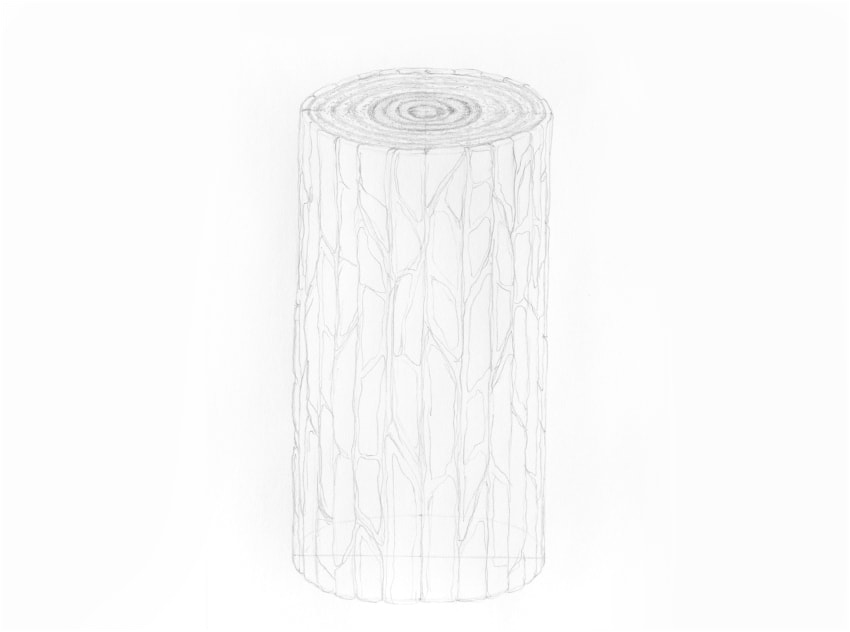
Create some distance between the shapes on the bark. Keep your hand loose, and don’t draw them too precisely.

Step 9
Draw more loose shapes within the already defined one. Shake your hand a little to make these shapes less planned and more natural.

Step 10
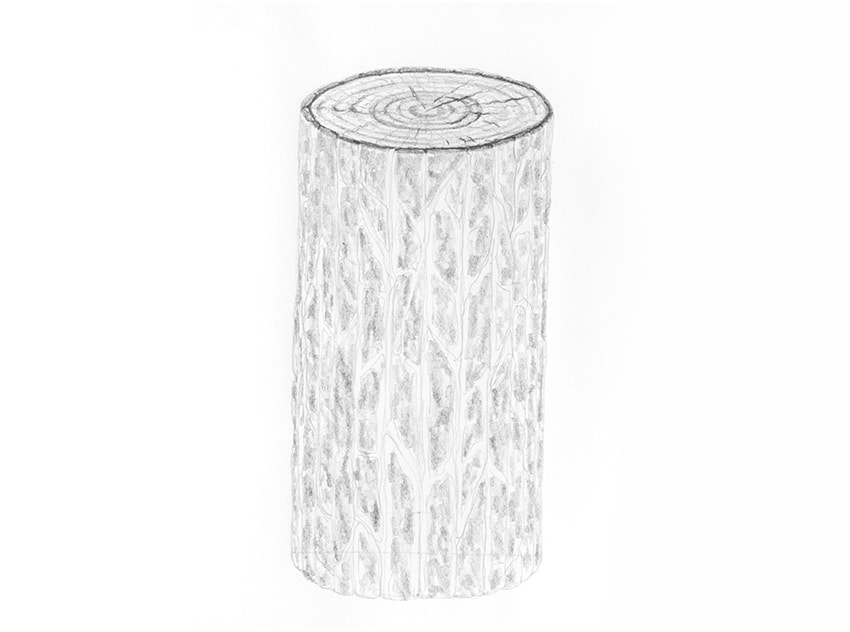
Time for the shading! Tilt your pencil a little and shade the inner ellipse on top. This is the core of the trunk.

Step 11
Take a 2B pencil and add some shade to the inner side of every ellipse in this area. Keep your pencil slightly tilted, and don’t press too hard.

Step 12
Go back to the HB pencil and use the same method to shade the other ellipses. Then draw some random dots between them.
Step 13
Take the 2B pencil again and shade the edge of the bark.

Step 14
Take a 5B pencil and add some crevices. The drier the wood, the more of them you can use. Don’t draw the cuts straight—treat the ellipses as little “waves”

Step 15
Take an HB pencil again and draw chaotic shapes on every element of the bark. Keep the pencil tilted for a more natural effect.

Step 16
When you fill the areas, take a 2B pencil and continue.
Step 17
Take a 5B pencil and fill the crevices with it. You don’t need to be precise—use the previous lines as a suggestion, not as exact guides. Feel free to add more crevices here and there.
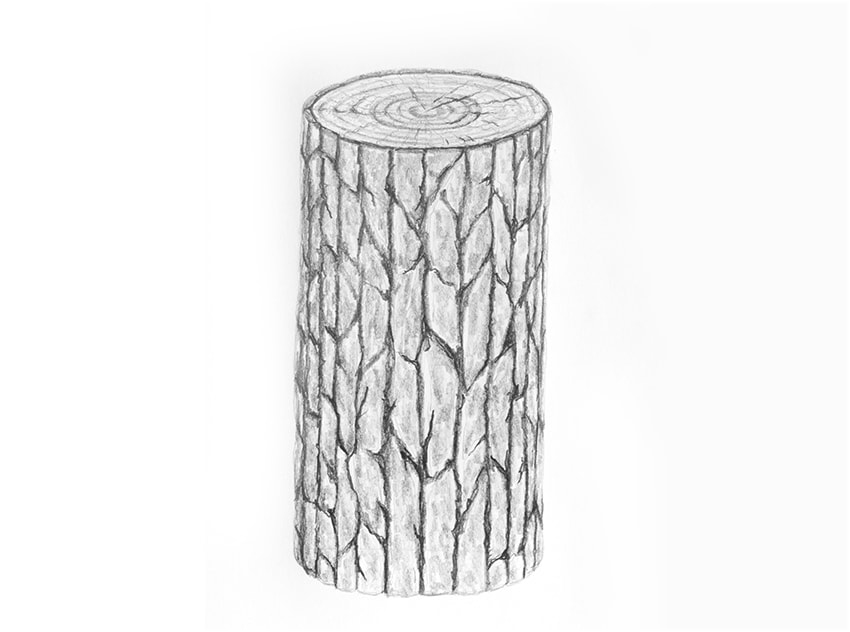
Step 18
Draw similar but flatter crevices on the bark. Then you can take an 8B pencil and use it to accentuate certain shadows.
2. How to Draw a Wooden Surface
Step 1
Start with a cylinder, just like before. If you want to practice a bigger variety of wooden surfaces, you can also “cut” a part of this cylinder. I also decided to make the edge softer and more polished.

Step 2
Clean the redundant lines with an eraser to see the edges better.

Step 3
Use an HB pencil to sketch the wood grain. Pay attention to the perspective. You don’t need to be too careful about continuity of the lines—they won’t be that visible later.

Step 4
Tilt your pencil and give some shade to the inner side of the big pattern.

Step 5
Take your blending tool and soften the area. Then use the same pencil to darken the tighter part of the pattern.

Step 6
Take a 2B pencil and tilt it, drawing some lines along the fibers.

Step 7
Use an eraser to “draw” brighter fibers between them.

Step 8
Use the same pencil to add some detail to the big pattern. Draw short, sharp lines all over the wood grain, and keep your pencil sharpened.

Step 9
Don’t be afraid of going quite deep with your lines into that bright area in-between. Just make sure you keep some distance between the lines to keep them separate. Then take a 5B pencil and accentuate the tight fibers in darker areas.

Step 10
Use the same pencil to accentuate the lines in that big pattern as well.

Step 11
Use various soft pencils to shade the cylinder as a whole to unify the pattern. Keep your pencil tilted, and don’t press too hard to keep the pattern intact. Wood is quite bright inside, so be careful not too darken it too much. The 8B pencil should be used only in some crevices.


Good Job!
This is the start of a new series of tutorials on drawing a variety of textures, so stick with us. Which texture would you like to learn how to draw?
Want to learn more? Check out these:
-

How to Draw Grass, Ground, and Rocks
Do your characters float in the air, because you don't how to draw some kind of ground for them? This tutorial will help you! I will show you how to draw… -

Draw the Elements: How to Draw Fire
It's getting cold outside, so let's draw some fire to warm up! In this tutorial I will show you how to draw a candle flame, a campfire, and a thrown flame… -
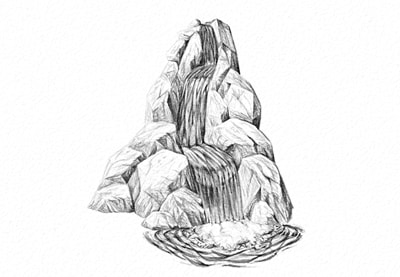
How to Draw Water in Nature
Water is very tricky to draw, because we can see it through its interaction with objects nearby, and it doesn't look like an object itself. But…

{excerpt}
Read More