
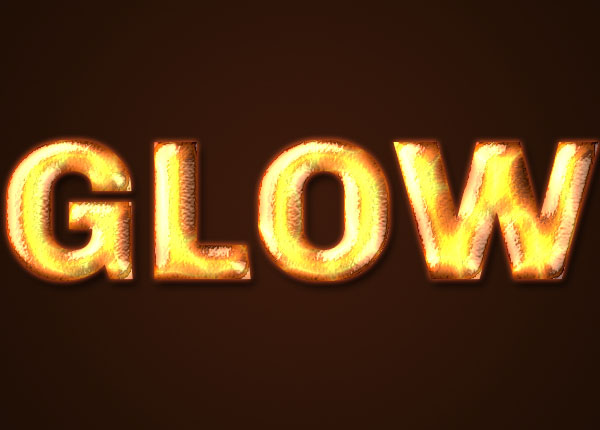
This tutorial will show you a very quick and easy way of creating a bright, vivid, fiery text effect using a couple of layer styles and a texture.
This text effect was inspired by the many Layer Styles available on Envato Market.
Let’s get started!
Tutorial Assets
The following assets were used during the production of this tutorial:
- Chivo Black font
- Darth Stripe pattern by Ashton
- Brushed Alum Dark pattern by Tim Ward
- Shining Bright Bokeh by DiZa-74
- Free Pack 6000 photoshop gradients by Supertuts007 (Load the CSP True Sky Gradients.grd file)
1. Create the Background Gradient
Step 1
Create a new 980 x 980px document and duplicate the Background layer.

Step 2
Double-click the Background copy layer to apply a Gradient Overlay effect using the following settings:
- Check the Dither box.
- Style: Radial.
- Click the Gradient box to create the gradient fill using the colors
#3b1a0bto the left and#170b03to the right.

This will create the gradient background.

2. Create the Text Layers
Step 1
Create the text in All Caps using the font Chivo Black. The Size is 200 pt, the Tracking value is 25, and the Color is #cb2141.

Step 2
Duplicate the text layer and change the copy’s Fill value to 0.

3. Style the Original Text Layer
Double-click the original text layer to apply the following layer style:
Step 1
Add a Bevel and Emboss with these settings:
- Size: 13
- Uncheck the Use Global Light box
- Angle: 162
- Altitude: 42
- Gloss Contour: Cove – Deep
- Check the Anti-aliased box
- Highlight Mode: Vivid Light
- Color:
#c0bcac - Shadow Mode – Color:
#474747

Step 2
Add a Contour with these settings:
- Contour: Half Round
- Check the Anti-aliased box.

Step 3
Add a Texture with these settings:
- Pattern: Darth Stripe

Step 4
Add an Inner Shadow with these settings:
- Blend Mode: Linear Burn
- Color:
#745a32 - Distance: 0
- Size: 10

Step 5
Add an Inner Glow with these settings:
- Blend Mode: Normal
- Opacity: 100%
- Color: Choose the gradient fill below
- Technique: Precise
- Source: Center
- Size: 250

Step 6
Add a Satin effect with these settings:
- Blend Mode: Vivid Light
- Color:
#fffdf7 - Opacity: 75%
- Angle: 7
- Distance: 29
- Size: 35
- Contour: Cone
- Check the Anti-aliased box

Step 7
Add an Outer Glow with these settings:
- Color:
#b73f1b - Size: 7

Step 8
Add a Drop Shadow with these settings:
- Color:
#292525 - Opacity: 100%
- Distance: 7
- Size: 10

This will style the original text layer.

4. Style the Copy Text Layer
Double-click the copy text layer to apply the following layer style:
Step 1
Add a Bevel and Emboss with these settings:
- Size: 20
- Uncheck the Use Global Light box
- Angle: 150
- Altitude: 35
- Gloss Contour: Cone – Inverted
- Check the Anti-aliased box
- Highlight Mode: Linear Dodge (Add)
- Color:
#c0bcac - Opacity: 60%
- Shadow Mode: Linear Light
- Color:
#b09b86 - Opacity: 75%

Step 2
Add a Contour with these settings:
- Contour: Cone
- Check the Anti-aliased box
- Range: 100%

Step 3
Add a Texture with these settings:
- Pattern: Brushed Alum Dark

This will style the copy text layer.
5. Add the Bokeh Background
Step 1
Place the Shining Bright Bokeh image below both text layers, resize it as needed, and change its layer’s Blend Mode to Color Dodge.

Step 2
Depending on your text and the size of the bokeh texture you like, you might have some empty areas left.
So Command-click the bokeh texture layer’s thumbnail to create a selection, and then go to Edit > Copy Merged.
After that, go to File > New to create a new document with the copied part’s dimensions, and go to Edit > Paste to get the final image.

Congratulations! You’re Done
In this tutorial, we created a simple gradient background, then styled two text layers with different layer effects, and finally used a bokeh texture to create a quick and easy glowing, fiery text effect.
Please feel free to leave your comments, suggestions, and outcomes below.

{excerpt}
Read More