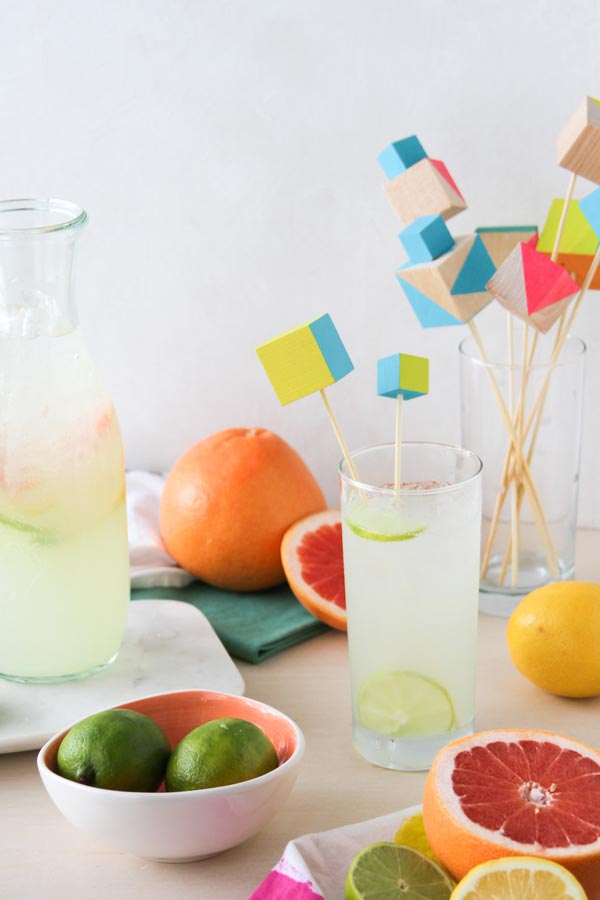
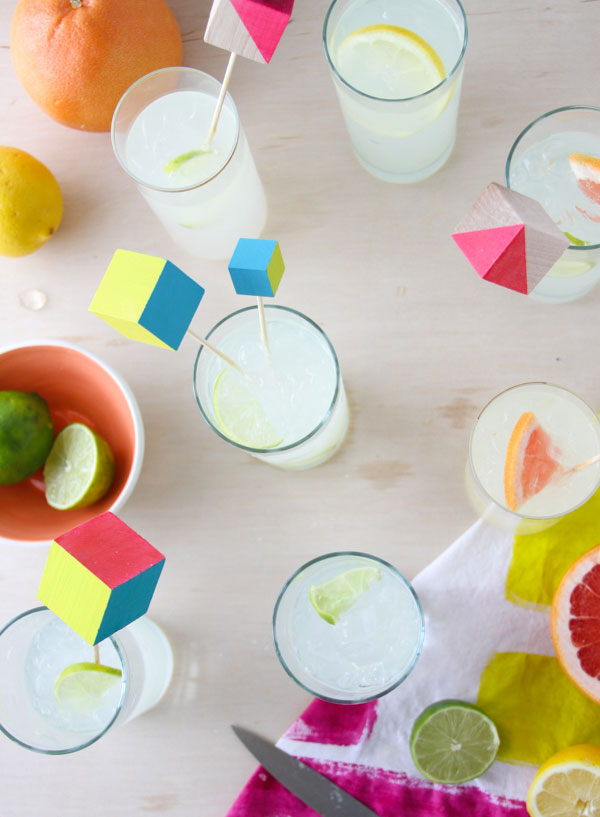
Celebrate summer with an ice cold glass of lemonade and these colorful, DIY drink stirrers guaranteed to bring sunshine to your day. This tutorial will show you how to create quirky, wooden drink stirrers using a technique that won’t require a single drop of glue. Let’s get started.
Supplies
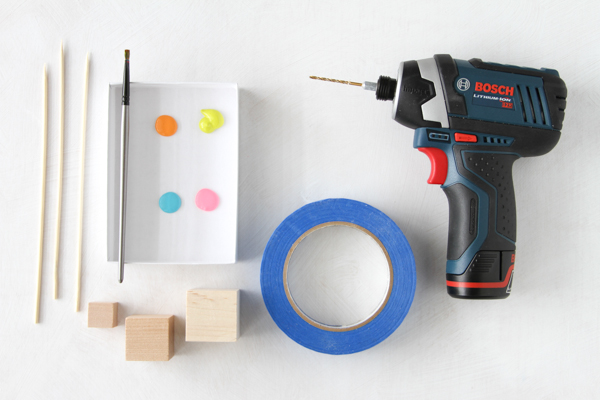
- Wood blocks in the following sizes 1 1/2 in, 1 1/4 in, 3/4 in
- Hand drill and drill bit
- Painter’s tape
- Acrylic paint
- Paint brush
- Bamboo skewers
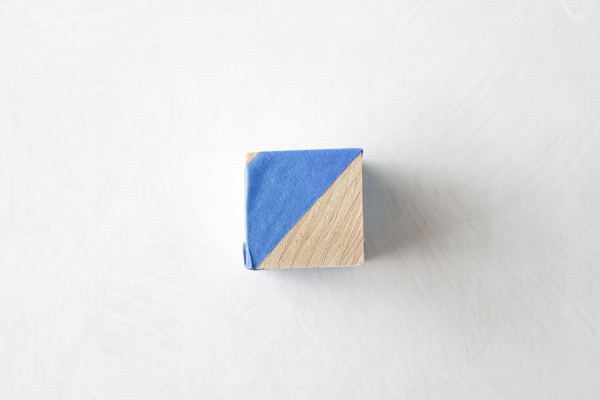
1. Paint the Blocks
Step 1
Come up with a plan for the paint pattern you would like to create and tape the design with painter’s tape. Some block designs, like triangle shapes, may require painter’s tape for precision, while other designs, like solid colors for example, may not.
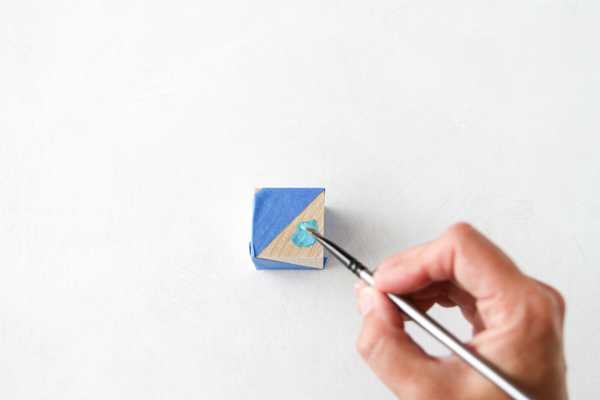
Step 2
Begin painting the uncovered sections of each wood block and let the paint dry completely.
Step 3
Carefully, remove the painter’s tape from the block.

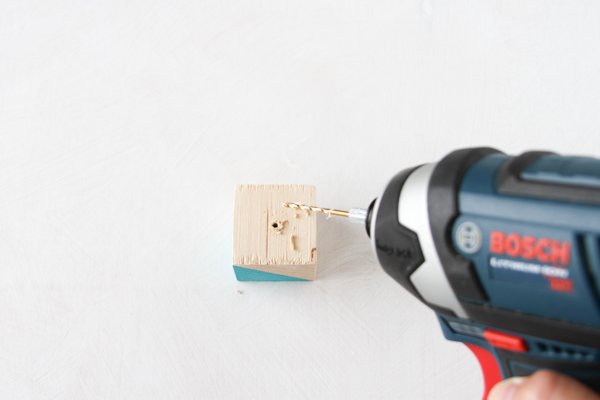
2. Drill the Blocks
Step 1
Turn your blocks over and drill a hole in the center of the block, drilling roughly 1/2 to 3/4 of the way down though the block. The exact measurement will depend on how large the block is that you are drilling into. It is important to note, you do not want to drill all the way through the block.
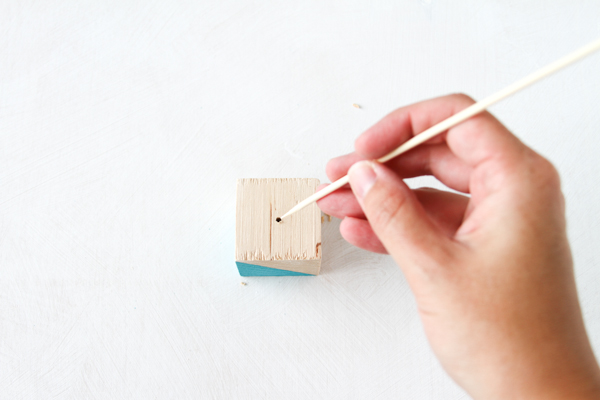
Step 2
Clear the hole that was just drilled by sweeping away any wood shavings created while drilling.
3. Attach Blocks to Stirrers
Step 1
Insert bamboo skewer into hole, pointy side first and push in as far as it will go, to make sure the bamboo skewer is secure inside the hole.
Step 2
Add your finished drink stirrer to a cold drink and enjoy.
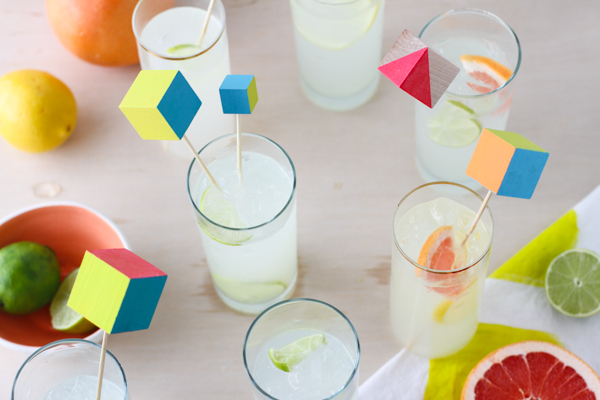
Cheers!
In this tutorial, you’ve learned how to make a unique set of wooden drink stirrers, without having to use any glue. The bright use of color makes these a perfect addition to any summer party or outdoor entertaining event.

You can customize the colors, sizes, and designs of each block to suit your needs, making these DIY drink stirrers perfect for almost any occasion.
If you loved this tutorial, you might like to look at some other projects that are perfect for summer.
{excerpt}
Read More