Originally I had thought the Realistic
Bass tuts were complete, but have since come up with a few more ideas
that push the envelope a bit further. The good news is that these
new concepts don’t rely on Logic or Sculpture, so although I will be
using both, the concepts in this tut are open and accessible to the
non-Logic users as well.
The Concept
Although we left off with a decent-sounding modeled electric bass, a few key components were not
addressed—the main one being that of the bass strings themselves.
The four strings which make up a standard bass are all of a different
gauge, and therefore sound different even when playing the same note.
The low E string played at the fifth fret (a low A) will sound
remarkably different from that same A being played on the open A
string. This is true up and down the board; that the same note will
sound different depending on what string it is played on due to the
physical characteristics of the particular string.
This timbre difference between identical note values is an important characteristic of any type of stringed
instrument, and one that, despite the subtle modulations already in
use on our bass patch, is not happening. In order to emulate this we
are going to have to do a little bit of setup.
Initial Steps
The first thing to do is to instantiate
a separate instance of the bass plugin for each string we are going
to emulate, and to populate the tracks with a de-mixed MIDI
performance. The image below shows Logic’s main page after
completing this step and labeling. Each track is named according to
the string we want to emulate and each region is labeled according to
the note value it contains.
I have taken some license irrespective
of real-world playing intuition in assigning the notes to the strings
in order to utilize all four strings. (I.e. the G and G# would probably both
be played on the E string.) This will allow for a wider range of
variation later on.
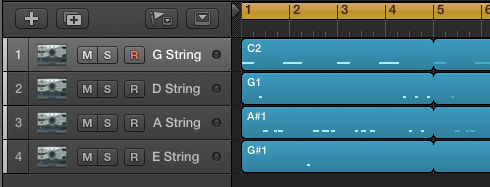
This is where we are at, with no change
in sound from the previous tutorial.
Changing Timbres
To start creating some variation, we
are going to want to start to play around with some plugin
parameters. Two things to think about when doing so are the real
world sound characteristics of strings of differing thickness and
the overall cohesion of the final output across all four
strings.
The lower and wider gauge strings of an
electric bass tend to have a more wooly, rounded and sustained tone
than that of the upper ranged strings. So, if I am using the tone we
had previously created (a fairly tight tone) as a starting point, I
am going to want to play around with some parameters to open things
up a bit to replicate a wider string.
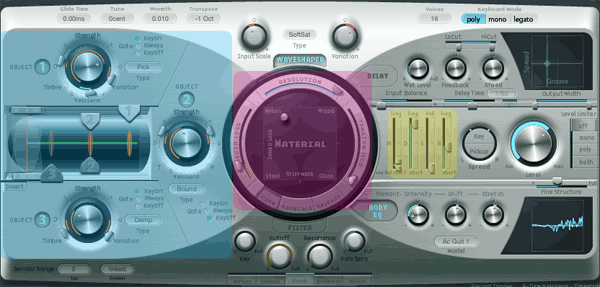
After deciding exactly what parameters
to alter, it is important to go through and alter those same
parameters somewhat differently in each instance of your chosen
plugin to create a open to closed timbre gradient across the strings
of the virtual bass (tight and clean to loose and wooly, etc.)
.
When doing this, I started off rather
technical. I used the open E string tone as my ‘open limit’, and
the original tone as my ‘closed limit’ G string, then fit the other
two string tones in between.
I then freed up on the restrictions
to get something that sounded good with the recorded MIDI. I then went
ahead and loosened up on the original timbre to get a more cohesive
sound across all strings. I finally went into the mixer and balanced
out the levels.
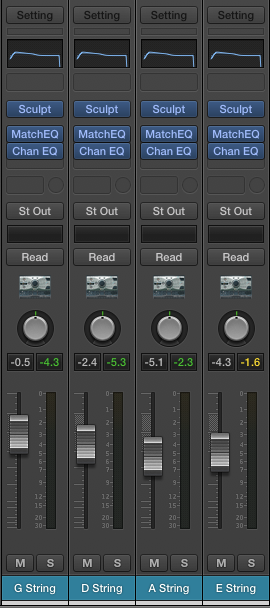
The loop. As you can hear, adjusting
the parameters has uncovered some note-off string clicks on a few
notes that were mostly dormant.
Amps
From here, I summed the signal to an
AUX track, and bussed each string to a guitar amp on a separate AUX track in order to amp the bass in parallel. I pretty much always amp
sounds in parallel, as it allows for a greater control over the final
tonality.
In this case, I am trying to emphasize some of the higher
end harmonics, so I simply find an amp setting that accentuates those
frequencies and then mix them back into the dry signal. In this way,
I can piece together a sound with a great deal of precision.
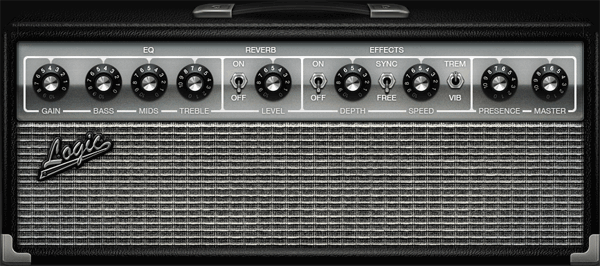
The MIDI bass running in parallel through the first amp.
I then went ahead and did the same thing again with a bass amp model to beef up the lows. This type of parallel amping of a bass guitar further emulates real world sound as many recording engineers will mix a direct input bass recording with that of an amped recording.
In this instance, the dry signal can be considered our direct input and and the distorted signal will (obviously) be considered our amped recording.
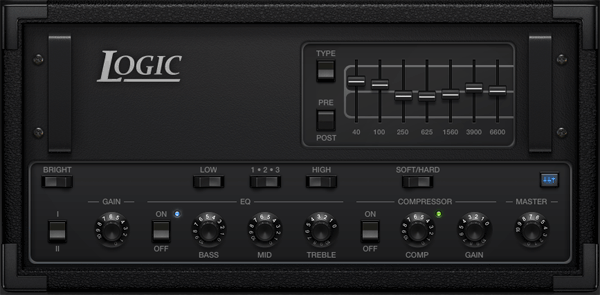
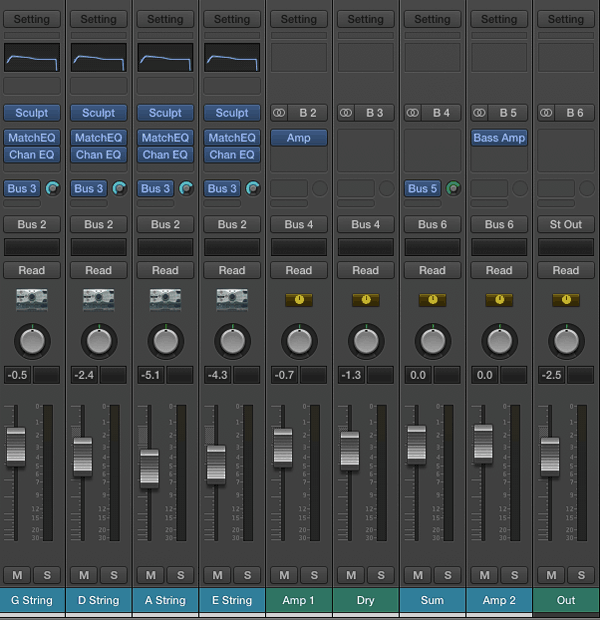
The summed bass running in parallel through the second amp; the final product.
Final Thoughts
Although this tutorial is geared
towards emulating real-world electric bass conditions, don’t think
the concept is limited to just that. This basic concept would work
well for any sound type in need of some subtle and cohesive variation
and can be used in a not-so-subtle or cohesive way as well.
We could
break up a boring synth lead by varying the patch on certain notes or
push things in a much wilder direction by processing each note with a
different delay and distortion model, etc. Or, in the instance of
the bass above, I can buy some further variation by switching which
notes get played on each string with each pass of the loop or send a varying amount if signal to each amp. The
possibilities are literally limitless.
{excerpt}
Read More