We have posted several tutorials and written, to help ease you into mastering Graphic Styles and the Appearance panel. Check out the ones you may have missed or revisit those handy beginner tutorials.
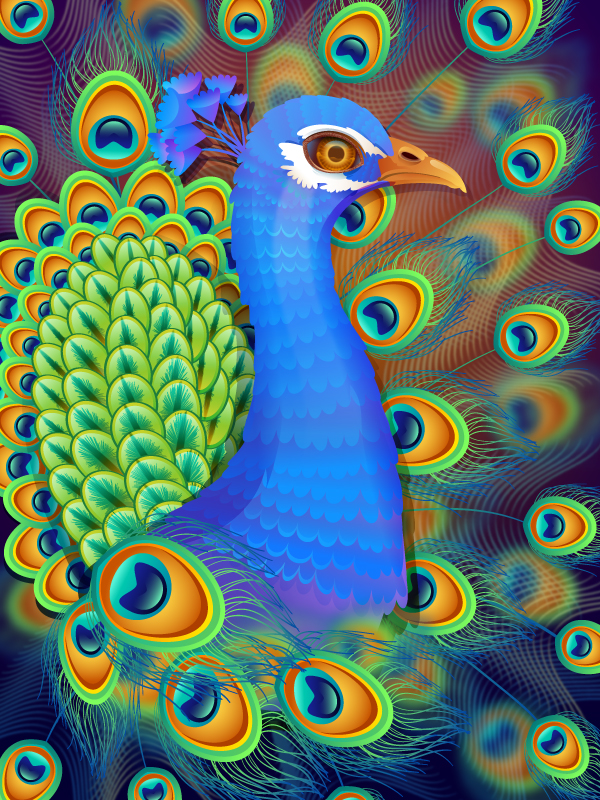
Create a Vibrant Peacock in Adobe Illustrator
In this tutorial we will get to know one of the most useful Adobe Illustrator features – the Appearance panel – and draw a fabulous colorful peacock with the help of various effects.

Create a Simple Subscription Web Element in Adobe Illustrator
This piece focuses mainly on the Appearance panel, so you will only need four rectangles and a tiny circle to create the background, the main shape, the subscribe button, the text field and the tiny x button. You will learn how to create pixel perfect shapes using the Snap to Grid feature and how to cleverly use the Drop Shadow effect and some basic blending techniques to add subtle shading and highlights.
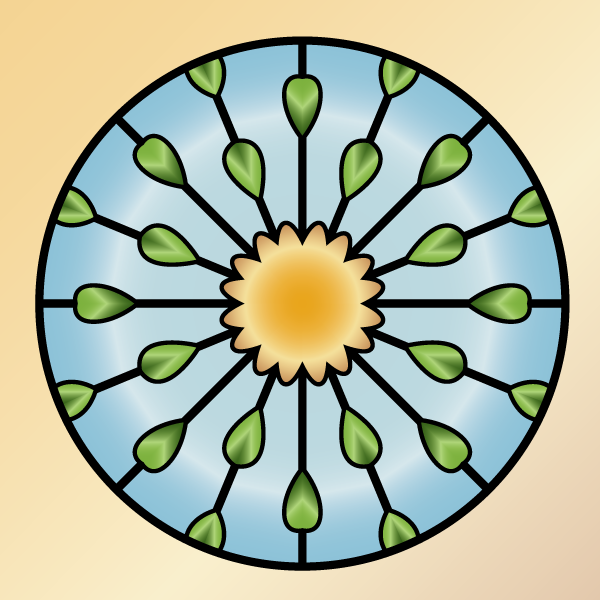
Create a Fun Kaleidoscope Effect in Adobe Illustrator
I’ve previously shown you how to create a mirrored effect, using the Appearance panel and the Transform effect. However it’s time to kick it up a notch and learn how to create a kaleidoscope effect.
Once you’ve learnt how to create this effect, it will be one of those tricks which you’ll enjoy playing with… even if you don’t create something productive in the process!

How to Create a Colorful, Sparkly Text Effect in Adobe Illustrator
For starters you will learn how to setup a simple grid and how to create a set of scatter brushes. Next, you will learn how to create a simple background and how to use your scatter brushes. Moving on you will learn how to take full advantage of the Appearance panel and how to ease your work using simple graphic styles. Finally, you will learn how to add subtle shading and highlights using a simple blend, basic effects and a bunch blending techniques.
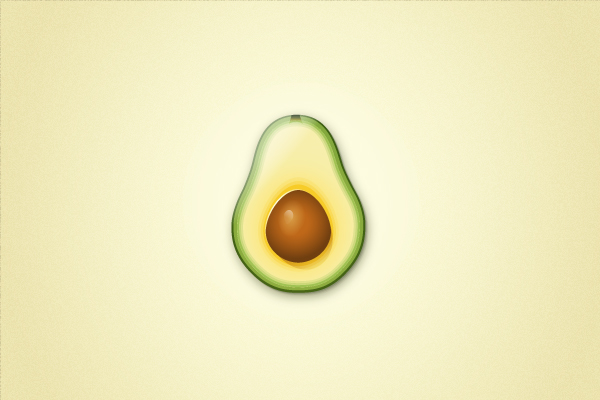
Create an Avocado With Only One Shape in Adobe Illustrator
Follow this tutorial and learn how to create an avocado using only one shape in Adobe Illustrator. You will start with a basic shape then by distorting it, you will obtain the shape of the avocado. From this point forward, you will add the appearances one by one in order to create the avocado style. You will create the peel, the pulp and the seed, you will add glow, highlights and shades using the same shape but with the help of the live effects: Offset Path, Transform, Convert to shape, Arc Upper, Arc Lower and Inflate. If all this sounds interesting, prepare yourself for a 19 appearances long ride that will make you love the Appearance panel by the end. Get ready, start!
Graphic Styles and Appearance Panel: Quick Tips

Quick Tip: How to Create a Set of Bubble Gum Buttons in Illustrator
In the following tutorial you will learn how to create a set of bubble gum inspired blog buttons by using Drop Shadows and the Appearance panel in Adobe Illustrator. We’ll go through each step and show you variations in the symbols and how to add text.

Quick Tip: How to Dynamically Create a Seamless Pattern Using the Graphic Style Palette
In this tutorial we will look at an original way of creating a seamless pattern, developed by my friend and namesake Iaroslav aka Yemz. I think this versatile way will help you to achieve the desired result within minutes. I don’t know about you, but my brain always start boiling when it comes to creating seamless patterns. I know many techniques of its creation but this was the only one that made me breathe a sigh of relief. Take a note!

Quick Tip: How to Create iOS Map Indicators with Graphic Styles
With this tutorial I’ll show you how to create an iOS map indicator icon perfect for importing into your next map based app design. We’ll be using a single shape with multiple Appearance attributes to create an easy to use and edit Graphic Style in Adobe Illustrator.
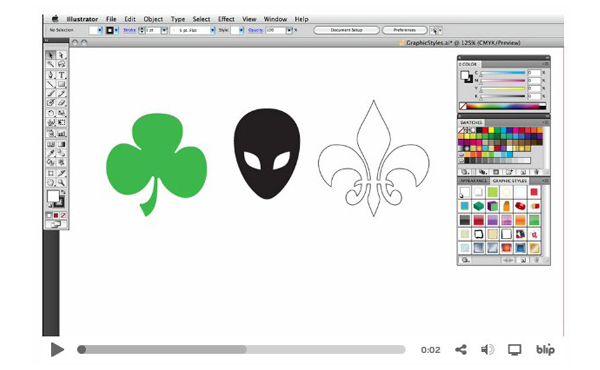
Quick Tip: The Graphic Styles Panel
The Graphic Styles Panel in Illustrator CS4 is more powerful than it’s ever been. Quickly add, create and save appearance attributes to make your work stylin’.

Quick Tip: Create a 3D Retro Text Effect With The Appearance Panel
In this tutorial I’d like to show you some quick, simple effects you can add to normal text to give it retro feel using just the Appearance panel in Adobe Illustrator. These effects will be completely non-destructive to the text so you can edit it at any time without repercussion.

Quick Tip: How to Create a Grunge Paper Texture Graphic Style in Illustrator
I love adding texture to my illustrations, but creating a texture from nothing is always hard, so learning how to manipulate the different tools and default resources in Adobe Illustrator you already have, can work in your favor. Today I’m going to show you how to create a grunge paper texture Graphic Style, starting with a humble default Art Brush, then using the Pattern Options of CS6 and then some fun with the Appearance panel. So let’s jump in!

Quick Tip: Create a Shiny Text Effect with the Appearance Panel
In the following tutorial you will learn how to create a simple pagination bar. You will learn how to use the Appearance Panel, Gradients and Transform Effects, to style a pagination bar. Let’s begin!
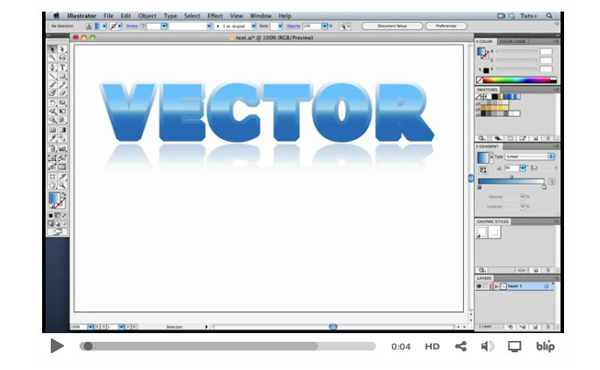
Quick Tip: Create a Simple Pagination Bar using the Appearance Panel
The Appearance panel in Illustrator is a versatile and powerful tool for adding effects to live type. You can use pattern fills, radial gradients, strokes and effects, all while keeping the type totally editable.

Quick Tip: How to Create a Simple Web Button Set Using the Appearance Panel
In the following tutorial you will learn how to create your own web buttons set. First, using the Rectangle Tool along with some Pathfinder and Offset options plus a Rounded Corners effect you will create the three starting shapes. Next, a linear gradient plus some Film Grain and Drop Shadow effects will complete the overall button. Finally, some text and a new Drop Shadow effect will help you finish the work. Let’s get started!

Quick Tip: Create an Emboss Effect Using the Appearance Panel
Illustrator doesn’t have a built-in emboss effect, but you can make one yourself, with few quick steps, using the Appearance panel. Then you can apply it to just about anything.
Tutorials Ideal for Beginners
Here are some great tutorials to test your new skill on!

Create a Button Using a Piece of Text and the Appearance Panel
In the following steps you will learn how to create a social button using only one piece of text in Adobe Illustrator. For starters, using the Type Tool, a basic font and a nice dingbat font you will create that piece of text. Next, taking full advantage of the Appearance panel, using multiple fills, strokes and effects along with some basic blending techniques you will learn how to create the actual button. Finally, you will learn how to easily edit and recolor your button.

Create a Detailed Calculator Interface with the Appearance Panel
In the following tutorial you will learn how to create a detailed calculator interface by using the Appearance panel, gradients and duplicated shapes. It’s a great tutorial for those who like to avoid using the Pen Tool (P), so let’s get stuck in!

Creating the Sole of a Sports Shoe with the Appearance Panel
In today’s tutorial I’m going to show you how I used the Appearance panel to create a stylized version of the bottom of a sneaker. It’s a great exercise for those who are just getting to grips with the Appearance panel.
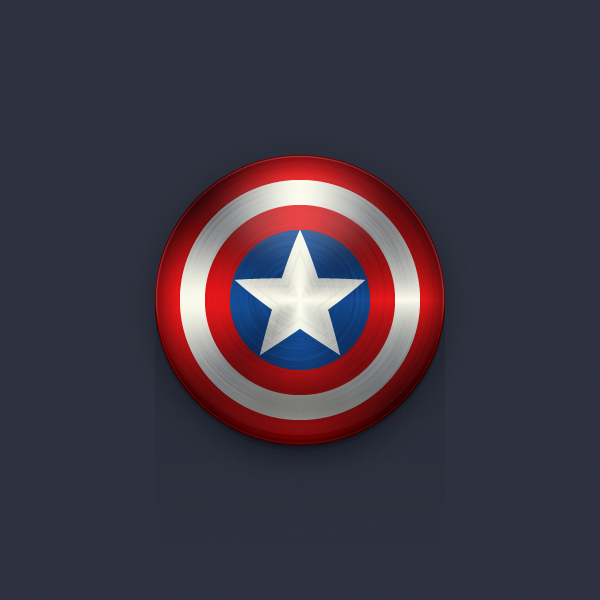
Create the Captain America Shield Icon in Adobe Illustrator
For starters you will learn how to set-up a simple grid, how to create the main, four circles and how to easily place them in the center of your artboard. Using basic blending and vector shape building techniques you will learn how to add subtle shading and a simple star shape. Next, you will learn how to create a pretty simple gradient mesh. Taking full advantage of the Appearance panel and using some simple Blur effects you will add the extra highlights and textures. Finally, you will learn how to create a simple background, some Drop Shadow effects and a fading long shadow.
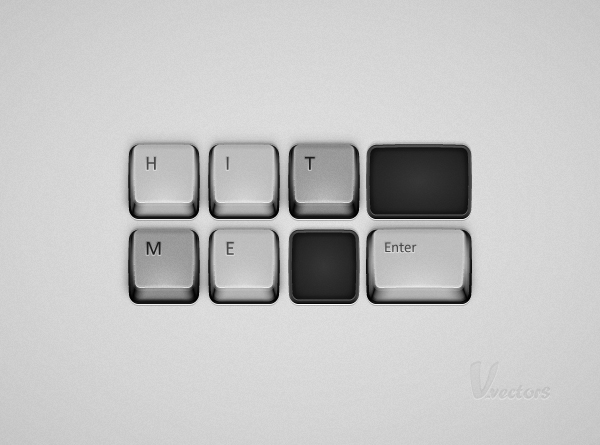
How to Create a Detailed Keyboard Button Illustration in Adobe Illustrator
In the following steps you will learn how to create a detailed keyboard buttons illustration. You’ll see how powerful the Appearance panel can really be! For the main part of the button you will use a simple rectangle with fourteen fills, linear and radial gradient, three strokes, some basic blending techniques and over fifty effects. In the end, taking full advantage of the Appearance panel, you will only need four rectangle, the background shape plus the little pieces of text.

Create a Sliced Kiwi Fruit With Only One Shape in Adobe Illustrator
I often talk about how powerful Adobe Illustrator’s Appearance panel is, but it’s time to put my money where my mouth is. I’m going to show you how to create a sliced segment of a kiwi fruit, with the help of the Appearance panel. The final image will consist of only four anchor points. Yup, you’ve read that right… just four anchor points. The best thing is, this tutorial is ideal for beginners as I’m going to show you each step and all the settings so you can try this out for yourself.

How to Create a Set of Rubber Band Corner Banner Treatments in Illustrator
In this tutorial I’ll show you how to use the Pen Tool (P) and Appearance panel to create a set of rubber band corner banner treatments using Adobe Illustrator. These are perfect for bringing attention to images on the web. So let’s begin!

How to Create an Anaglyphic Text Effect in Adobe Illustrator
In the following steps you will learn how to create a simple anaglyphic text effect in Adobe Illustrator. We’ll start with a simple piece of text and some basic aligning tips. Next, using the Appearance panel, some simple blending techniques and a bunch of Transform effects you will learn how to create the anaglyphic effect. Finally, using subtle Drop Shadow effects you will add a bit of depth for your text.

Use Brushes to Create a Watermelon Text Effect in Illustrator
Follow this tutorial and learn how to create an all vector watermelon text effect in Adobe Illustrator.
We will start with the text and using a few manipulation techniques we will obtain all the letters that we need to complete this effect. An important part is the watermelon look and we will create this by adding multiple fills and strokes in the Appearance panel then save it as a watermelon style in the Graphic Styles panel. We will continue with the texture on the pulp of the watermelon which is also vector and created using Art and Scatter Brushes from the library. To add the seeds we will create and save our own Seed Scatter Brush. At the end, we’ll add some highlights and shadows and we’ll create a couple of juice drops in order to make this effect more attractive. Let’s begin!

Create a Simple Speedometer Illustration in Adobe Illustrator
In the following steps you will learn how to create a simple speedometer illustration in Adobe Illustrator. We’ll be using some basic tools and blending techniques to achieve this icon, so let’s get to it!

Use a Pattern Brush to Create a Rope Text Effect in Illustrator
In the following steps you will learn how to create a pretty simple rope pattern brush and how to use it to create a nice text effect in Adobe Illustrator.
For starters you will learn how to create the main rope piece using the Rectangle Tool, basic blending and vector shape building techniques and the Live Corners feature. Next, you will learn how to easily multiply your rope pieces and how to create the rope ends. Moving on you will learn how create the pattern brush components using the Shape Builder Tool and some basic moving techniques. Finally, you will learn how to create your rope pattern brush and how to turn into a nice text effect.

Danger! Danger! High Voltage! Create an Electric Text Effect in Illustrator
In the following steps you will learn how to create an electricity text effect in Adobe Illustrator. For starters you will learn how to setup a simple grid and how to create a pretty simple pattern brush and a bunch of thin art brushes. Next, using a free font and taking full advantage of the Appearance panel you will learn how to create the main text shapes. Moving on, you will learn how to save your own graphic styles and how to cleverly use them. Using the brushes made in the beginning of the tutorial you will learn how to add a few wires and some simple electricity sparks. Finally, using basic blending techniques along with some radial gradients you will learn how to add a darker look for the overall illustration.

Create a Stack of Wooden Boxes in Adobe Illustration
In the following steps you will learn how to create pixel perfect shapes using the grid, basic vector shape building techniques and Pathfinder options, how to save and use graphics styles or gradients, how to take full advantage of the Appearance panel or the Transform effect, how to add subtle textures using raster effects and masking techniques, how to add shading and highlights using basic blending techniques, how to cleverly organize your shapes and paths and how to easily recolor and multiply your final illustration.

Create a Detailed Envelope Illustration in Adobe Illustrator
In the following steps you will learn how to create a detailed envelope illustration in Adobe Illustrator. For starters you will learn how to setup a grid and how to create a pattern and a simple graphic style. Next, using that pattern along with some basic tools and vector shape building techniques you will learn how to create the essential pieces of the envelope. Moving on, using basic effects and taking full advantage of the Appearance panel you will learn how to add shading, depth and highlights for the overall illustration. Finally, using mainly the Appearance panel and some basic masking techniques you will learn how to create a stamp and two subtle seals.

How to Color a Cute Character using Graphic Styles
Coloring a character sketch can sometimes take much longer than anyone expects. With a few layer tricks and Graphic Styles, I will show you how to create a character that is quick to ink, easy to edit and a breeze to re-color. Let’s get started!

Creating Paisley Graphic Styles with Scatter Brushes and Recolor Artwork
In today’s tutorial I’m going to show you how to create a series of Paisley inspired Graphic Styles using Scatter Brushes and the Appearance panel. Once done, I’ll show you how to create additional styles simply by using Recolor Artwork. This is a great tutorial for beginners as there is no Pen Tool (P) involved. So let’s begin!
Fancy a Bit More of a Challenge?
Once you’ve mastered the basics and have tried some of our beginner tutorials, kick it up a notch and try some of these more challenging projects.
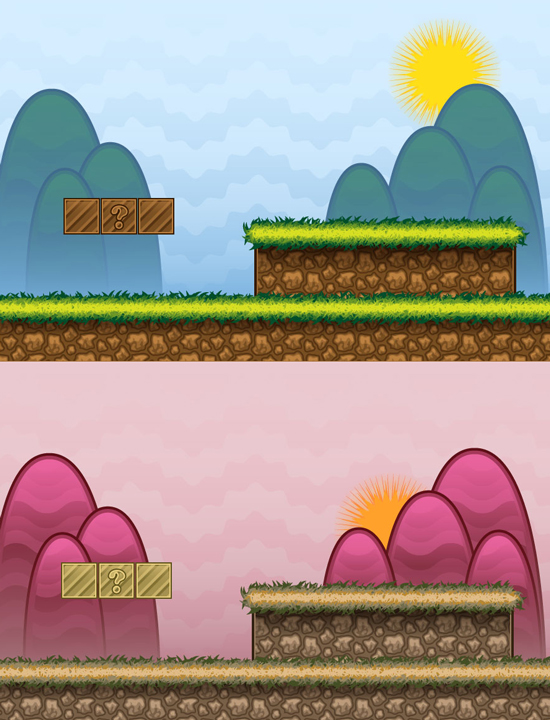
How to Create Game Elements with Graphic Styles
In today’s tutorial I’m going to show you how to prepare and create a variety of Graphic Styles in Adobe Illustrator CS6 to then use within a game. The benefits of using Graphic Styles is that you can then go on to apply them to a multitude of shapes without needing to recreate each look. So let’s jump into this fun tutorial!

How to Create a Unique USB Sign in Button in Adobe Illustrator
In the following steps you will learn how to turn simple USB stick illustration into a nice sign in button. It’s another one of those tutorials that focuses a lot on the Appearance panel. We’ll start with a simple rectangle, the Rounded Corners effect and some simple Pathfinder and Transform options. Once we get the stating shapes we’ll move inside the Appearance panel where we’ll use a bunch fills and strokes along with a lot of effects and some blending techniques. For the final touches we’ll use a simple piece of text and some basic vector shape building techniques along with some new effects.

How to Create a Stylish Deer with Brushes and Graphic Styles in Adobe Illustrator
In this tutorial we are going to draw a deer with custom Art Brushes, Graphic Styles and Blends in Adobe Illustrator, all of them created by us, so let’s get started.

Using the Appearance Panel to Create a Kitchen Illustration
In today’s Premium tutorial, I’m going to take advantage of the Appearance Panel to create a kitchen illustration. There are so many benefits to using the Appearance Panel and creating your own Graphic Styles. The big bonus for me is how much time can be saved when you can create a multi use style. Another great benefit is that it can help reduce the file size of your piece and if you’re similar to myself, that can be a huge benefit.
A Graphic Style influences the look of a shape. They are a ways of saving a set of options for a shape for later use. The options for a Graphic Style can be found in the Appearance Panel. You can start out with a shape and build up the look of it via the Appearance Panel; however, if you wish to use the Graphic Style again for future use, you’ll need to save it by adding it to the Graphic Styles panel.

Create a Vinyl Record Player Icon in Adobe Illustrator
In the following steps you will learn how to create a vinyl player icon in Adobe Illustrator. For starters, using a simple grid and the snap to grid feature along with basic tools you will create the main shapes. Next, you will learn how to create a conical gradient using a somewhat complex mesh. Using a simple blend along with some basic blending and vector shape building techniques you will learn how to create the vinyl. Moving on, using the existing meshes and a bunch of simple effects you will create the arm and a small knob. Finally, taking full advantage of the Appearance panel you will learn how to add shading, highlights and depth for the shapes made in the beginning of the tutorial.

Create a Set of “Almost Flat” Modern Icons in Adobe Illustrator
With this tutorial I would like to show you a few tricks on creating clean lines and edges when working with the flat design trend, in Adobe Illustrator. Simple layered styles and reusing Graphic Styles to help your workflow are most efficient, so you should be able to create a set of matching icons in no time.

Create a Brightly Colored Progress Bar Using Transparency Settings and the Appearance Panel
Learn how to create a simple yet eye catching progress bar using the Appearance Panel and Transparency Settings in Adobe Illustrator CS5. The final image is scalable and can be used for an animation or web design. Let’s Begin!

Create a Brightly Colored Progress Bar Using Transparency Settings and the Appearance Panel
In the following steps you will learn how to create a detailed old lamp illustration in Adobe Illustrator. For starters you will learn how to setup a simple grid and how to prepare your document. Next, you will learn the basics of pixel perfect vector shapes building techniques. Moving on you will learn how to add shading, highlights and subtle textures using the Appearance panel, a simple mesh, a bunch of linear gradients, the Film Grain effect and some basic blending techniques. Finally, you will learn how to easily recolor your entire lamp.

Create a Tic Tac Toe Mobile App Interface in Adobe Illustrator
In the following steps you will learn how to create a detailed Tic Tac Toe game interface in Adobe Illustrator. For starters you will learn how to create a conical gradient using a simple rectangle, a radial gradient and a mesh. Next, using the Appearance panel, the Film Grain and the Sponge effects, a build-in art brush plus some basic blending and masking techniques you will learn how to create a subtle texture. We’ll continue with basic vector shapes building techniques and some simple Transform effects. Moving on, using more Transform effects along with the 3D Extrude and Bevel effect, the Appearance panel, the Blend Tool and several graphic styles you will learn how to create the 3D X and O’s. Once you’re done with the 3D shapes you will learn how to add multiple fills, stroke and effects for a simple piece of text. Finally, you will learn how to make a second, larger design for bigger screen.

Create a Video Poker Game Interface in Adobe Illustrator – Part One
In the following steps you will learn how to create a detailed five cards poker game interface in Adobe Illustrator. In this first part you will learn how to create the screen of a poker machine. We’ll start by creating several pixel perfect shapes using the grid and the Snap to Grid option along with basic vector shape building techniques.
Next, you will learn how to create, save and re-use complex gradients and graphic styles. Taking full advantage of the Appearance panel and using a bunch of raster effects along with basic blending techniques you will learn how to add shading, highlights and subtle textures for your work.
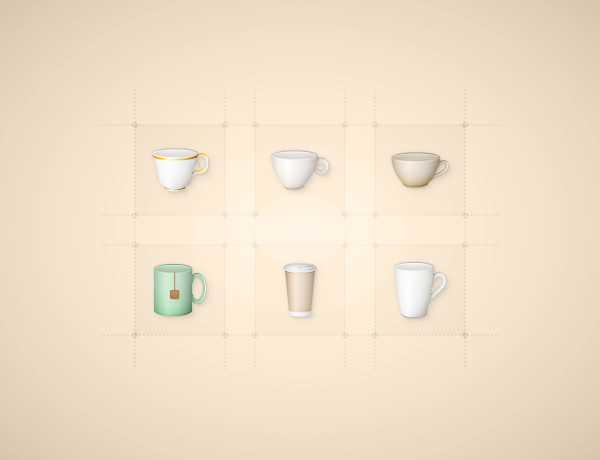
Create a Set of Coffee and Tea Icons in Adobe Illustrator
In the following steps you will learn how to create a set of cup icons in Adobe Illustrator. For starters you will learn how to setup a grid and how to create a set of simple Graphic Styles. Next, using the Rectangle Tool, the Ellipse Tool and the Direct Selection Tool along with some Warp and Rounded Corners effects you will learn how to create starting shapes. Finally, using the Drop Shadow and the Inner Glow effects along with some basic blending techniques you will learn how to add highlights and shading.
Conclusion
We hope this article helped clarify Graphic Styles and the Appearance panel and give you ideas on how to use it in your future projects! Happy creating and don’t forget to follow us over on Twitter and Facebook!
{excerpt}
Read More