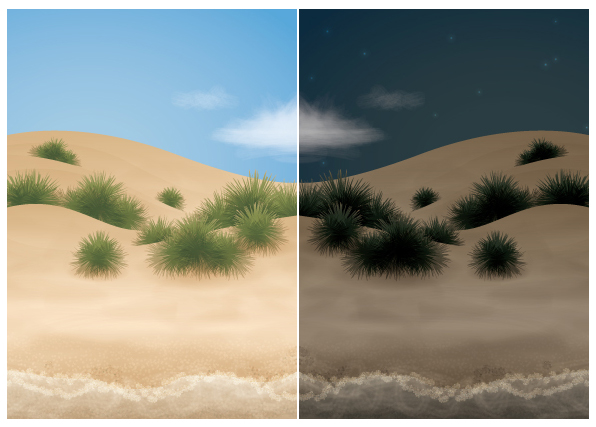
In today’s tutorial I’m going to show you how to create a beach & dunes illustration in Adobe Illustrator. I’ll show you how to do a day time and a night time version by just swapping a few elements. I’ll be using gradients, Scatter and Bristle Brushes along the way, so let’s get right in!
Step 1
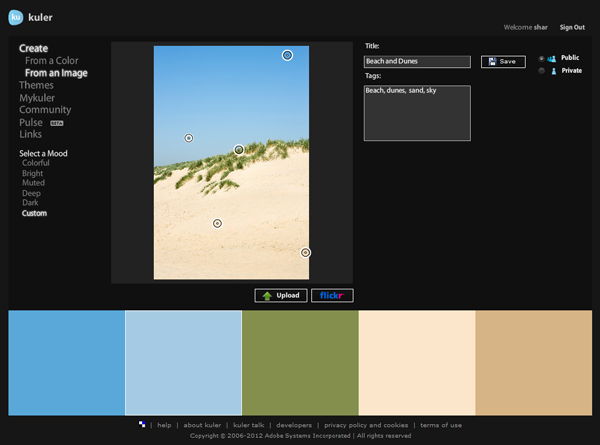
Starting with a reference image, I’m going to use Adobe Kuler to sample colors from to create a unique palette. Click on Create > From an Image and then upload your reference image. You can select a mood from the options at the left hand side, however in this case I’m using the Custom option. I’ve sampled two colors from the sky, two from the sand and one from the dune grass. Fill in the Title and Tags and then click on Save.
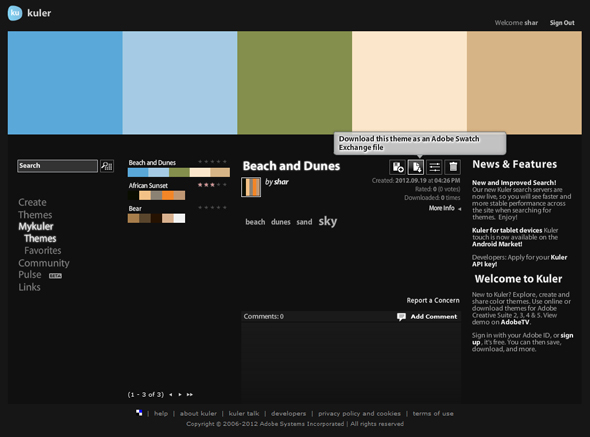
Once you’ve done this, you can download the color scheme as an Adobe Swatch Exchange file. If you want to use the exact colors I’ve used in this tutorial, you can download these by visiting Adobe Kuler. You will need to sign in in order to download the file.
Step 2
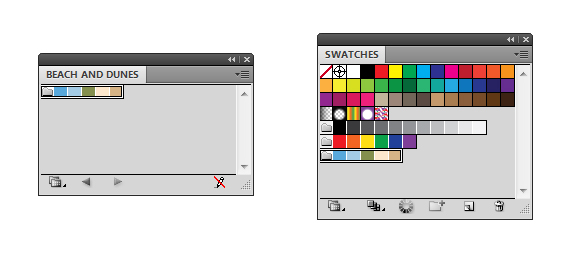
Create a New document. In the Swatch panel go into the drop down menu and select Open Swatch Library > Other Library. Locate your Adobe Swatch Exchange file and you’ll get an additional panel. If you click on the folder icon at the left of the swatch it will add it automatically to your Swatch panel. You can then close the "Beach and Dunes" panel.
I’m going to be using only these five colors for this portion of the tutorial. I’ll call them blue, light blue, green, light sand and sand (from left to right).
Step 3
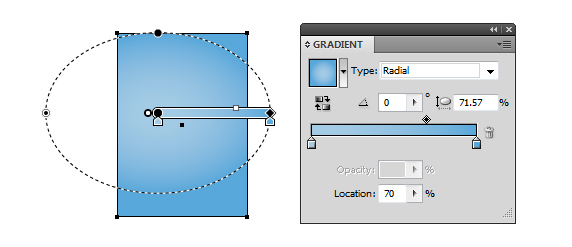
For the sky, I’m going to draw a Rectangle (M) which will cover my artboard. Create a light blue to blue radial gradient and then use the Gradient Tool (G) to position and shape it around the middle-left of the shape.
Step 4
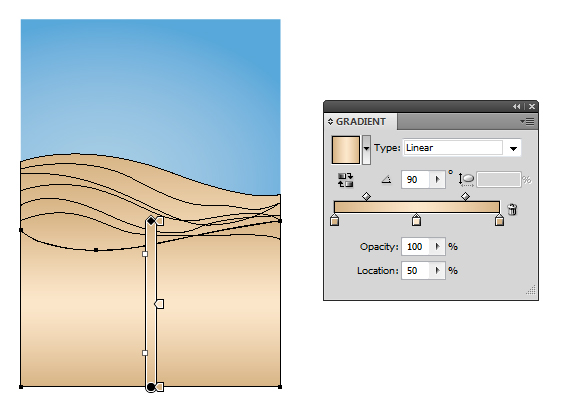
Using the Pen Tool (P), I’ve drawn several sand dunes. I’ve made them flush to the bottom of the artboard, however the top I’ve given all the shapes a slight wave. Fill each of the shapes with the same sand to light sand to sand linear gradient set to a 90 degree angle.
Step 5
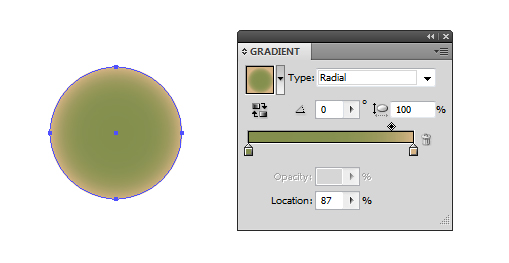
Let’s begin drawing some simple dune grass. If you’re a regular to the beach, you’ll know the typical beach dune plantation is full of long spiky grass. So let’s start off drawing an even circle by holding down Alt + Shift and dragging outwards with the Ellipse Tool (L). Fill it with a green to sand radial gradient.
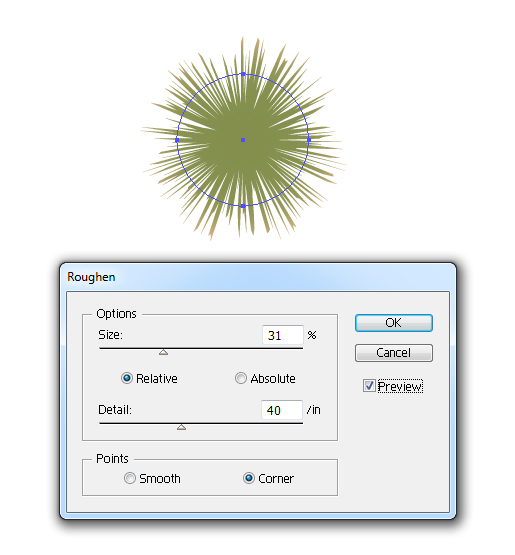
Go to Effects > Distort & Transform > Roughen and apply the settings as shown below. Click on OK once done to create your spiky circular shape.
Step 6
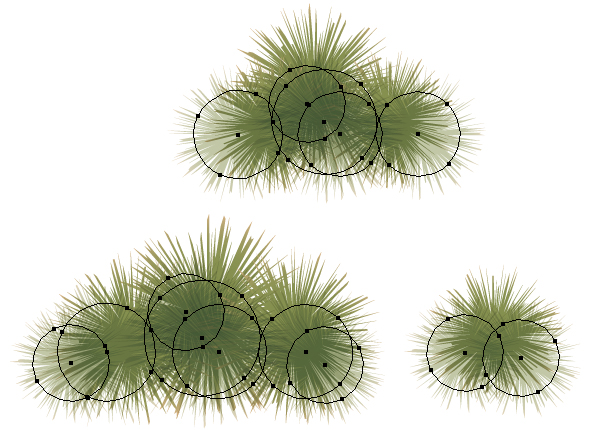
To create multiple plants, we’ll need to duplicate the circle and rotate and resize it using the Free Transform Tool (E). As you can see, the sand tips of the plants stand out more when they are overlapped onto each other.
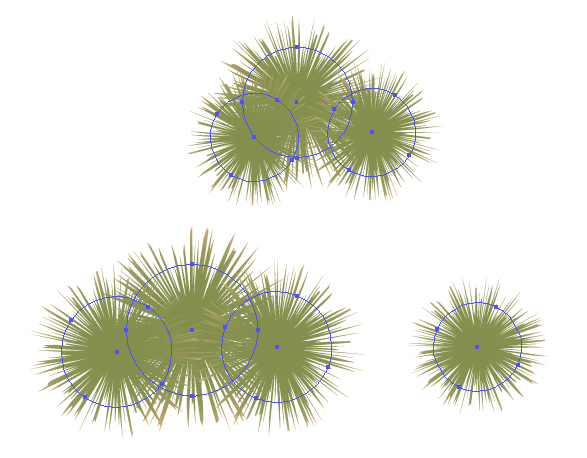
Duplicate the circles even further and overlap them onto the original plants, this time set the new duplicates to Blending Mode Multiply, Opacity 50%. Group each set of circles once done (Ctrl + G).
Step 7
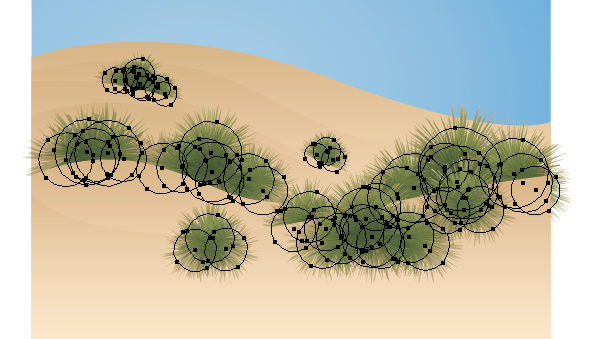
Position the plants behind the relevant dunes and on top of the front dune as you see fit. Remember to rotate any plants with the Free Transform Tool (E).
Step 8
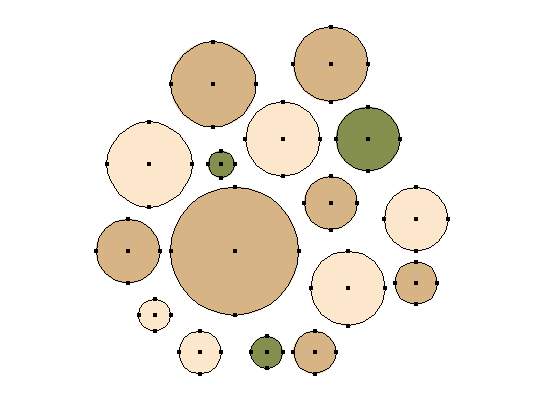
Now to add some texture to the sand. Use the Ellipse Tool (L) to create several even circles of different sizes and with sand, light sand and green fills. Group them together once done (Ctrl + G).
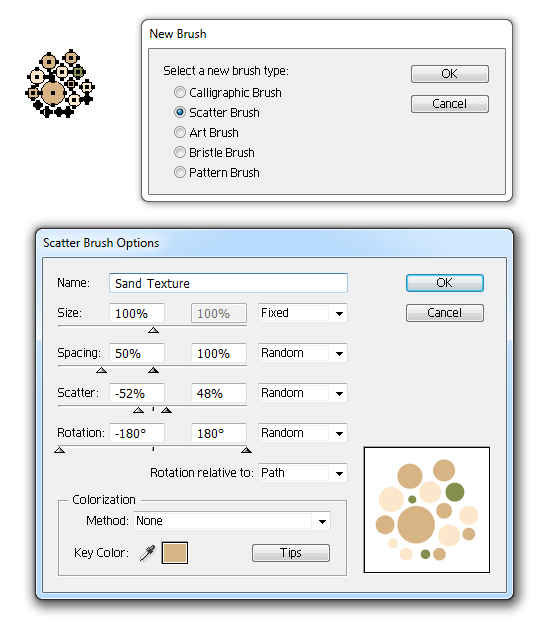
In the Brush panel, click on New Brush > Scatter Brush and use the options below.
Step 9
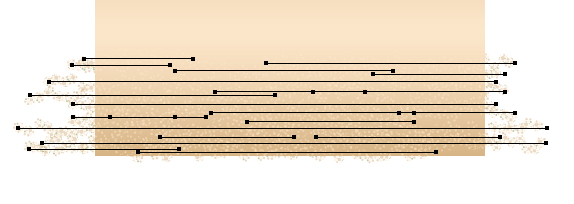
Use the Line Segment Tool (\) to draw horizontal lines along the bottom of the beach with the Scatter Brush applied. Set these lines to Blending Mode Lighten, Opacity 50%.
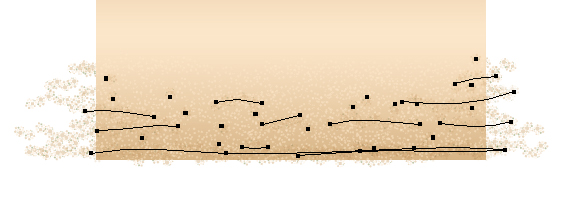
Using the Paintbrush Tool (B) and the Scatter Brush, draw some lines over the top and set these to Blending Mode Multiply, Opacity 25%.
Step 10
Check your Brush panel for the "Filbert" Bristle brush. If you’ve not got it, you can access it by going to Open Brush Library > Bristle Brush > Bristle Brush Library > Filbert.
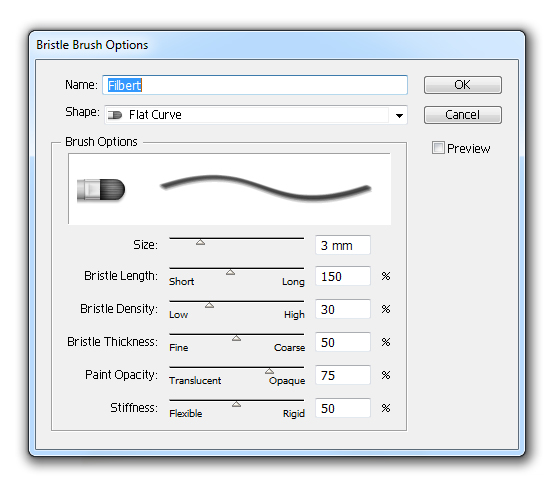
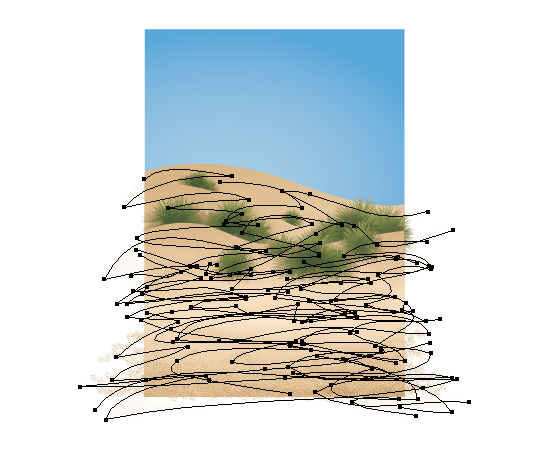
Draw across the dunes and plants with this Bristle Brush and a sand stroke color, set to Stroke Weight 3pt. These strokes are created with the Paintbrush Tool (B) and are set to Blending Mode Multiply, Opacity 10%.
Step 11
Back in the Brush panel, click on New Brush > Bristle Brush and use the below options to create a Round Fan brush for the Clouds.
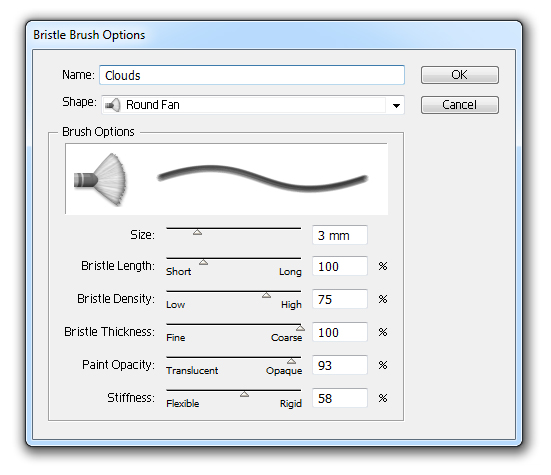
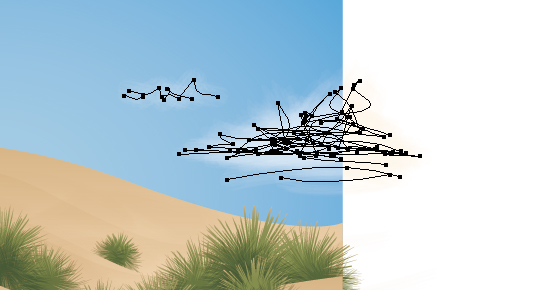
Use the light sand as the stroke color and draw some messy strokes with the Paintbrush Tool (B) to create some fluffy clouds. I’m from the UK, we’re used to clouds on a summers day! Set these strokes to Blending Mode Screen, Opacity 50% and then Group them together (Ctrl + G) and set the group to Opacity 80%.
Step 12
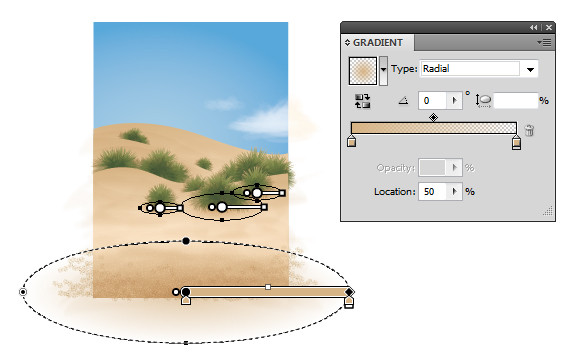
Create a transparent radial gradient with the sand color. Draw circles with the Ellipse Tool (L) at the bottom of any dune plants which aren’t hiding behind sand dune shapes and also a circle at the bottom of the beach. These will need to be set to Blending Mode Multiply, Opacity 75%. Imagine these are damp patches of sand.
Step 13
I’m going to add some water washing up on the shore, so with the Pen Tool (P) draw a shape with a wave top over the bottom of your beach. Ensure that it only covers the area which has texturing and the sand is darker.
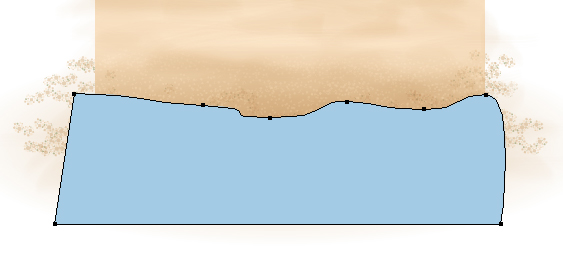
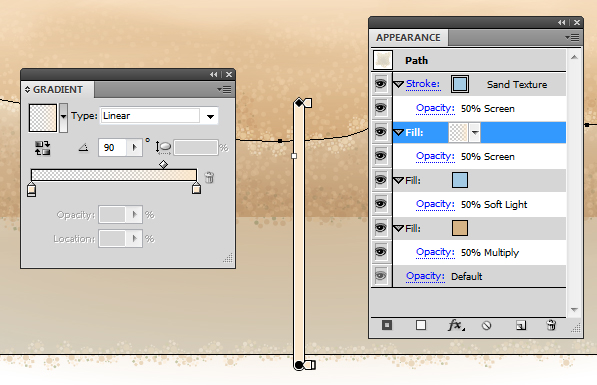
I’ve then applied the below Appearance panel settings for the water. I’ve used the Sand Texture Scatter brush and set it to Stroke Weight 0.5pt to create a sea foam effect. Use the same settings to create an additional shape over the top of the water. This will help give an effect of lapping waves over the beach.
Step 14
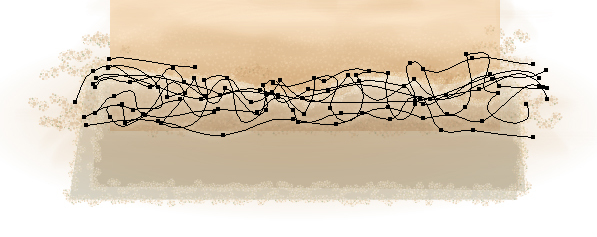
With the Clouds Bristle Brush, draw over the edge of the water with the light sand color. Set these strokes to Blending Mode Screen, Opacity 20%.
Step 15
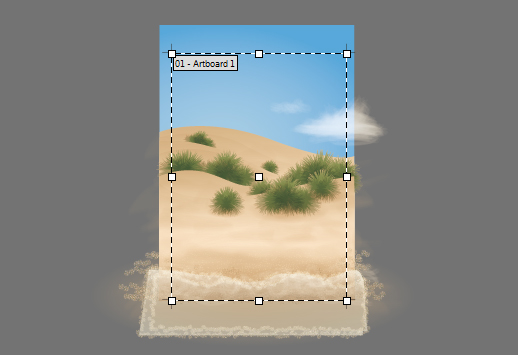
Now you’re finished your day time beach scene, we’ll finish it off using the Artboard Tool (Shift + O) to set the parameters of the artboard.
Step 16
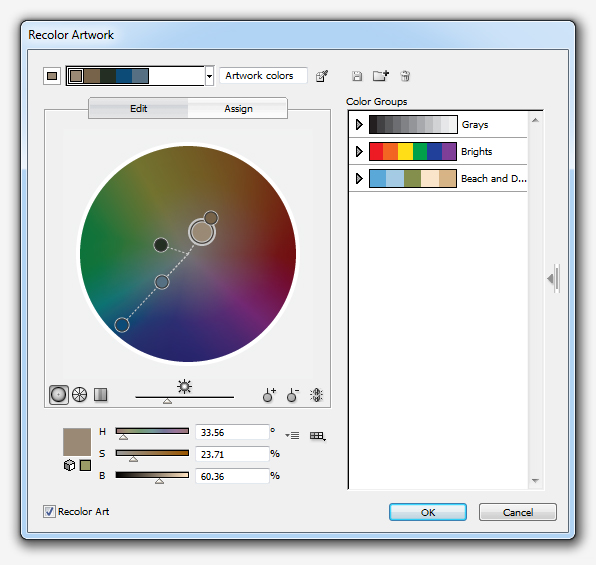
To change the scene to a night time one, it’s quick and easy to do. I’m going to use the Recolor Artwork function to achieve this. Select All of your beach elements (Ctrl + A) and then go into Recolor Artwork. Then go into the Edit tab.
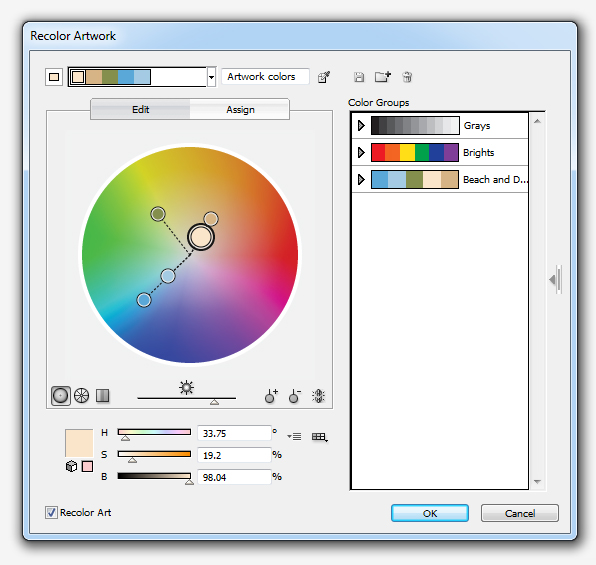
You can then move around the color pins to get the new colors you wish to use. I’ve darkened the color wheel to give me more night time colors and then moved around the pins to get the desired color scheme. Once you’re finished, click on OK.
Step 17
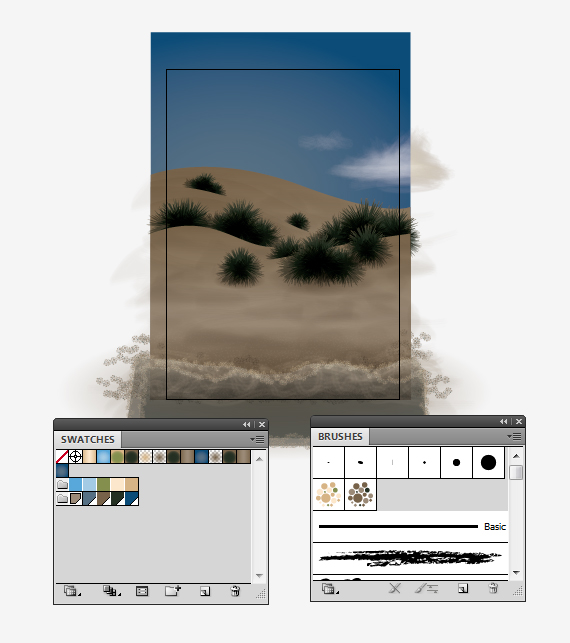
While the shapes are still selected, in the Swatch panel click on the drill down menu and select "Add Selected Colors". This does exactly what it says and adds the colors from your illustration into the Swatch panel. I’ve then selected the key five colors and created a New Color Group. You’ll also notice, thanks to using Recolor Artwork, you will have a new Scatter Brush with your new color scheme!
Step 18
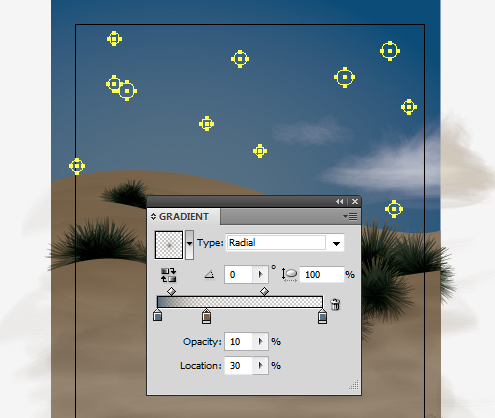
Let’s add a tell tale sign that we’re looking at a night time scene by adding some stars. I’ve created these by using a transparent radial gradient with the light blue to sand to light blue within a series of circles created by the Ellipse Tool (L).
Step 19
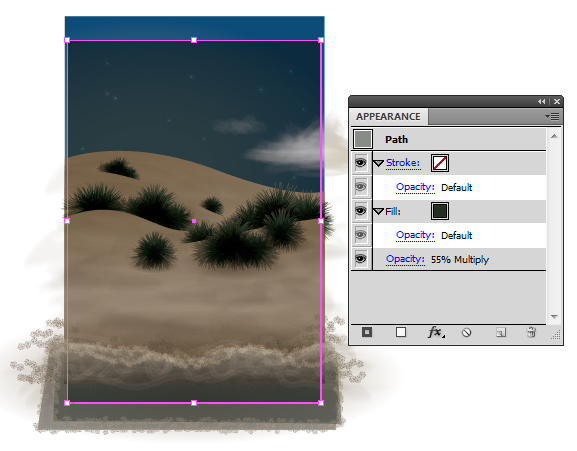
To finish it off, I’m going to add a Rectangle over the top of the sky with the new green shade and set it to Blending Mode Multiply, Opacity 55%.
Conclusion
I hope you’ve enjoyed today’s tutorial and it’s given you some ideas on how to change from day to night with very little effort!
{excerpt}
Read More