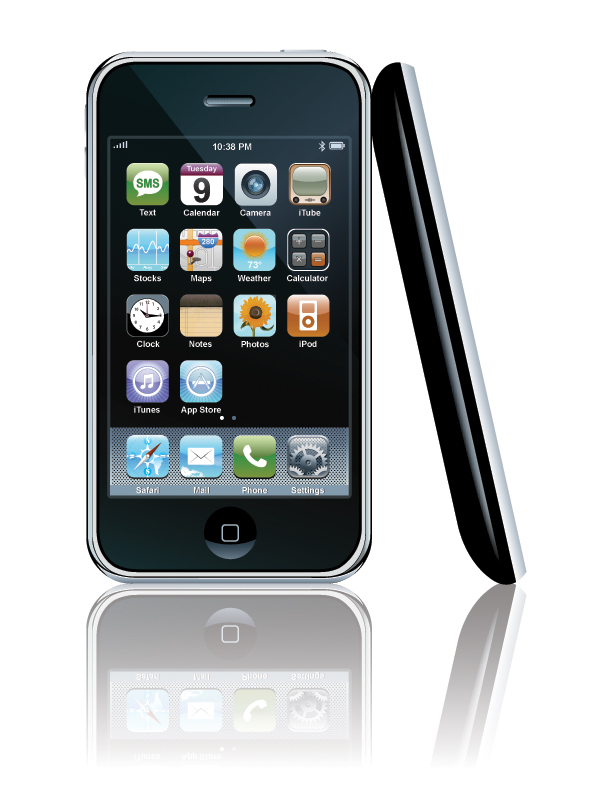
In ‘Create a Detailed, Vector-based iPhone Illustration, Part 1‘, we made our iPhone and the first five icons. Now we will finish the remainder of the icons and add the final touches to the iPhone. You will learn many useful tips and tricks for icon design and how to create a realistic iPhone complete with side view and stylistic drop reflection.
Step 1
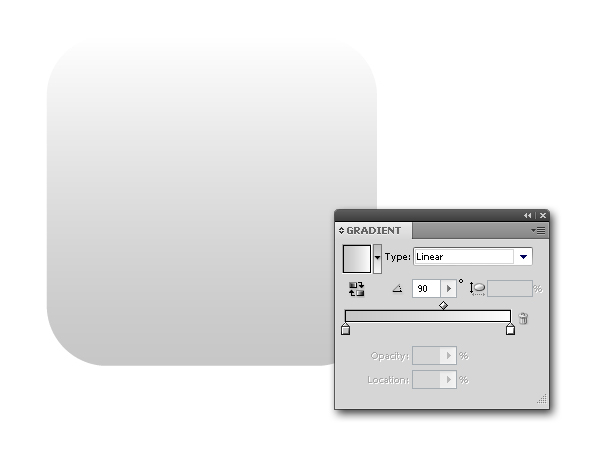
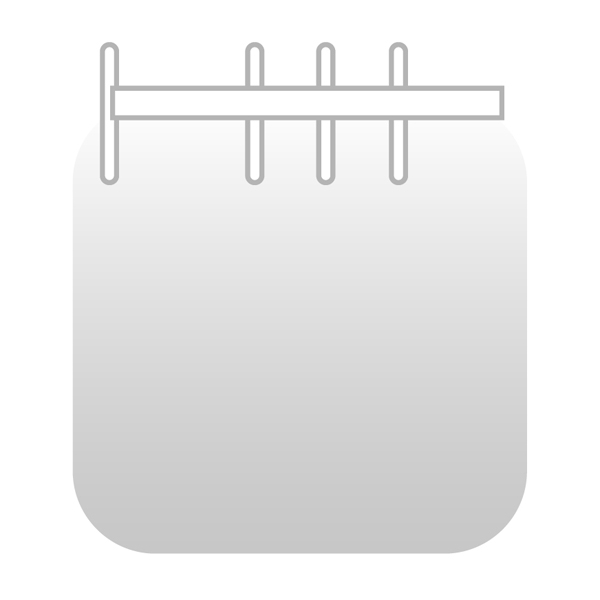
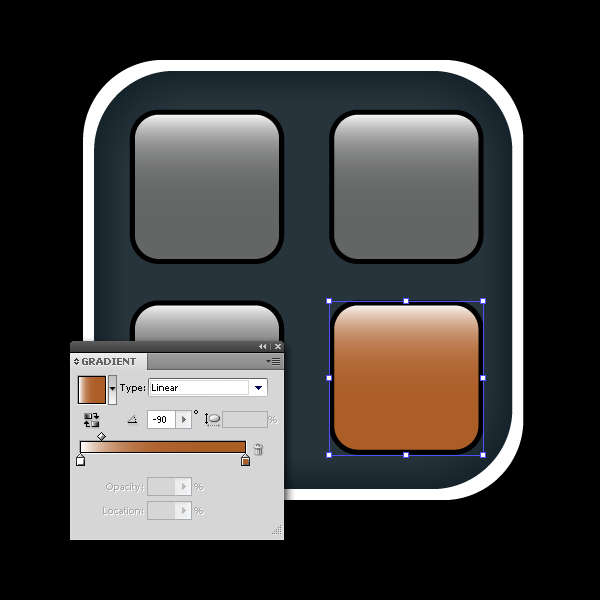
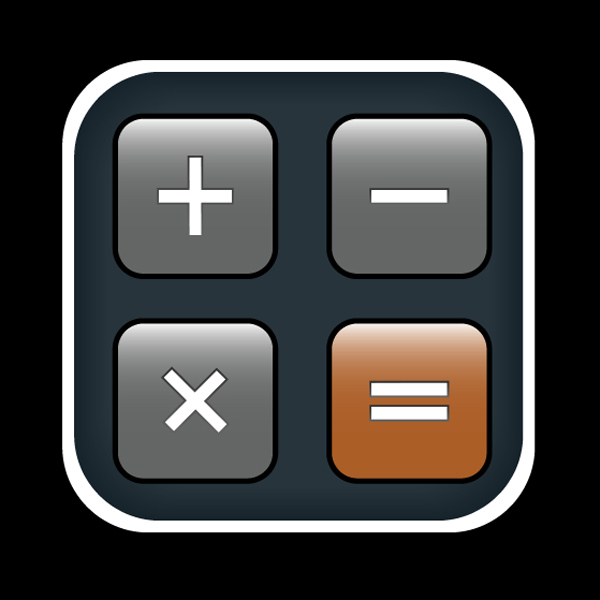
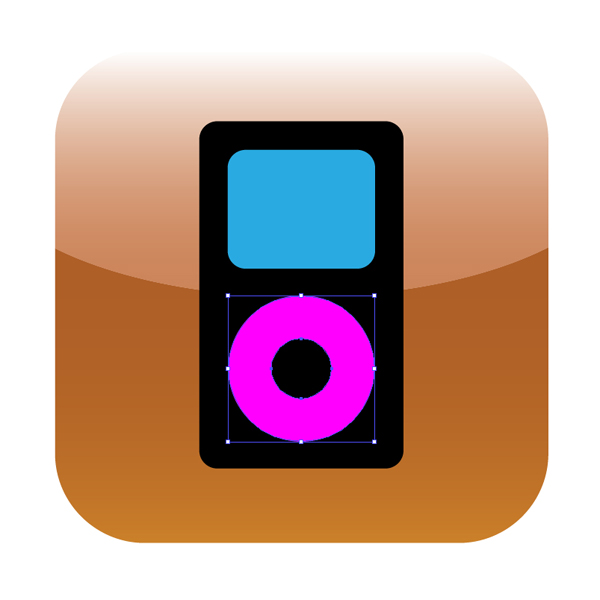
Go to another square and change the colors.
Step 2
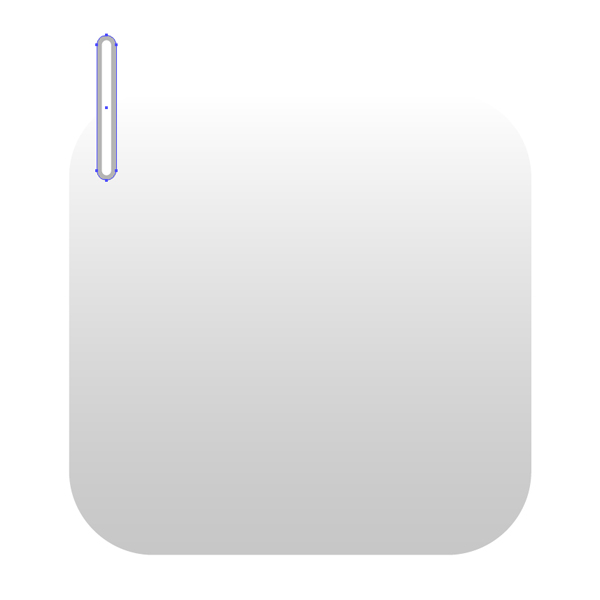
Grab the Rounded Rectangle Tool and draw a thin, long rectangle and put it in the left upper corner. Choose a white to fill, and a darker grey for a stroke color.
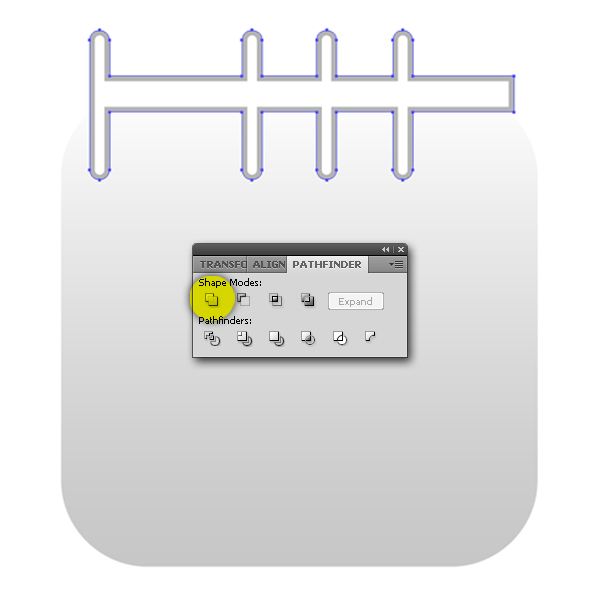
Step 3
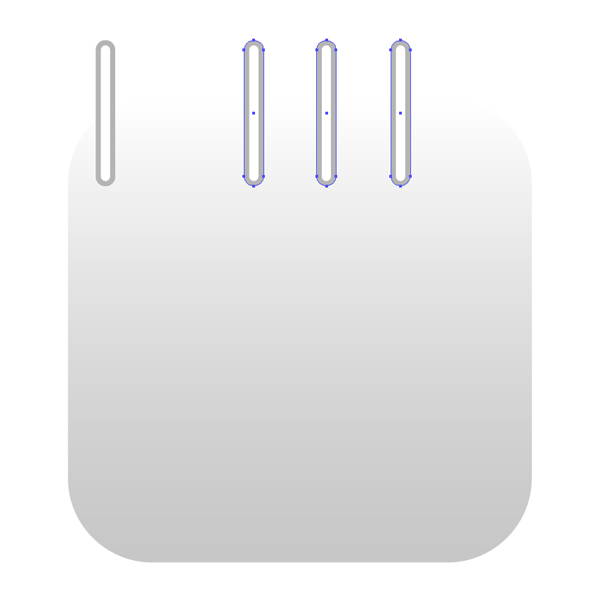
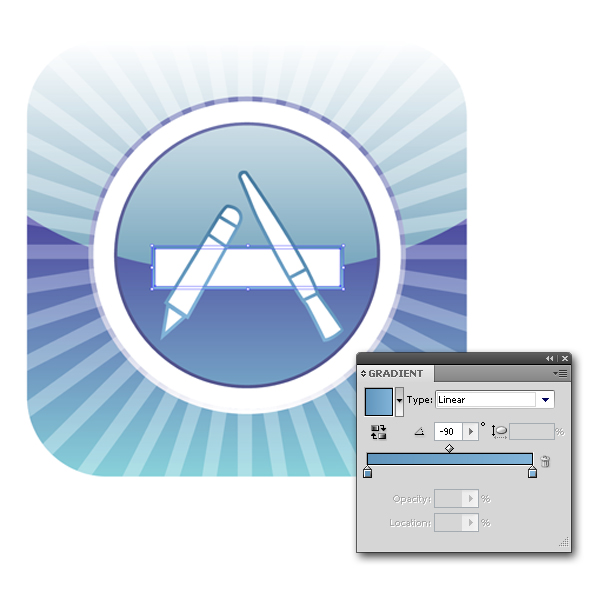
Copy three identical rectangles and place them as shown. Then, using the Rectangle Tool (M), draw another rectangle and place it above the other objects. Select all and choose Unite option in the Pathfinder Panel.
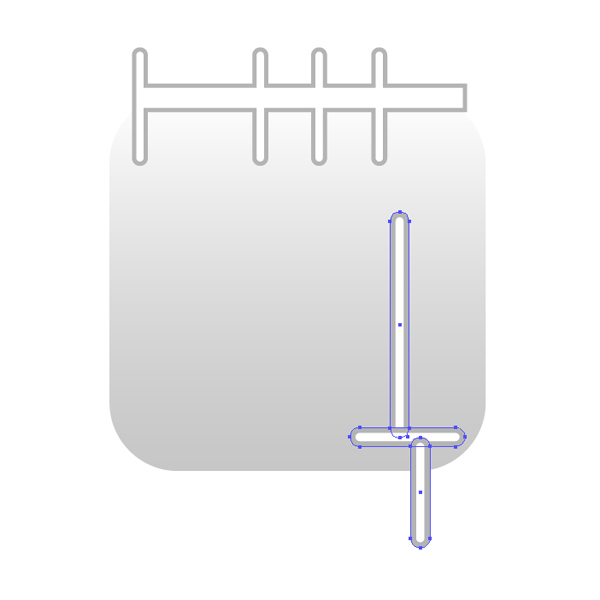
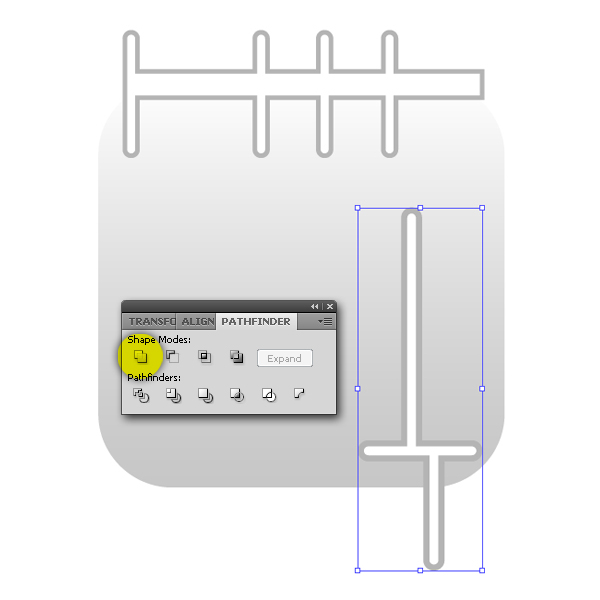
Step 4
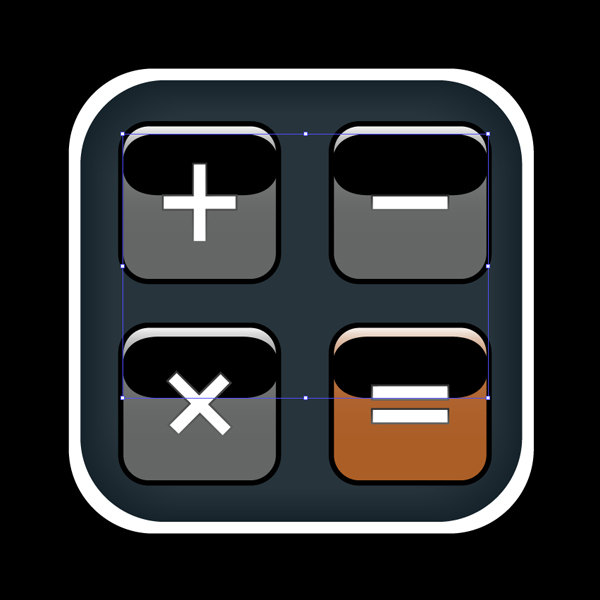
Make three rectangles again and put them in the right lower corner. In the Pathfinder Panel use Unite again.
Step 5
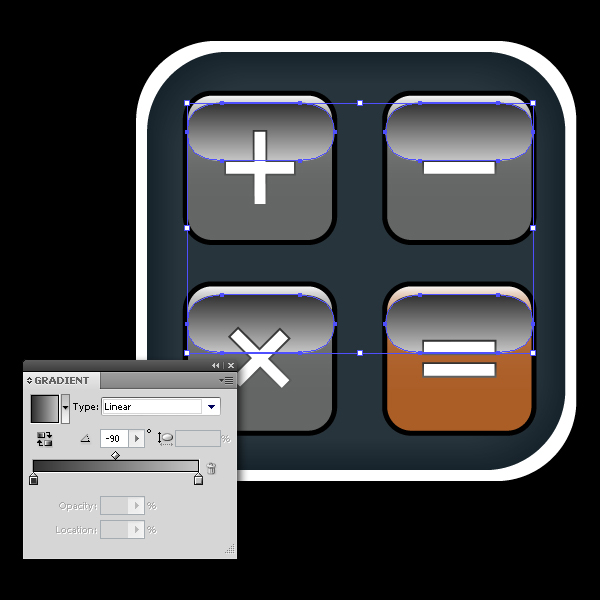
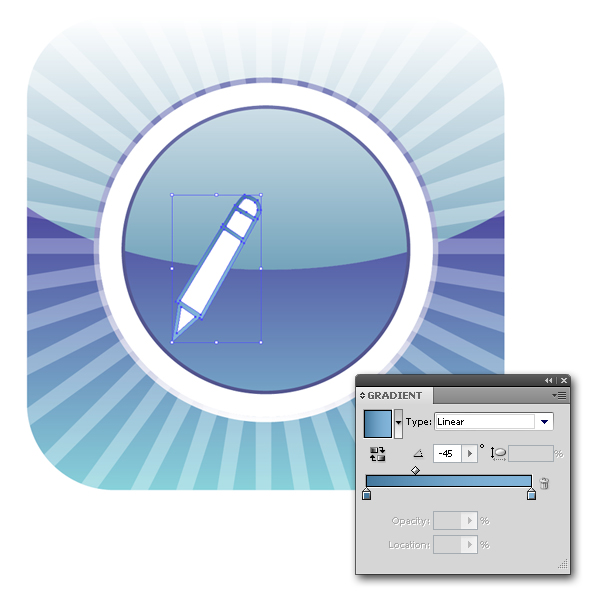
Grab the Pen Tool (P) and draw objects the way you can see below. Then, draw two round objects and place one above another (fill them with white and add a grey color to strokes). Select those two objects and go to Object > Compound Path > Make (Ctrl+8). Select all and in the Pathfinder Panel choose Unite option again.
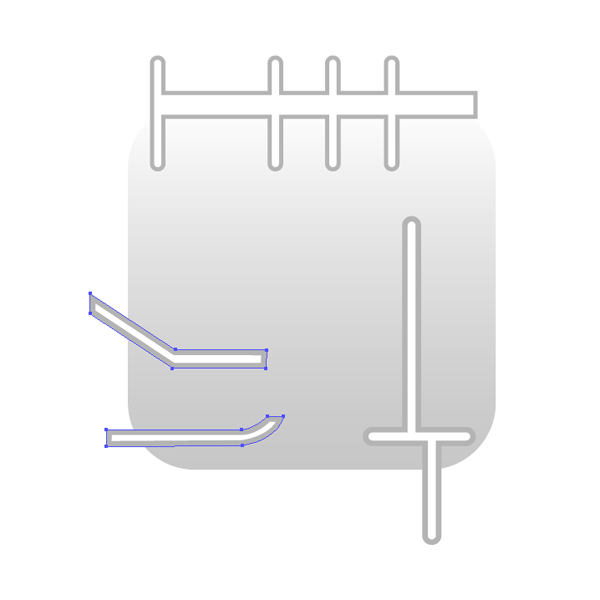
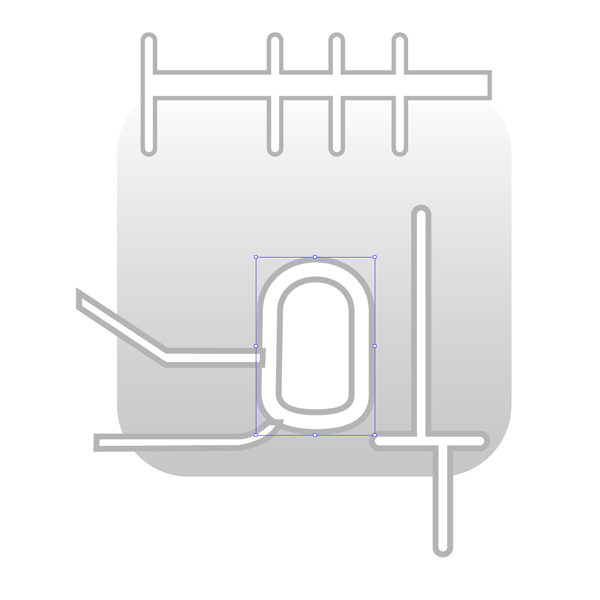
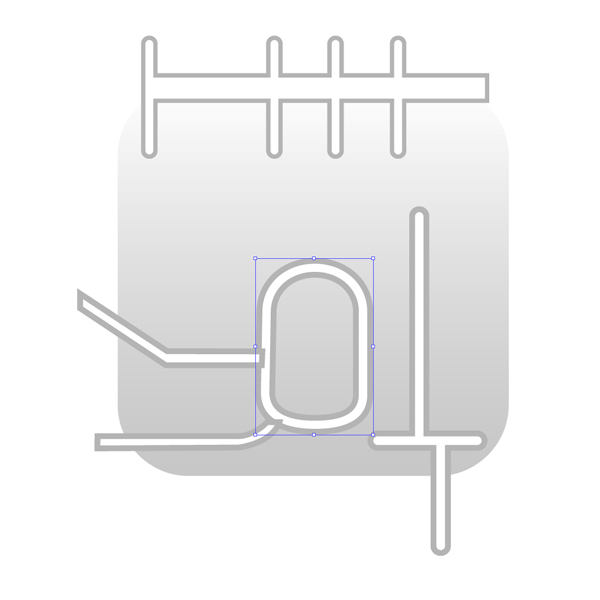
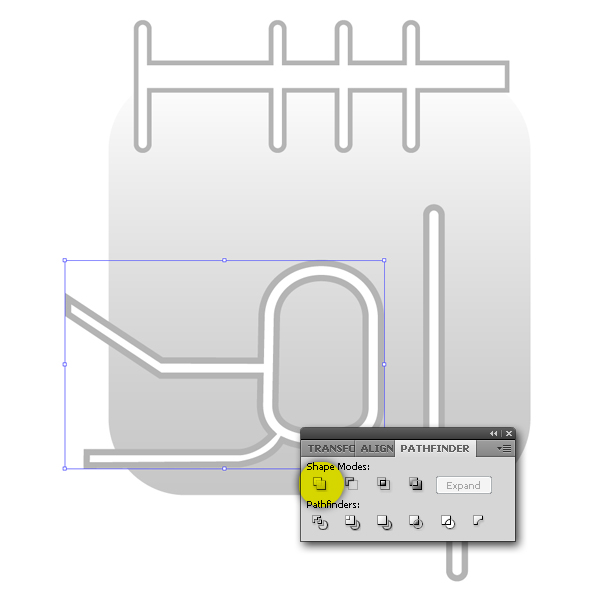
Step 6
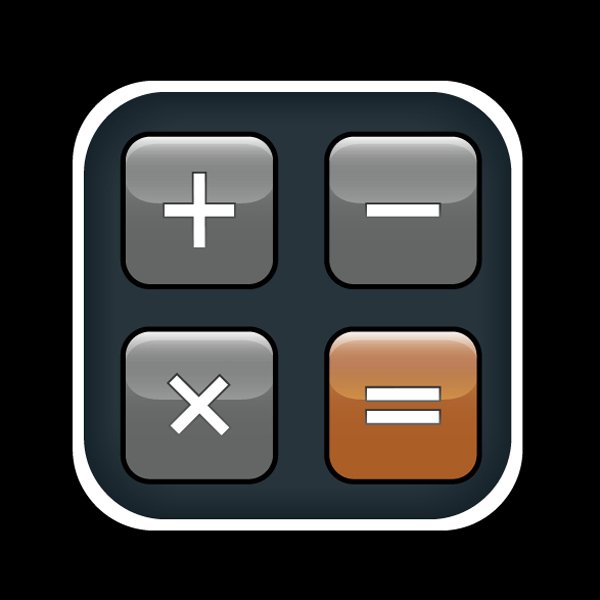
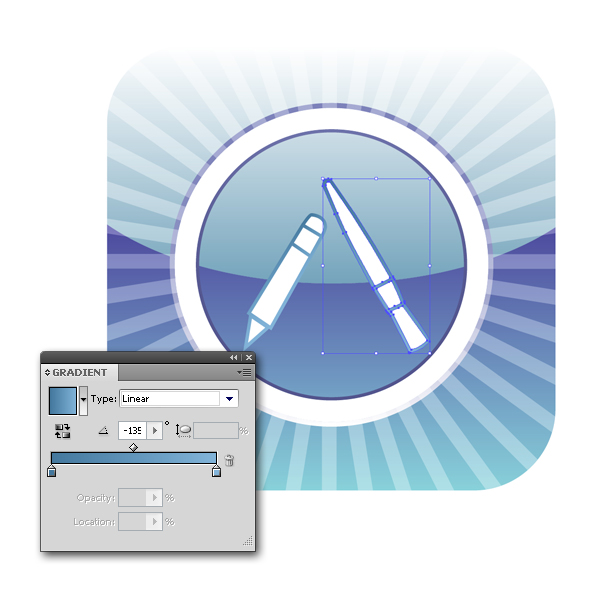
Create two crossing objects and apply the colors to fills and strokes. Use the Pen Tool (P) and create an object as shown and send it back.
Step 7
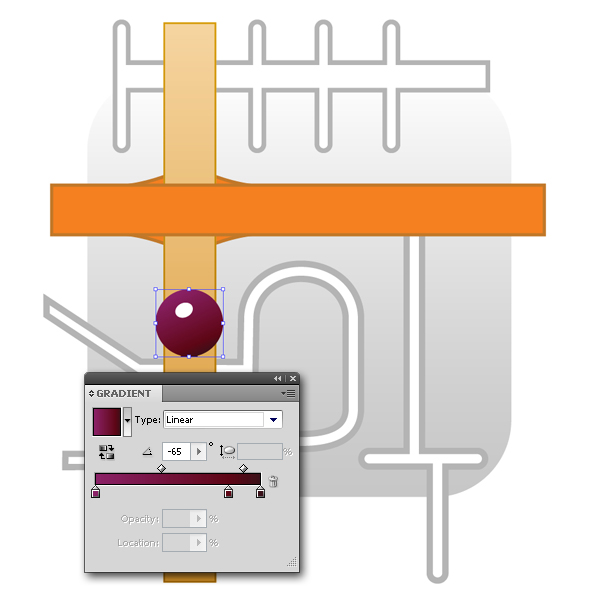
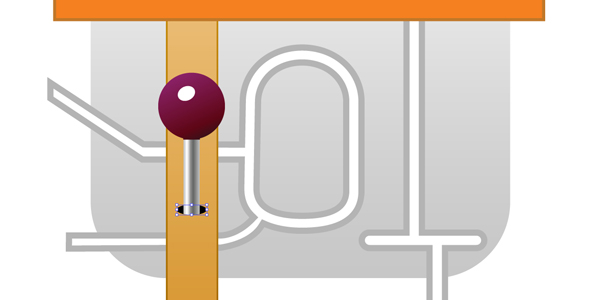
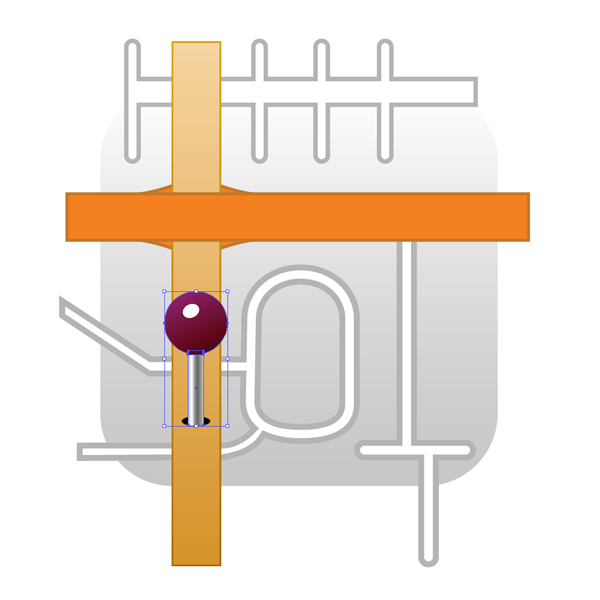
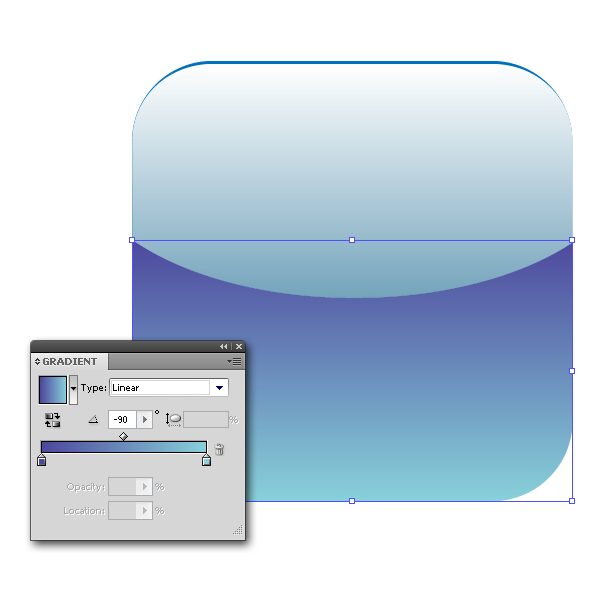
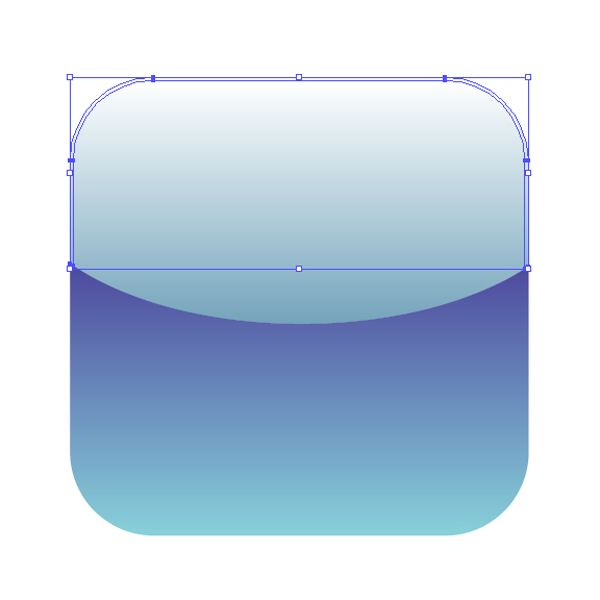
Grab the Ellipse Tool (L) and draw a perfect circle (hold Shift to constrain the proportions) and use the gradients in the Gradient Panel. Then, create another white ellipse, and this object will be a surface reflection.
Step 8
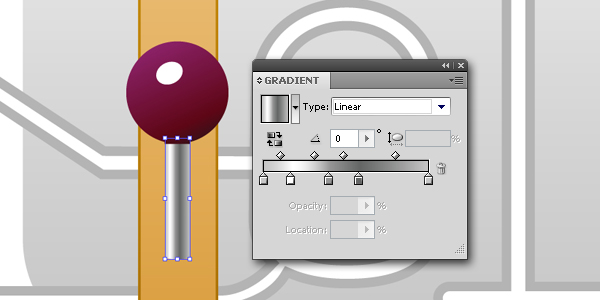
You`ll need a new rectangle and place it behind the first object. Then, create a shadow at the bottom of the rectangle using the Ellipse Tool (L).
Step 9
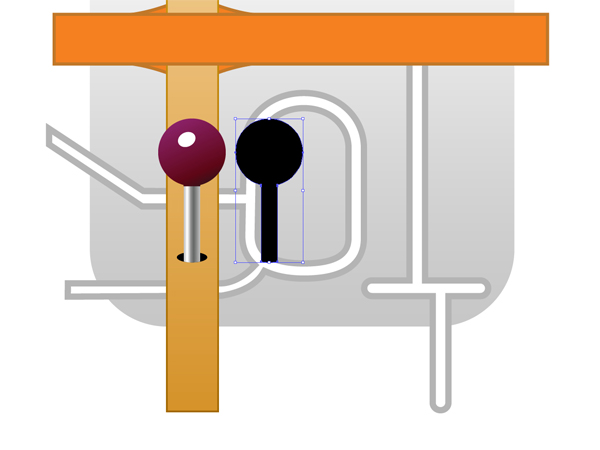
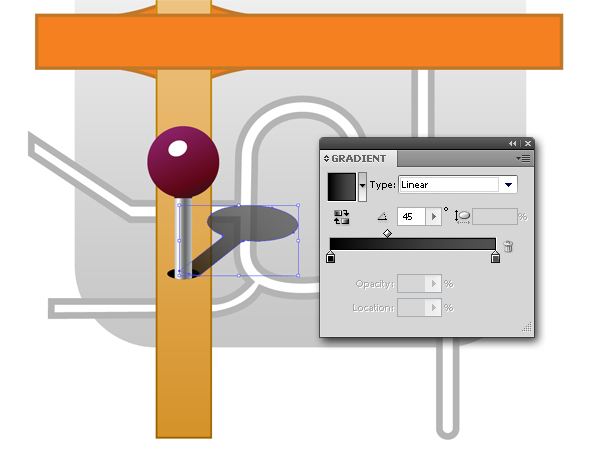
Now copy all objects You`ve created in Steps 72 and 73 (except the shadow at the bottom) and use a Unite option in the Pathfinder Tool to get a single object. Fill it with black. Then, skew the object with a Shear Tool, until you are satisfied, and choose the colors in the Gradient Panel (set the Opacity to 75%).
Step 10
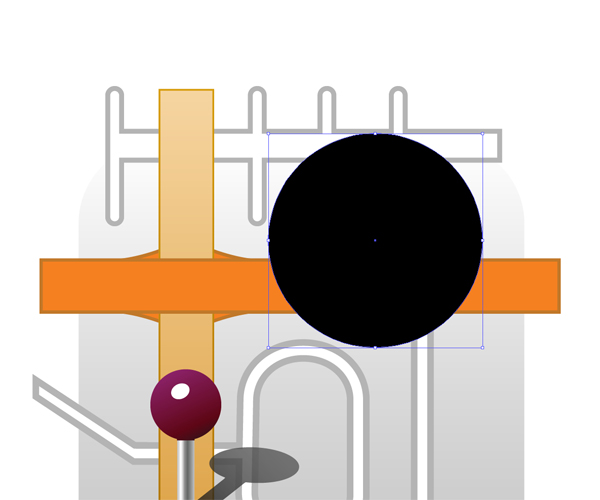
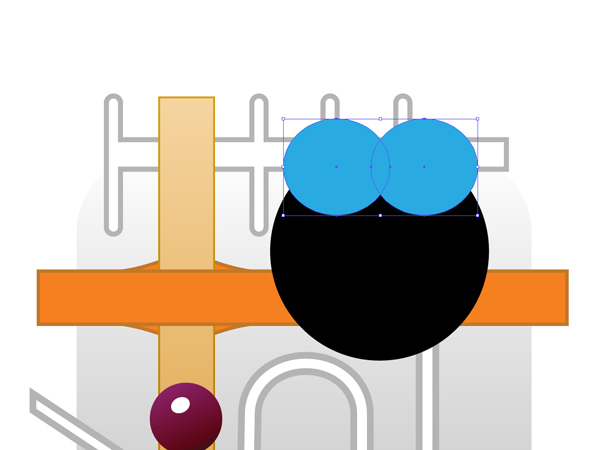
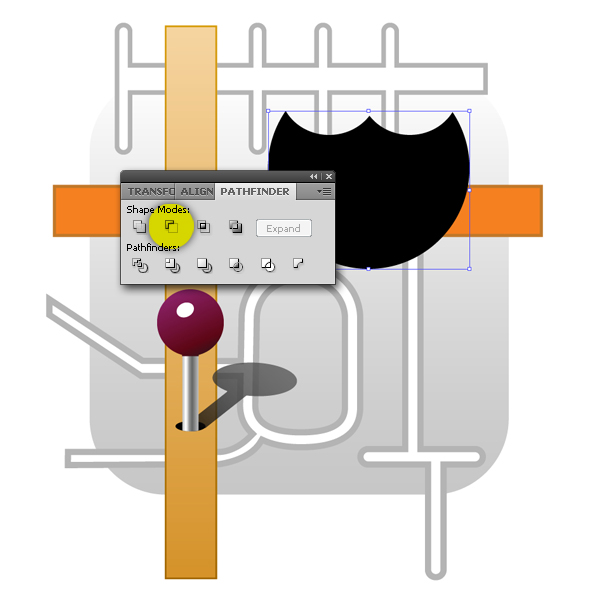
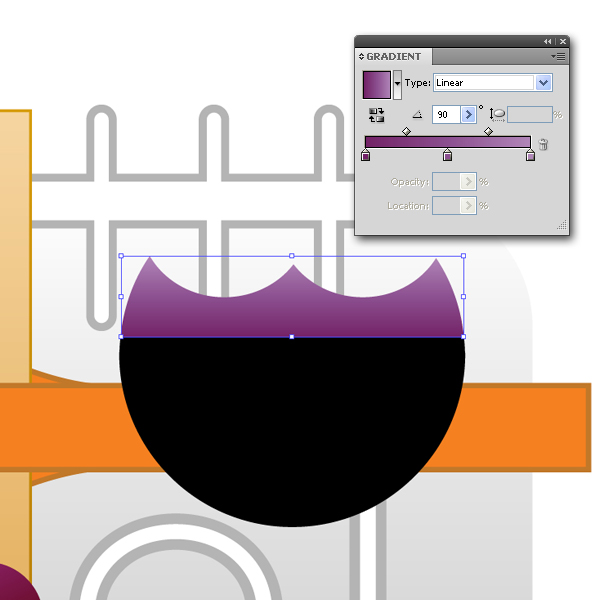
Draw a large black circle and above it put two identical ellipses. Then, select the objects and go to Pathfinder Panel and click on the Minus Front.
Step 11
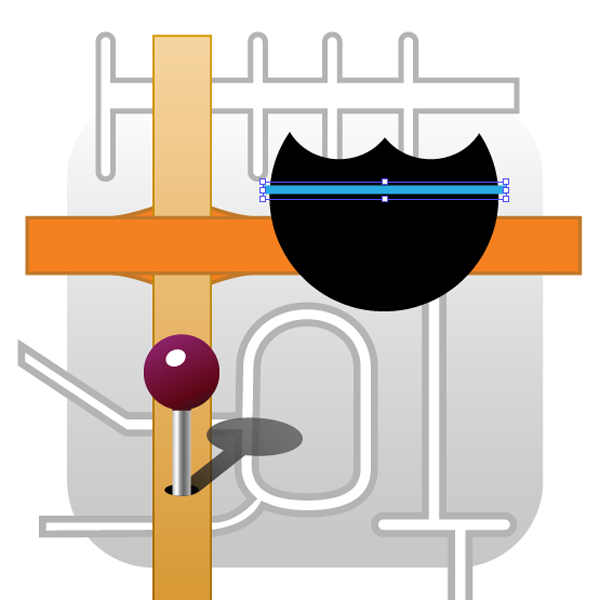
Using a rectangle You can divide that new object into three parts (Object > Path > Divide Objects Below). Select a gradient style that you prefer and add some text to the object.
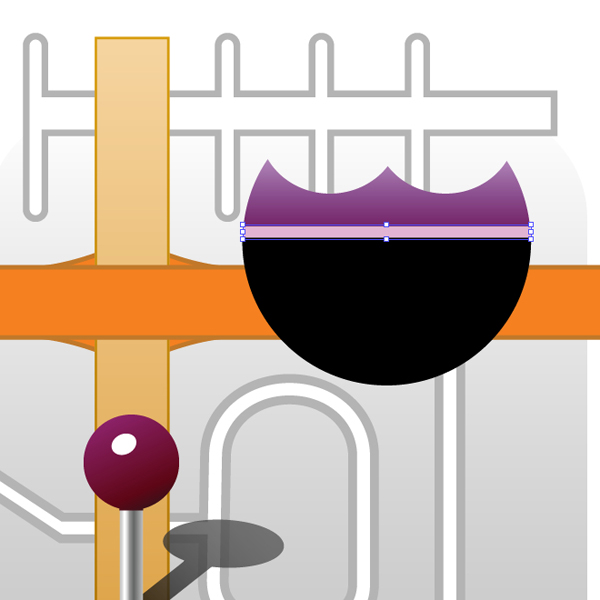
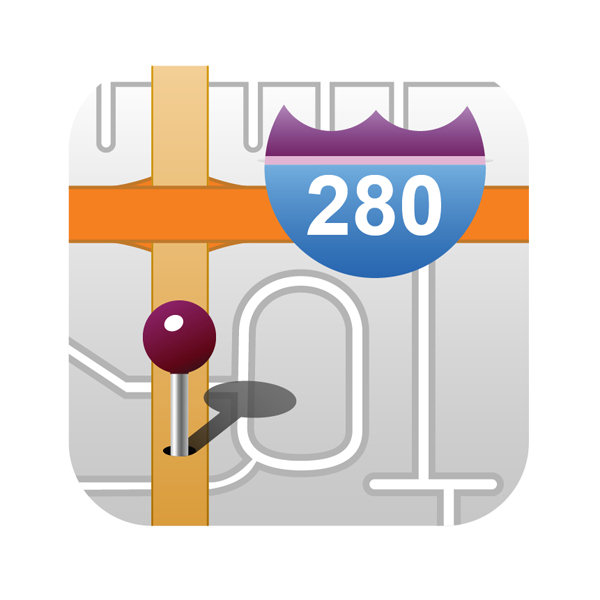
Step 12
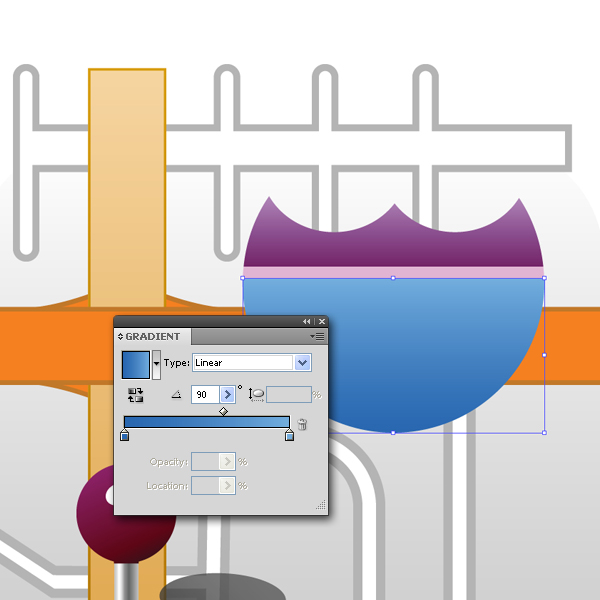
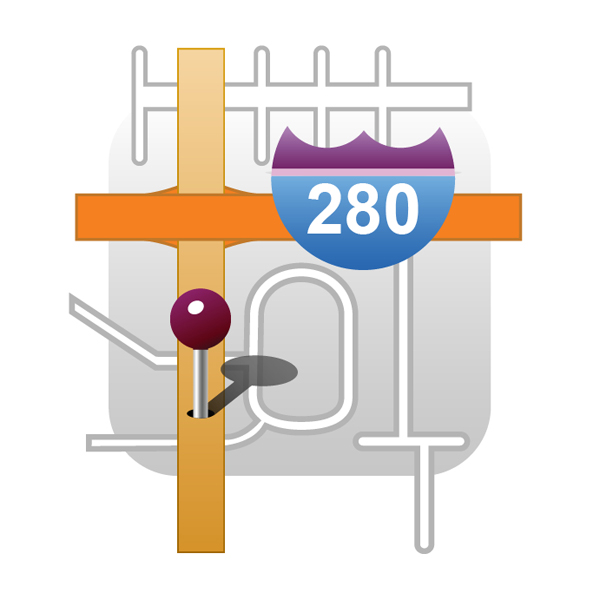
Divide the surface the same way that you did in Step 53 and use the Gradient Panel to change the gradients.
Step 13
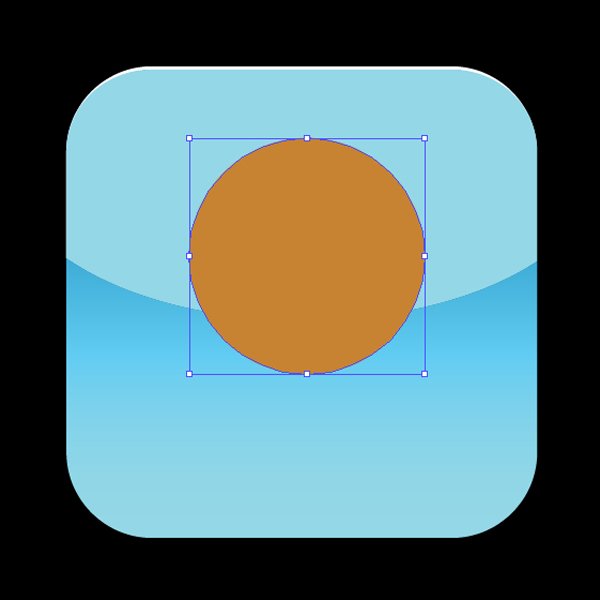
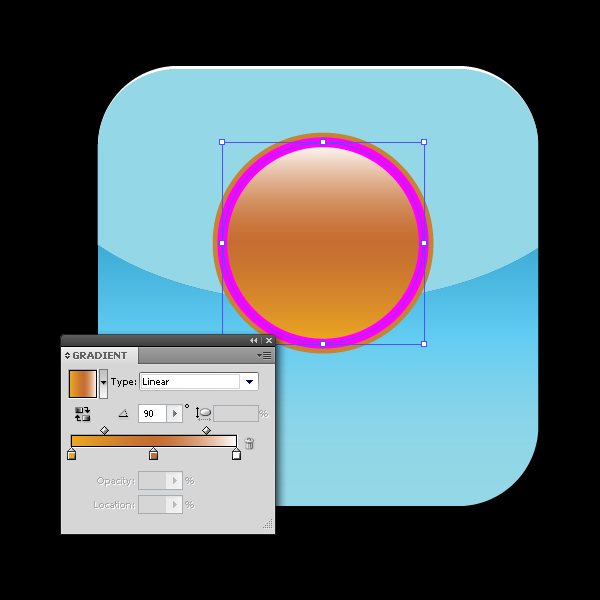
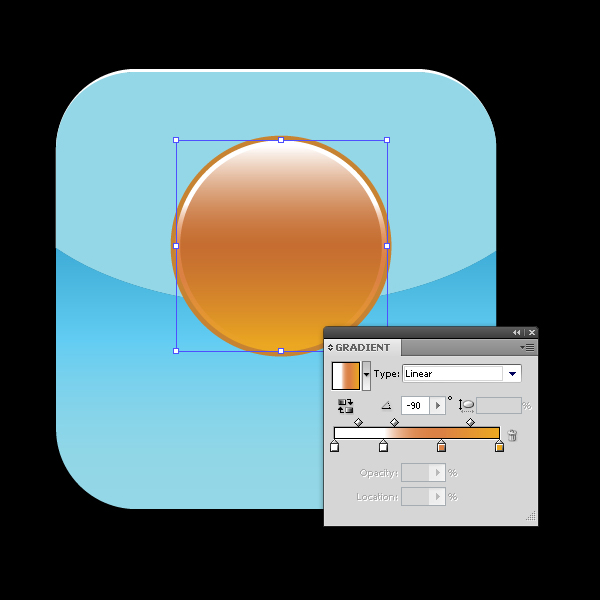
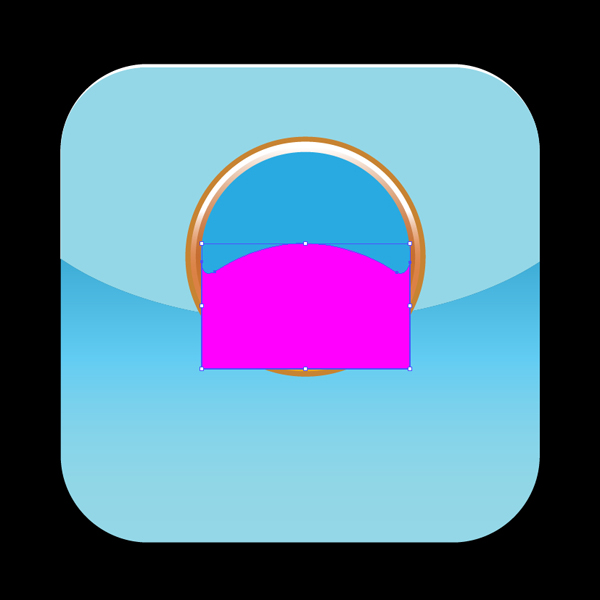
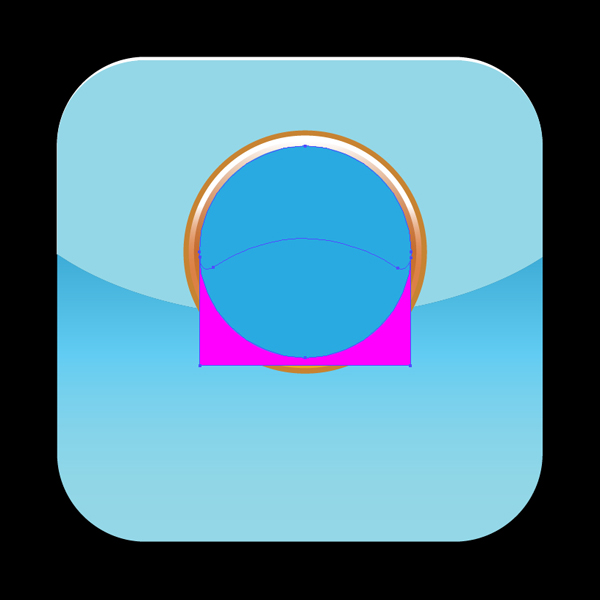
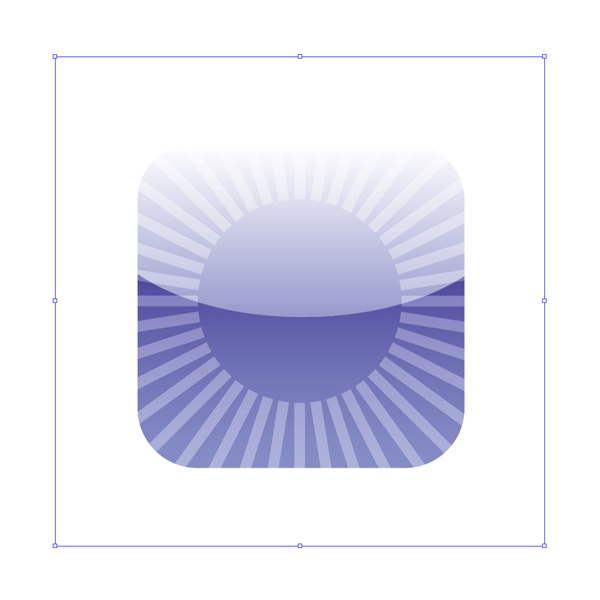
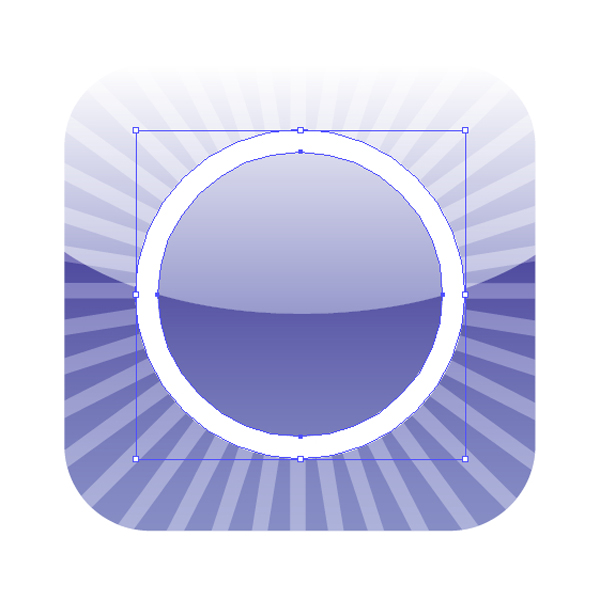
To create a sun, make a new perfect circle and fill it with solid orange color. You`ll need the Offset Path command to resize the object. Use the gradients to fill a circle, and add a stroke by choosing a Stroke Weight in the Stroke Panel. A new way to add gradients to the strokes is to Expand the strokes. To do that, go to Object > Expand… and make sure that the Stroke checkbox is checked. Expanding divides the object into multiple objects and using the Direct Selection or Group Selection tool, they can actually be separated.
Step 14
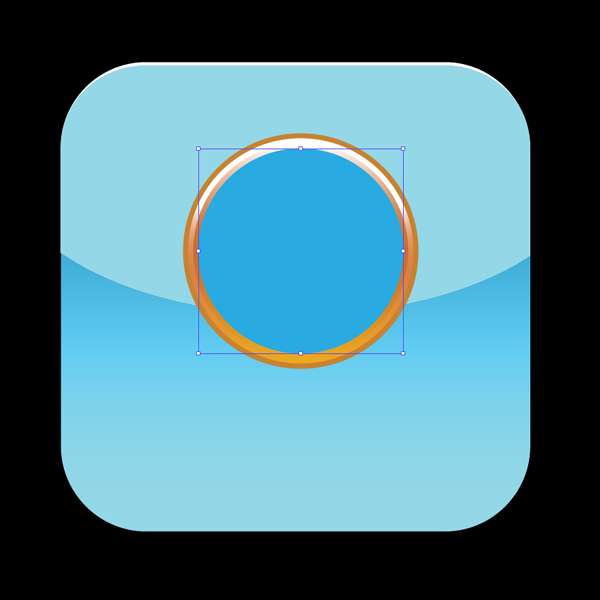
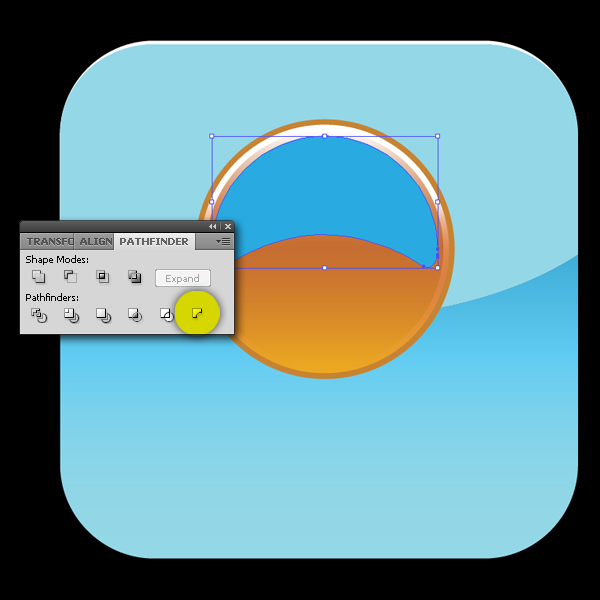
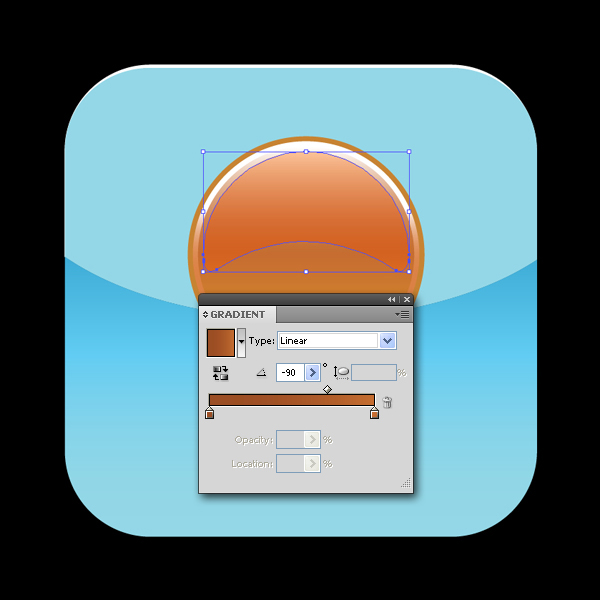
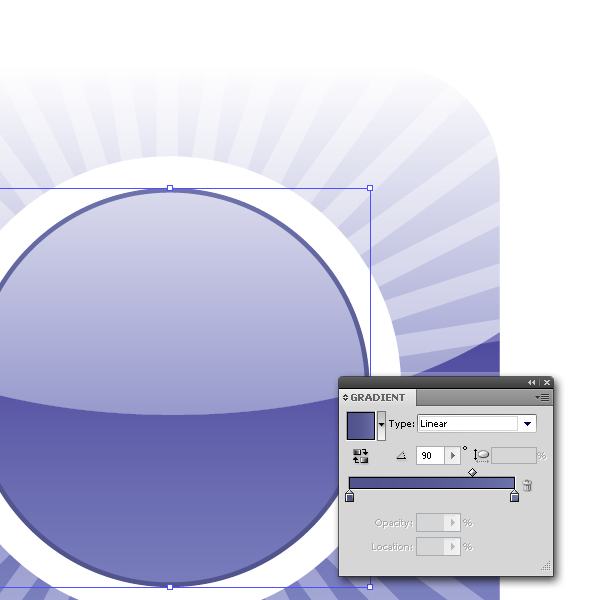
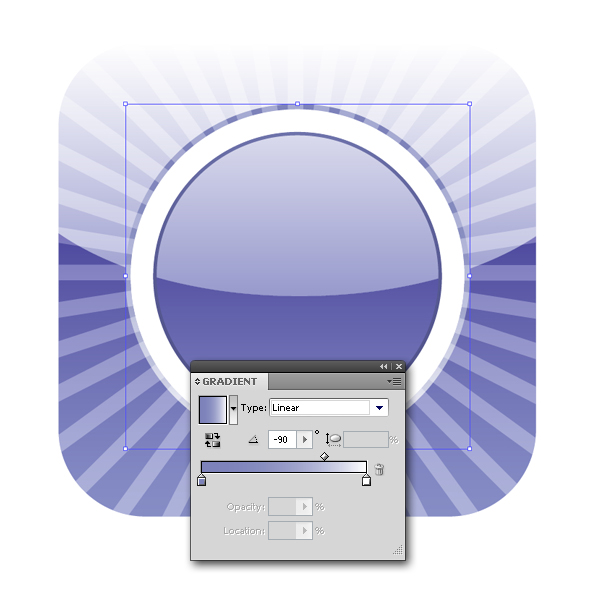
Duplicate the previous shape, scale it down, a then draw a shape as shown on the image. Send this shape back, select both, and use Minus Back option in the Pathfinder Panel. Now, You can change the Blending Mode to Hard Light (Opacity 50%).
Step 15
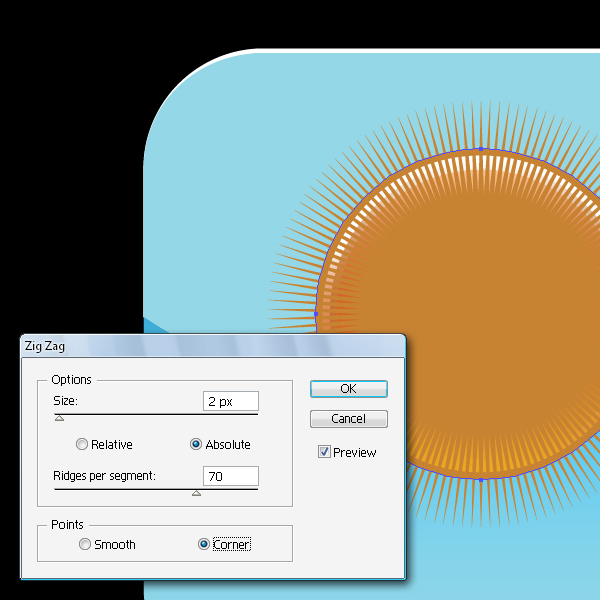
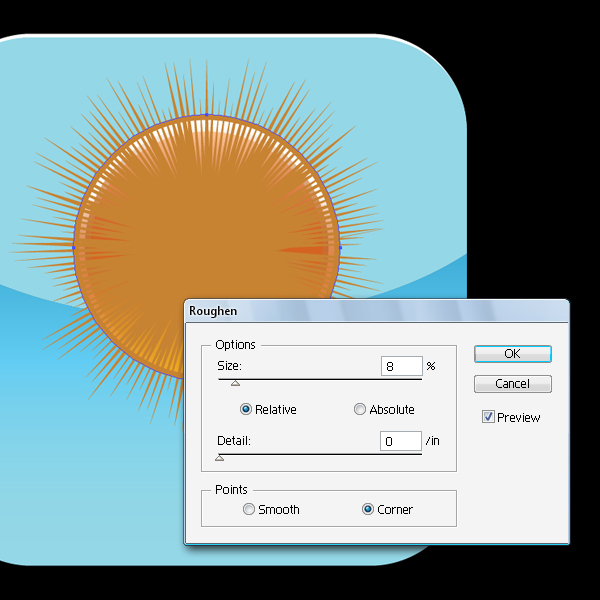
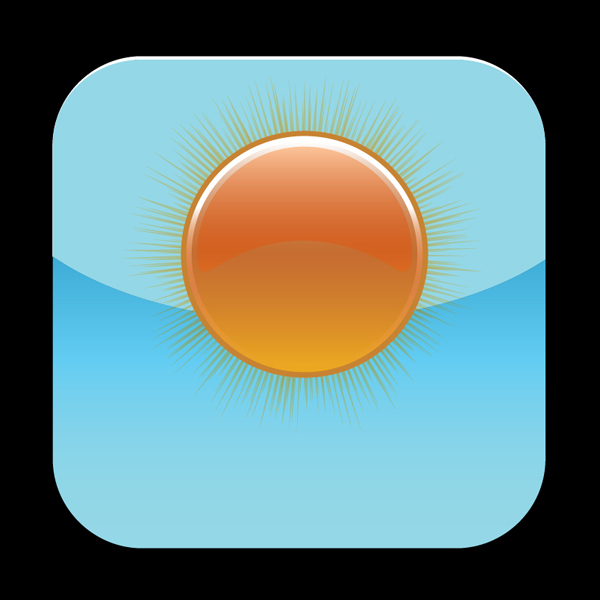
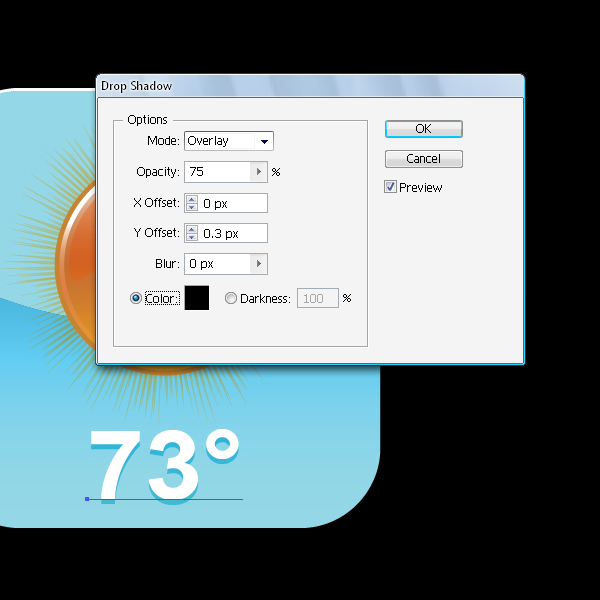
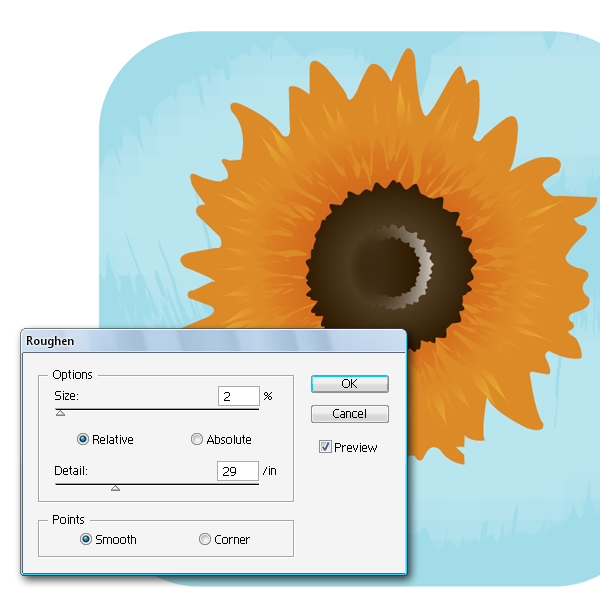
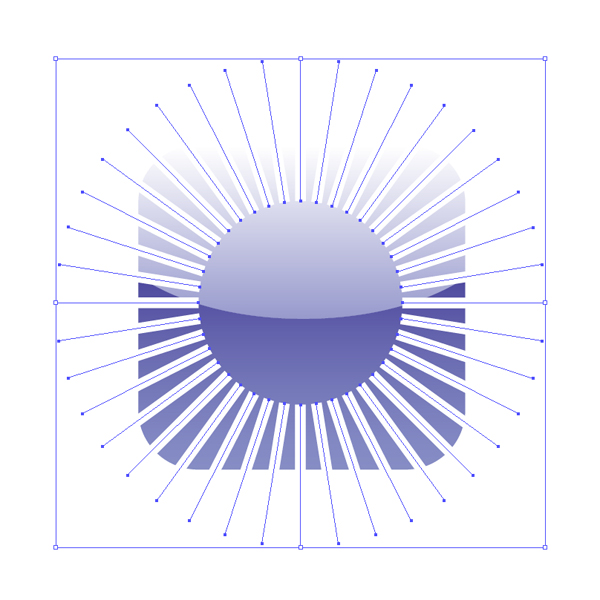
Now, we will make the sun rays, you can do it by creating a perfect circle, and then in the Appearance Panel go to Add New Effect > Distort & Transform > Zig Zag… Then, select Add New Effect > Distort & Transform > Roughen… and set the values the way you can see on the image below. When you are done, copy that object and rotate it by 45 degrees. Select both objects and in the Transparency Panel change the Blending Mode to Hard Light (Opacity 50%). After that, you can send them back. Write some text and apply a Drop Shadow effect to it.
Step 16
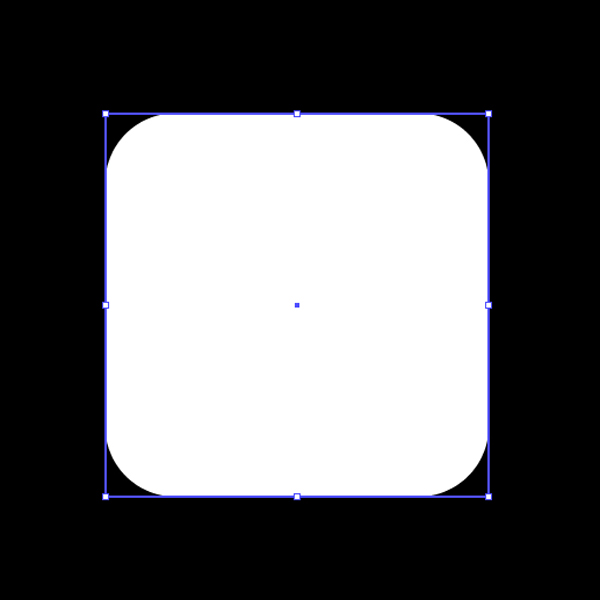
Go to another square and fill it with solid white.
Step 17
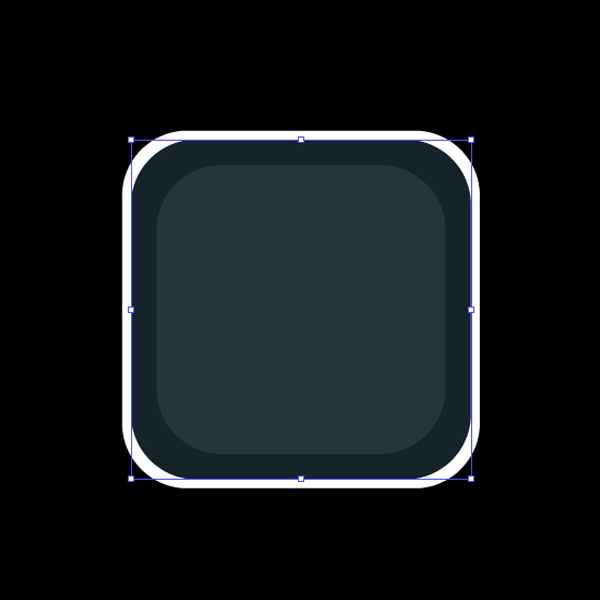
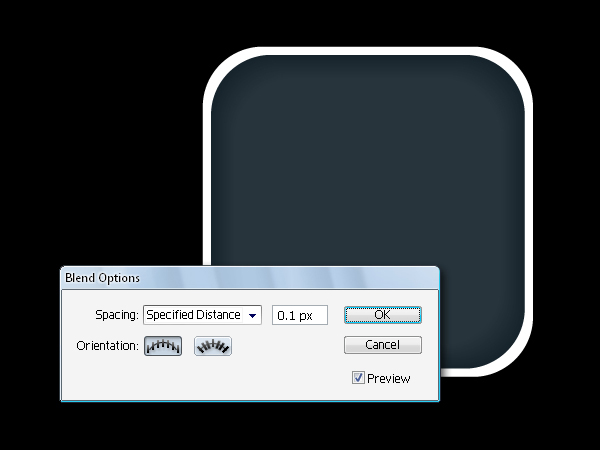
Copy the square twice and scale down the size of those two objects until you’re satisfied. Select the Blend Tool (W) and click on the edges of those two objects to create an effect as shown on the image.
Step 18
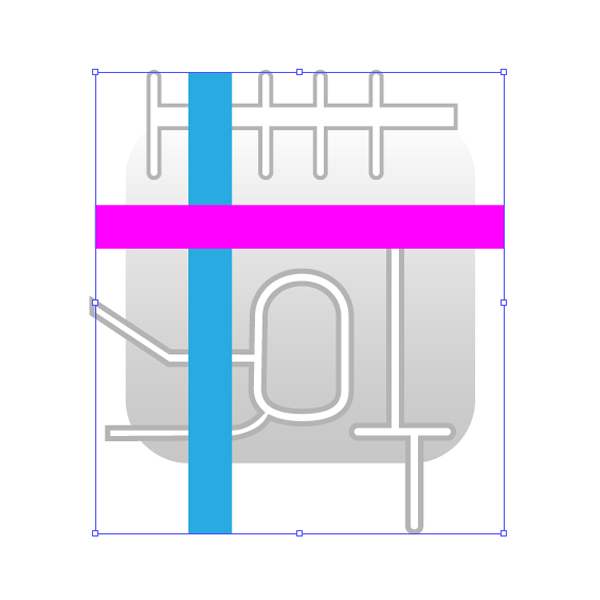
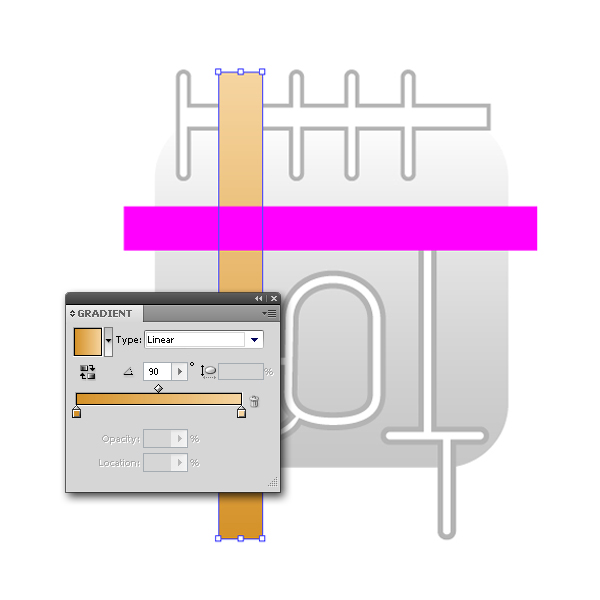
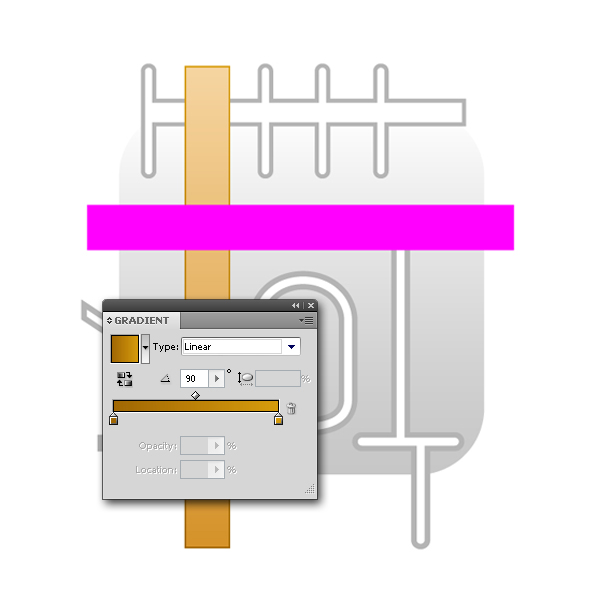
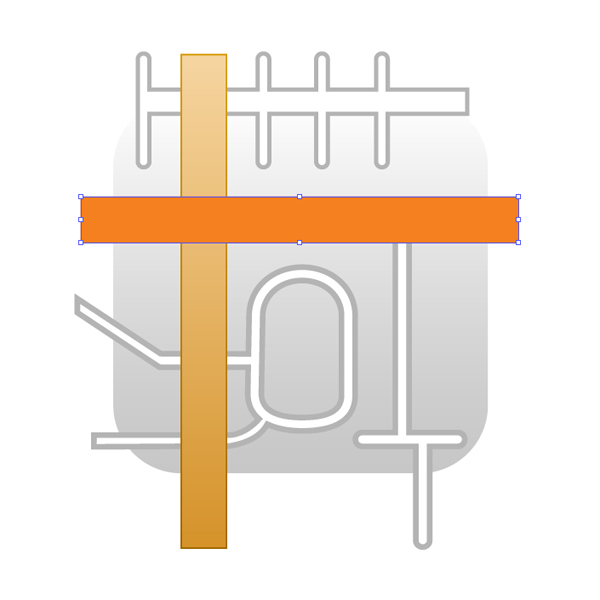
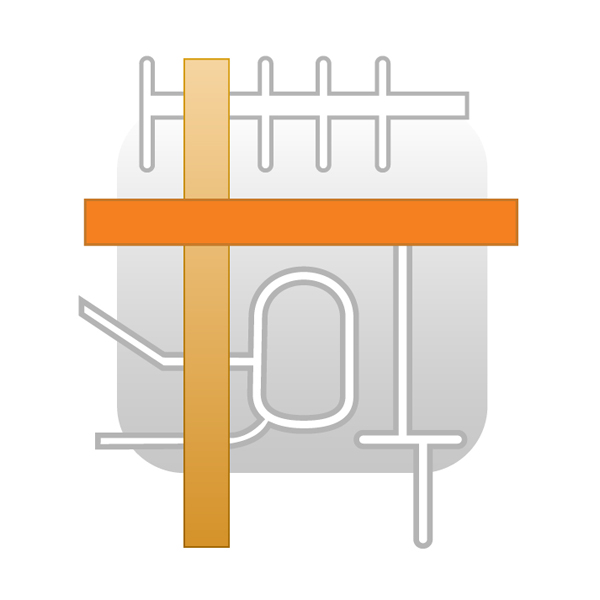
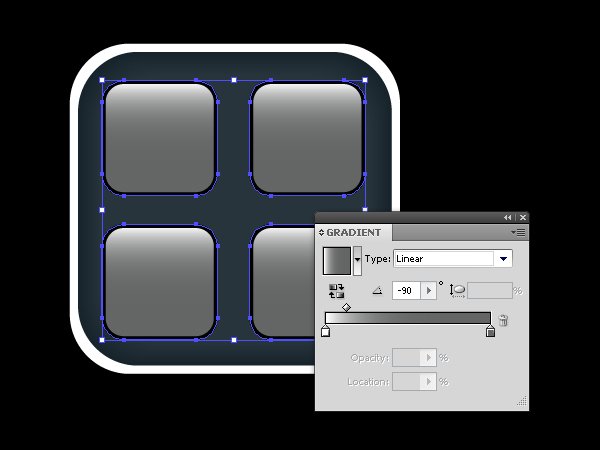
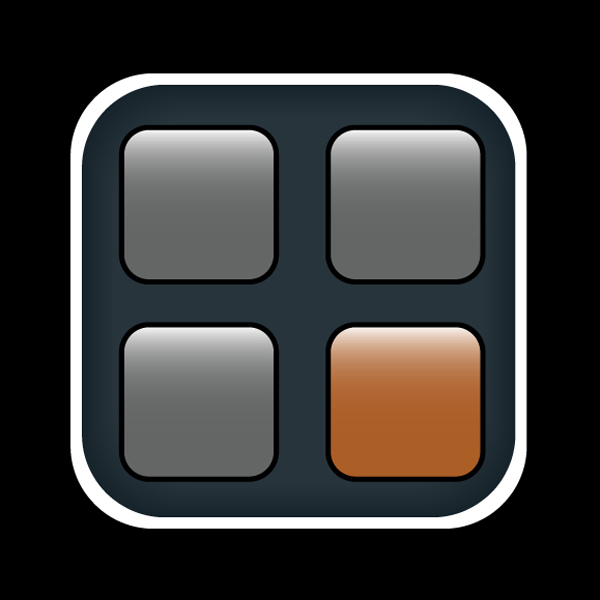
Draw four identical rectangles (hold Shift to constrain the proportions) and arrange them as shown. Add a black stroke (repeat this for each rectangle), and fill them with linear gradients (the last rectangle should be colored with different gradient colors).
Step 19
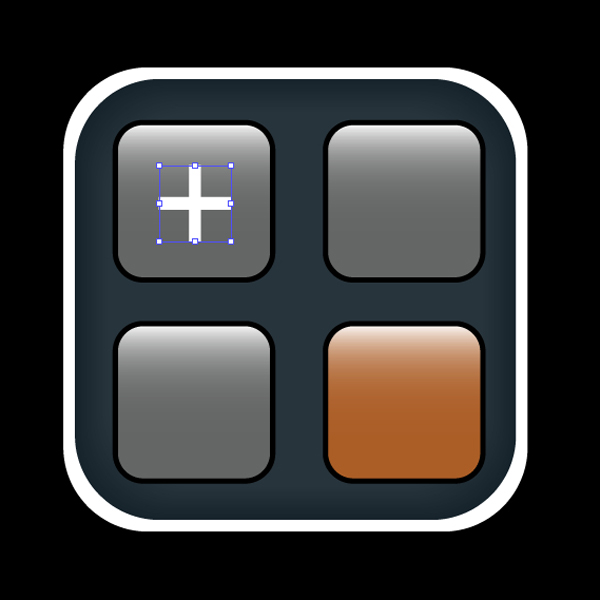
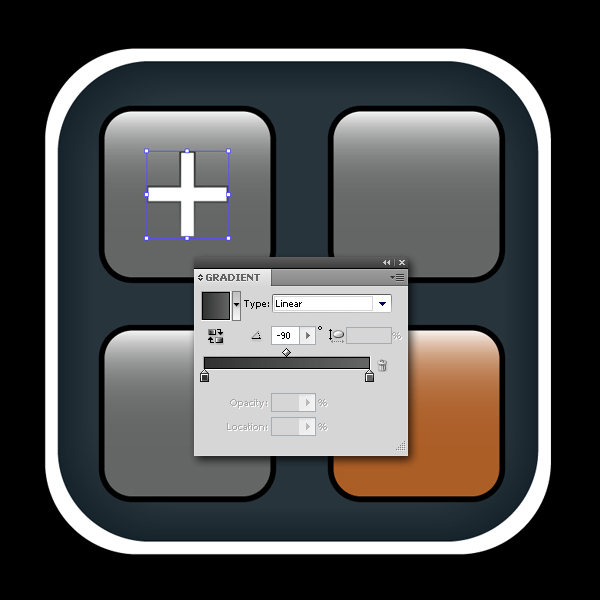
Using the Line Segment Tool (\) create two straight lines crossing each other, in order to get a "+" sign. Go to Object > Path > Outline Stroke and choose a Unite in the Pathfinder Panel, to merge those two lines. Now, copy that object, scale it up and add some gradients to it, and finally place it below the first, "+" sign. Now go through the same process and create three more signs: "-" "x" and "=".
Step 20
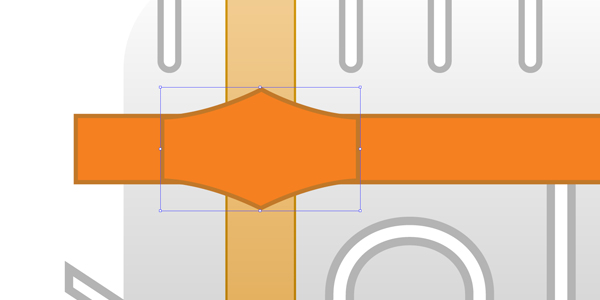
Grab the Rounded Rectangle Tool and create four rectangles. Position the objects as shown below. Apply a linear gradient fill to the shapes and change the Blending Mode to Overlay (Opacity 75%).
Step 21
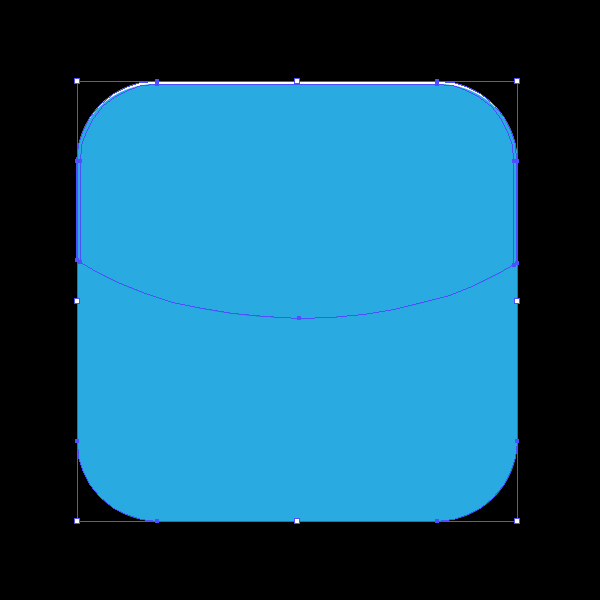
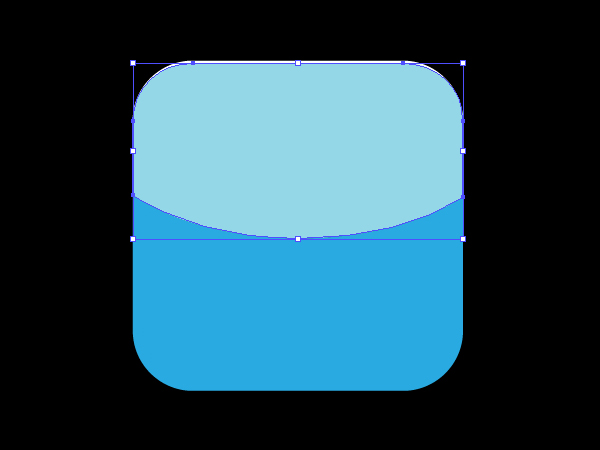
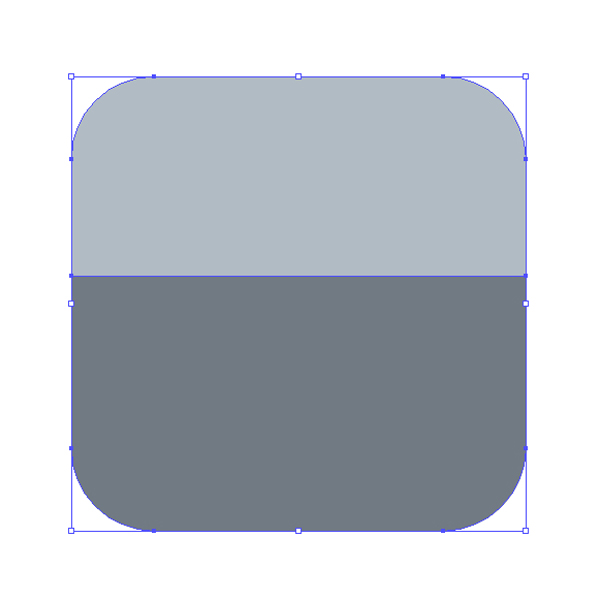
Take the next square and divide it into two equal parts.
Step 22
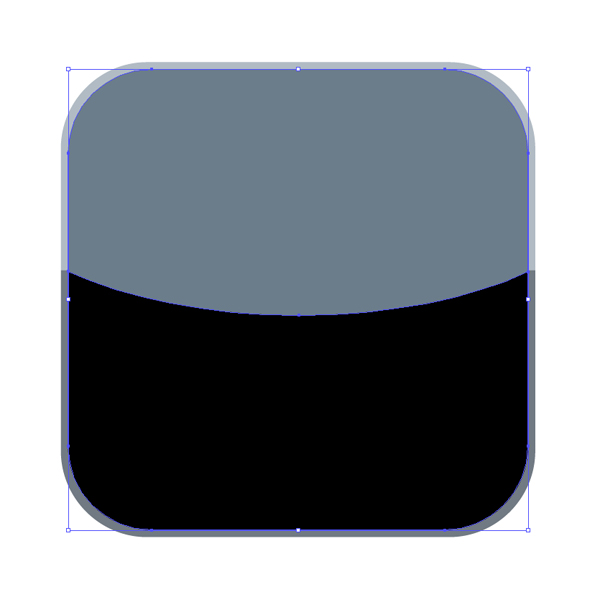
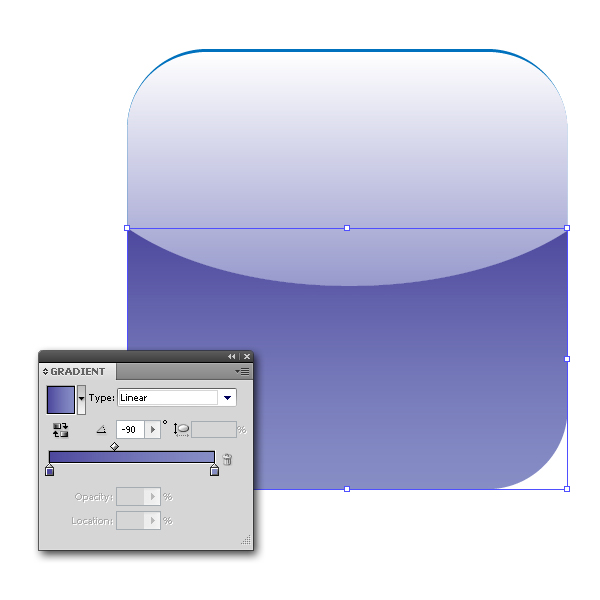
Copy the previous object and scale it down a bit. To get a curved edge, do the same thing as you did in Step 53.
Step 23
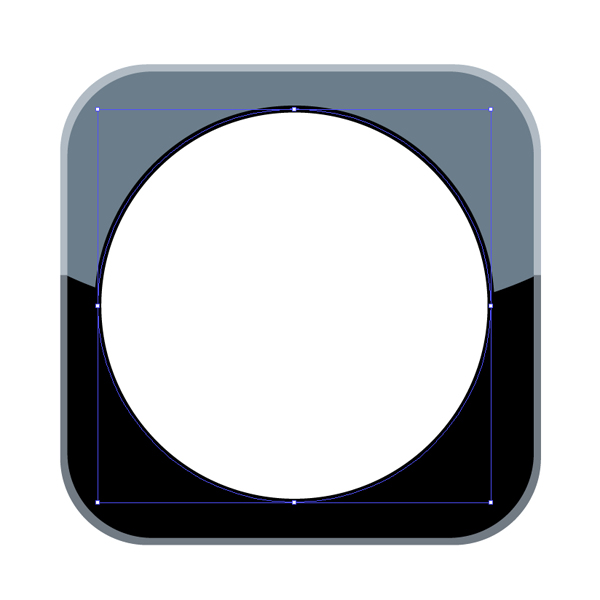
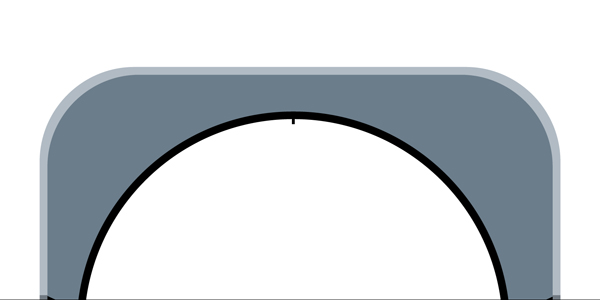
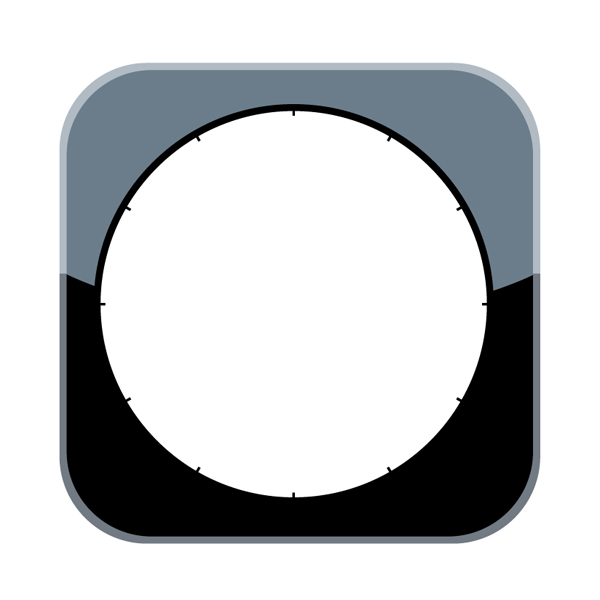
To create a basic clock shape, draw a perfect circle and fill it with white (add black stroke).
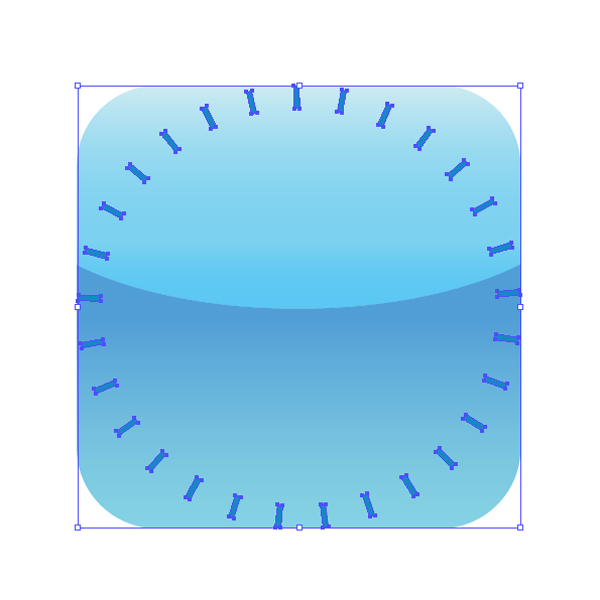
Step 24
Draw a horizontal line and place it on the top of the clock shape. Then, use the Rotate Tool (R) and hold Alt key pressed and (while holding) click precisely in the center point (use guides) of the white circle. Set the angle to -30 degrees and make 11 copies of it (Ctrl+D).
Step 25
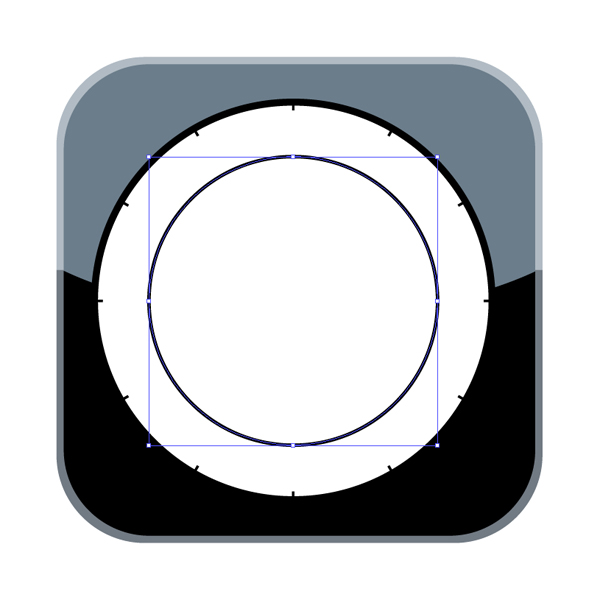
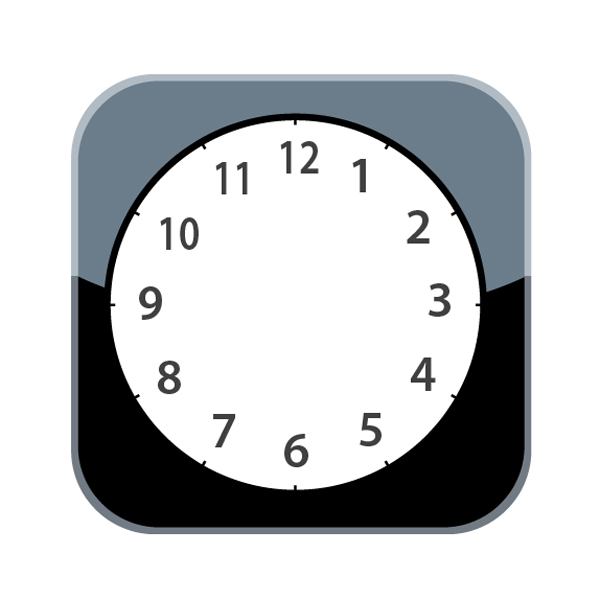
Create another circle and grab the Type on a Path Tool and click on the edge. Now, You can type clock numbers on the path you have created.
Step 26
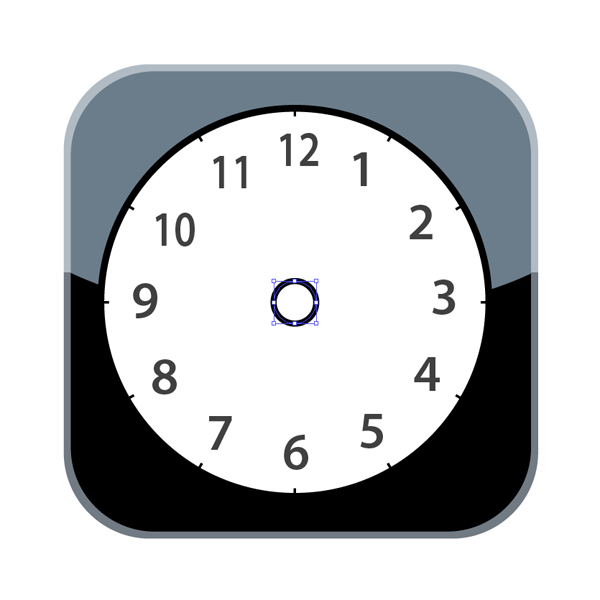
In this step, you need to add more details to Clock Icon (Second hand, Minute hand, Hour hand etc.).
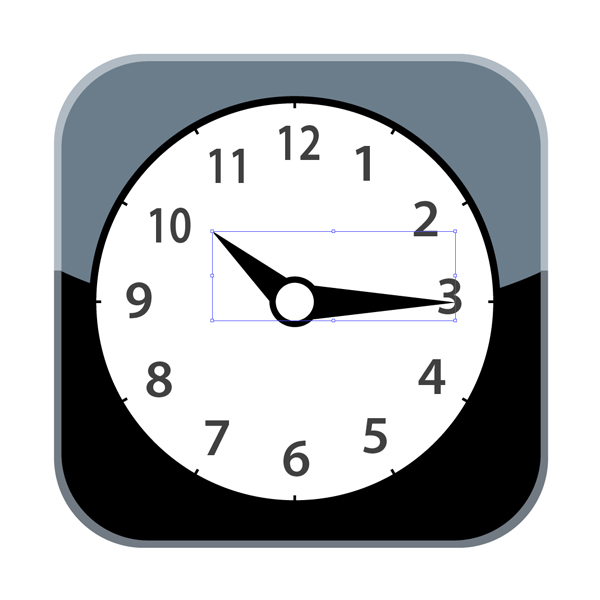

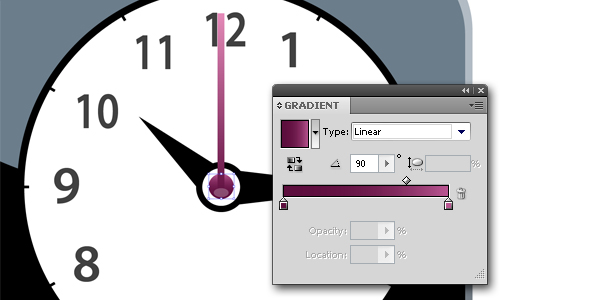
Step 27
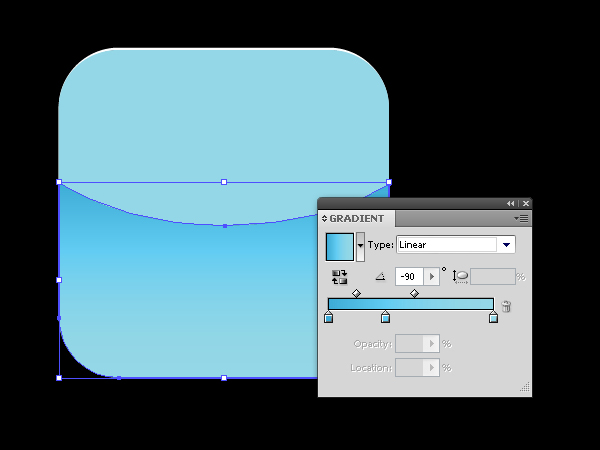
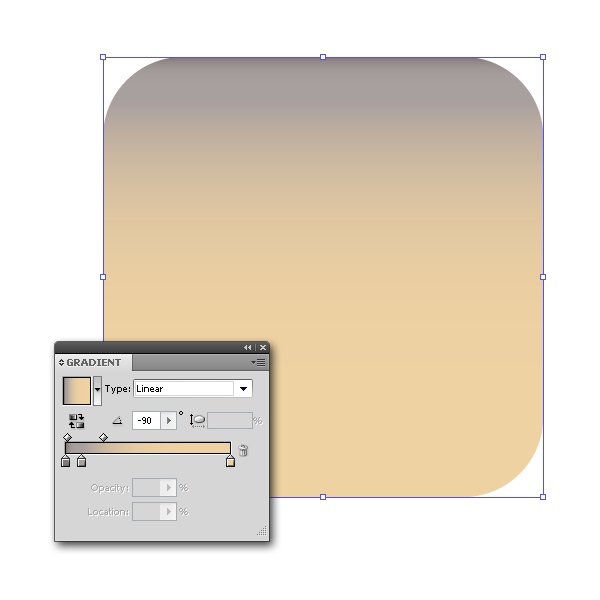
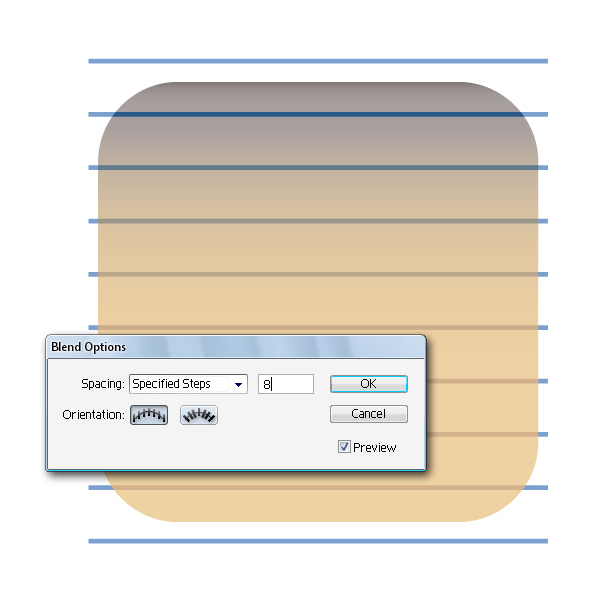
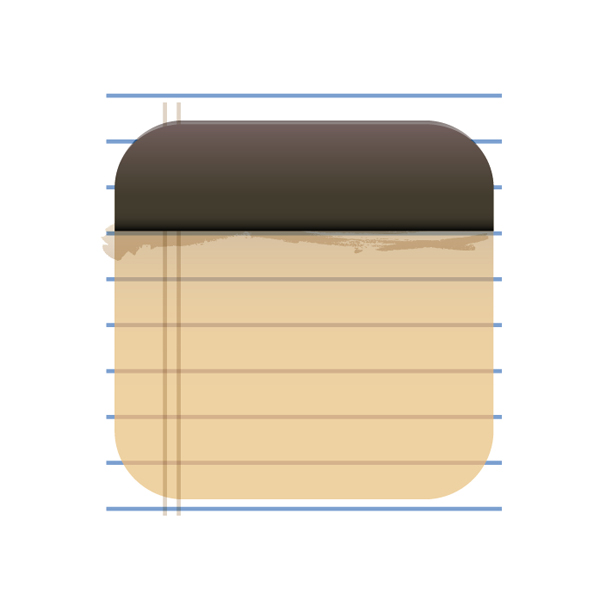
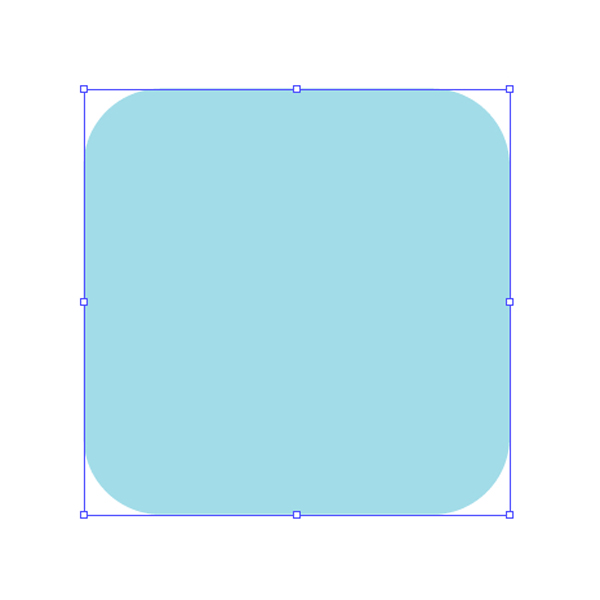
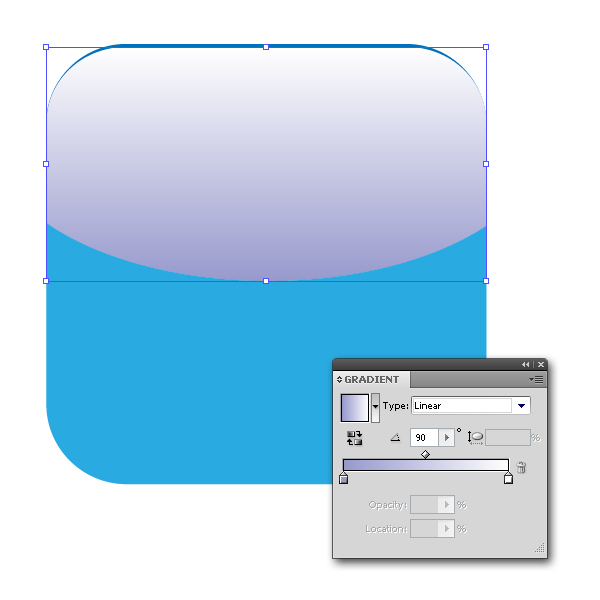
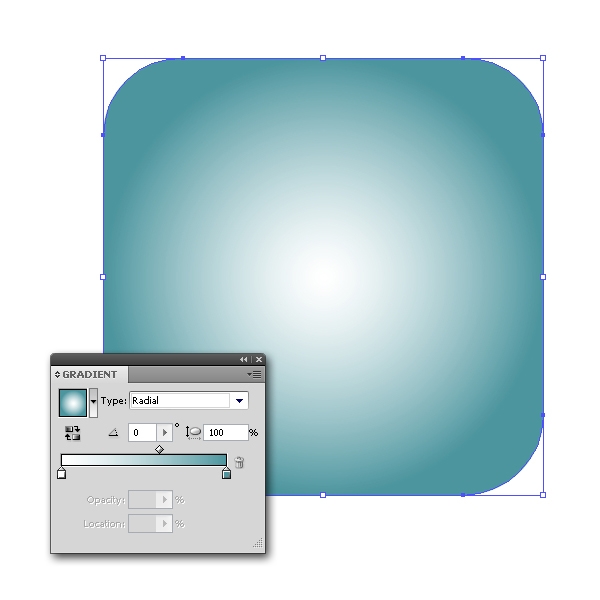
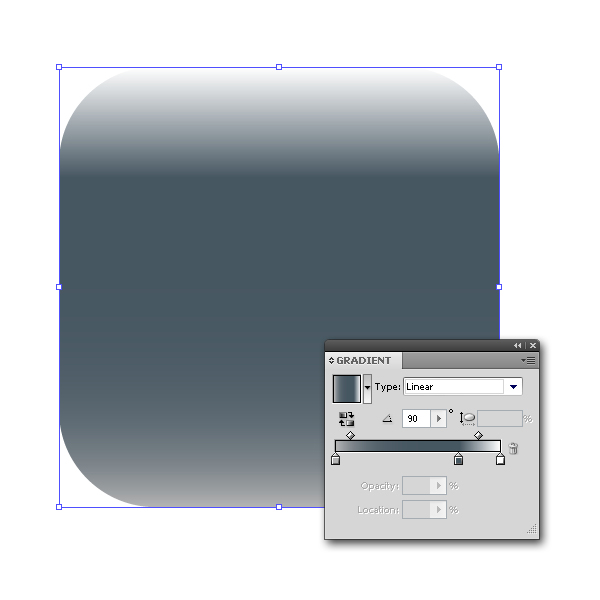
Take another square and use gradients again.
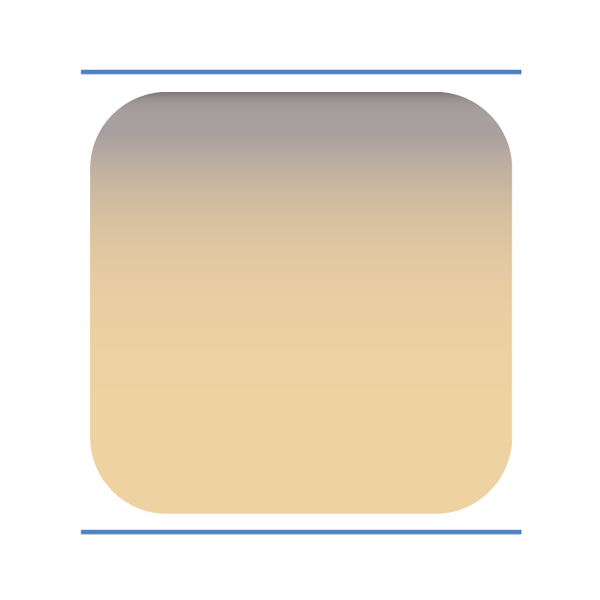
Step 28
Draw two blue parallel horizontal lines (one above and one below the square) and use the Blend Tool (W), to get bold line notebook paper. Change the Blending Mode to Color Burn (Opacity 75%).
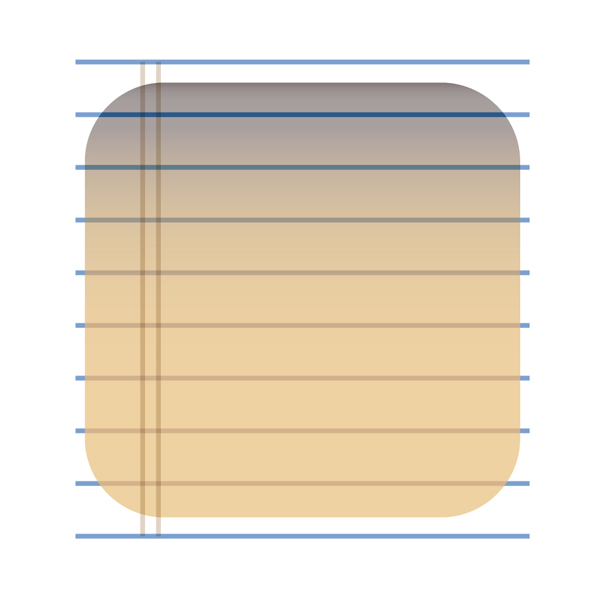
Step 29
Now draw two brown vertical lines and set the Blending Mode to Multiply (Opacity 35%).
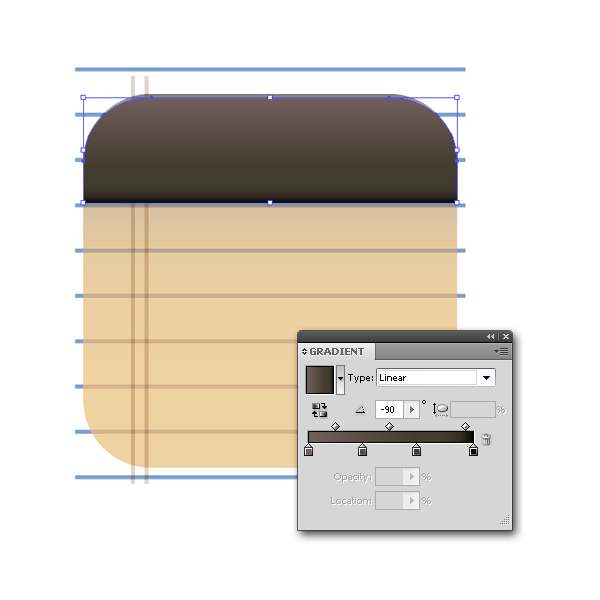
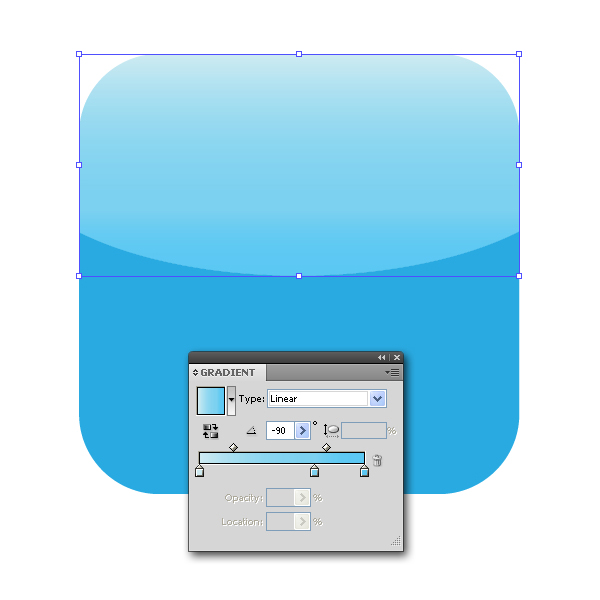
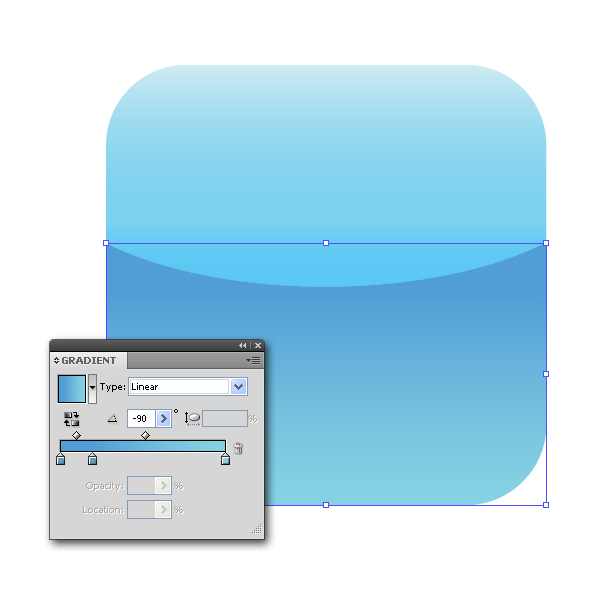
Step 30
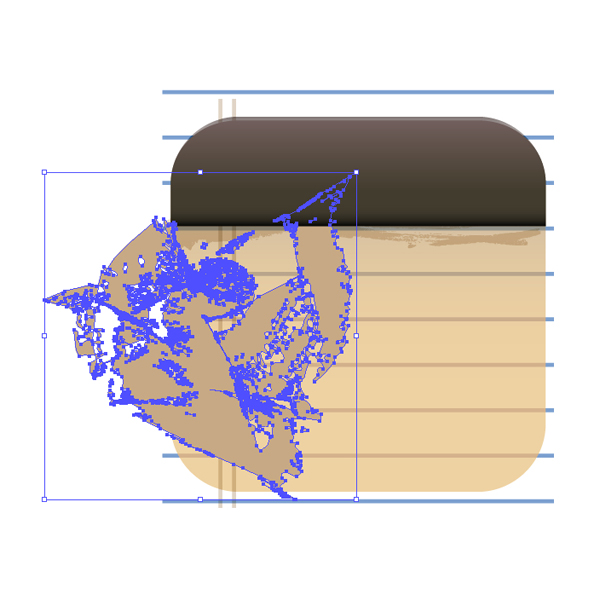
Copy the square You use as a background and make it the topmost object. Divide the object in two parts, select and delete the lower object (add gradients to the upper one), and you should have something like the image below.
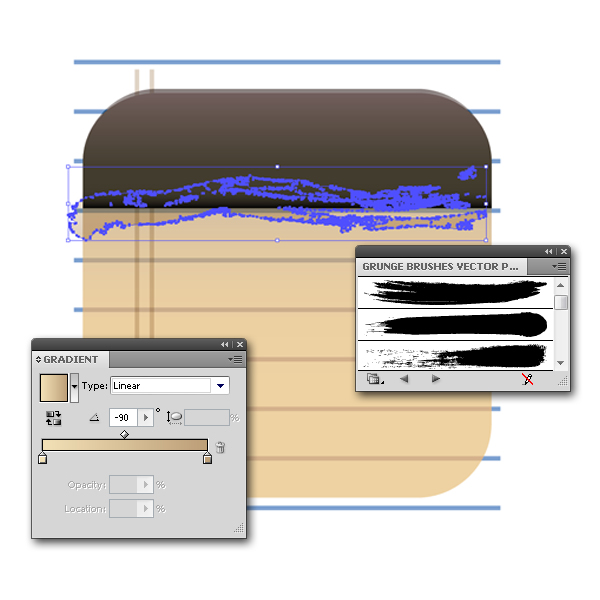
Step 31
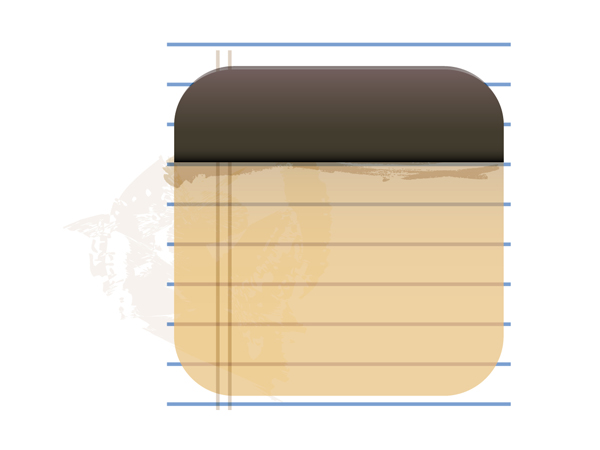
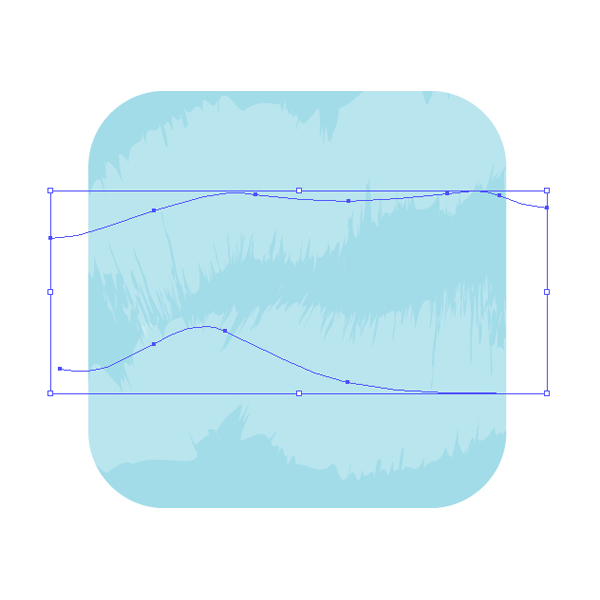
Open the Brushes Panel and in the Brush Library find some grunge brushes. Choose a brush and draw a line across the rest of the objects. Now select Object > Expand Appearance and add some gradient colors to it. Set the Blending Mode to Multiply (Opacity 50%).
Step 32
Modify brush to suit your needs and create another grunge effect. Set the Blending Mode to Color Burn (Opacity 15%).
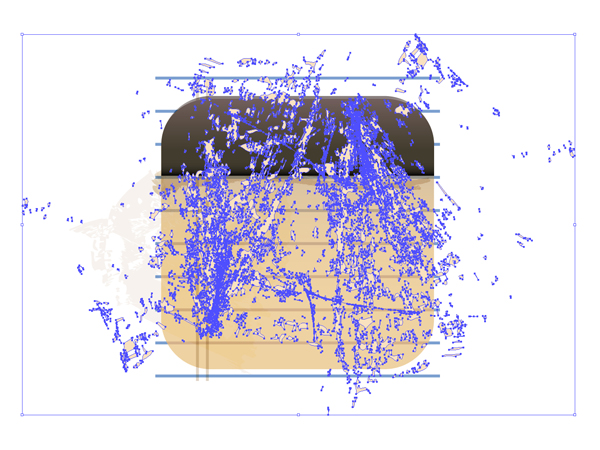
Step 33
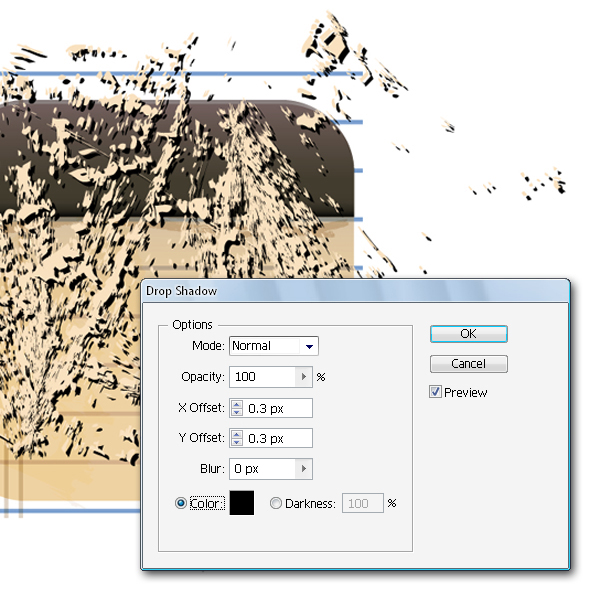
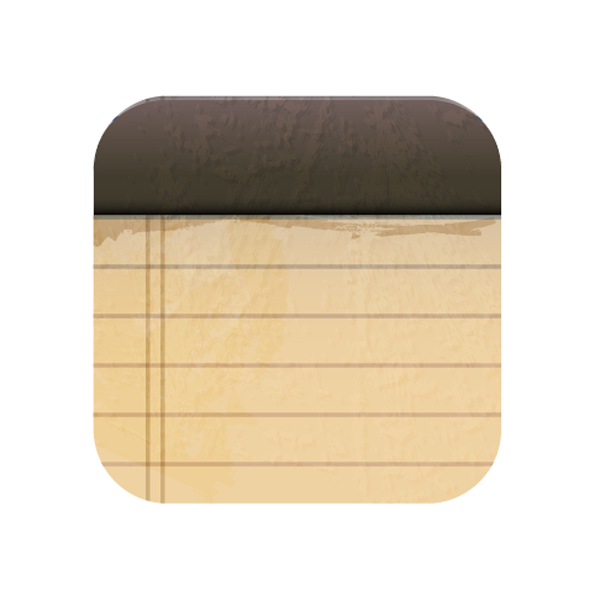
Select one of the grunge brushes again and draw something, but now go to Add New Effect > Stylize > Drop Shadow… in the Appearance Panel, and set the values as shown. For those objects, you should set the Blending Mode to Overlay (Opacity 7%). Now create a mask and you have finished the Notes Icon.

Step 34
Choose a color in the Swatches Panel and fill the square.
Step 35
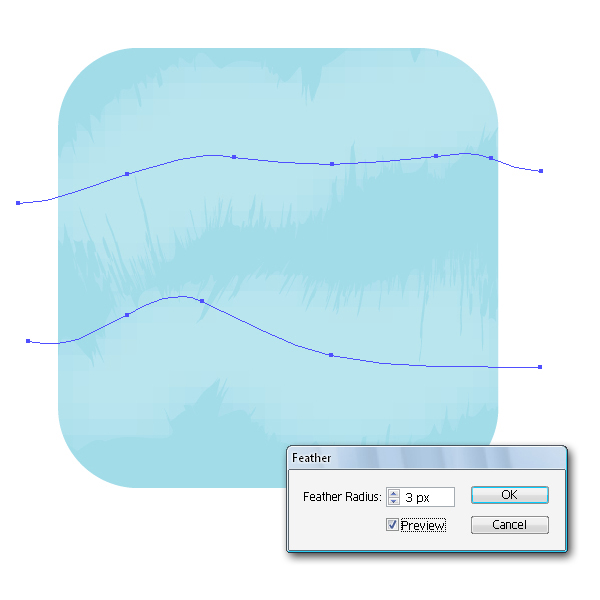
To draw clouds, use a Charcoal brush to draw two thick lines, then select Effect > Stylize > Feather… and in the Feather Radius box type 3 px. You don`t have to go into great detail (the objects will be in a background, anyway). Just lower the Opacity to 25%.
Step 36
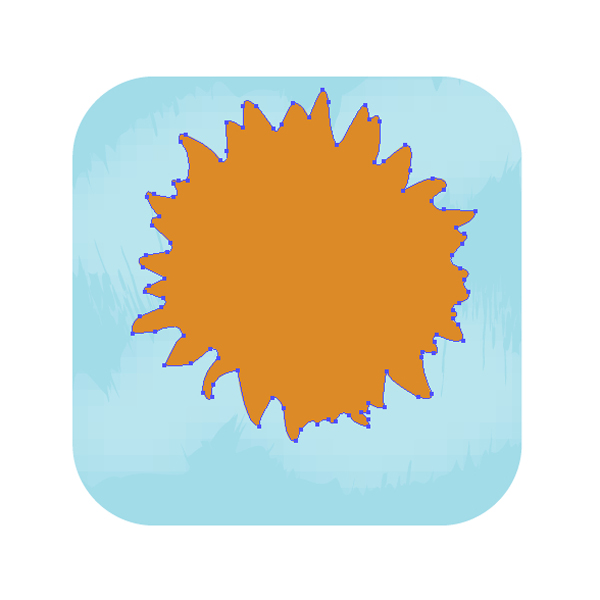
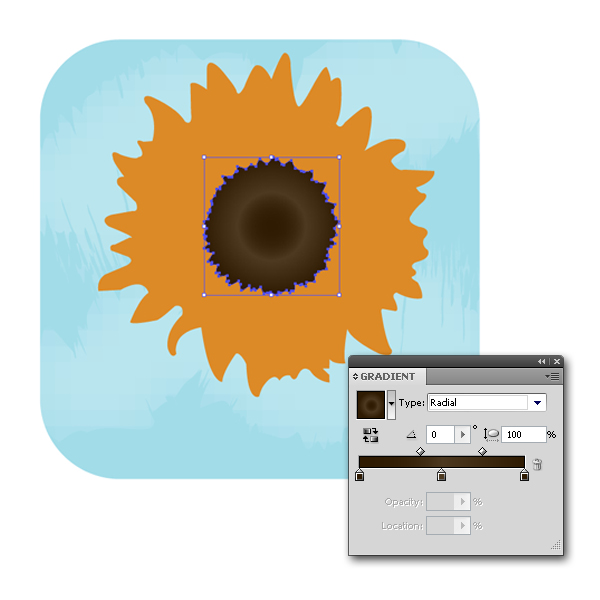
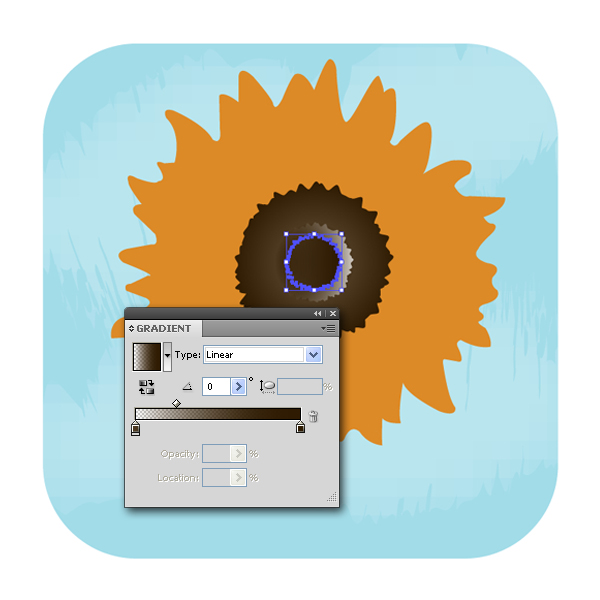
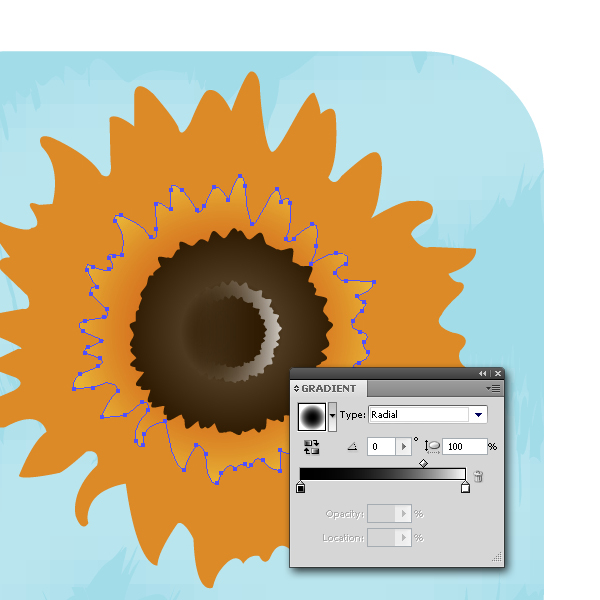
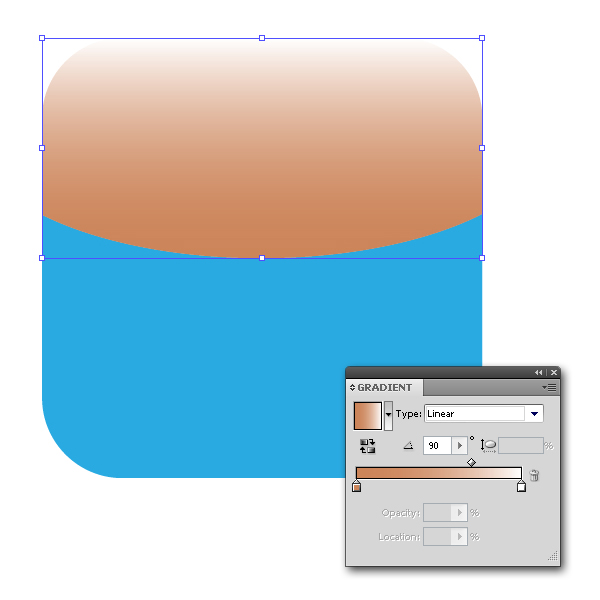
Use the Pen Tool (P) and create a basic shape of the sunflower, and color it with solid orange. Copy that object and scale it down and add some radial gradients on the surface. Copy the previous object again and change the colors. Click on the left gradient slider and change the Opacity of that specific color to 0%, and the Opacity of the right slider should be set to 75%. Create the third object and fill it with another gradients (set the Opacity of left slider to 0%).
Step 37
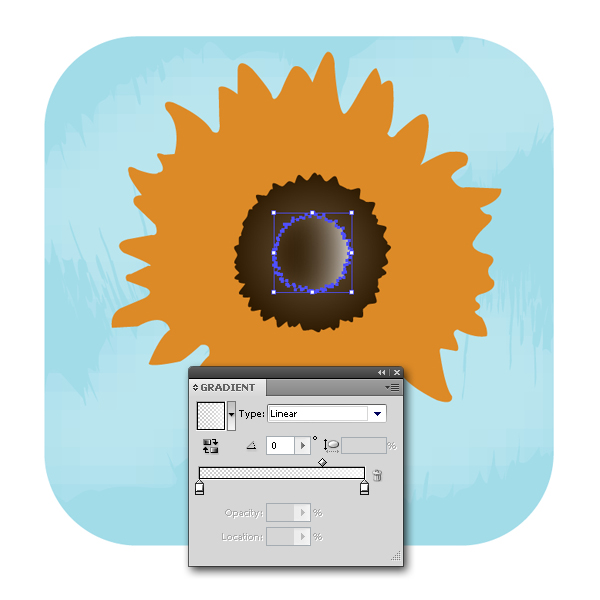
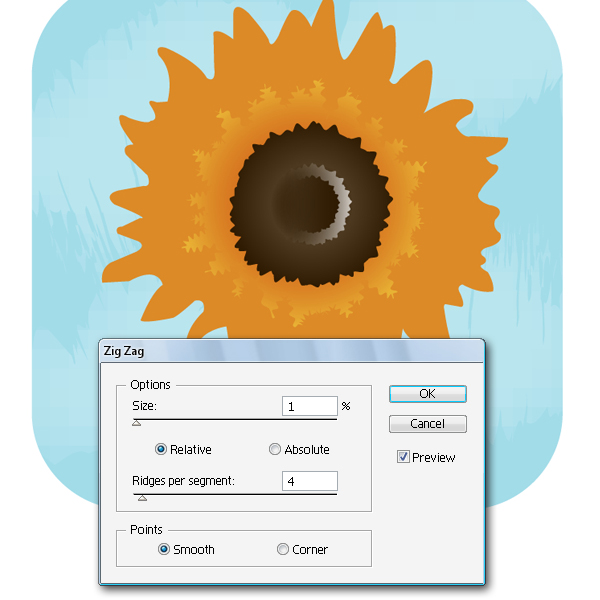
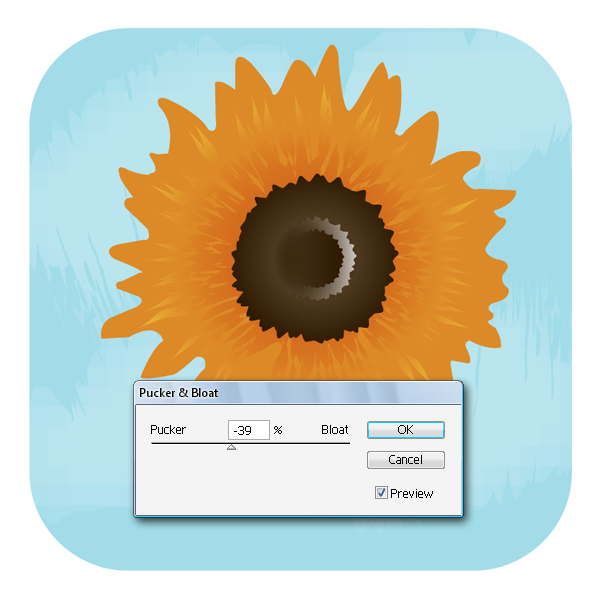
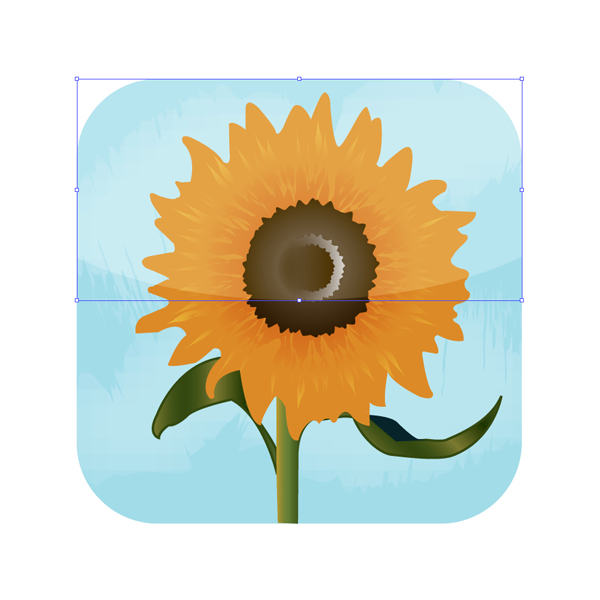
Copy the first object and use the Offset Path command to scale down the object and add grayscale gradients. Now, You can change the Blending Mode of the object to Overlay (35%). In the Appearance Panel, click Add New Effect >Distort & Transform > Zig Zag…. Then, go to Add New Effect > Distort & Transform > Pucker & Bloat…. Again, go to Add New Effect > Distort & Transform > Roughen… and apply the last effect in this step.
Step 38
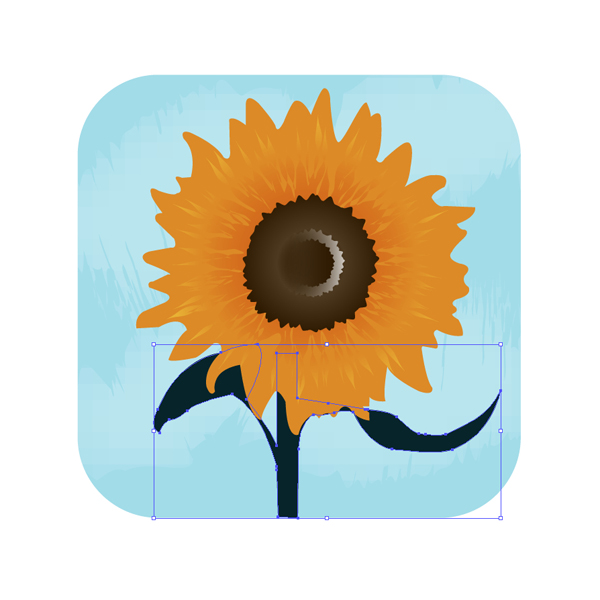
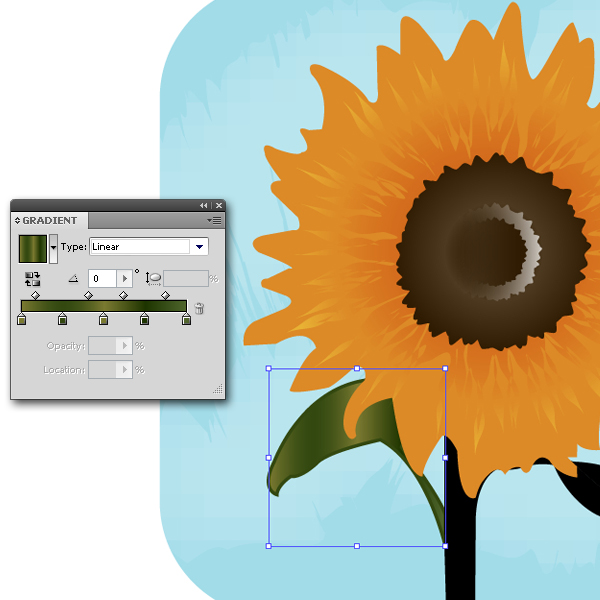
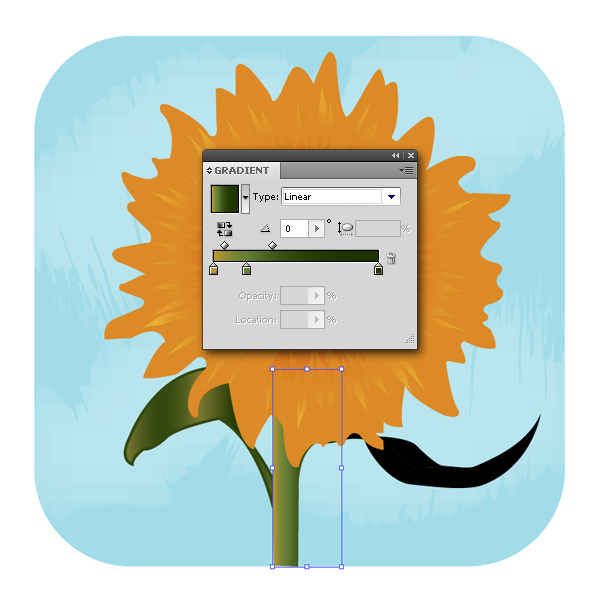
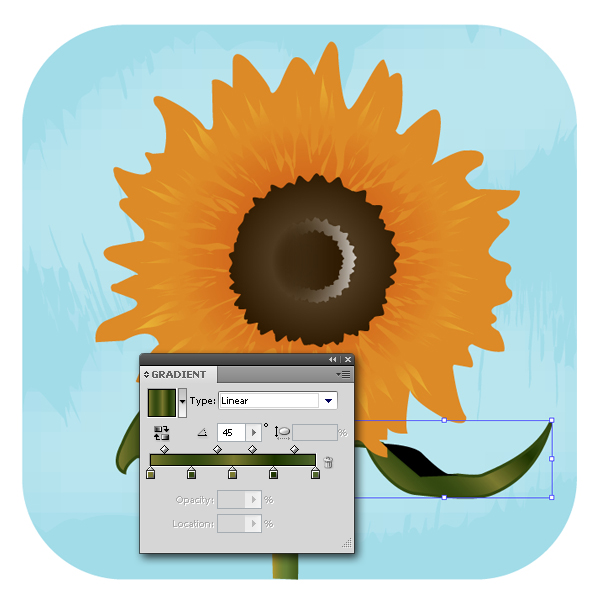
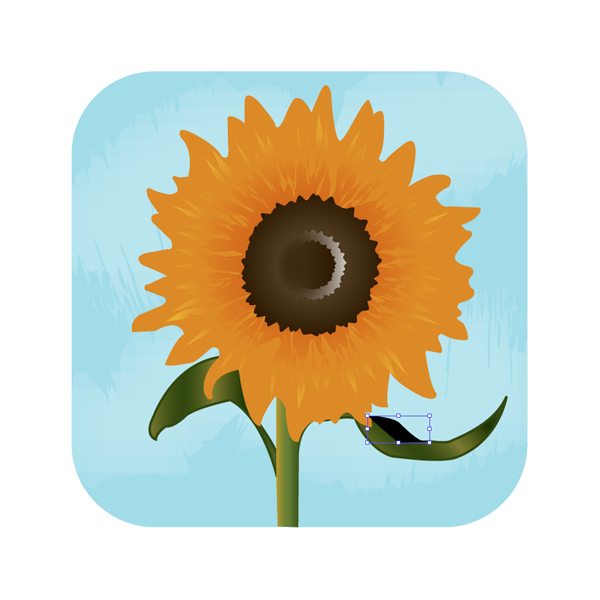
Grab the Pen Tool (P) and draw some sunflower leaves and send the object back. Click on the Scissors Tool (C) and divide the object into four parts. In the Gradient Panel choose gradient colors for every single segment of the object you have just divided. Create the last object and change the Blending Mode to Soft Light (Opacity 50%).
Step 39
Divide the next square you have created in the beginning of the tutorial and color each object with different gradients.
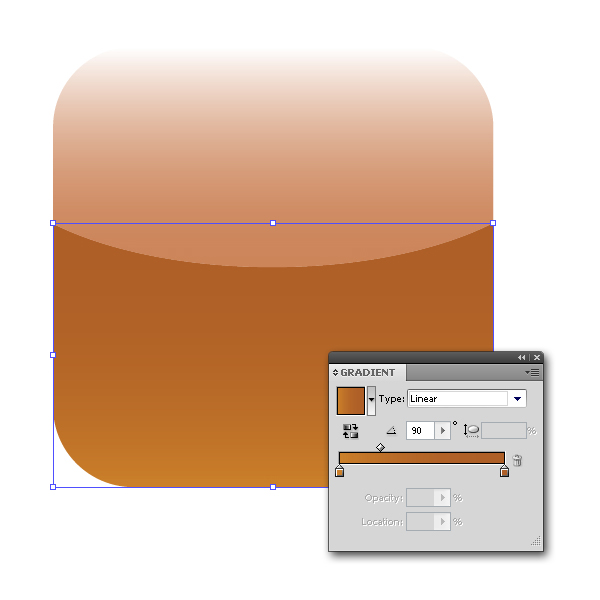
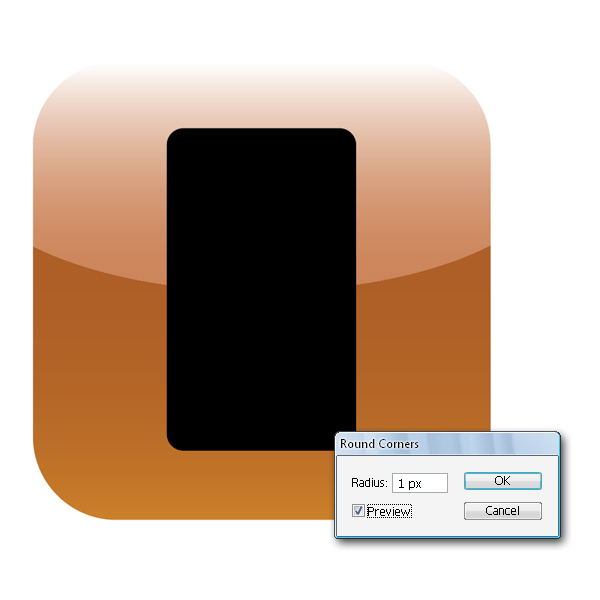
Step 40
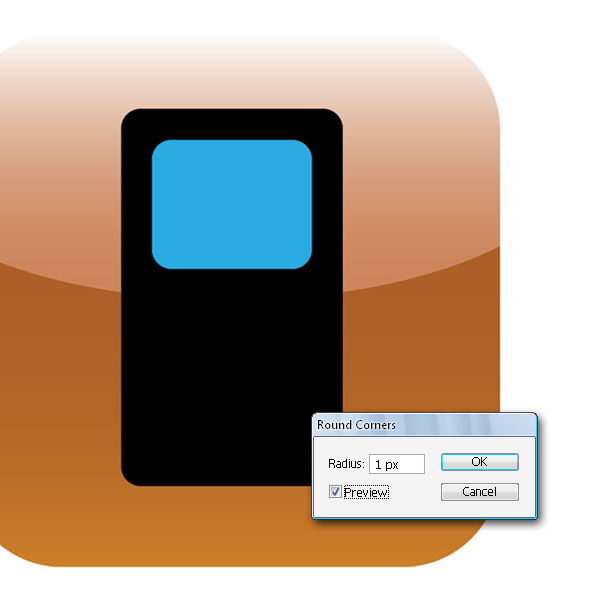
Use the Rectangle Tool (M) and draw a rectangle in the middle of the previous object. Then, go to Effect > Stylize > Round Corners… and Set the Radius to 1 px. Copy that object and just scale it down a bit.
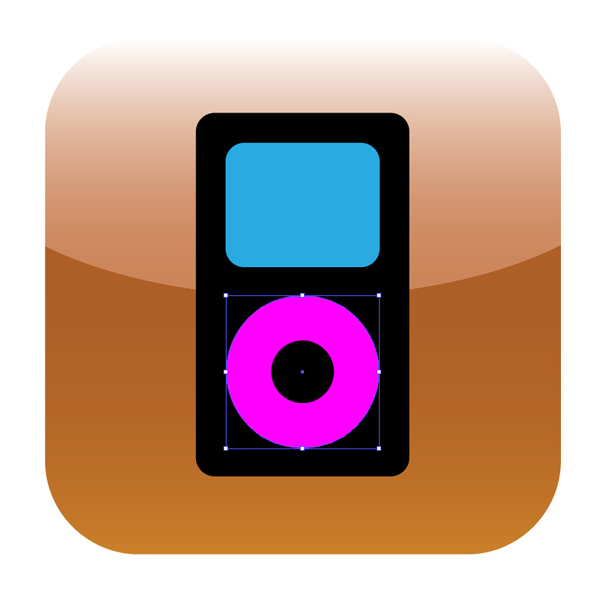
Step 41
With the Ellipse Tool (L) create a perfect circle, but use a thick stroke only (no fill). Then, go to Object > Expand Appearance, to expand the object. Now, select those three objects and in the Pathfinder Panel choose Minus Front.

Step 42
Use another square and fill it with gradients.

Step 43
Within the Line Segment Tool (\) draw a straight vertical line. To rotate around a different rotation axis, select the Rotate tool (R) and press Alt key in the middle of the square and You will get something like on the image below. In the Transparency Panel change the Blending Mode to Soft Light (Opacity 75%).
Step 44
Create a circle (white stroke) and in the Appearance Panel click on Add New Stroke and create two more strokes. In the Stroke Panel you can set the Stroke alignment (every stroke should be aligned differently) and go to Object > Expand Appearance. Now, add gradients as shown.
Step 45
In the Symbols Panel you will find a music sign and drag it to Artboard. Then, break the link and modify the object until you are satisfied. Create the copy of the object, send it behind the first one, and choose some gradient colors.
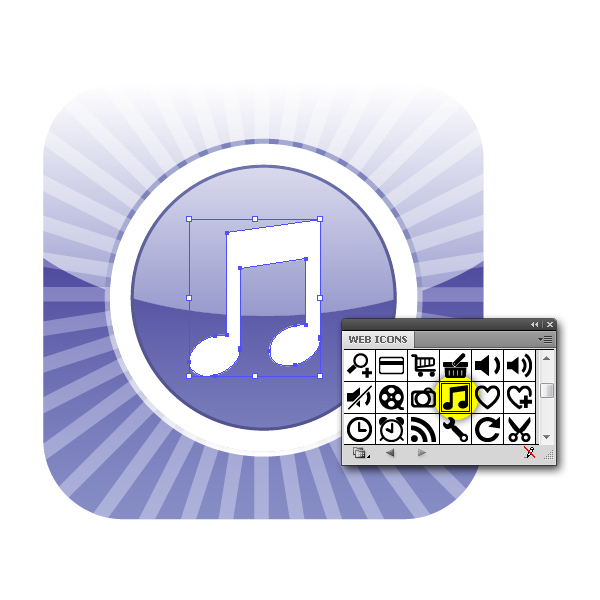
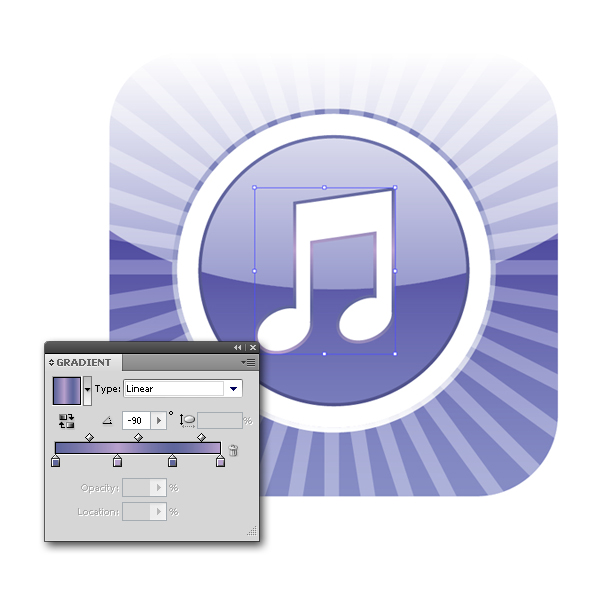
Step 46
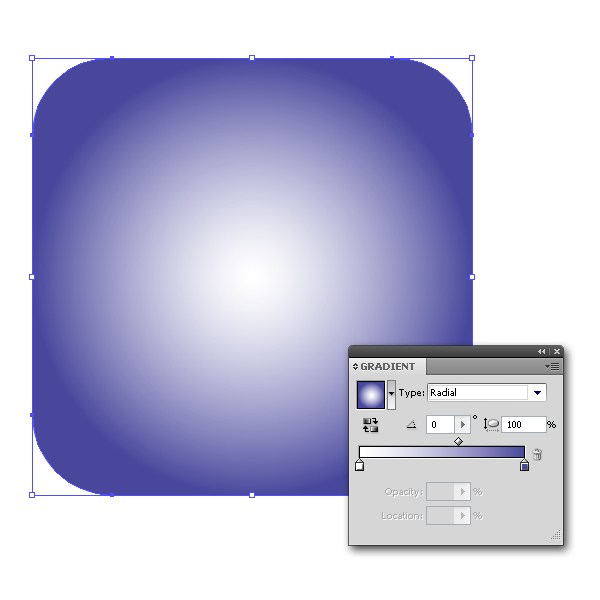
Create another square and add some radial gradients. Now change the Blending Mode to Hard Light (Opacity 50%) and place it on the top.

Step 47
This object is very similar to the one described in the previous steps, so you can simply copy the parts you need to create another object. Go to another square and color it the way you can see on the image below.

Step 48
Use the Pen Tool (P) and create three shapes (Pencil, Brush, Eraser), and fill them with white (add gradients to the strokes).
Step 49
Create another square and color it with radial gradients. Change the Blending Mode to Hard Light (Opacity 50%) and bring the object to front.

Step 50
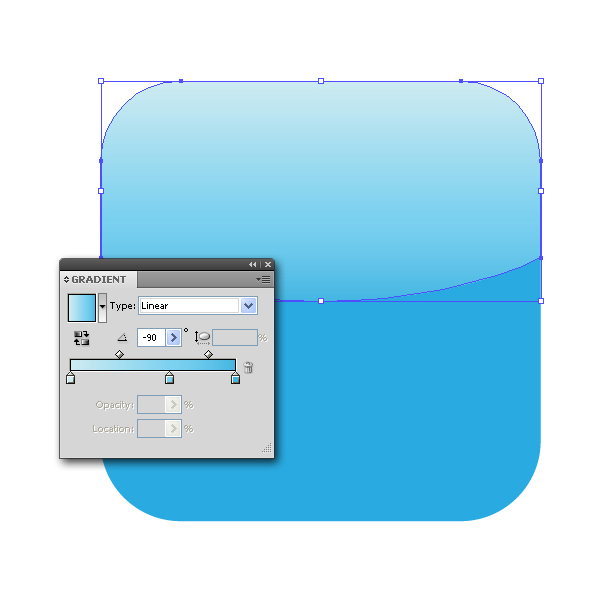
Get another square and divide it into two parts. Use the gradients again and fill the objects.
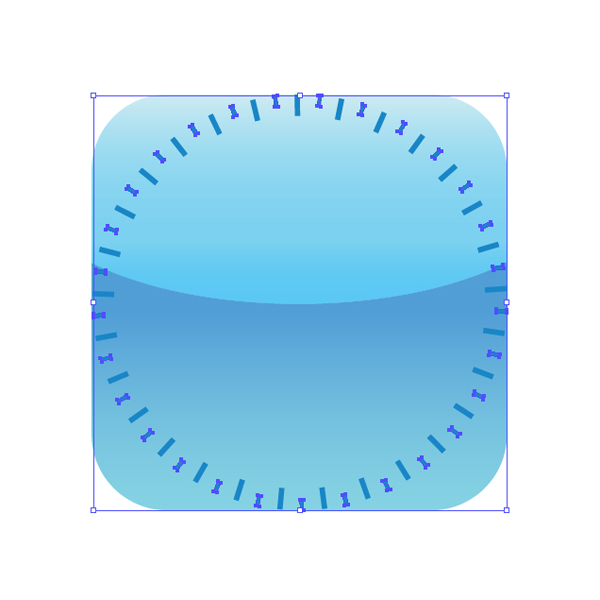
Step 51
In this step, we are going to create a compass dial. First, draw a straight line and make copies as we explained in the step 108. Copy the straight line, but scale it down now. Repeat the process again and you should get something like the image shows.
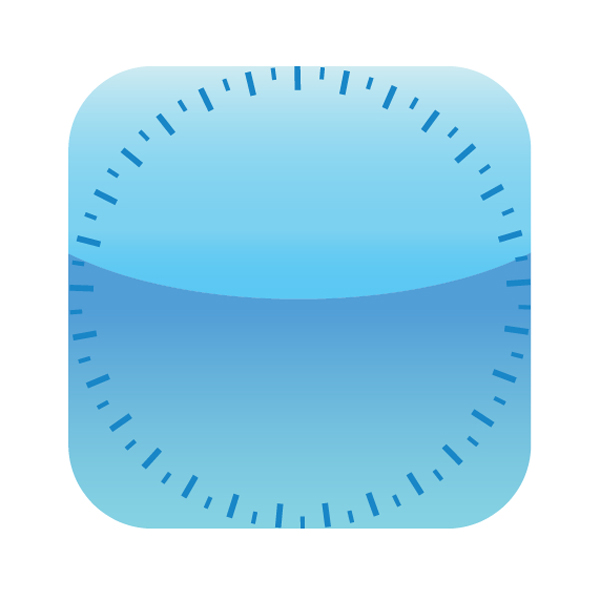
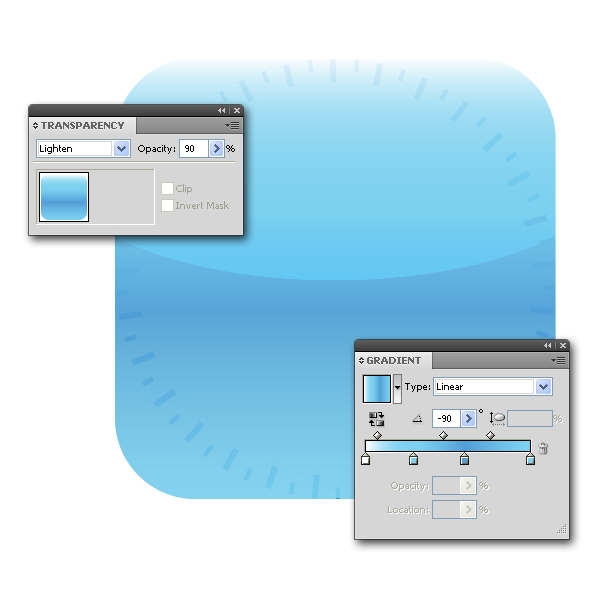
Step 52
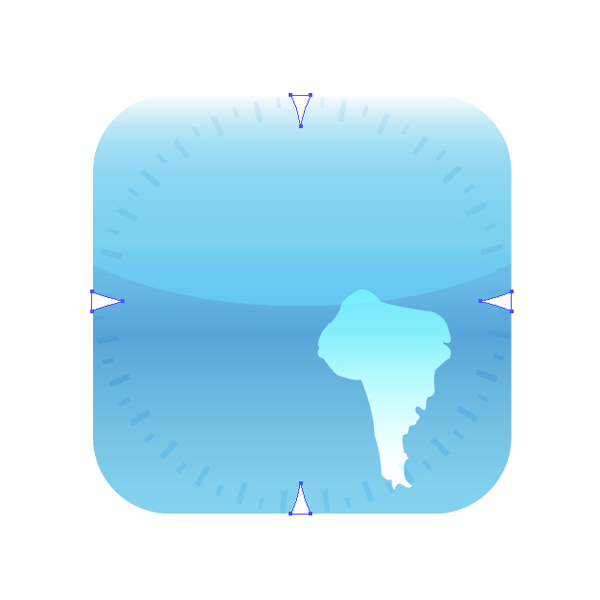
Draw another square and bring it to front. Use gradients and set the Blending Mode to Lighten (Opacity 90%).
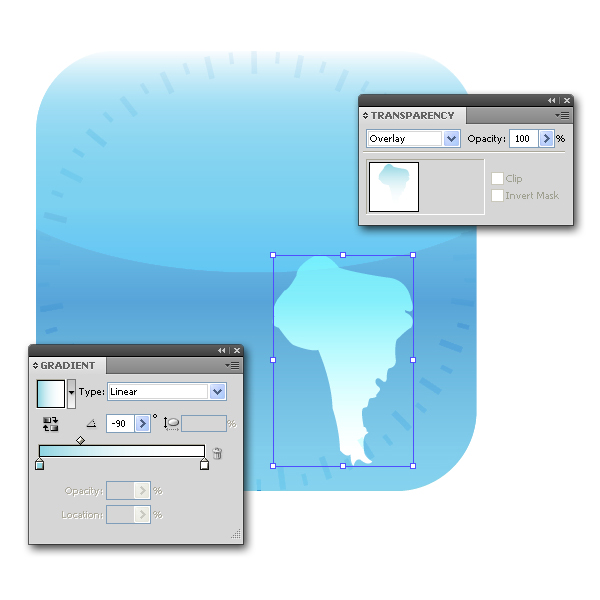
Step 53
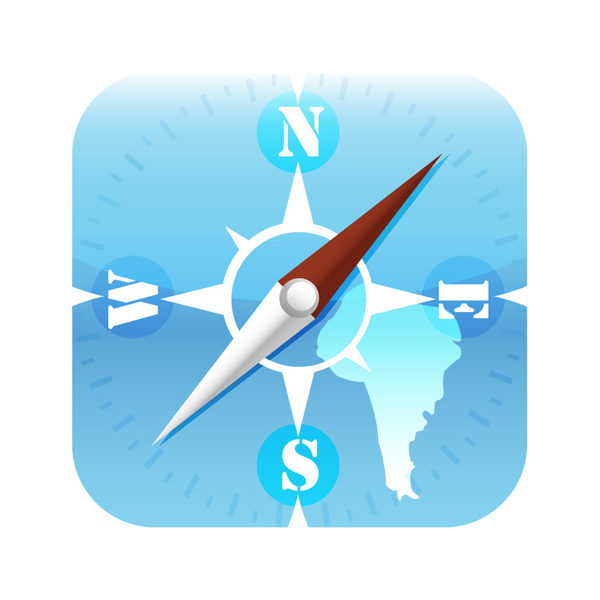
Using the Pen Tool (P) create a continent shape and choose the gradients to color the object. You must set the Blending Mode to Overlay (100%).
Step 54
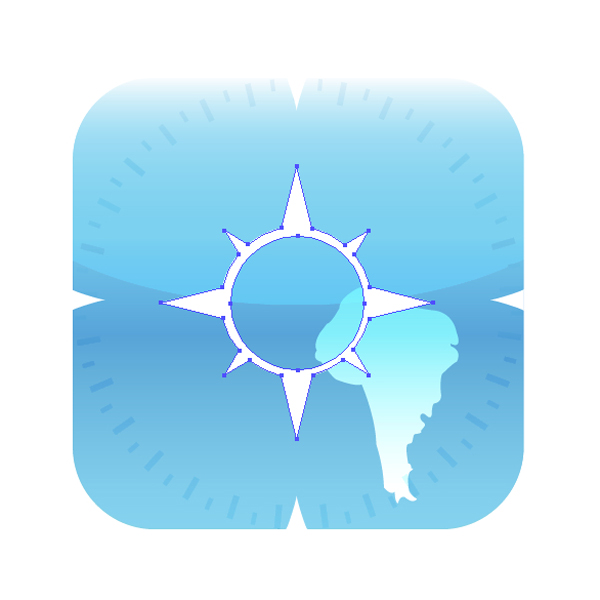
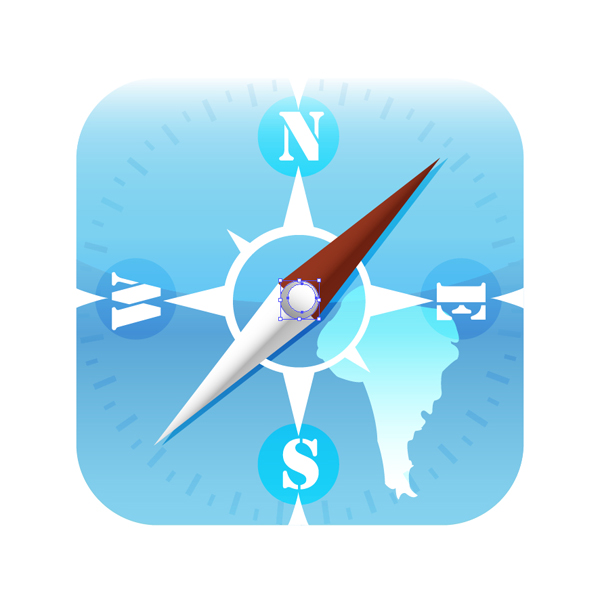
Use the Polygon Tool and draw four triangles as shown. After that, to make eight compass points, You should create eight triangles (four larger and four smaller) and rotate them by 45 degrees. Then, create two perfect circles (with different sizes) and place one above the other. Select those eight triangles and the larger circle and use the Pathfinder option Unite to create a single object. Select all again, but now go to Object > Compound Path > Make (Ctrl+8) to make a round hole in the object.
Step 55
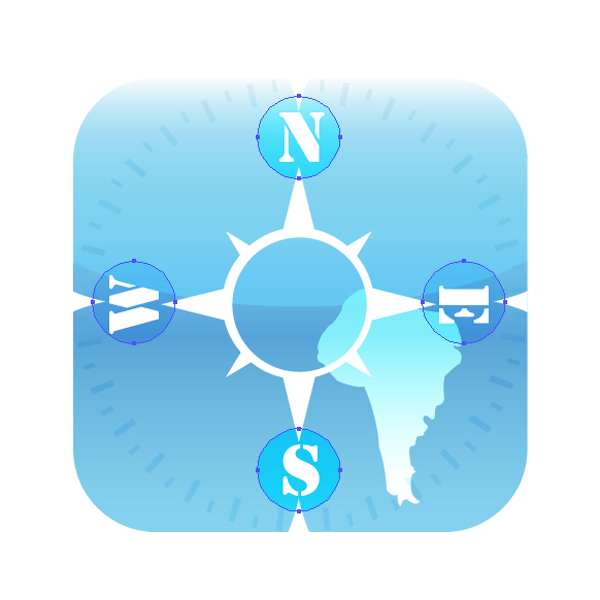
Create four circles and put them on opposite sides. Choose a light blue color and change the Transparency of the objects as follows: the Blending Mode of upper and lower circle should be set to Overlay (Opacity 100%), and the Blending Mode of the other two circles should be set to Color Burn (Opacity 25%).
Step 56
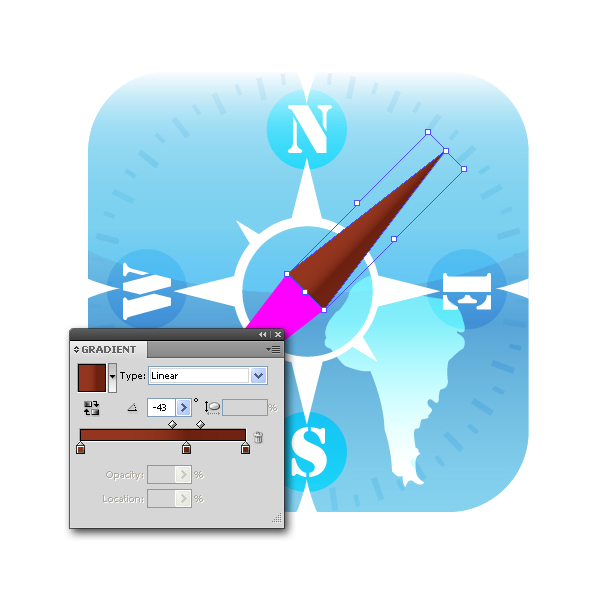
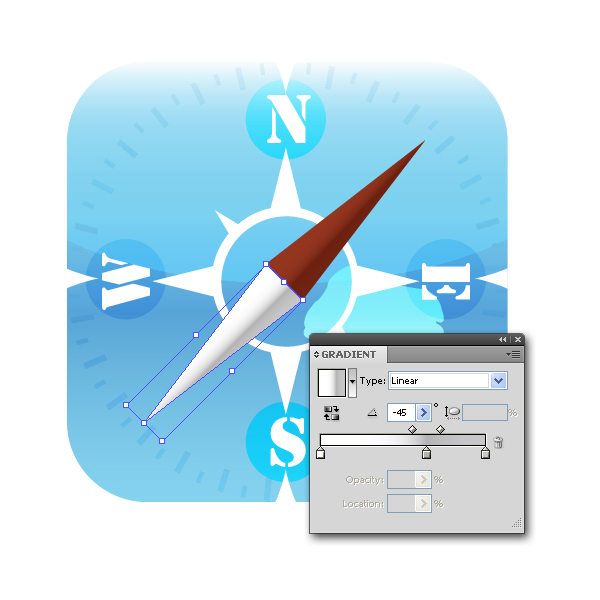
To create a compass needle draw two triangles and color them the way you can see on the image. Once finished, add Drop Shadow effect to the object and set values as shown.

Step 57
Use the Gradient Panel and color the objects as shown.
Step 58
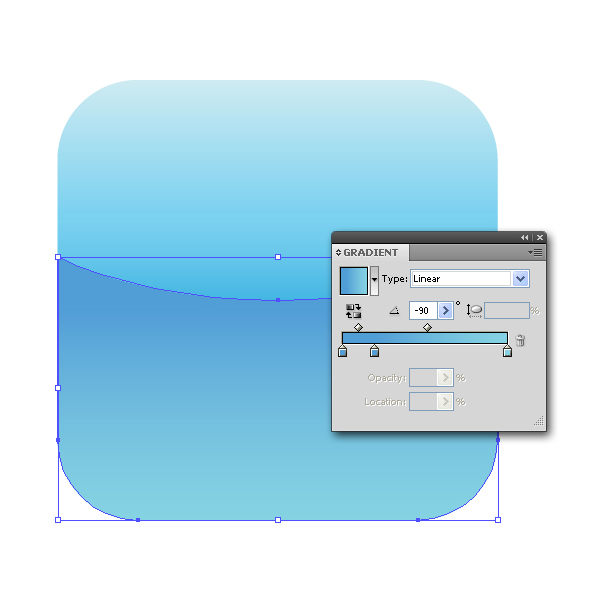
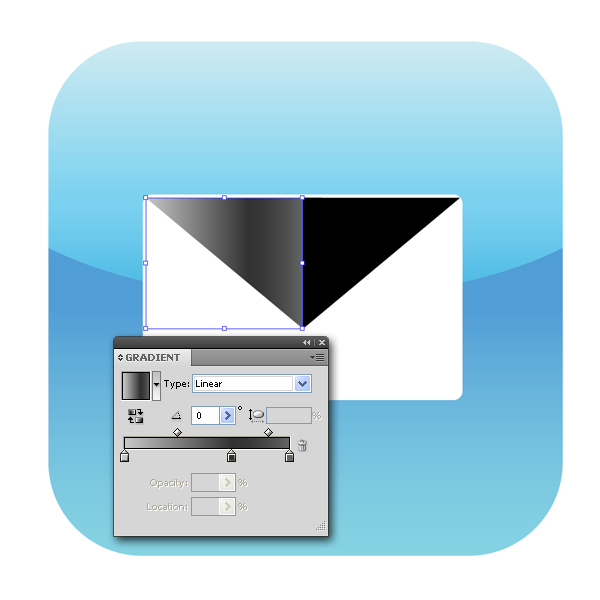
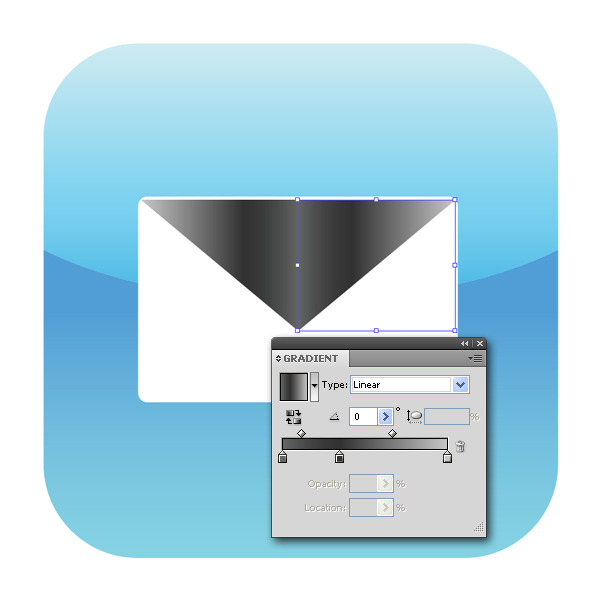
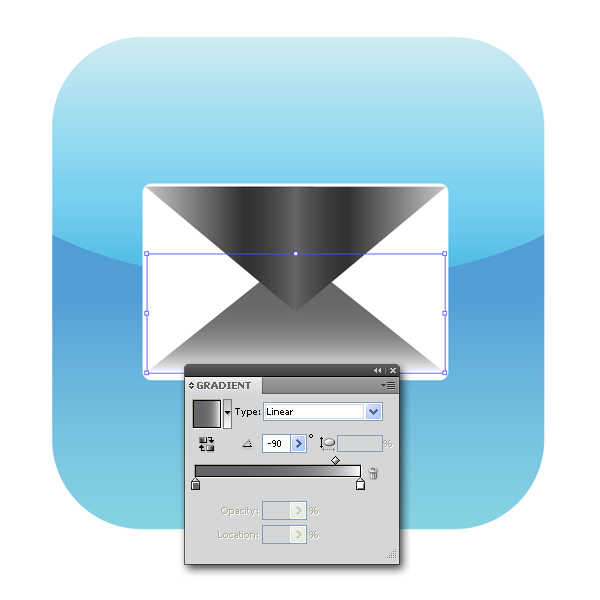
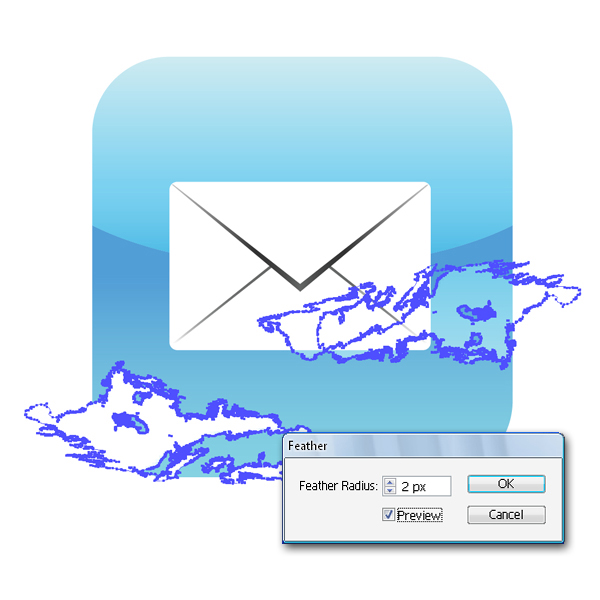
We will create the Mail Icon now. Draw a rounded rectangle to create a basic envelope shape. Using the Polygon Tool draw a triangle and divide it into two parts and use the same gradients (just reverse the gradient for the second object). To draw a triangle, drag until the polygon is the desired size and press the up arrow and down arrow keys to add and remove sides from the polygon. It’s as simple as that. Create another triangle, similar to the previous one and use different gradients. Create two white triangles and put them on the top to finish the envelope. Grab a Grunge Brush and draw two clouds. To soften the edges of the objects, you can use the Feather effect.


Step 59
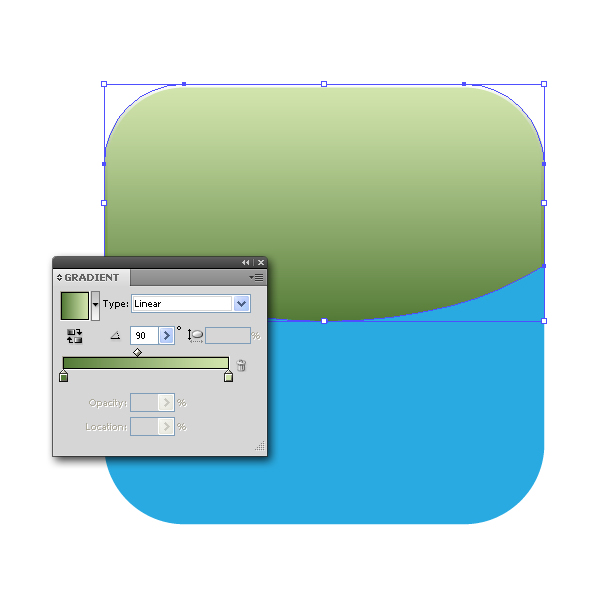
Use another square and fill it with gradients.
Step 60
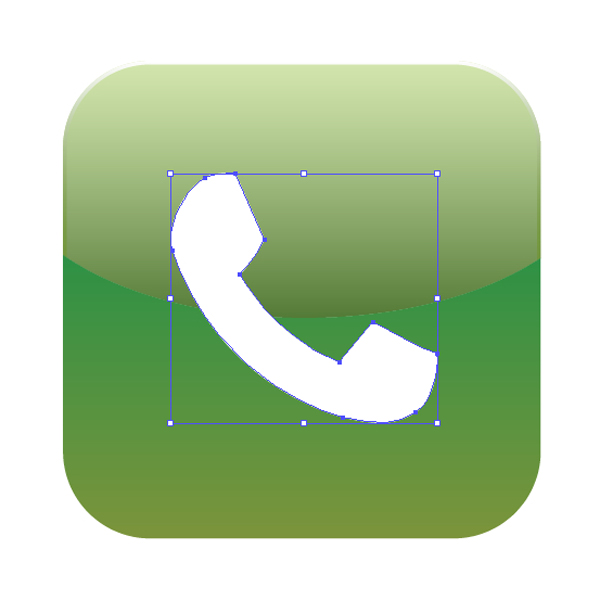
With the Pen Tool (P) draw a phone symbol and place it above everything.

Step 61
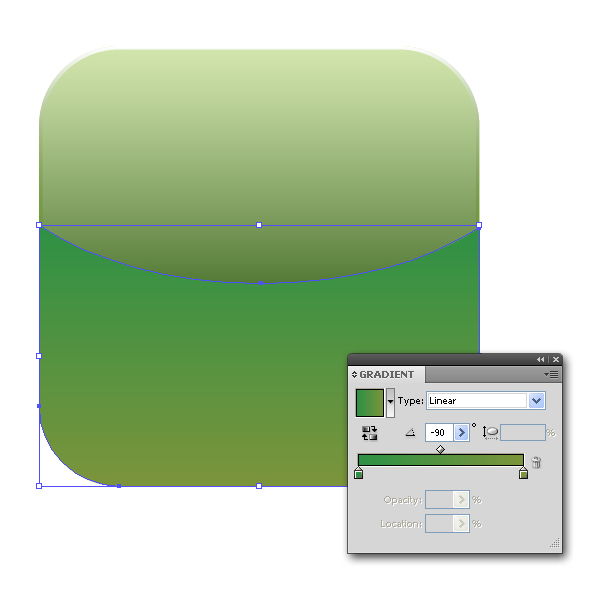
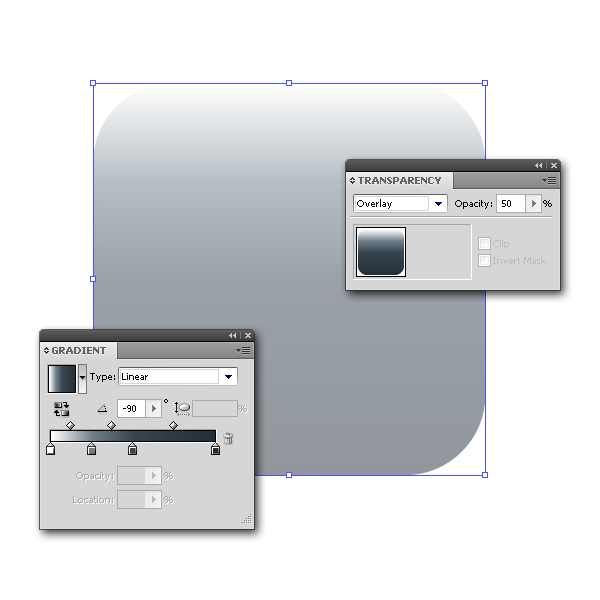
Go to the last square and use the gradients once more.
Step 62
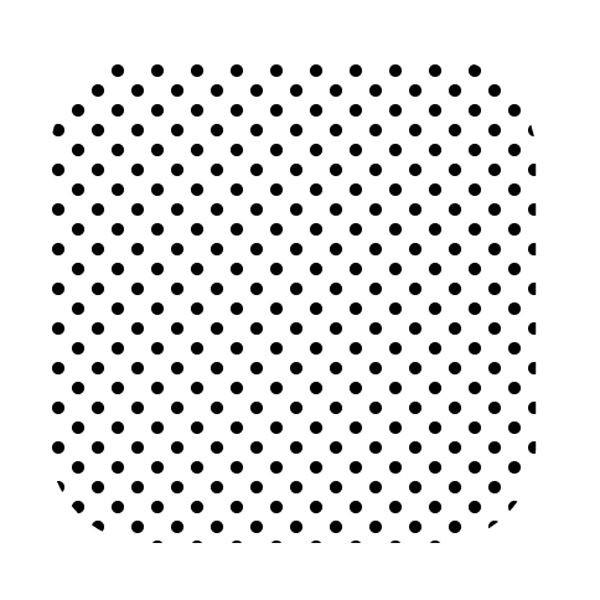
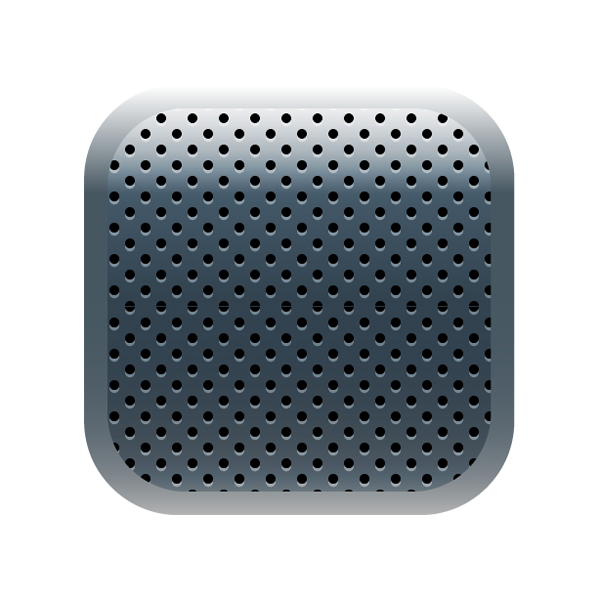
Copy that object and scale it down a bit. Now, in the Swatches Panel choose the pattern we have created in Step 22 (Part 1) and apply the pattern. Place the object on the top.
Step 63
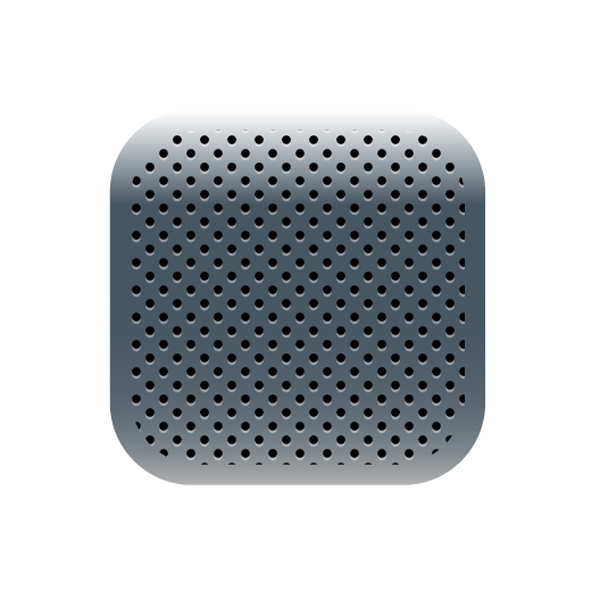
Create a square the same size as the previous one. Choose the gradient colors and in the Transparency Panel set the Blending Mode to Overlay (Opacity 50%).
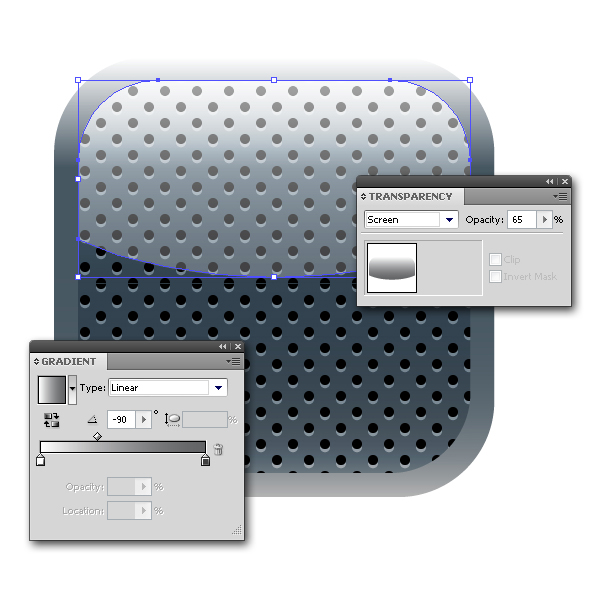
Step 64
Create the object as shown on the image below and color it. Change the Blending Mode to Screen (Opacity 65%). Create another object, but now apply the strokes to it only (no fills).
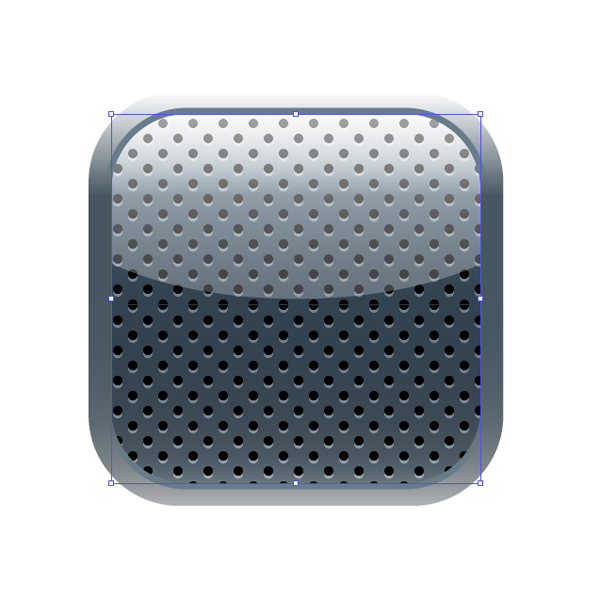

Step 65
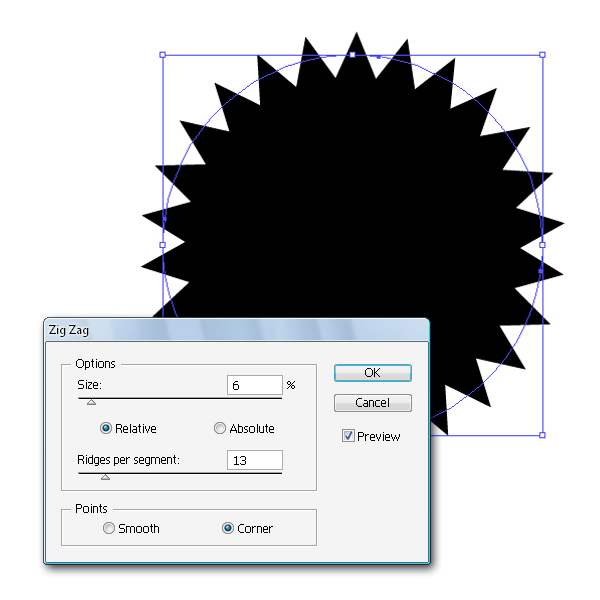
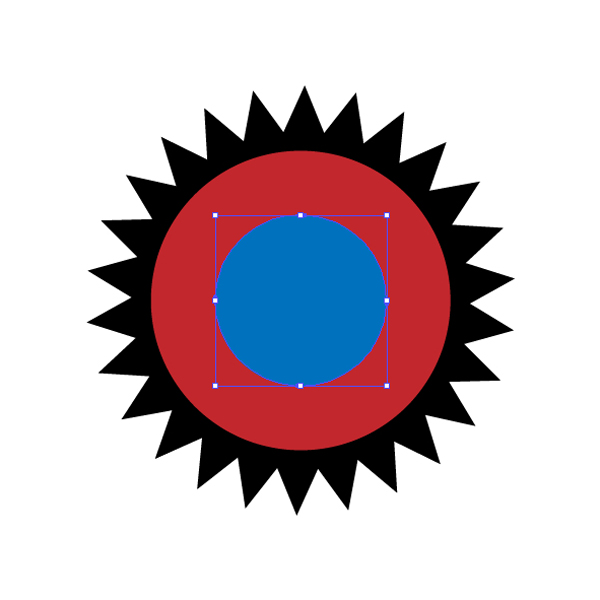
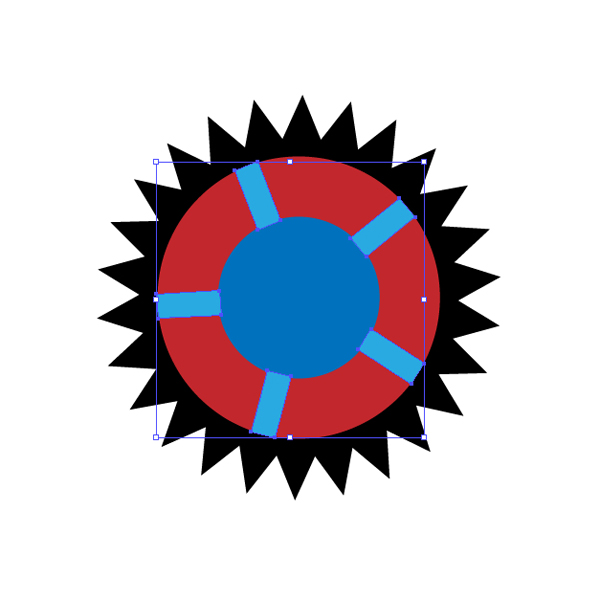
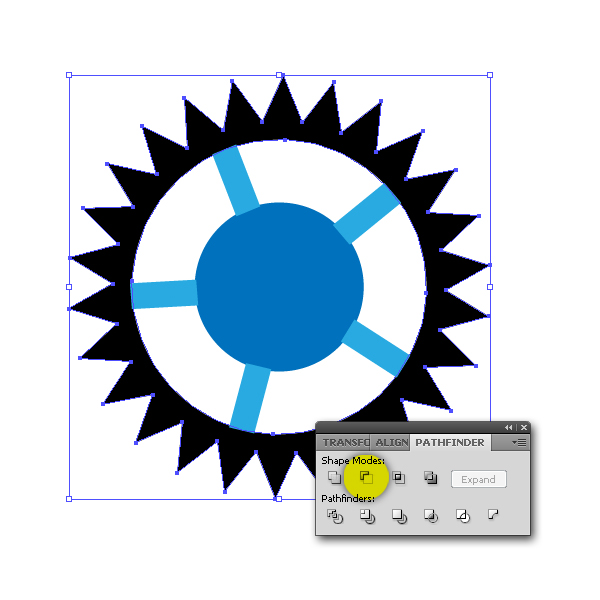
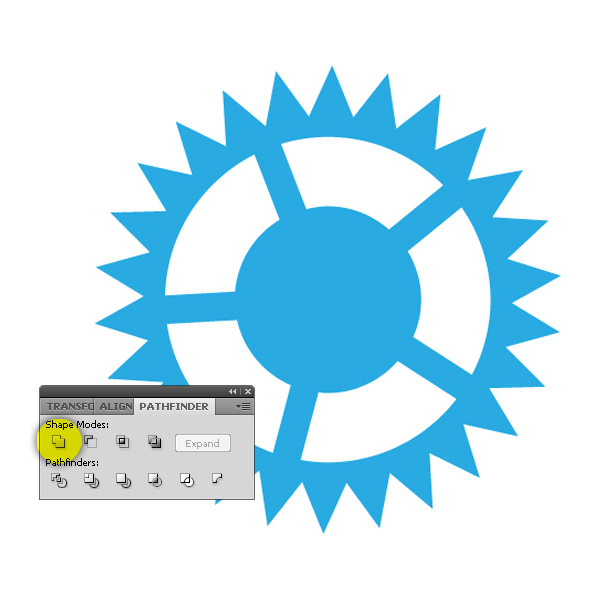
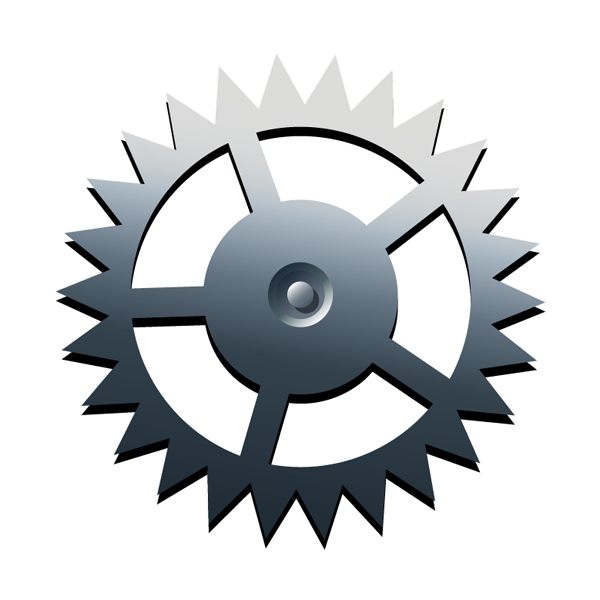
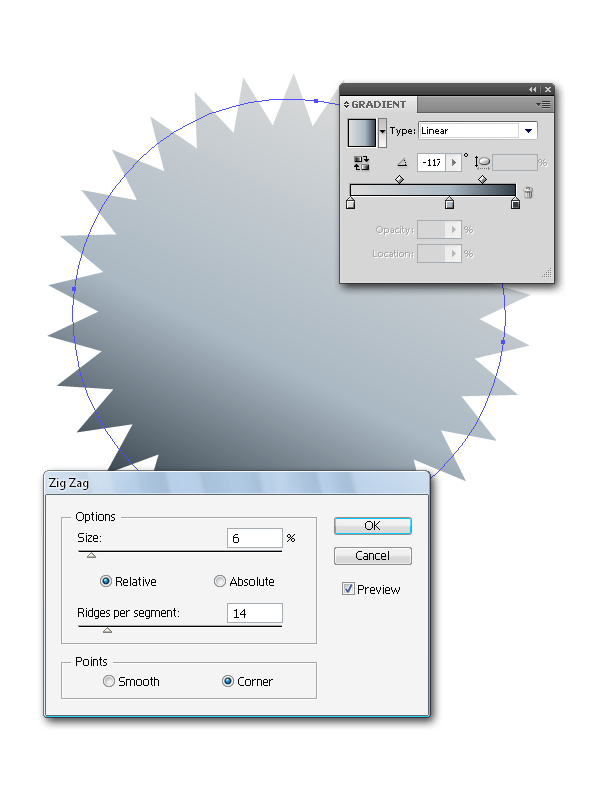
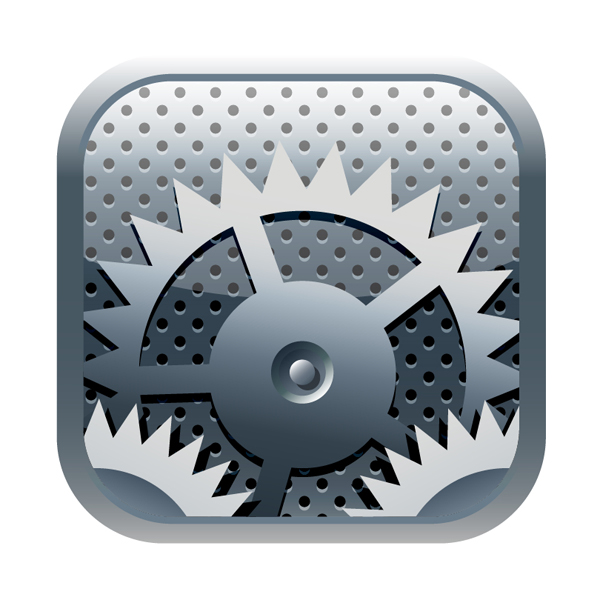
In this step we will create toothed wheel and to do that, create a perfect circle and apply Zig Zag effect. Create another circle inside the first one and you can choose any color you want at this phase. Draw another circle and use a different color. Grab the Rectangle Tool (M) and draw five identical rectangles and arrange them as shown. Select black toothed wheel and go to Object > Expand Appearance to expand the object. Now, select objects that are colored with black and red and choose Minus Front in the Pathfinder Panel. Finally, select all and in the Pathfinder Panel choose Unite option to merge the objects.

Step 66
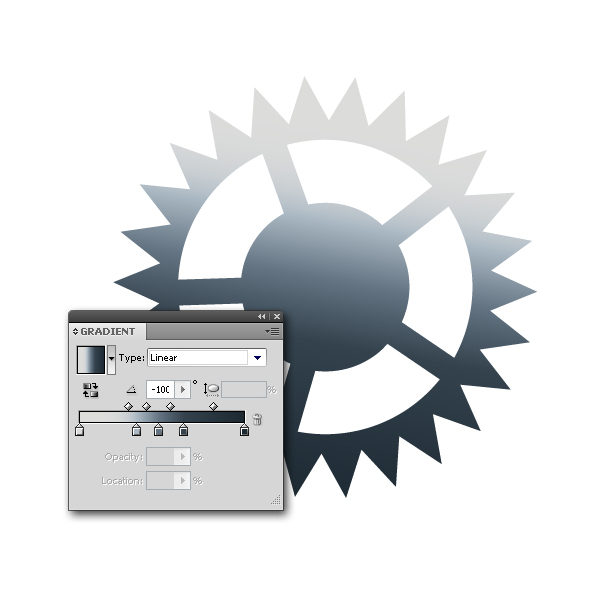
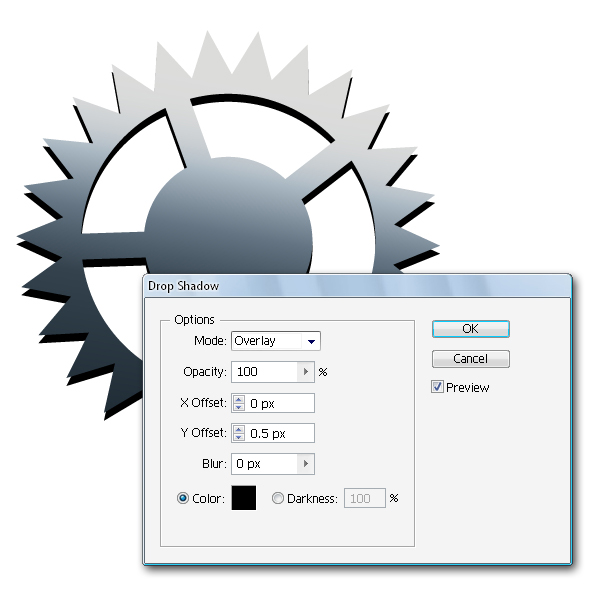
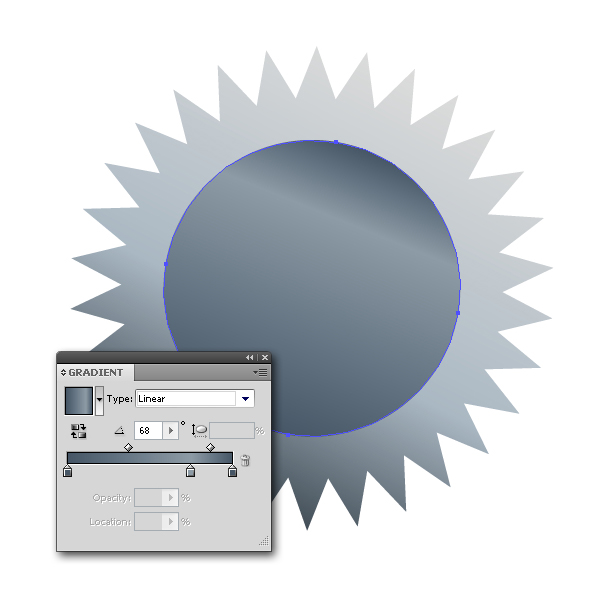
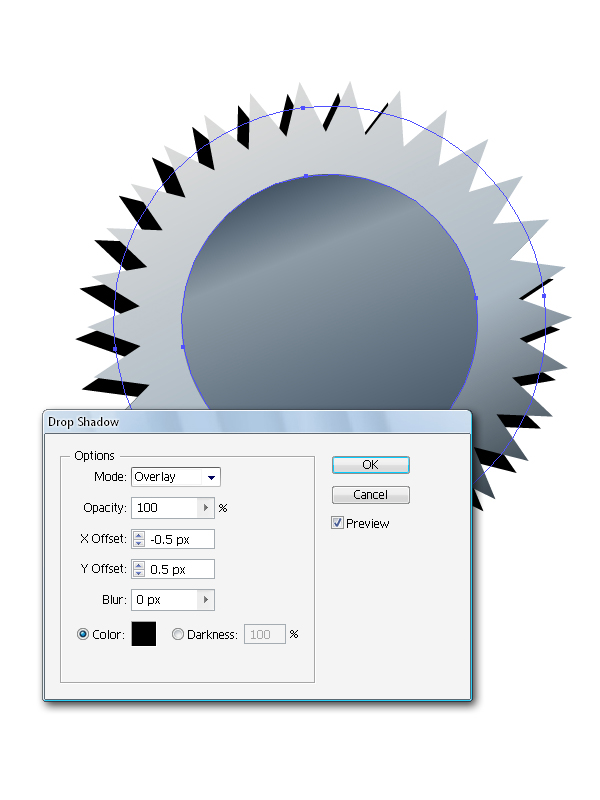
Color that object and apply Drop Shadow effect.
Step 67
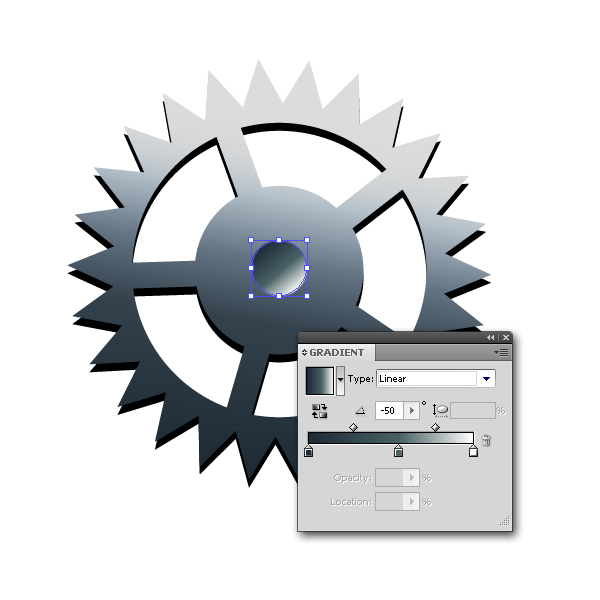
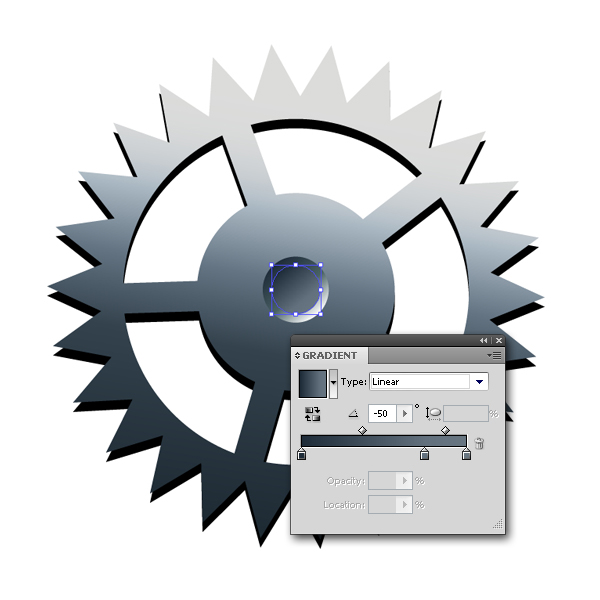
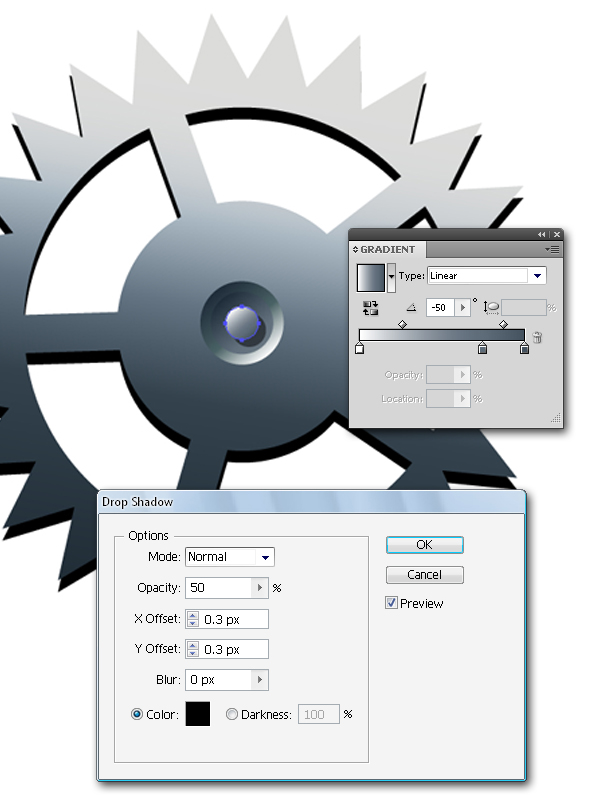
Draw three circles in the middle of the toothed wheel and place one above another. Use different gradients for each object, but for the last one you should apply Drop Shadow effect.
Step 68
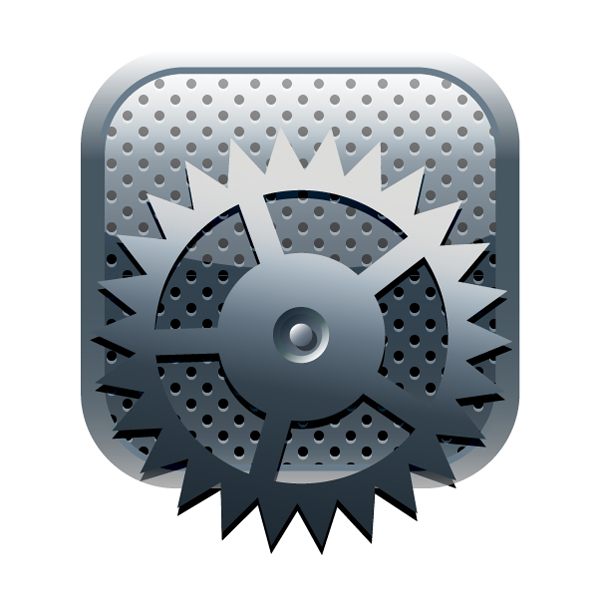
Create another toothed wheel the way we have explained in the previous steps and set values as shown on the images below. Apply the mask to the objects and put them onto the phone body.
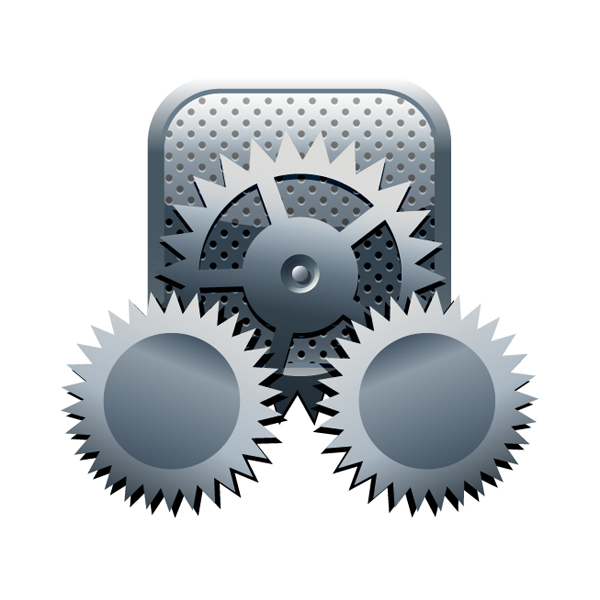
Conclusion
If you completed Part 1 of this tutorial, you’re now ready to add the final details to the phone (text, symbols etc.) to finish the illustration. If you haven’t completed part 1 yet you should have a collection of some pretty good looking icons. I hope you enjoyed this tutorial and best of luck!