We will construct a vector model of a wooden street bench, which is usually found in our small towns and quaint cities. It’s important to develop your artistic eye as you work through it and study the important techniques of Adobe Illustrator. Let’s have a good time while reading the tutorial and creating your own outstanding artworks!
Step 1
Take the Spiral Tool and click in your artwork area. Specify the tool options as shown in the figure below.
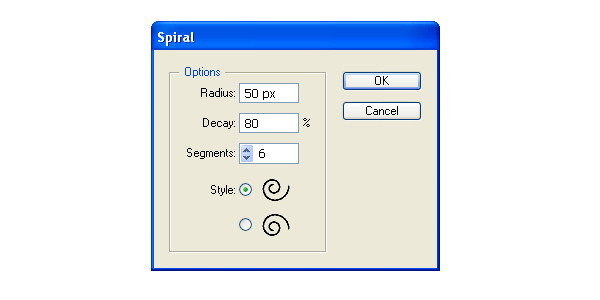
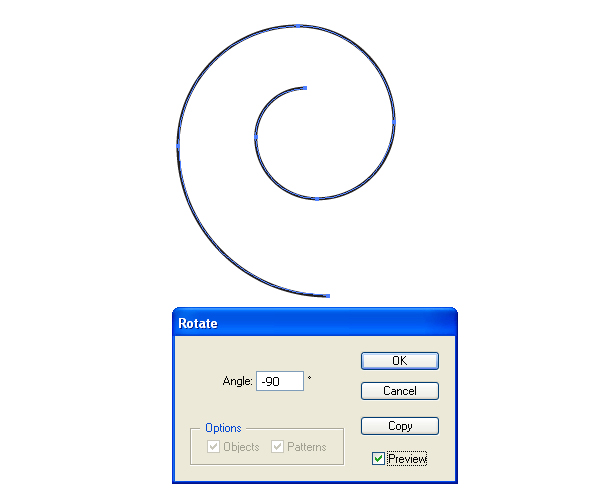
You will receive the following result:

Rotate it, then apply Object > Transform > Rotate as shown:
Step 2
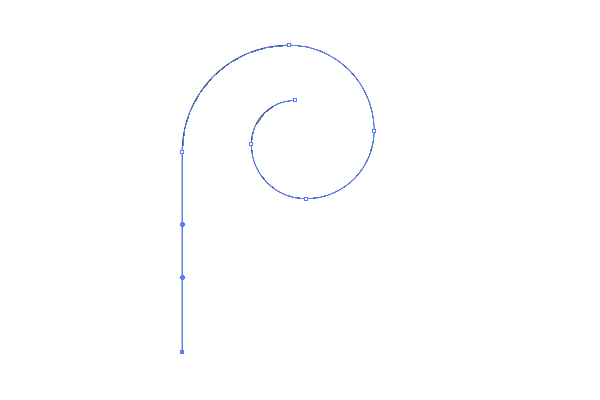
Use the Direct Selection Tool (A) to select the lowest anchor point of the spiral path…
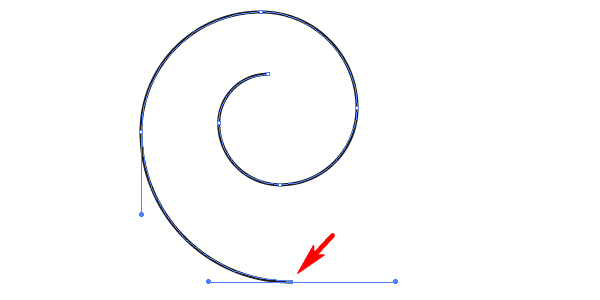
…and rotate this anchor point as shown:
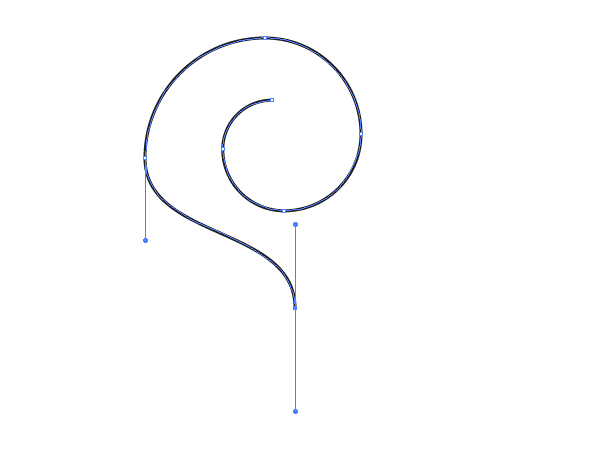
Then move this anchor point to the left as shown.
Step 3
Change the Stroke color (if you want) and the Stroke weight.
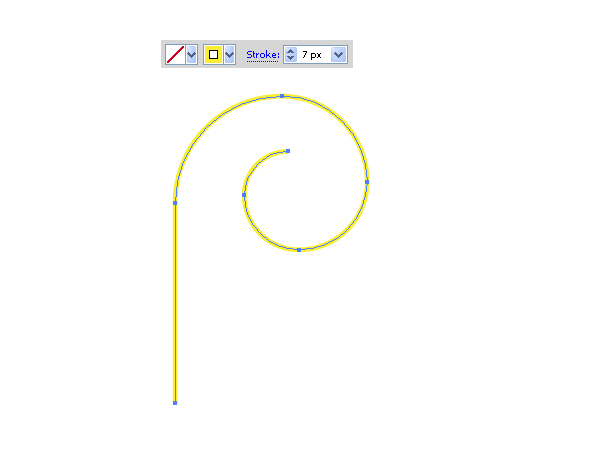
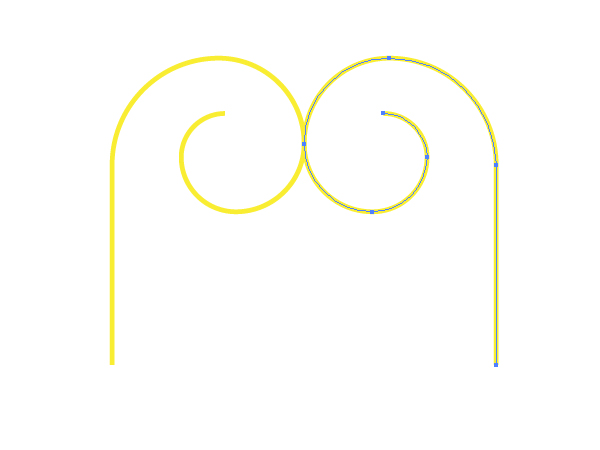
Go to Object > Transform > Reflect, and create a reflected copy of the spiral path.
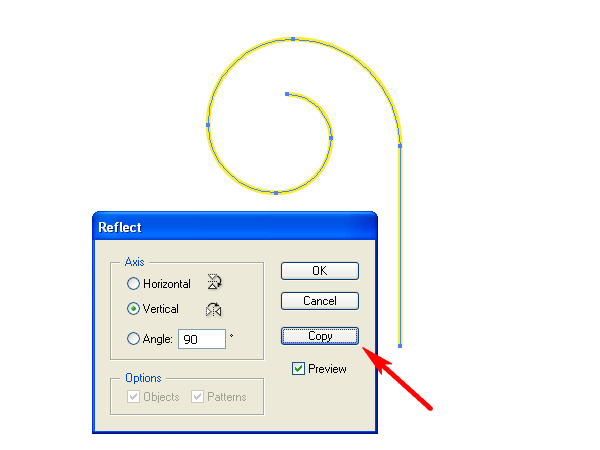
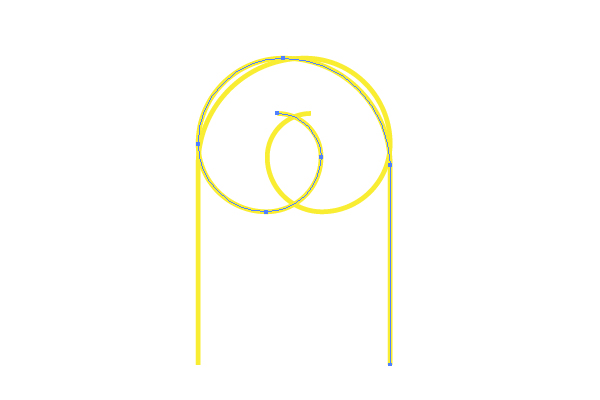
Move the copy to the right. See the helpful diagram below:
Step 4
Lock both spiral paths in the Layers palette, grab the Ellipse Tool (L) and illustrate an elliptical path.
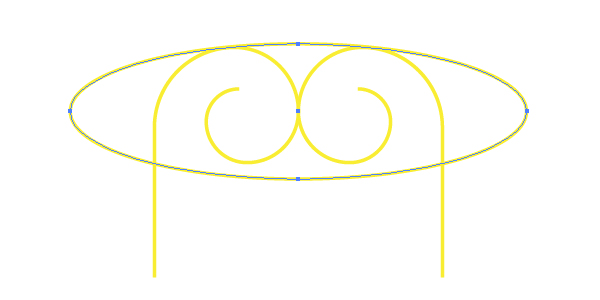
Grab the Scissors Tool (C) and click with it on the contact point of the ellipse and the spiral.
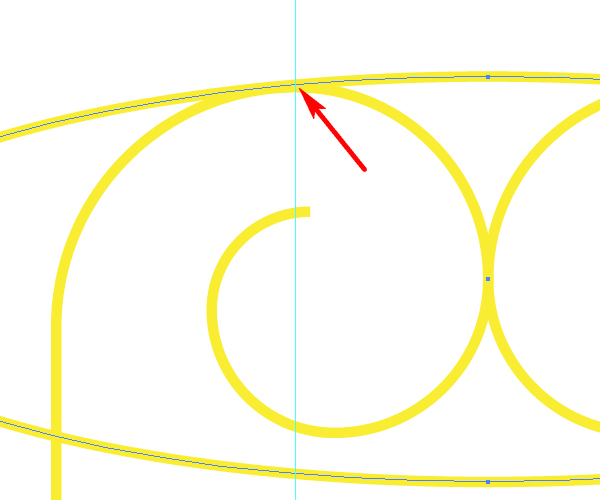
Do the same with the second contact point.
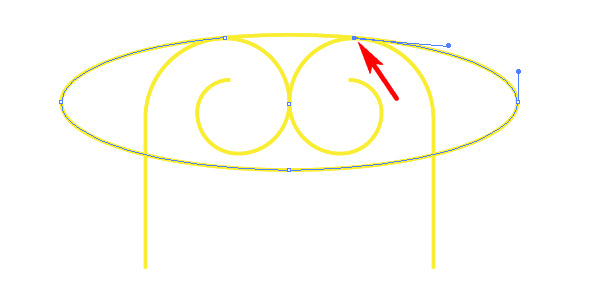
After that delete the ellipse. You should achieve the following result:
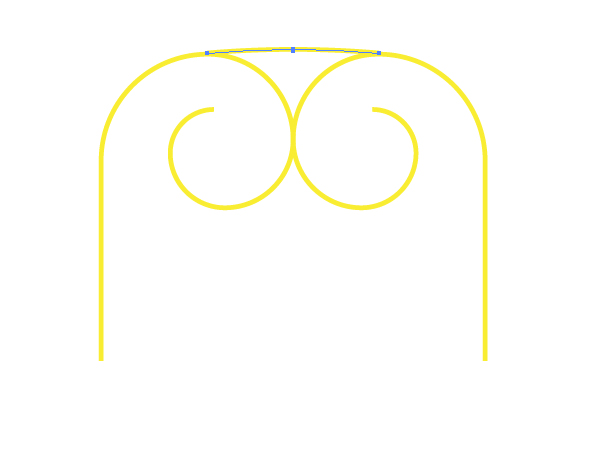
Step 5
Change the color of the top stroke because it will represent another detail of the bench.
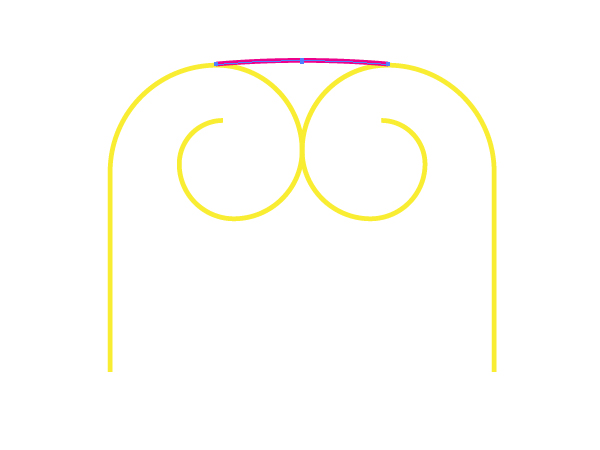
Blow up your artwork, take the Pen Tool (P) and click on the contact point between both spiral paths.
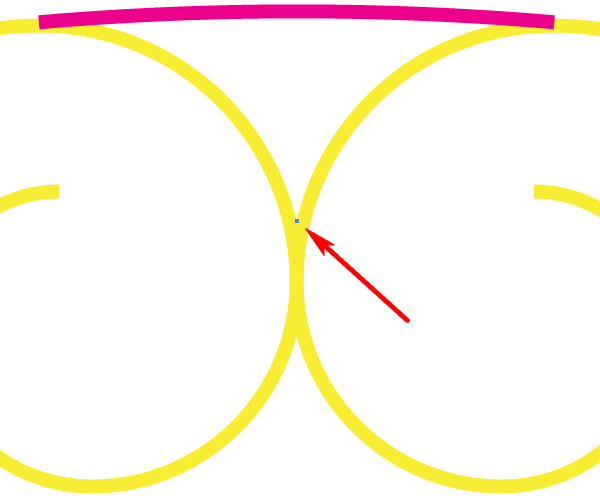
Then with the aid of the Lasso Tool (Q) select the shown anchor points:
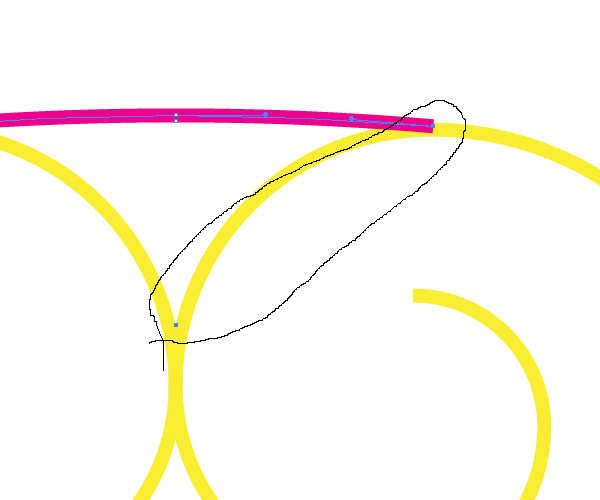
And go to Object > Path > Join (Command + J).
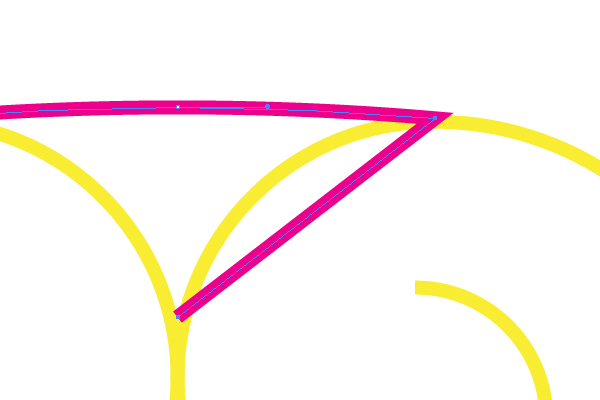
Repeat these actions with the other pair of anchor points.

Step 6
Grab the Convert Anchor Point Tool (Shift + C), drag and drop the rightmost anchor point of the crimson triangular path.
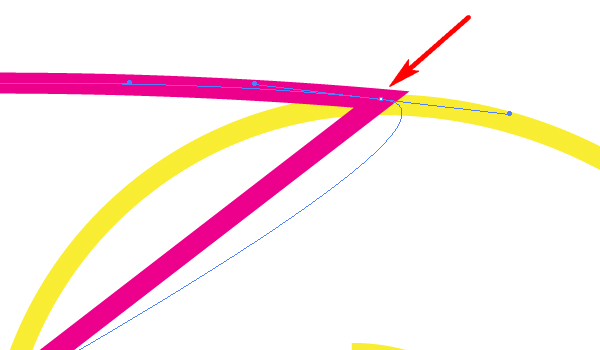

Then without changing the Adobe Illustrator tool grab the right handle and drag and drop it slightly as shown:
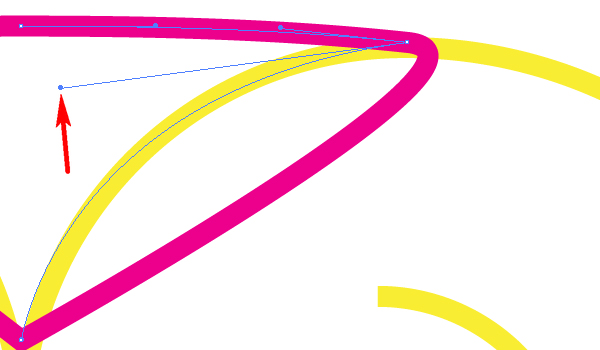

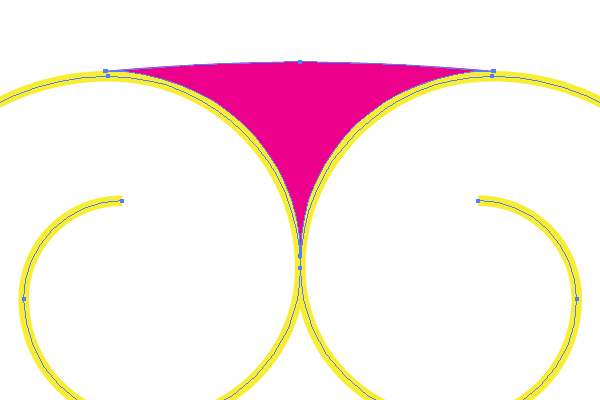
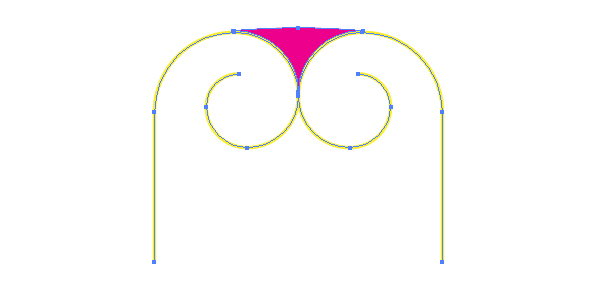
Do the same with the other anchor points, then change the fill color of the crimson path, and set the Stroke color to None. You should receive the result shown below.
Step 7
After these actions let’s select all the paths and apply Object > Group (Command + G),…
Now go to Effect > 3D > Extrude & Bevel. Specify there the pointed options:
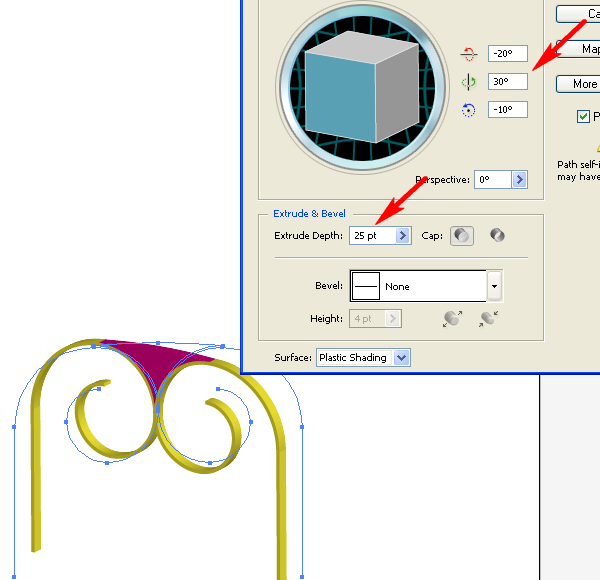
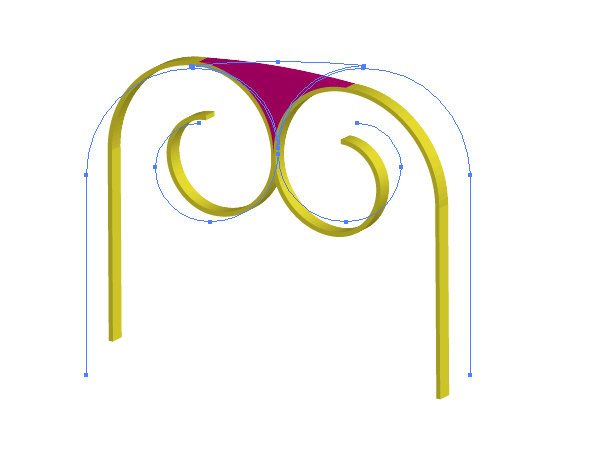
You need to create a beautiful shape of the left bench support with this technique.
Step 8
Go to the Appearance palette, click there the “3D Extrude & Bevel” link in order to open the options window, then change the Surface value to “No shading.” You need to do this in order to decrease the quantity of paths after expanding.
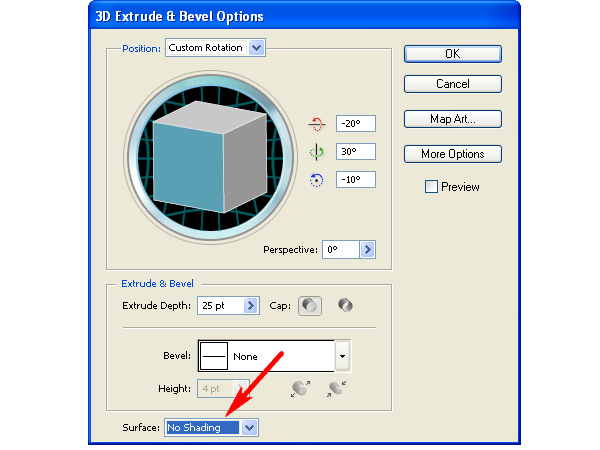
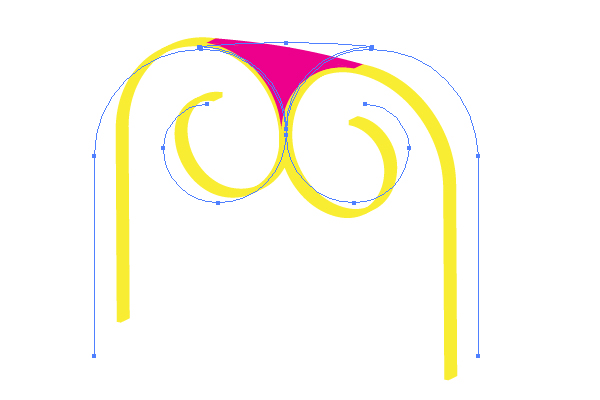
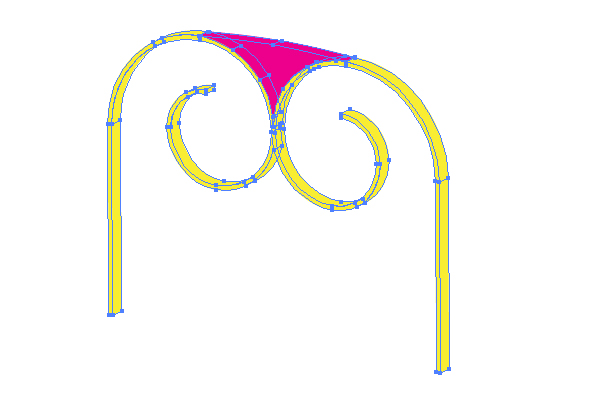
Now apply Object > Expand Appearance. And apply Object > Ungroup three times.
Step 9
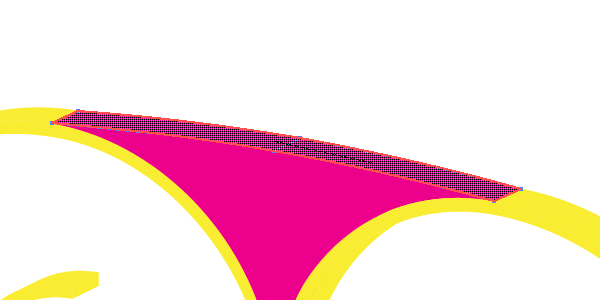
Unite all the necessary parts by going to the Pathfinder palette and clicking there the Unite button. See the helpful example diagrams below:
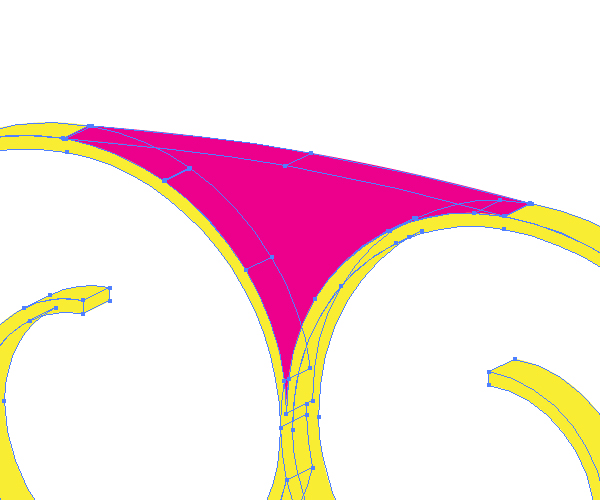
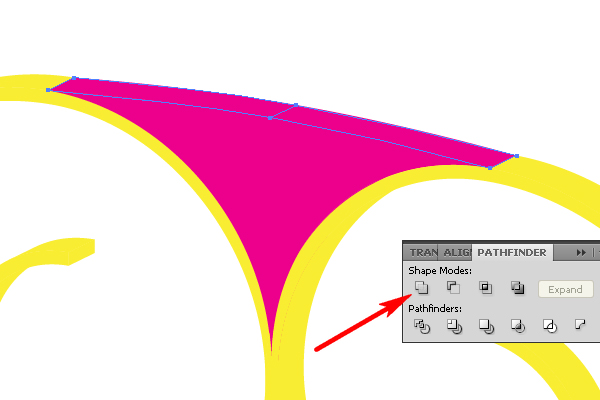

Inasmuch as we create our artwork in the CS5 version of Adobe Illustrator, we can use the new Shape Builder Tool (Shift + M) for this purpose. Take this impressive tool in the corresponding palette, and simply drag and drop it over the paths, which must be united. Follow the shown figure below:
Step 10
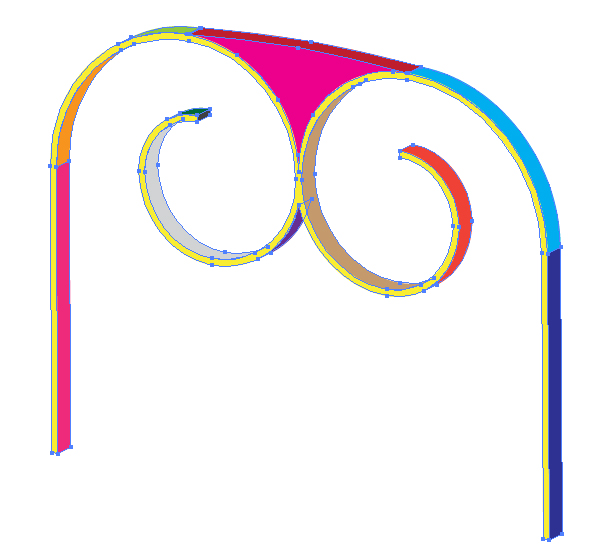
Delete all the unnecessary parts of your illustration that are invisible paths. Do it by pressing the Delete button on your keyboard.
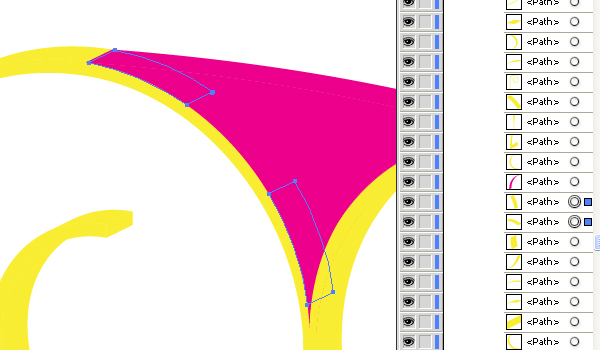
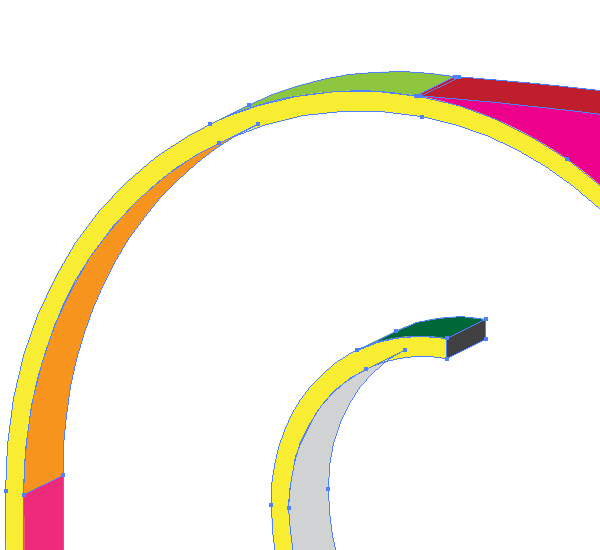
After that paint the remained paths in different colors as shown:
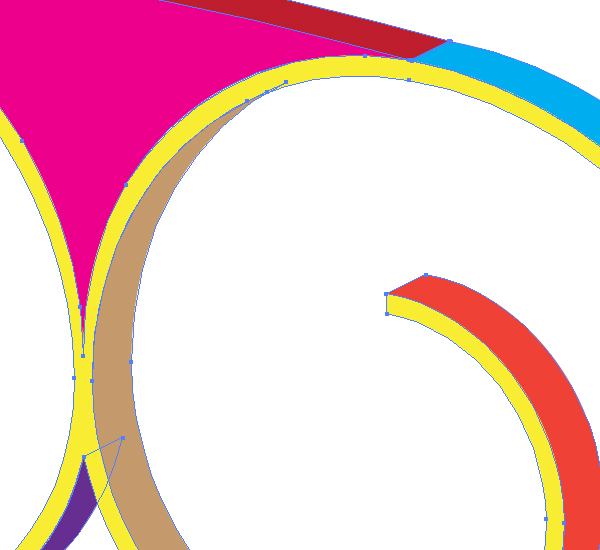
Step 11
Select now the front yellow path…
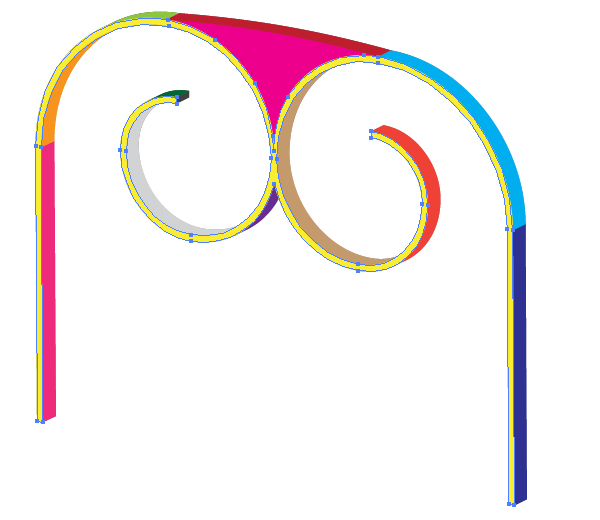
…and fill it with an angled linear gradient.
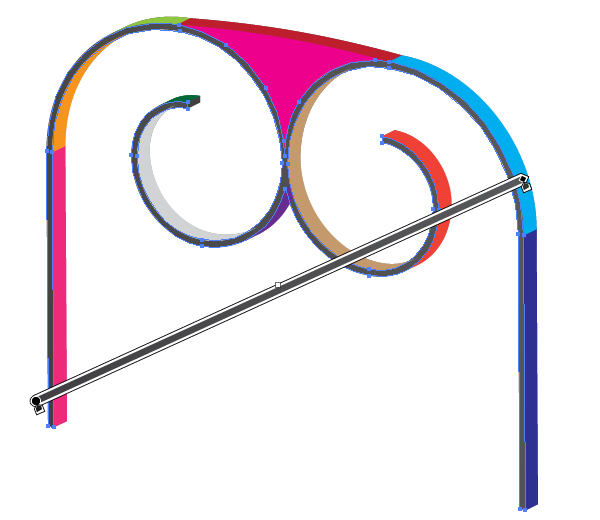
Now select the light blue path and fill it with an angled linear gradient too.
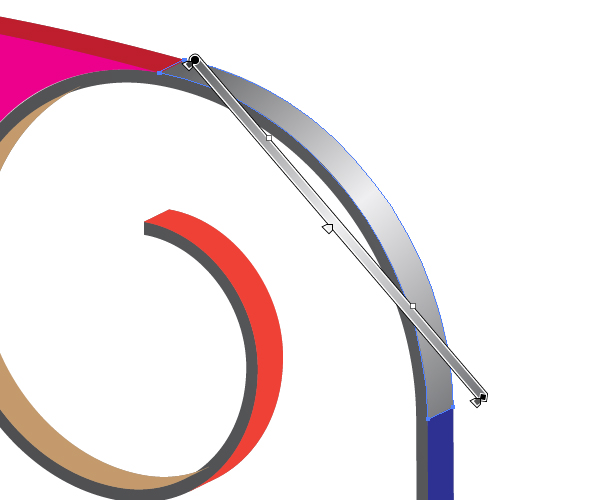
Step 12
The next paths should be filled with corresponding linear gradients as well. Do it without assistance. I will show them only in the diagrams below for reference:
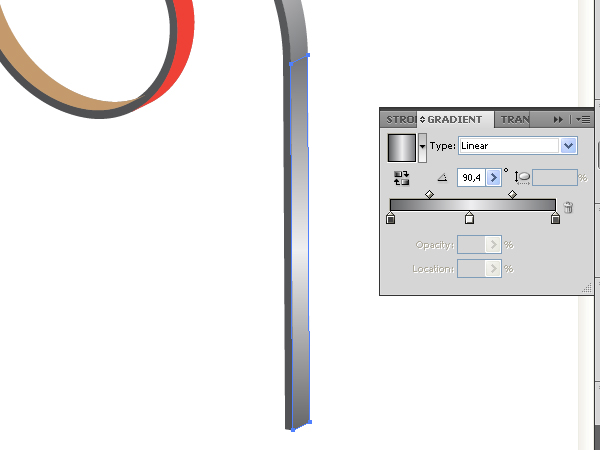
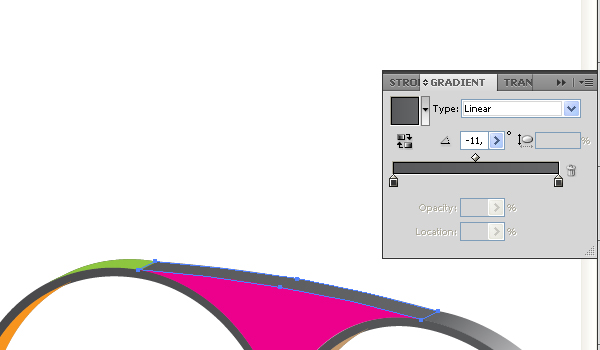
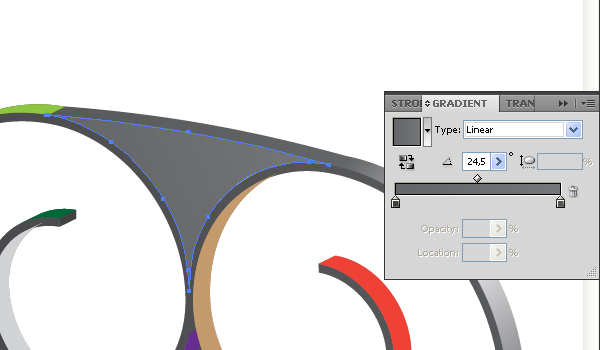
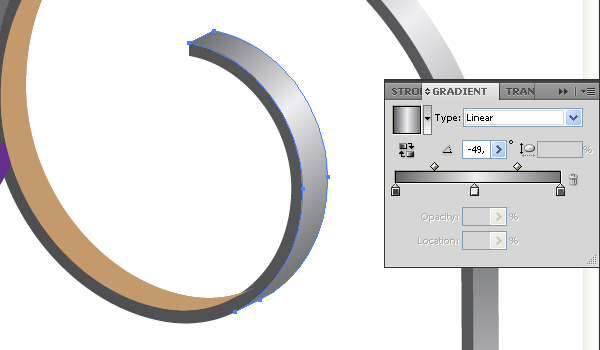
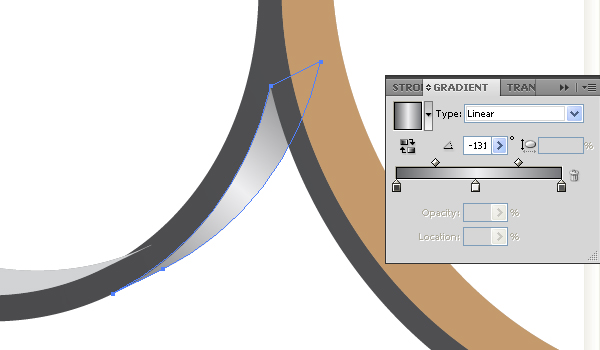
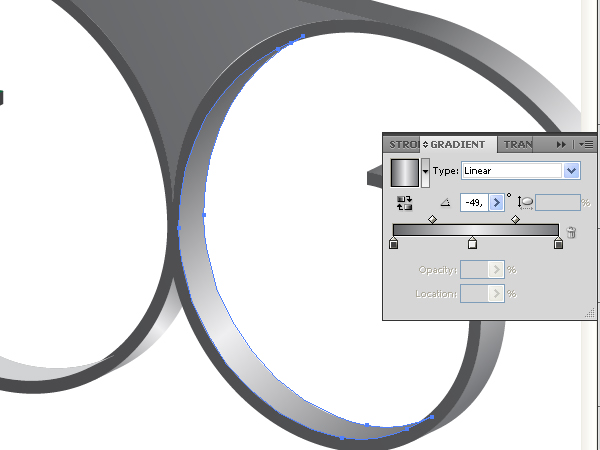
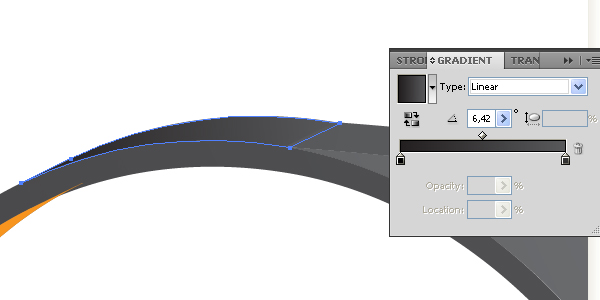
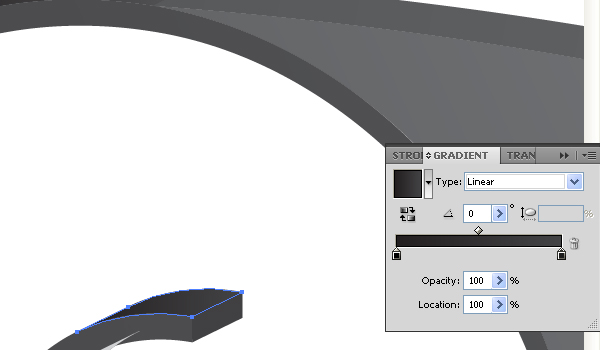
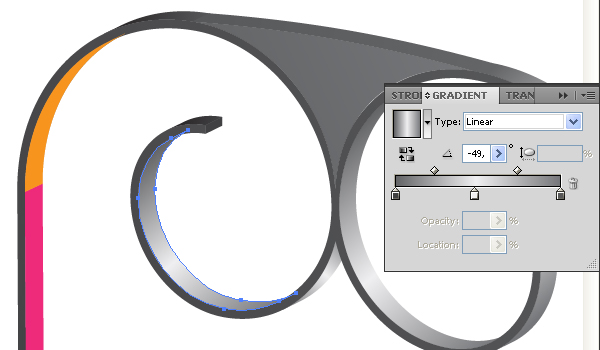
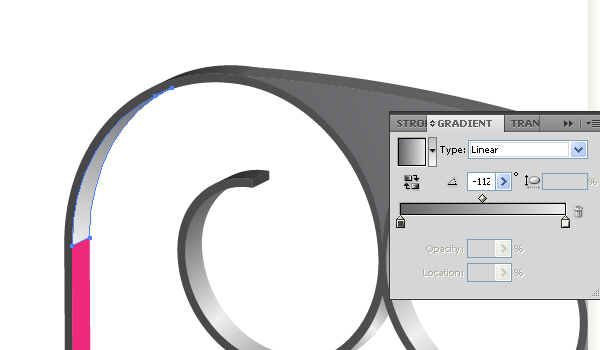
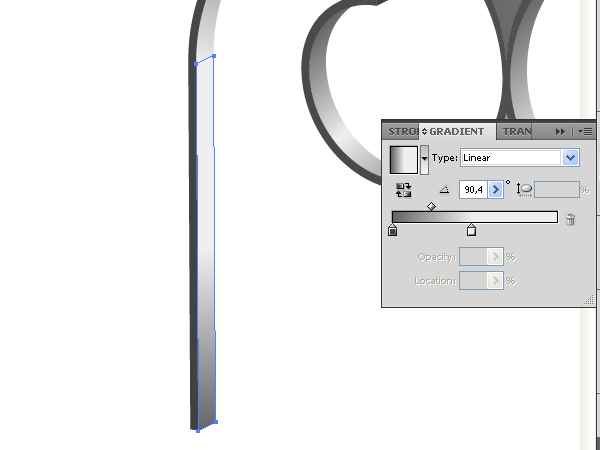
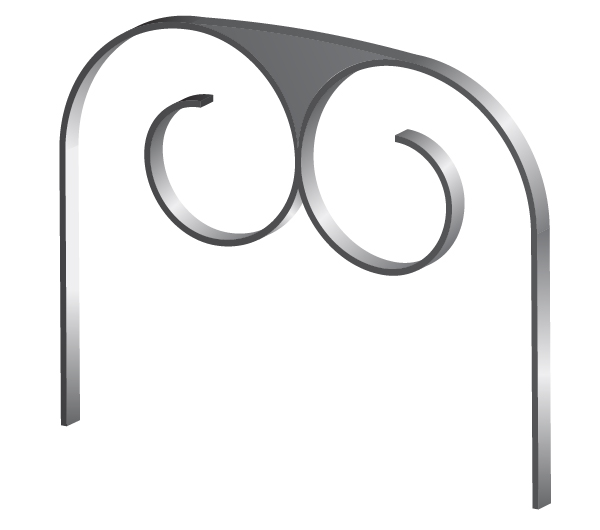
You need to achieve the following result:
Step 13
Take the Ellipse Tool (L) and produce a circle at the end of the spiral as shown below.

Fill it with a radial gradient that goes from white to black in color in compliance with correct use of light distribution principle.
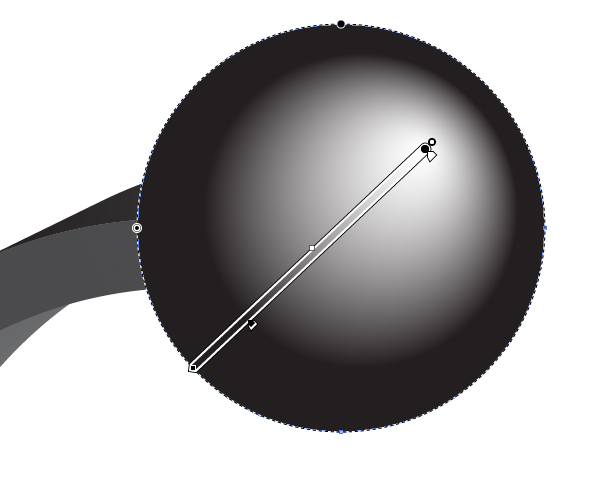
Picture the second globe the same way.

Step 14
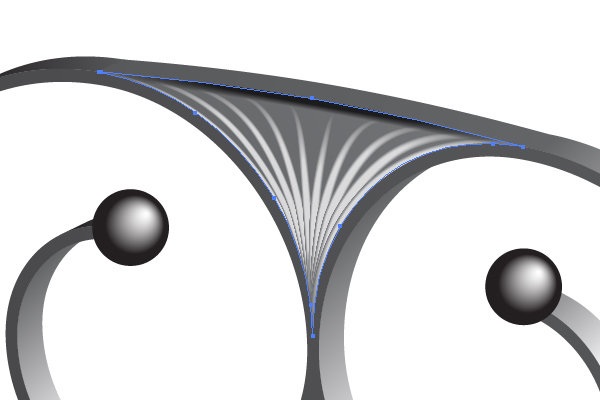
The triangular path…
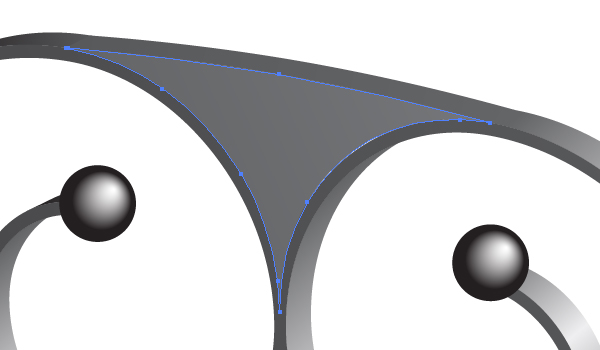
…is merged with the surrounding details of the bench support. In order to mark it out let’s apply the Art brushes to it. In the beginning, sketch the usual elliptical path with the help of the Ellipse Tool (L), and fill it with white.
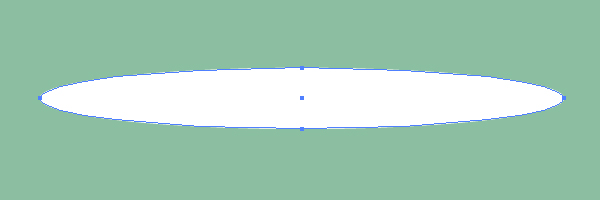
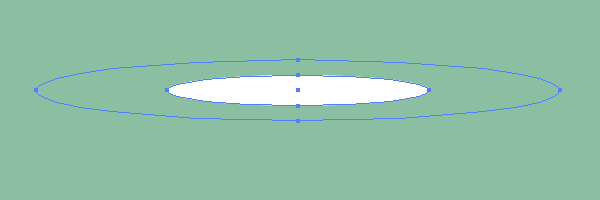
Go to Object > Transform > Scale and specify a Uniform scaling as shown in the dialog box. Then click the Copy button.
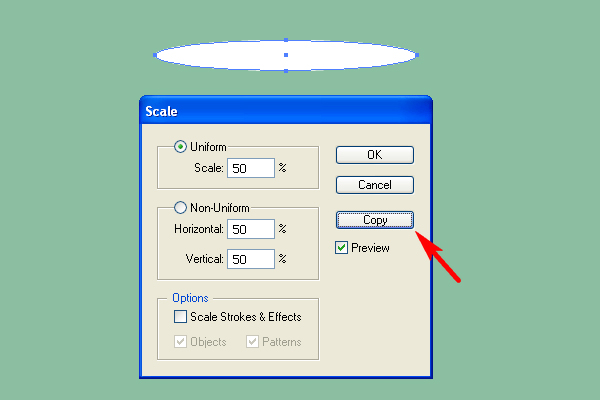
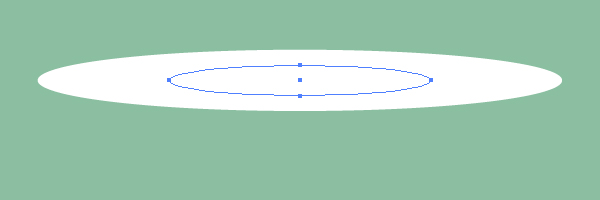
Set the Opacity of the biggest ellipse to 0.
Step 15
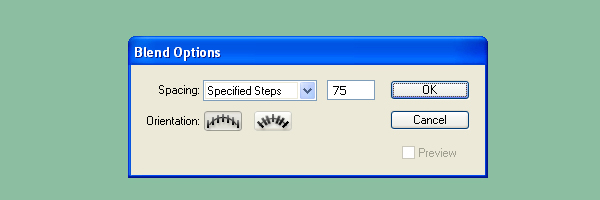
Go to Object > Blend > Blend Options. Set the Spacing to Specified steps, the quantity of steps to about 75, and click OK.
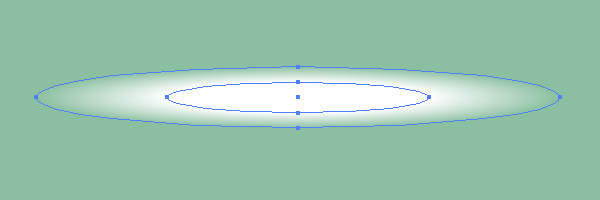
After this action, select both ellipses, and go to Object > Blend > Make (Command + Alt + B).
Step 16
Drag and drop this blend into the Brushes palette, and choose the Art brush option in the dialog box.
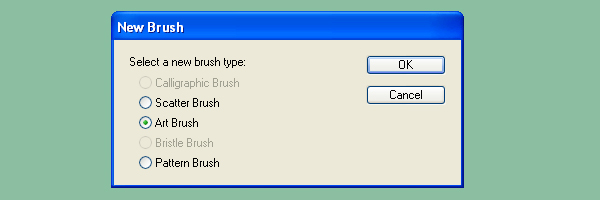
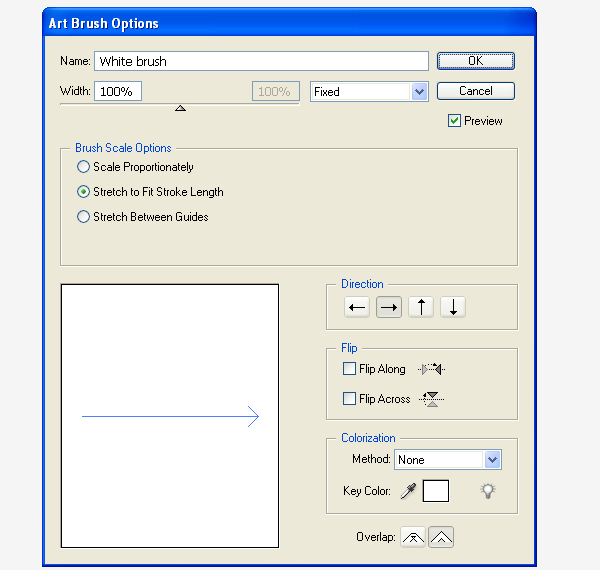
Set the items for the brush as you can see them in the diagram below, and name the brush “White brush.”
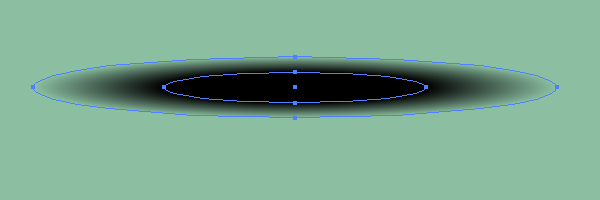
Repeat these manipulations for making a “Black brush” from the blend shown here.
Step 17
Now select the triangular path, Copy it and Paste in Back (Command + C then Command + B), and divide the copy by using the Scissors Tool (C) on the indicated points. You will receive three paths.
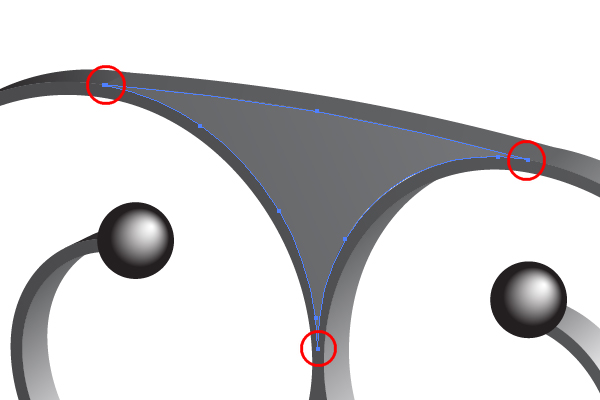
Apply the “Black brush” to the top path. Change the Stroke weight and the opacity if it is necessary in your own artworks.
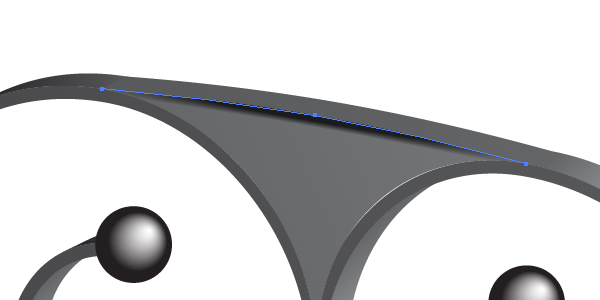
Apply the “White brush” to both lateral paths made from the original triangle. Change the Stroke weights of the paths.
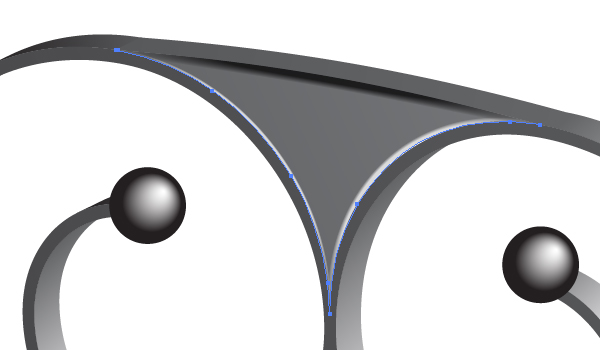
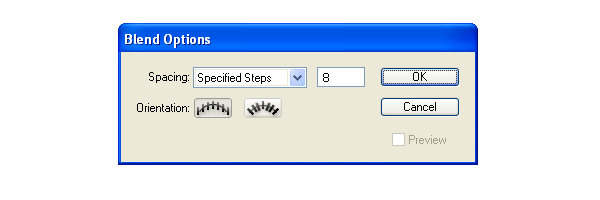
Go then to Object > Blend > Blend Options and specify the values in the dialog box, which you can see in the figure below:
Now select both lateral paths and go to Object > Blend > Make (Command + Alt + B).
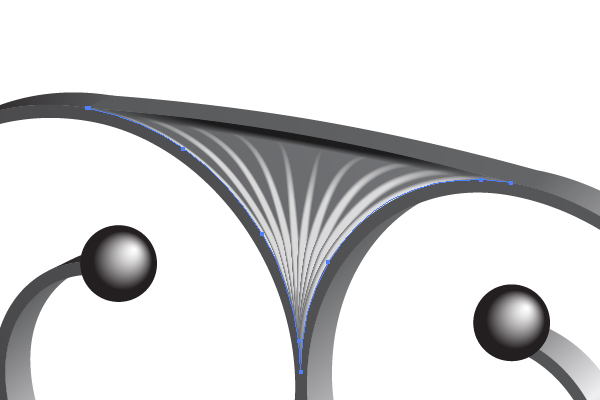
And after these actions you can crop all the paths using a clipping path created from the original triangular path. You must go to Object > Clipping Mask > Make (Command + 7) to apply this action.
Step 18
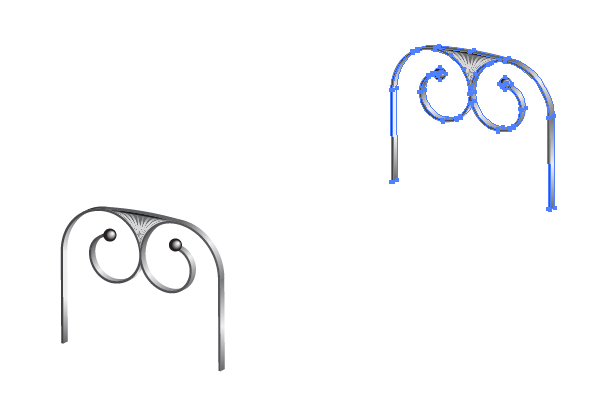
Select the left bench support, Copy it, and Paste in Front (Command + C then Command + F). Move it in order to represent the right bench support detail.
Step 19
Yes, you can use the usual 3D menu commands for creating the wooden cross-bars of the bench. But I think it is more interesting to illustrate them without the usual 3D commands of Adobe Illustrator. Let’s see how this works. Now use the Rectangle Tool (M) to sketch a rectangular path.

Copy it, and Paste in Front (Command + C then Command + F). Move it to the right as shown:

Go to Object > Blend > Blend Options and set there the Spacing to Specified steps, the quantity of steps to 4, and click OK.
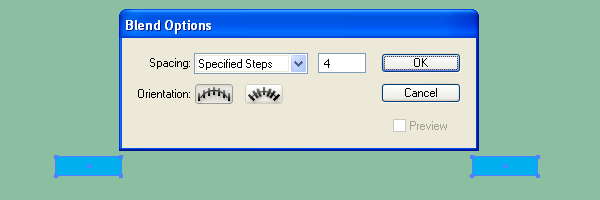
Then go to Object > Blend > Make (Command + Alt + B).

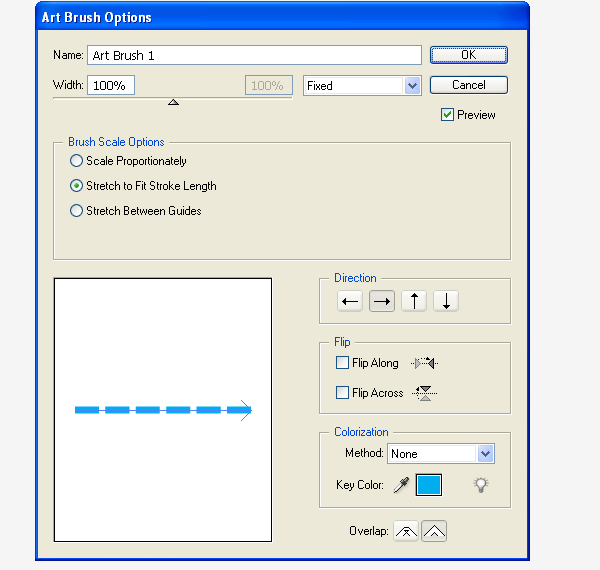
And produce an Art brush from it too.
Step 20
Draw the following path over the left support detail and apply this Art brush to it.

Do the same for the right support detail.
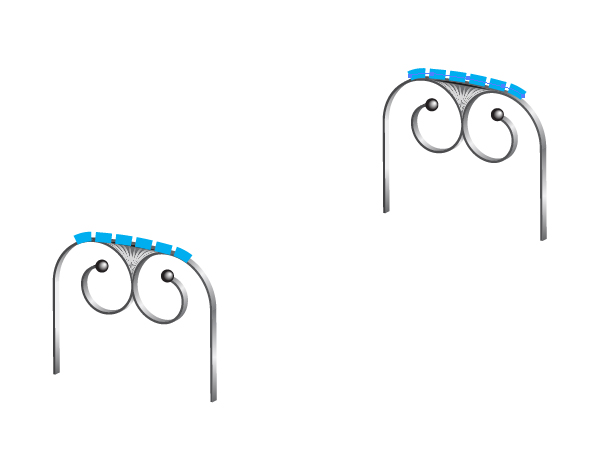
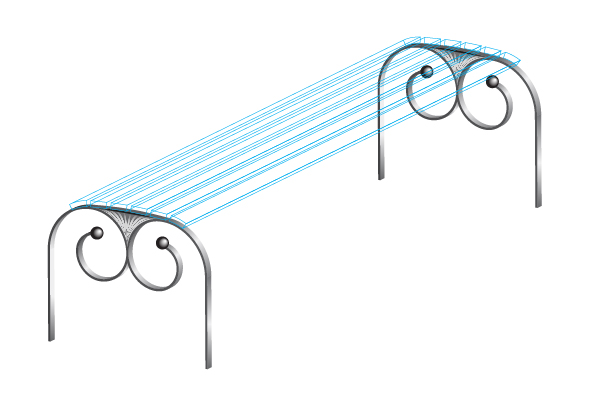
Now select these paths, go to Object > Expand Appearance, and apply > Ungroup three times. After these manipulations, take the Pen Tool (P), blow up your artwork area, and delete the unnecessary anchor points in every blue block. Every block must have only 4 anchor points.
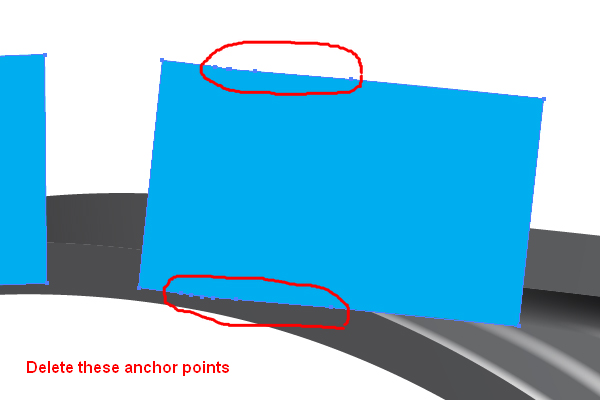
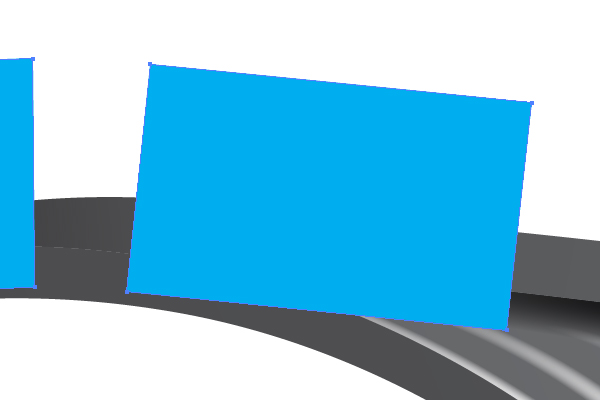
Step 21
Change the Fill color of the blue block to None, then change the Stroke color to blue on both support details of the bench.
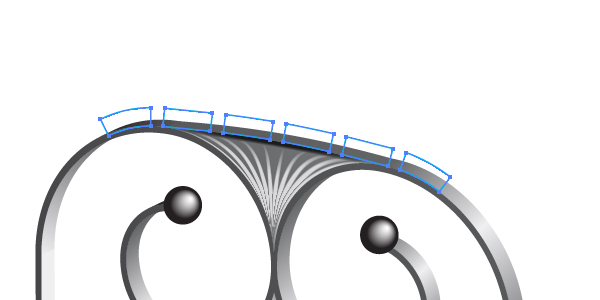
Now concentrate your attention on the the following actions in my tutorial. You have 12 blue blocks which have 48 anchor points all together. Now you need to divide them into 48 parts. You can do this with the aid of the Scissors Tool (C), for example, by clicking with it on every anchor point. Then take the Direct Selection Tool (A), select the upper right anchor point of the rightmost line in the rightmost block over the left bench support,…
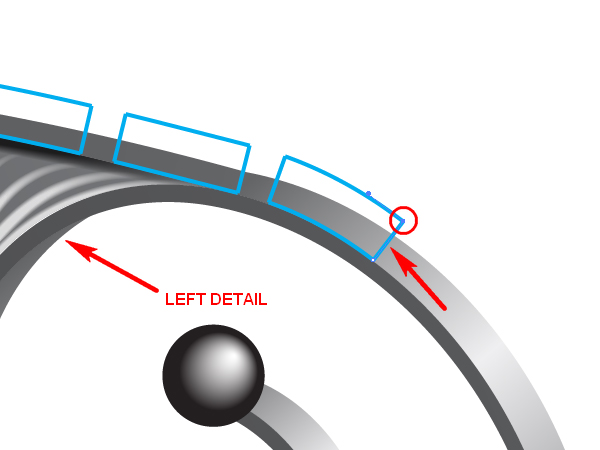
…press the Shift button on your keyboard, and while holding this button down, select the upper right anchor point of the rightmost line in the rightmost block over the right bench support.
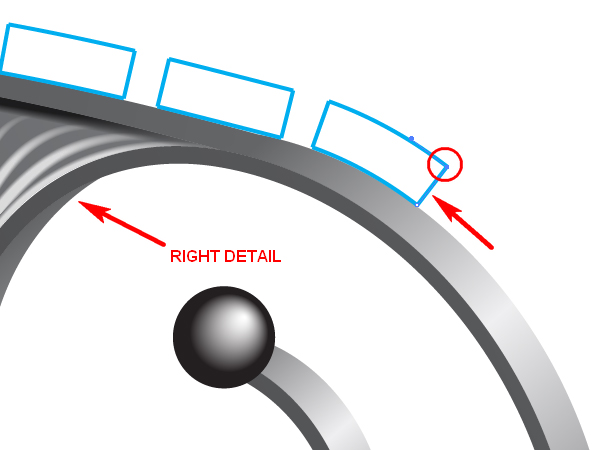
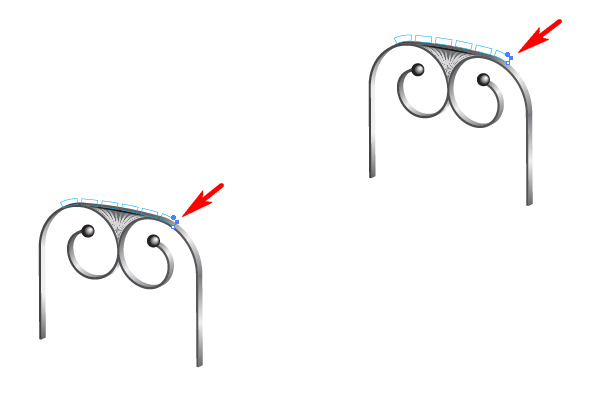
Go to Object > Path > Join (Command + J).
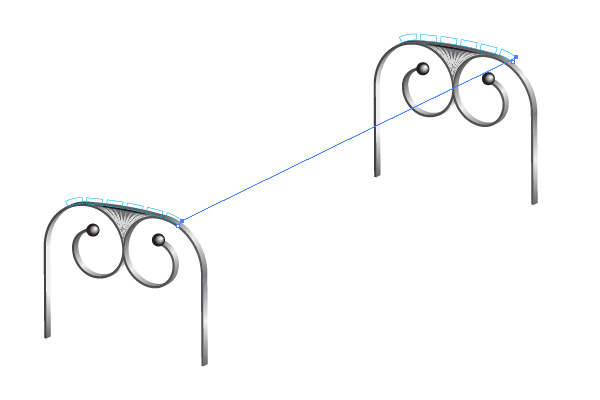
Illustrate all visible lines the same way.
Step 22
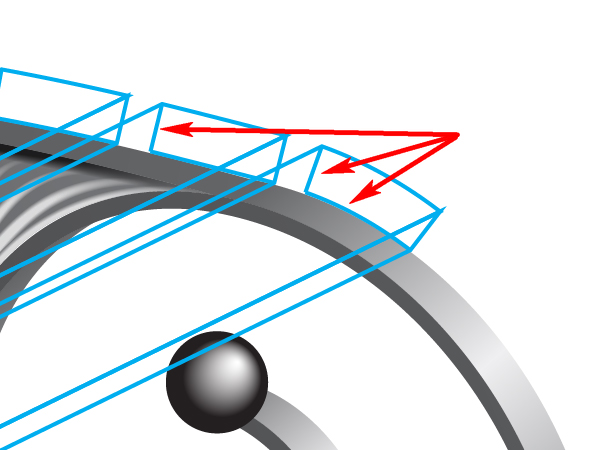
These paths (indicated below) are invisible. Therefore, you may delete them.
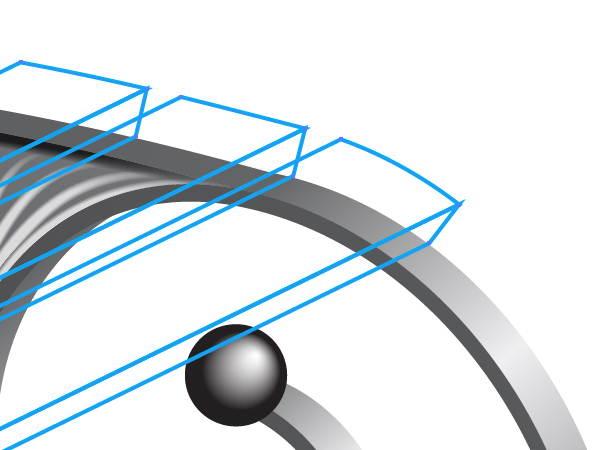
Fill the wooden bars with different colors. You can fill the lateral surfaces of the bars with light and dark brown.
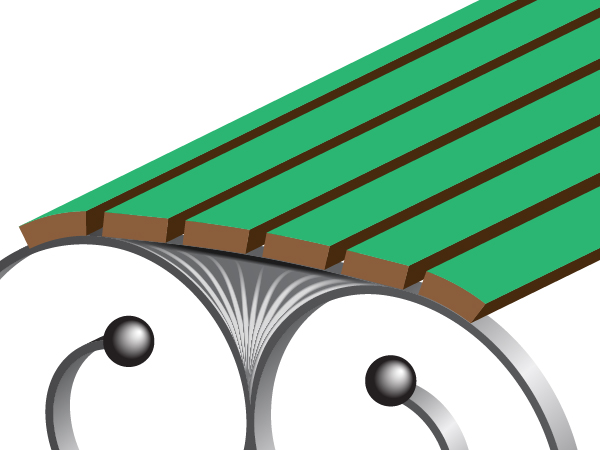
Fill the upper surface of a bar with an angled linear gradient as shown.
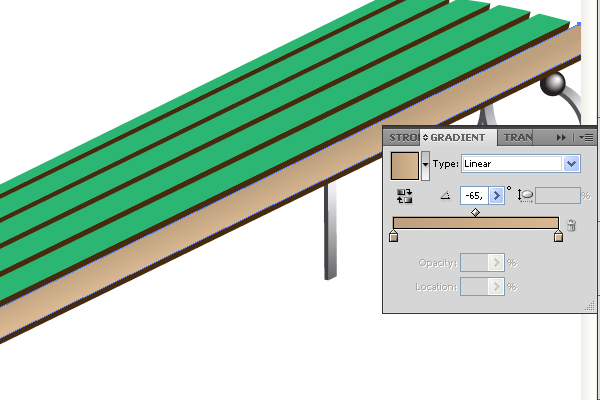
Do the same with the other paths.
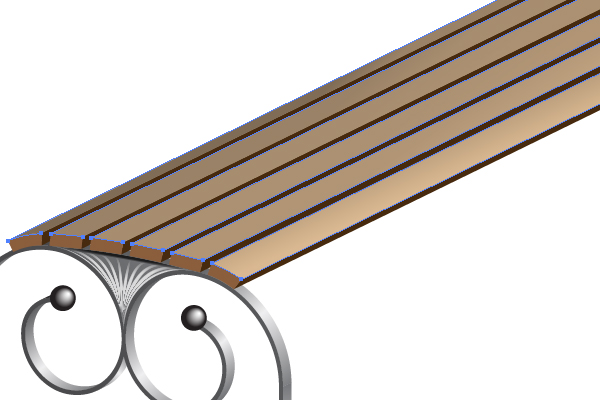
Step 23
Do you know how to simulate a wood texture in Adobe Illustrator, and only in Adobe Illustrator? If not, follow on. First, create a simple short path in the beginning. It should not be long.

Drag and drop it into the Brushes palette. Select the Scatter Brush option in the dialog box. And set the items for the brush as shown below:
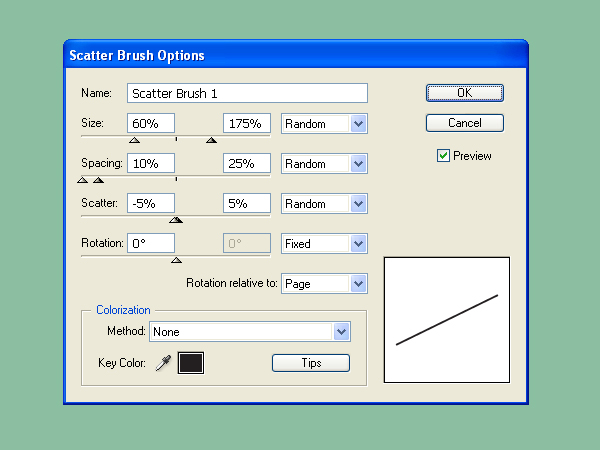
Step 24
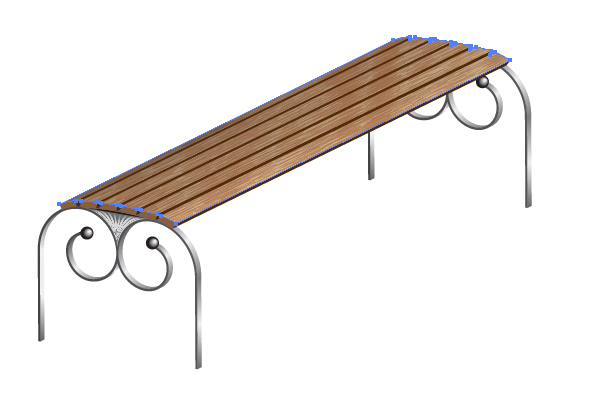
Select this Scatter brush in the Brushes palette, take the Paintbrush Tool (B), and draw the following path:
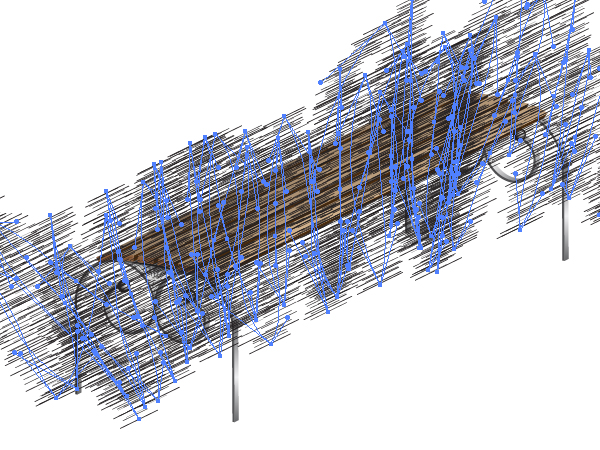
It is wonderful, isn’t it? But this is not all. Apply Object > Expand Appearance, and Object > Ungroup twice.
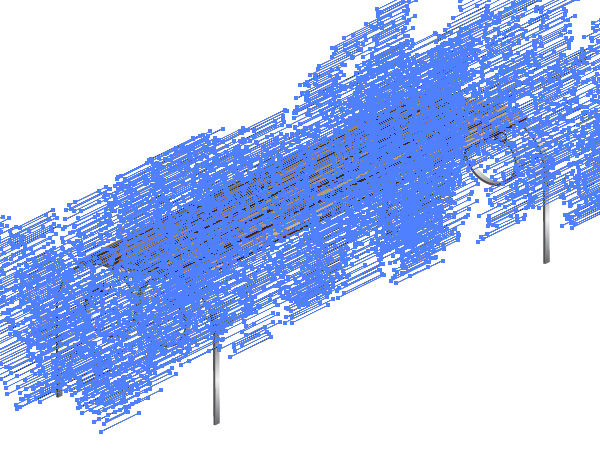
Do you know how many paths are selected now? More than three thousand in my own artwork! And naturally all of them have an influence on the file size. Take the Lasso Tool (Q), and select the paths accurately which are not located over the wooden bars of the bench. See the images below for reference…
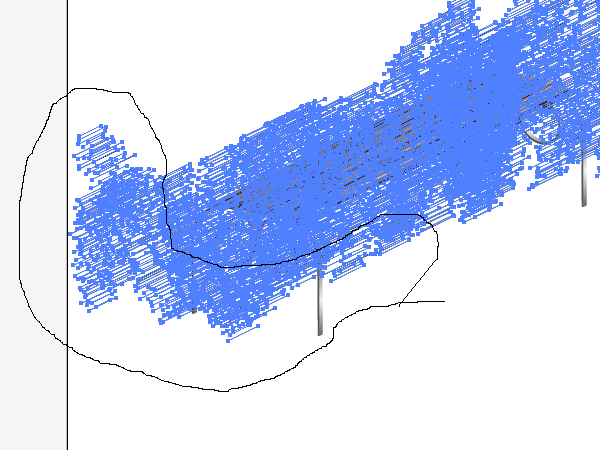
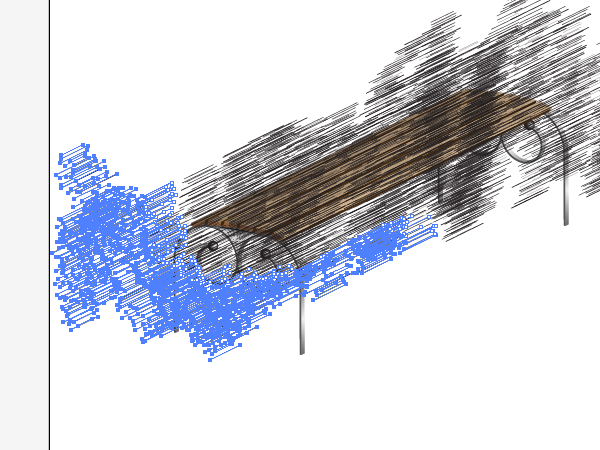
…and press the Delete button on your keyboard twice.
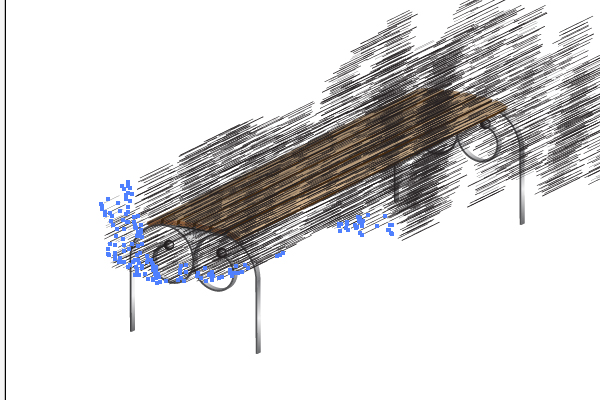
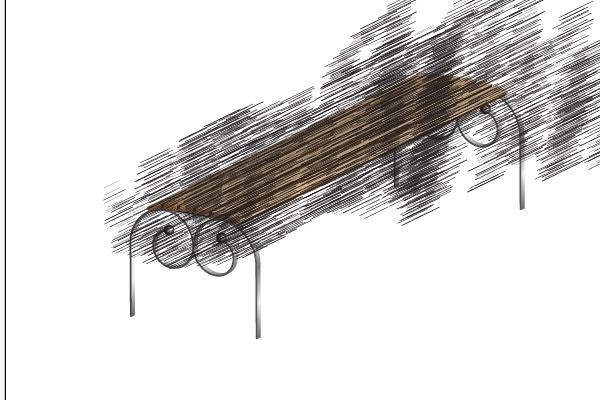
Repeat these manipulations.
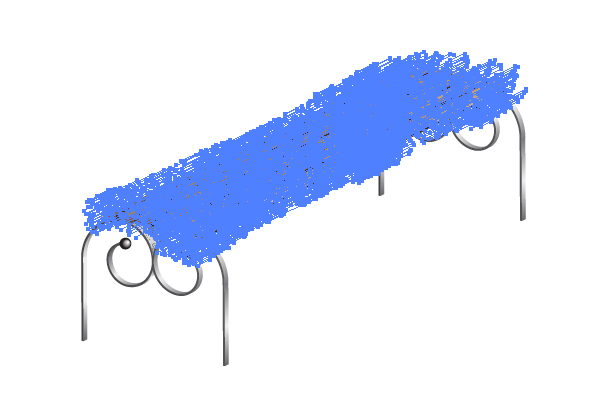
Step 25
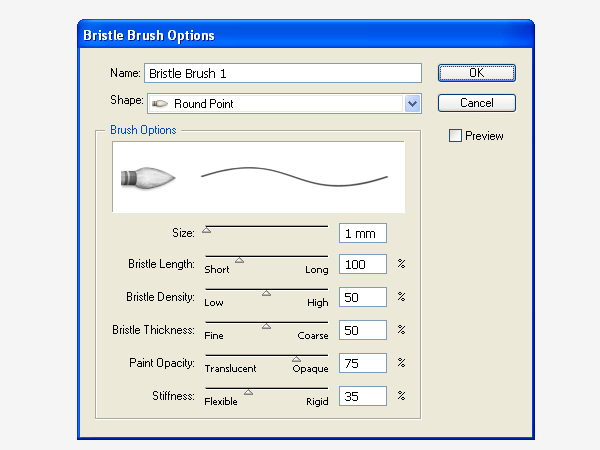
Now let’s go to the Brushes palette and click there the “New Brush” button. Select the Bristle Brush option in the dialog box. And set the items for the brush as shown:
Change the Fill color in the Control Panel to brown and apply the new Bristle brush to these strokes. Change the Stroke weight if necessary.
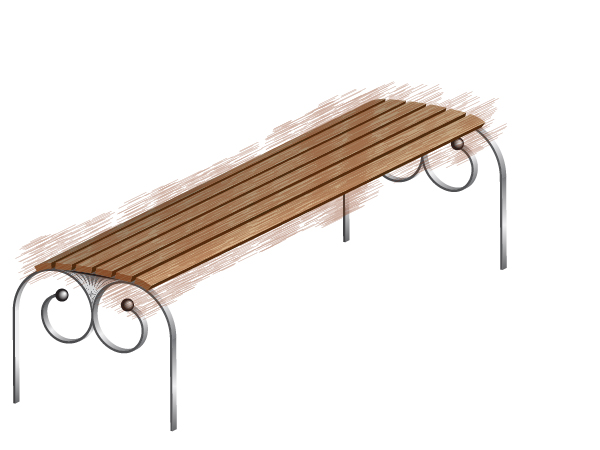
Crop the strokes with the corresponding clipping path:
Step 26
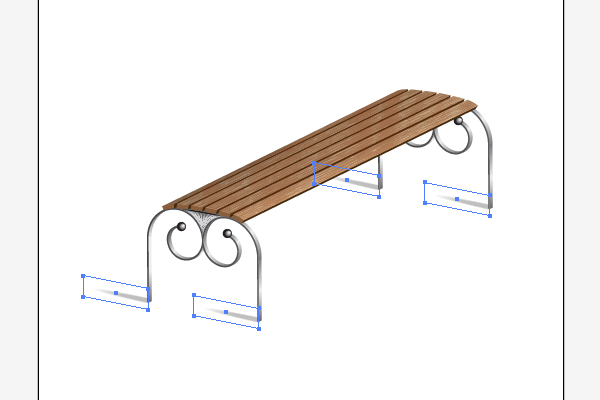
In order to create a shade from the bench legs, use the “Black brush.”
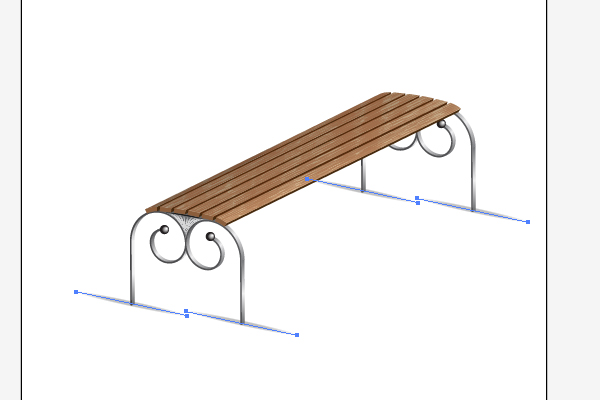
And crop the paths with clipping paths.
Conclusion
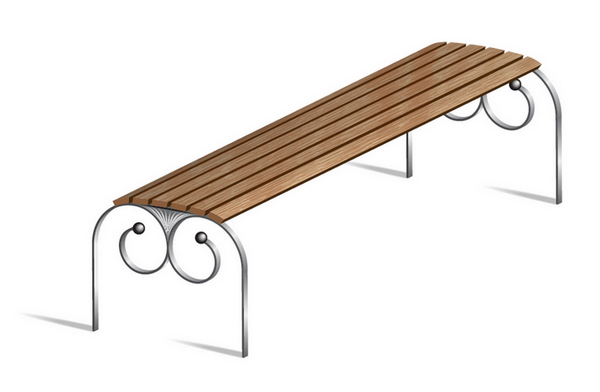
The final image is below.
{excerpt}
Read More