With the launch of the new Adobe Suite of programs comes the long awaited Adobe Photoshop CS5. Packed with new features to speed up your workflow it truly is the most advanced edition of Photoshop to date. One of the new features we will be looking at today is called Content Aware. This feature allows you to quickly fill in a selection with surrounding content making it look like a part of the original image. In this case we will choose to remove a person from a photo, this can be done in less than five minutes. With the additional image enhancements this tutorial will take you less than 10 minutes to complete.
Original Image
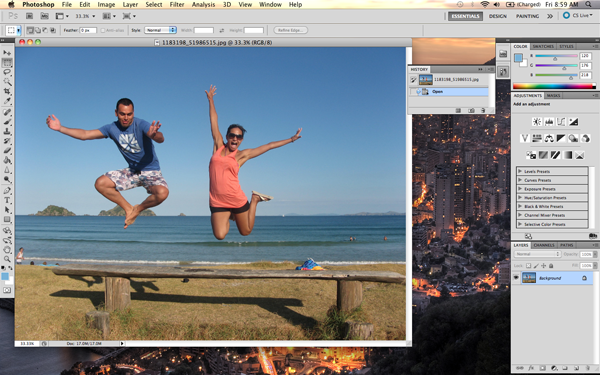
Before we begin, download the image that we will be working with. As you can see, there are two individuals in this photo. In today’s tutorial, we will use Photoshop CS5’s Content Aware Feature to remove the man on the left.

Step 1
Using the content aware tool on different images produces different results. An image with a gradient background such as the sky in this image is quite tricky to work with. Open beach.jpg in Photoshop.
Step 2
We are extracting the person on the left from this photo. Using the Pen Tool, (P) Begin by making a path around the subject. The nice thing about using content aware is that you do not have to be exact when making a selection. In fact, do your best not to cut too close to the subject.

Notice in the image below how far I am drawing the path from the subject. Try to keep this distance all the way around. If you go too close, Content Aware will take pixels from the subject. If you cut too far it will take pixels from the woman on the right.


Step 3
Once you complete the path around the subject, turn it into a selection. This can be done by right clicking on the path and selecting Make Selection.
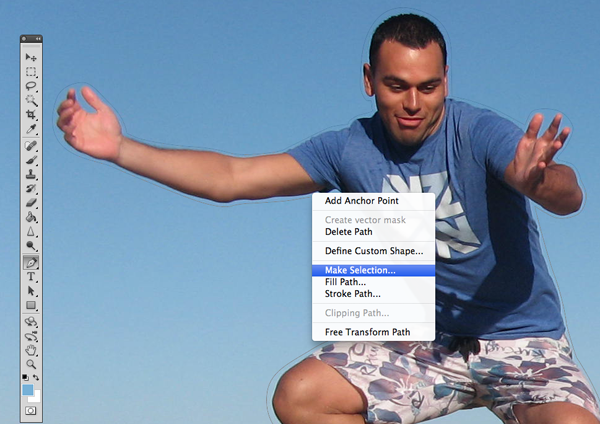
A dialog box will pop-up, make sure the feathering is set to 0px. Leave all other options as they are. Click OK.

Step 4
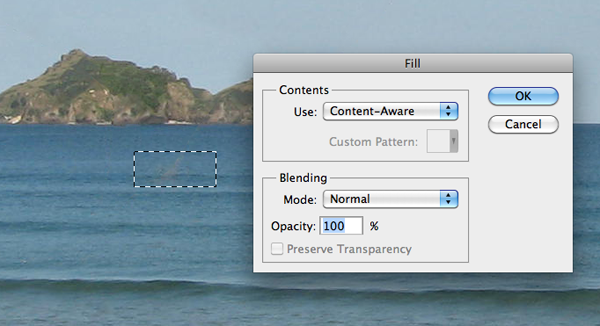
Now we have an active selection around our subject. In this step we will make the subject disappear from the image using Content Aware Fill. To do this, go to Edit > Fill.

A dialog box will pop-up, make sure the Content Aware option is selected. Blending mode is set to normal and the opacity is at 100%. Hit OK.

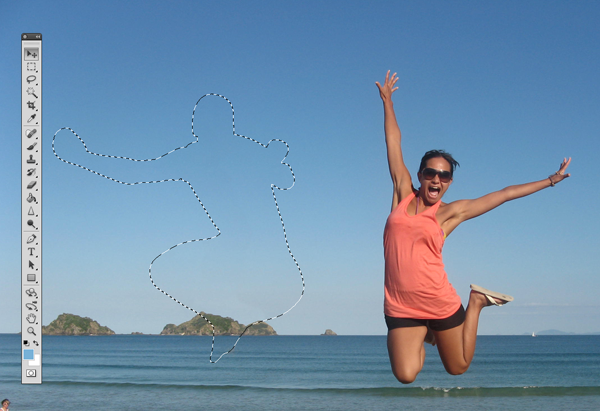

You can cancel the selection at any time by making another selection or just clicking anywhere else on the page with any selection tool.
Step 5
In this step we will remove some of the other artifacts in the image using the same process. The content aware tool did miss a spot where the subject’s foot originally was. To do this, draw a rectangle around the area using the rectangle selection tool. And use the content aware fill as we have done in the previous steps.
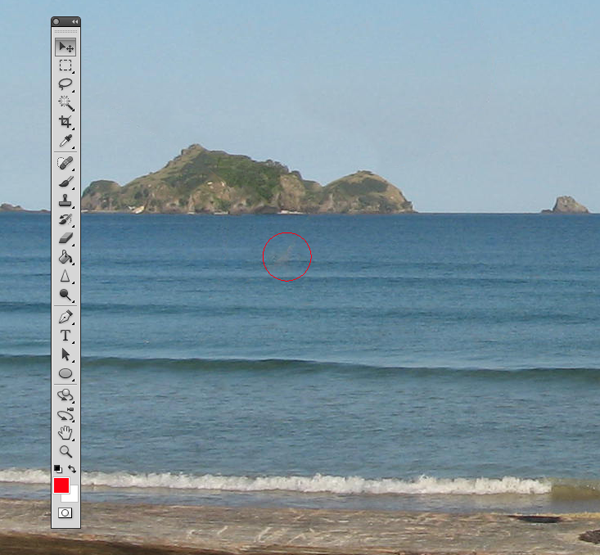


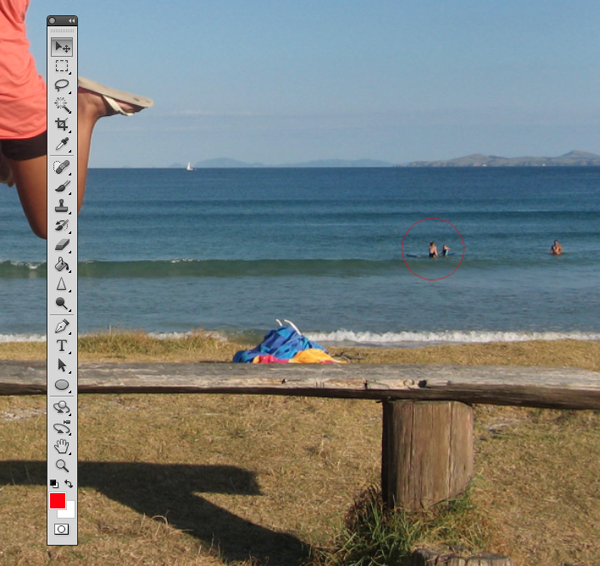
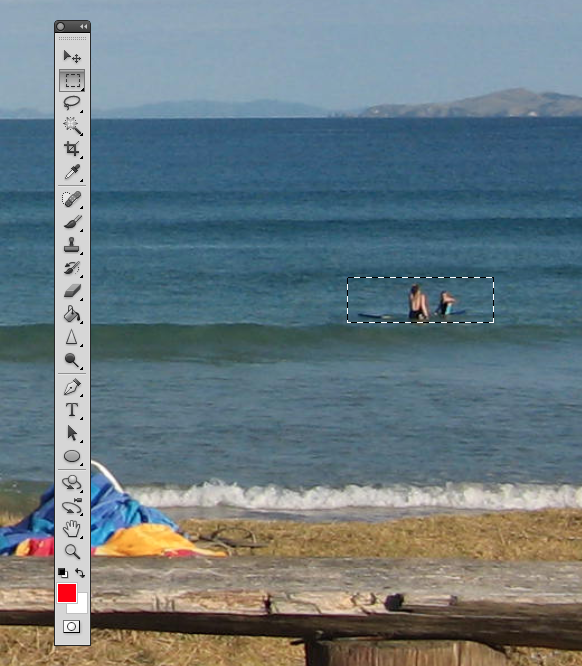
Now let’s remove the people towards the right of the image. Create a rectangle selection around them and use the steps we just demonstrated to remove them.

Step 6 (Optional)
Using the Crop Tool (C) lets crop the image so that the focus is drawn to the woman jumping. To do this, just crop out an area of the image that you would like to keep. Beware of the shadow that is left behind from the person that we have removed. You can use the Content Aware feature to remove this shadow but I have decided to crop it out altogether.
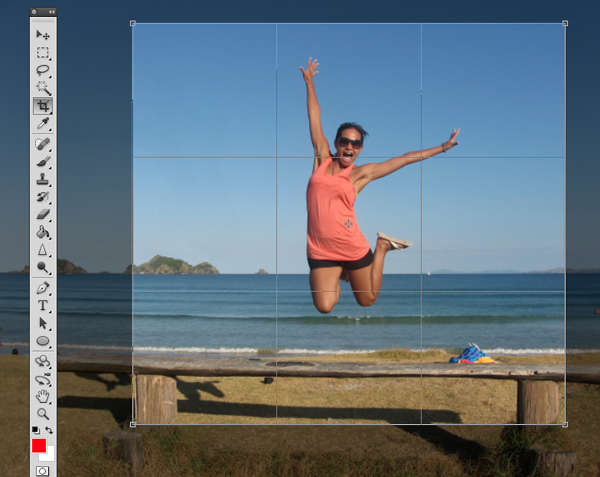
Click the checkmark at the top to keep this area. Photoshop will discard the content that is outside of your crop area.
Step 7 (Optional)
In this step we will enhance the photo by giving it a more vibrant look. The colors currently appear somewhat dull. There are many ways to accomplish this but we will use Color Curves. To do this, go to Image > Adjustments > Curves, (Cmd + M). A dialog box will pop-up and we will select each of the channels, R, G, B and work on them separately. Select the Red channel from the dropdown menu.
We are going to make two points on the graph. One in the bottom of the top right square, and one in the top of the bottom left square.
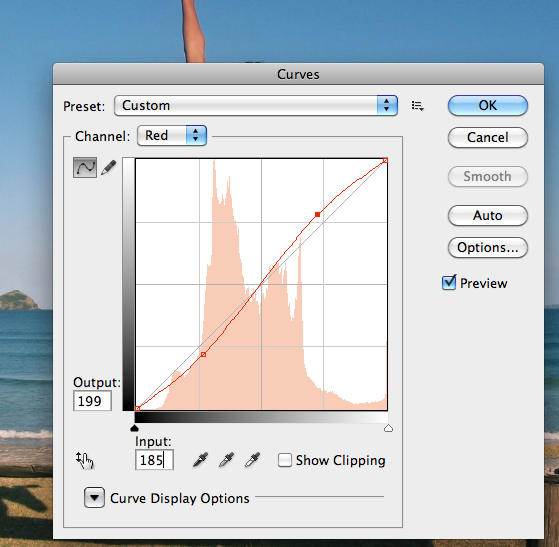
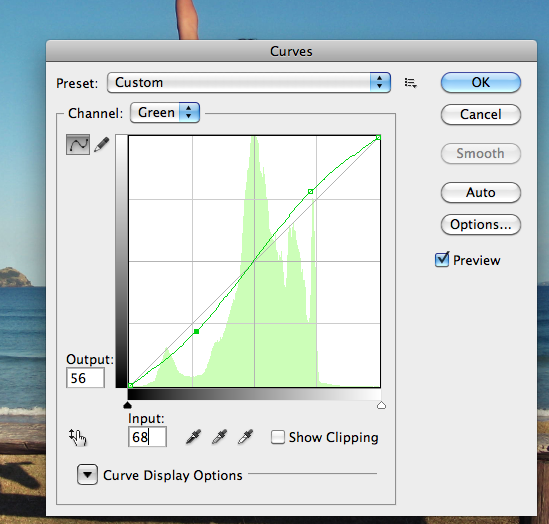
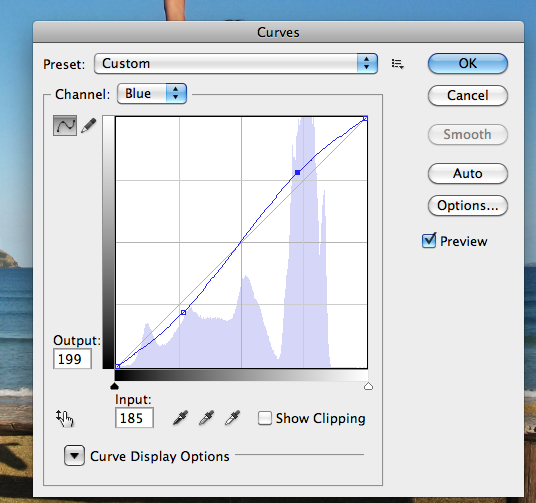
Once you have made these points, make sure you enter the values for each. For the top right point the Output value is 199, and the input value is 185. For the bottom point the values are 56 and 68, respectively. You can play around with these setting and adjust them to whatever you feel is appropriate. Repeat this for each of the colors, Green and Blue.
Final Image
Your image should now look something like the one seen below. As you can see, we have removed the man on her left with very little effort using Photoshop CS5’s new Content Aware Feature.
