Most of us have experience using the Adobe Suite, but how much do you know about InDesign? This powerful program has an entire host of features that you wont find in Illustrator or Photoshop, it’s for this reason that it has remained one of the most popular programs for graphic design and typography. The thought of learning InDesign may seem daunting to some, but there’s some really useful functions that are easy to learn and will save you hours of work. In this tutorial you will gain experience working with the page palette and special characters to make a basic page numbering system. You will also learn a few shortcuts that will help you work faster with InDesign.
Step 1
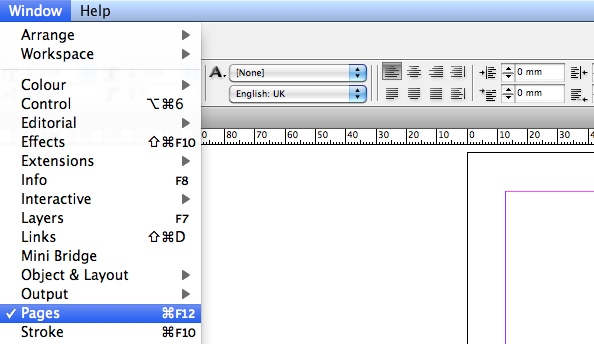
Open the multipage document you wish to add page numbers to. Go to your page palette, if it is not visible you can activate it by selecting Window > Pages.
Step 2
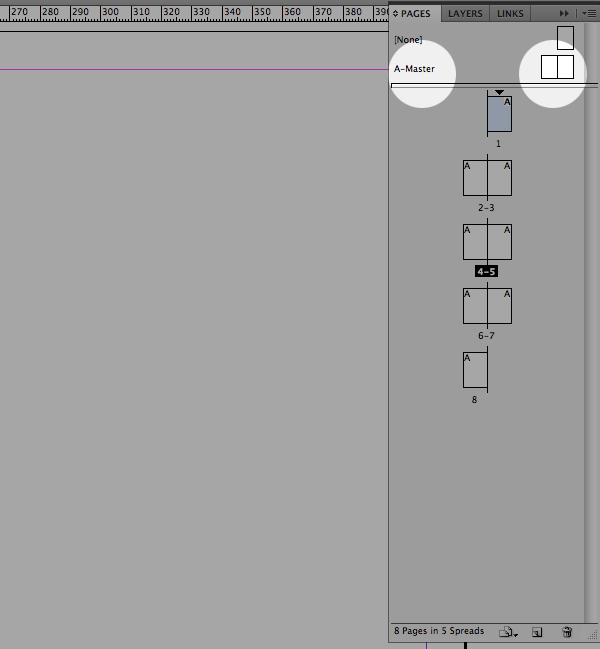
Within the page palette double click on A-master (you can do this by clicking on the text or page icon). You are now working in the master page.
Step 3
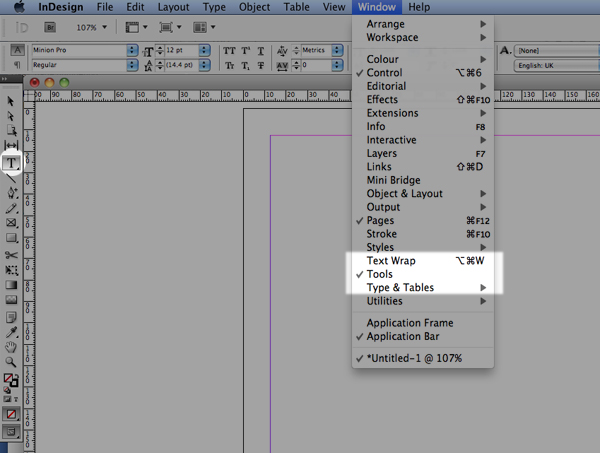
Select the text tool from your Tools menu (T), if the tool bar is not visible you can activate it by selecting Window > Tools.
Step 4
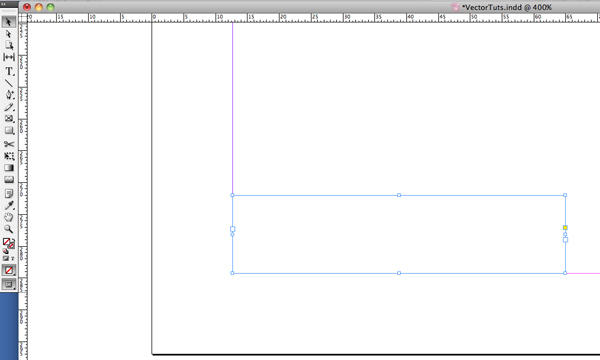
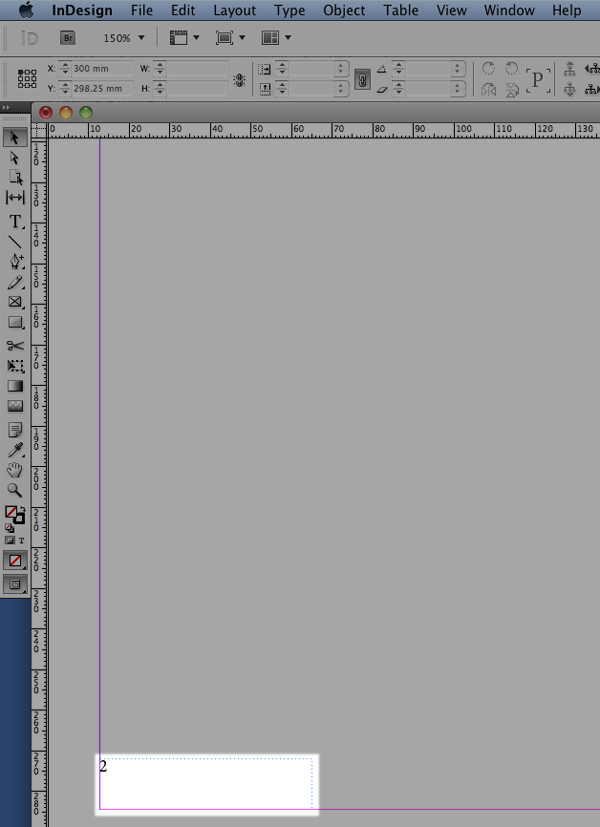
Position the cursor where you want your page number to sit. Click once and drag to draw a text box wide enough to hold the required amount of numbers.
Step 5
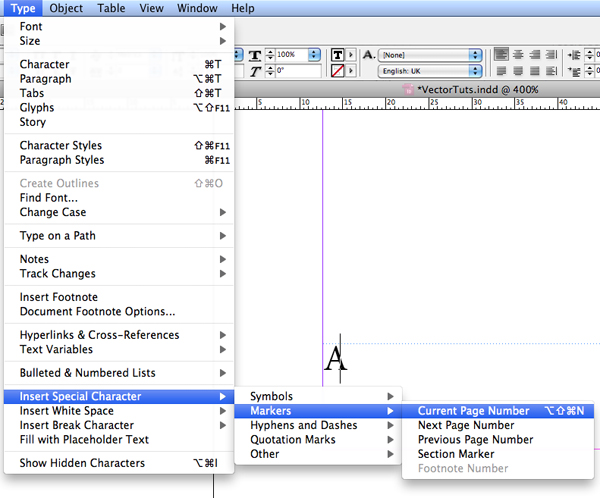
Select Type > Insert Special Character > Markers > Current Page Number. Once you have completed this step a capital "A" will automatically appear. The capital " A" represents the " A" master page. You can select, Command + A, and edit the character to any font, size, alignment and color to match the style of your document.
Step 6
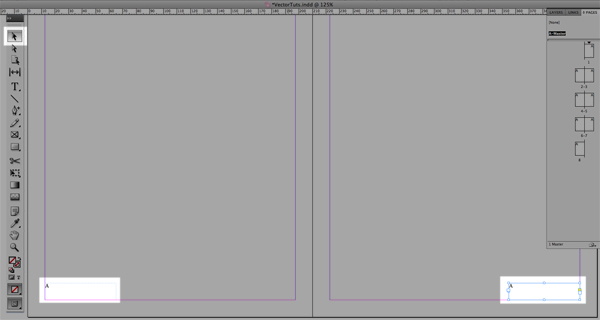
We are now going to create the adjacent page number. However we need to switch back to the selection tool first (Escape + V). In my document I have set the left hand page up first. So, instead of going through the steps again, to place the right hand number we will simply copy (Command + C) and paste (Command + V) the text box you have just formatted.
Step 7
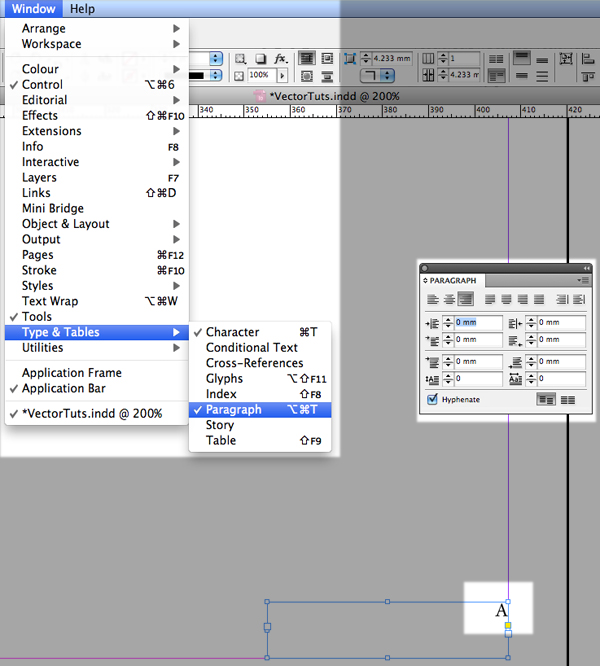
Position this text box on the right hand page, go to the paragraph palette and change the alignment to align right.
Step 8
You can now switch back to your main pages, you will find that every page is numbered. You will also notice that it is not possible to edit the numbers, this is because they are located on the master page and not the main document. To edit the number go back into the master page and use the techniques outlined in steps 1-6.
Step 9
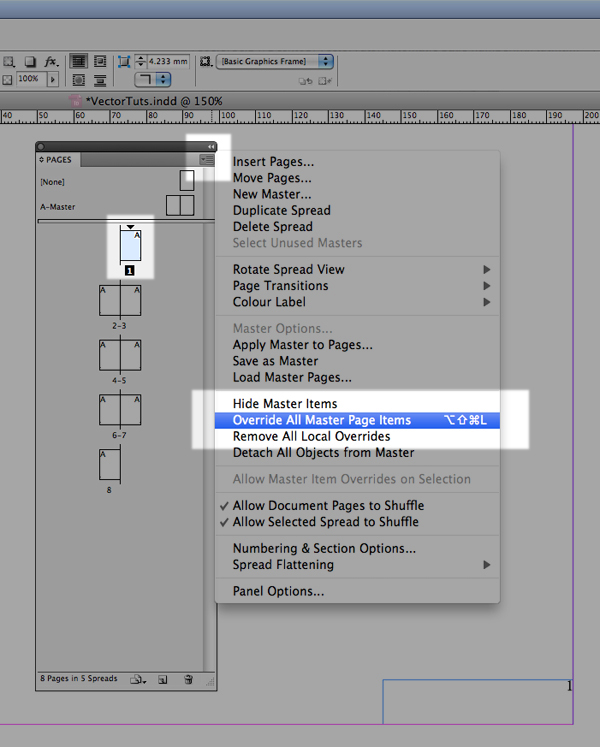
By default number 1 starts on the front cover. Traditionally you wouldn’t need the cover numbered. It’s possible to remove the number without disturbing the rest of the page numbers. Click once on the page icon you wish to edit, in this case it is the first page. Select the options menu for the page palette, which located in the top right hand corner of the palette and scroll down to Override All Master Page Items. Now click on the page number/text box you want to remove and delete it.
Conclusion
There you have it, how to easily number pages in an InDesign document. Once you learn this feature you will love it. Auto numbering takes the stress out of proof reading and editing documents later and will leave you with more time for the things you do best… creating!
Step 6
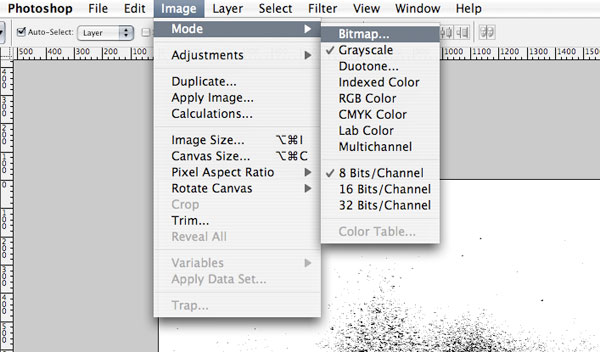
Convert the color mode to Grayscale.

Step 7a
Next, go to Image > Mode > Bitmap
Step 7b
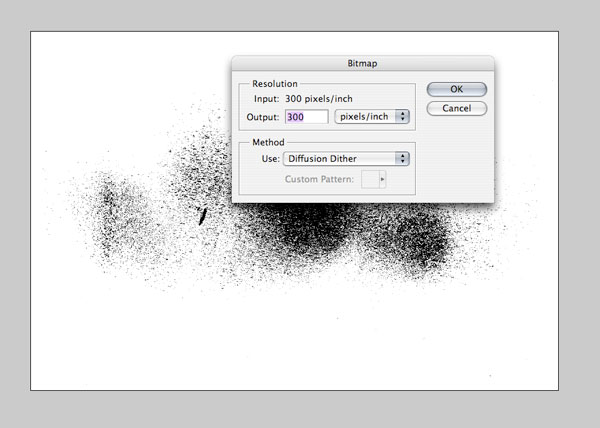
Depending on the resolution for the final artwork, decide the pixel per inch output.
Step 7c
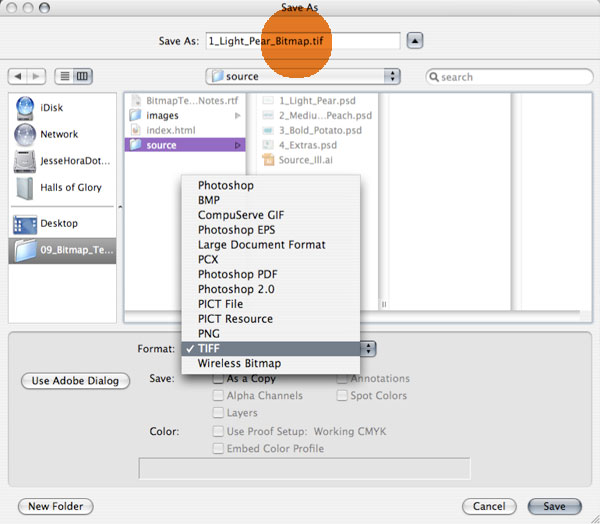
Save as a .tiff. I like to label the file ‘Bitmap’, to keep things organized.
Step 8
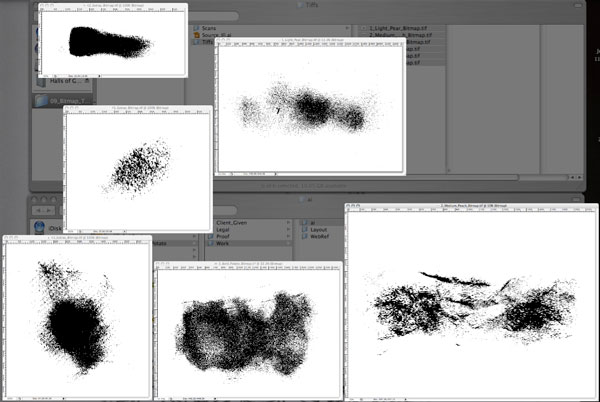
Do this to each texture. The ‘extras’ file needs to be split into separate .tiff files. Crop and save each ’section’ as a separate .tiff file. Here is what I have, the 3 specific .tiff files and 3 additional ‘extras’ ready to go into Illustrator.
Step 9a
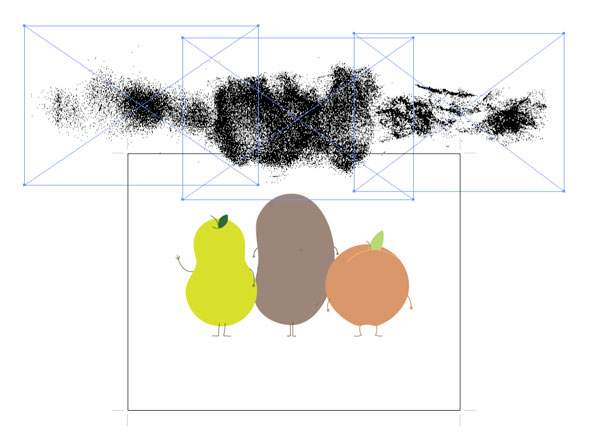
Next, open the original Illustrator file and go to File > Place and select the bitmap texture .tiff’s.
Step 9b
From here it’s easy, simply select the .tiff and choose a color from the swatch palette.
Step 10a
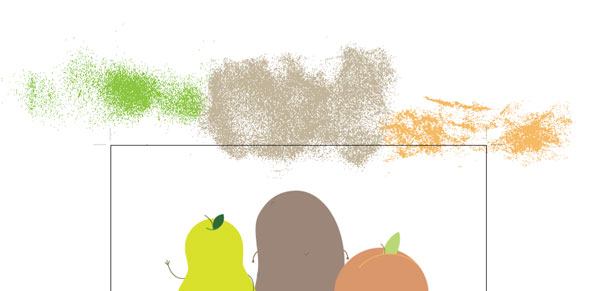
Using a simple clipping mask, integrate the textures into the illustration.
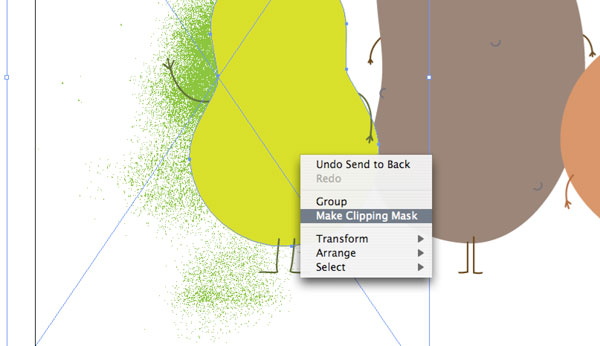
Step 10b
The beauty of tiffs, besides the file size being a fraction of what it would be if the textures were vector, is that you can work with .tiff exactly the same way you would if they were vector. Simply choose a swatch to change the color.
Step 10c
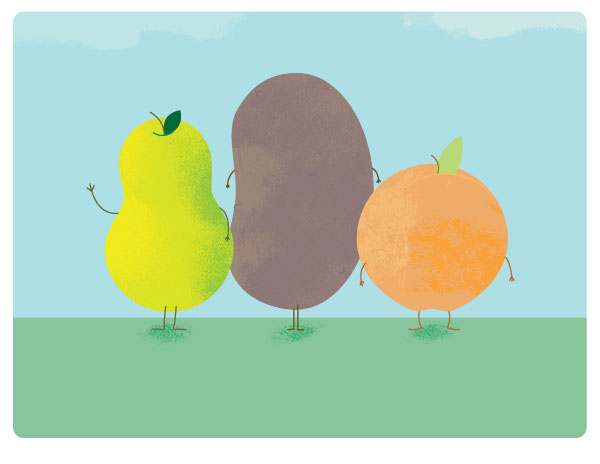
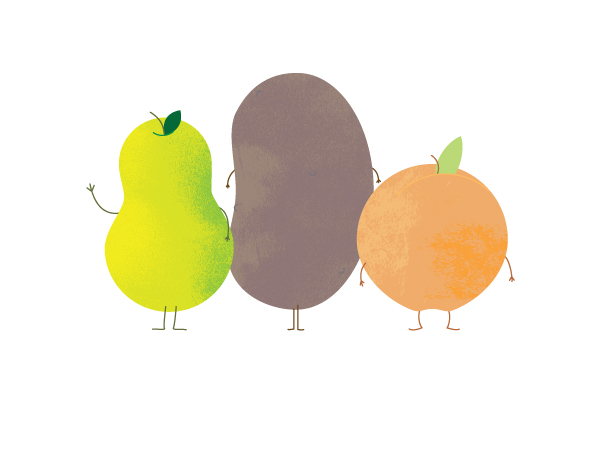
Just to make your illustration extra special, you could use additional textures to bring the entire illustration to life. I’ve used small textures as shadows on the ground and clouds in the sky.

Conclusion
I realize this is a Photoshop heavy ‘Vector’ tut, but with the main use of the tiff textures in Ai, it shows how to get the most out of Illustrators capability to use both raster images and vector shapes. While this is a simple process, it really helps to keep the file size down, and it looks delicious.