Do you want to illustrate a drawing pin? If yes then let’s get started this Quick Tip for beginner users of Adobe Illustrator, and you will learn the simple techniques of vector graphic design that will improve your skills and creativity!
Step 1
Take the Ellipse Tool (L), change the Fill color in the Control Panel to yellow, and the Stroke color to None. Press the Option button on your keyboard, and drag the mouse while holding the mouse key and the above-mentioned buttons down. You will receive the following circle shown in the image below.
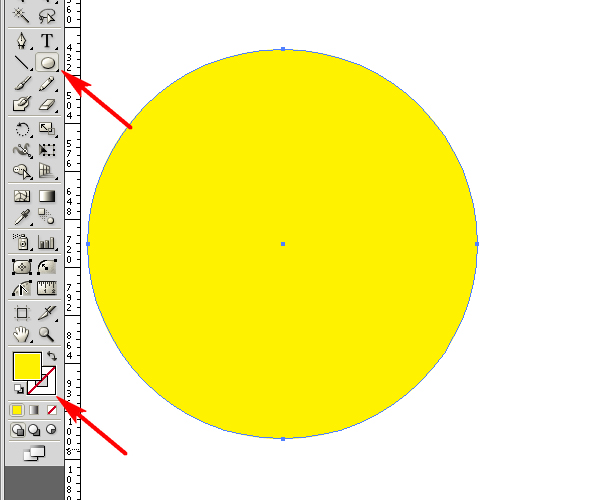
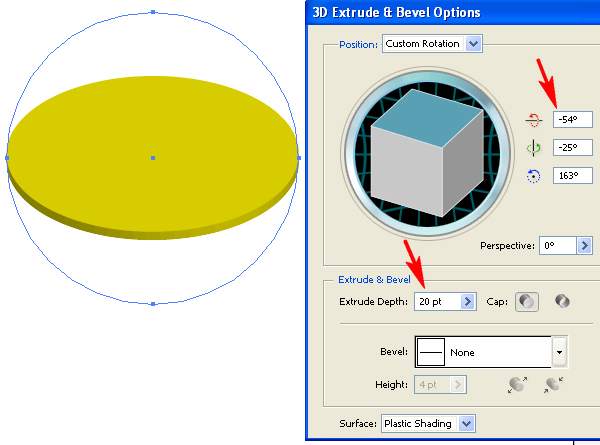
Then go to Effect > 3D > Extrude & Bevel and convert the circle to a disc by specifying the rotation angles and the depth of extrusion.
Step 2
When you will be satisfied with the disc shape, go to the Appearance palette and click "3D Extrude & Bevel" link to edit the effect. (The disc must be selected).

Set the Rendering Style to "No shading".
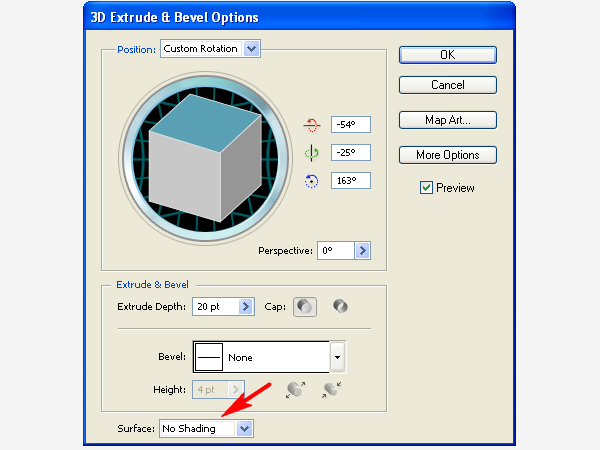
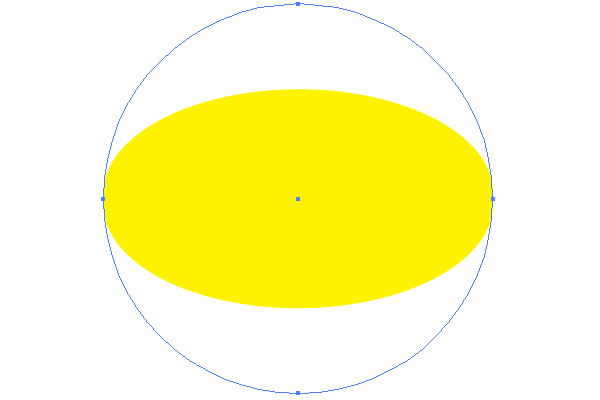
You should do this in order to decrease the quantity of paths after expanding which will be made in the next step. Now you should achieve the following result.
Step 3
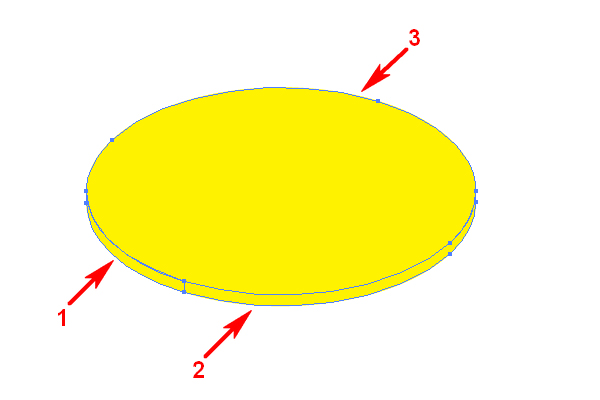
Go to Object > Expand Appearance, then go to Object > Ungroup three times. You should have a picture the same as below where you may see three different paths.
Step 4
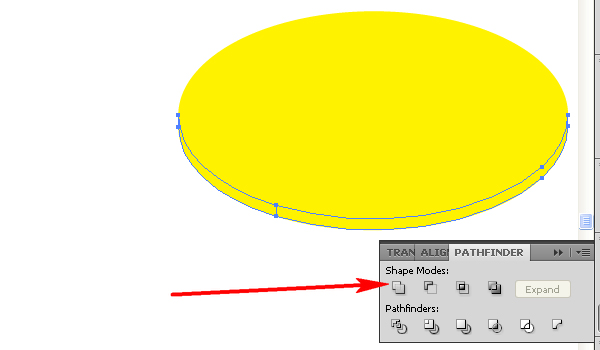
Select both the first and the second paths, and go to the Pathfinder palette, and click there the Unite button.
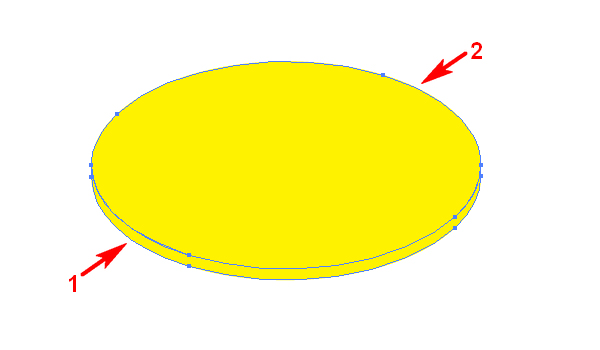
After that you will have only two paths.
Step 5
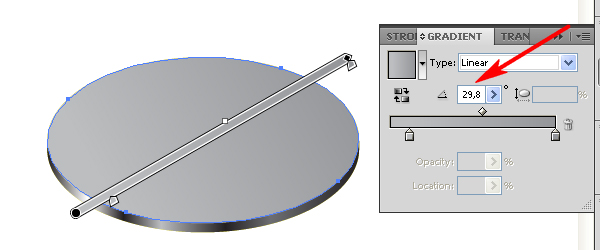
Select the first (new) path and fill it with the Linear gradient using the Gradient palette. If you do not know how to add the color-stops to the gradient, you may do it by clicking the gradient slider only. The changing of the color (and the opacity) of any color-stop is made by double-clicking it.
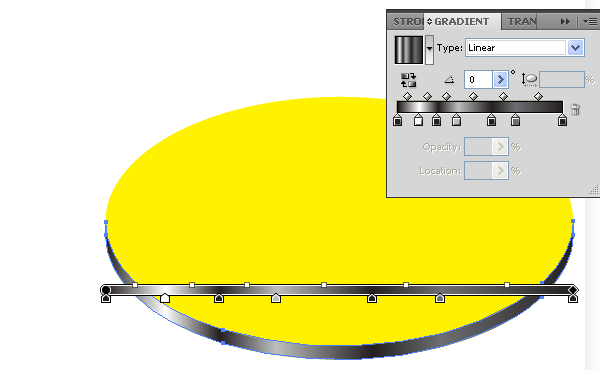
The second path should be filled with an angled linear gradient. Select both paths and go to Object > Group (Command + G).
Step 6
Take the Rectangle Tool (M) and illustrate an elongated vertical rectangular path.
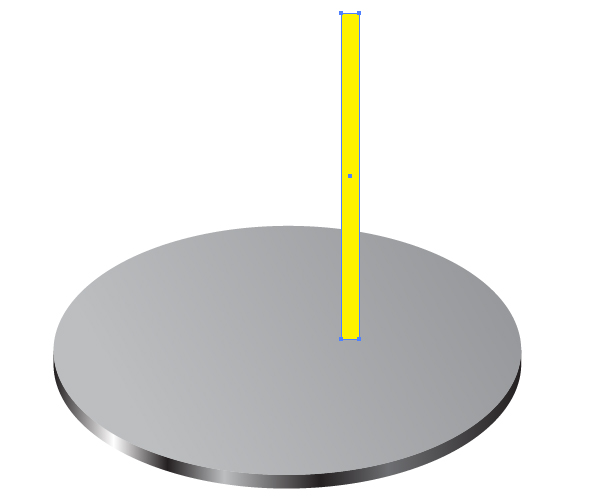
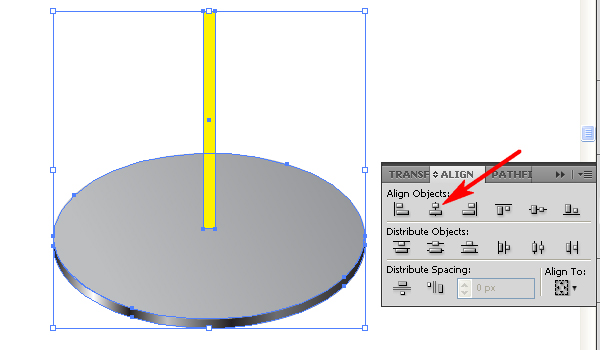
Then place this path in the center of the disc. In order to do this, select both the group of the disc and the yellow path.
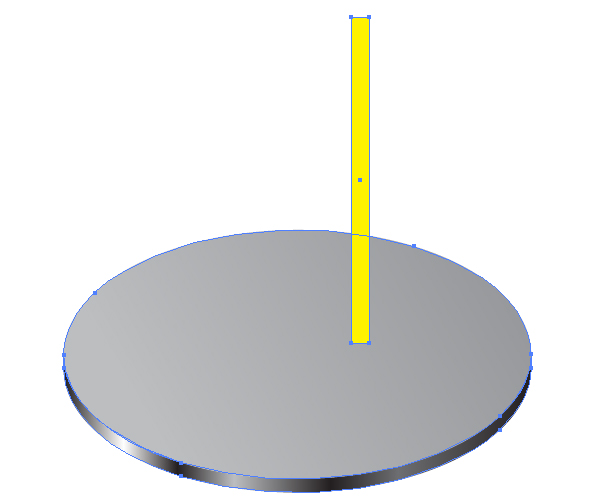
Take the Selection Tool (V)
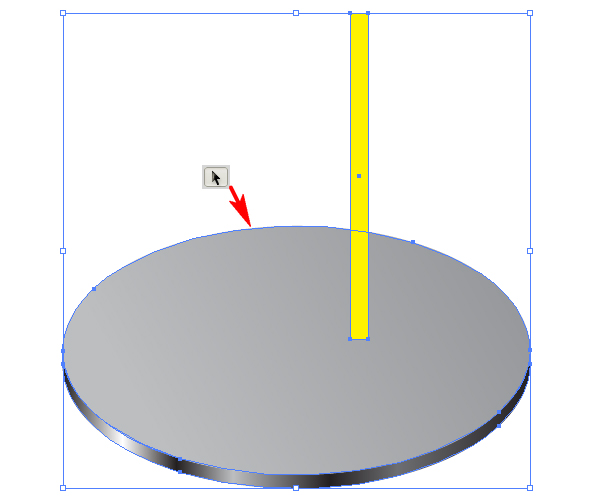
Click the disc group with it.
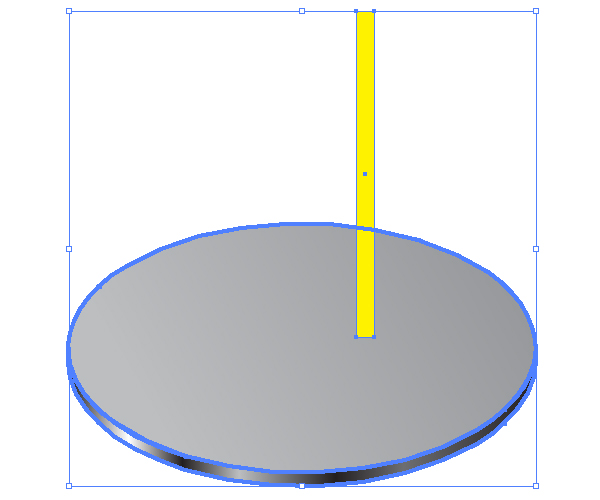
Go to the Align palette and click the "Horizontal Align Center" button.
Step 7
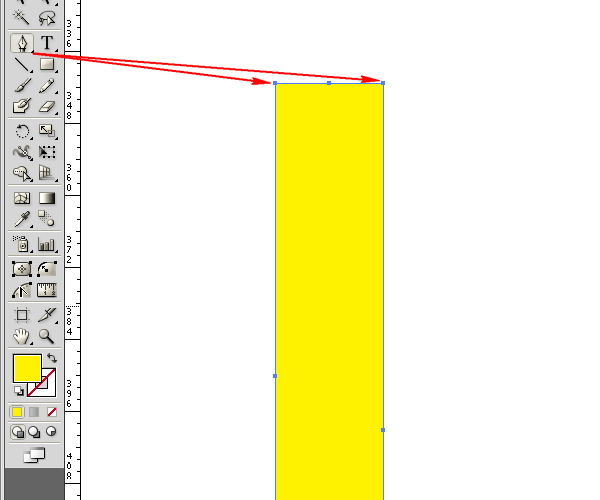
Select the yellow rectangle and go to Object > Path > Add Anchor Points. This command adds anchor points in the centers of the path’s segments.
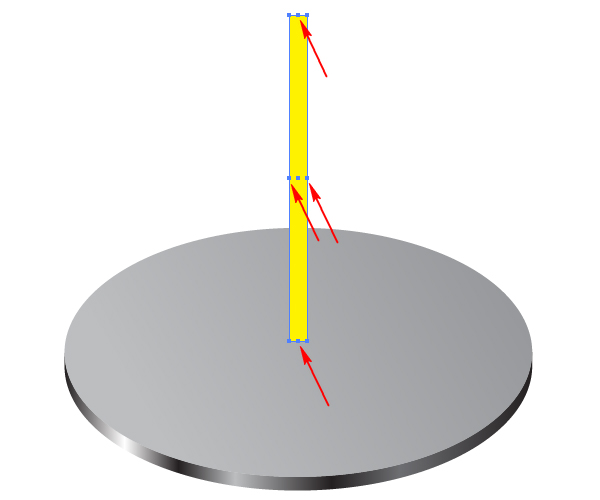
Take the Pen Tool (P), and add two anchor points to the yellow path by clicking the contour. See the helpful diagram below.
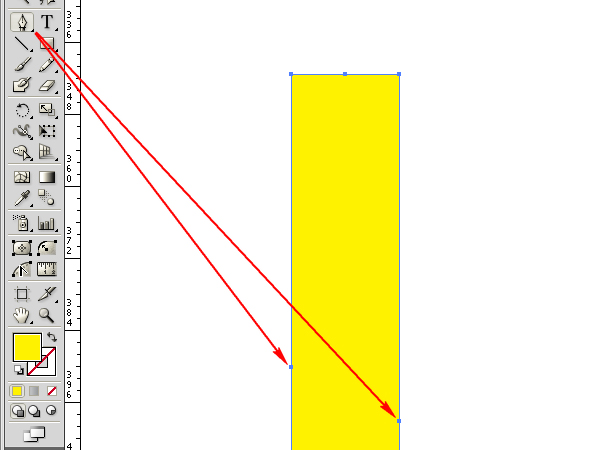
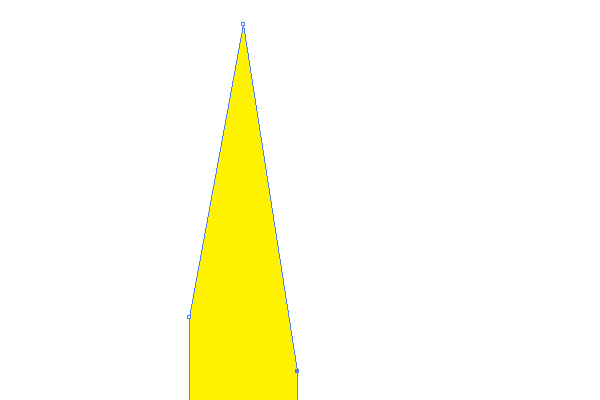
Then delete two anchor points in the corners of the contour by clicking them with the Pen Tool (P).
Step 8
Delete the other two anchor points shown below.
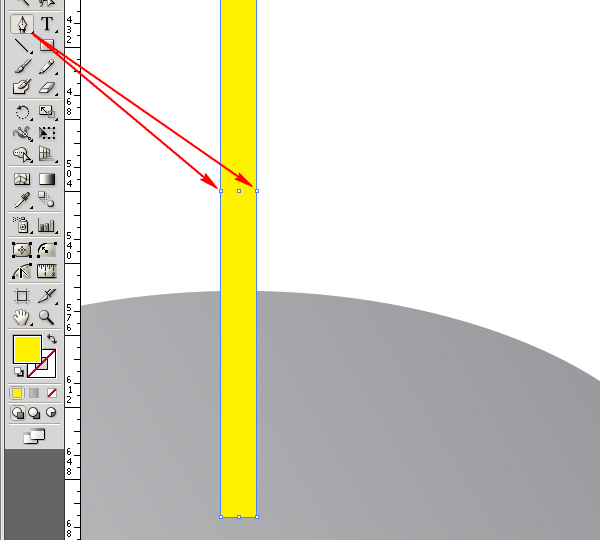
After that take the Direct Selection Tool (A), select the bottom center anchor point, and convert it to "smooth" using the corresponding palette in the Control Panel.
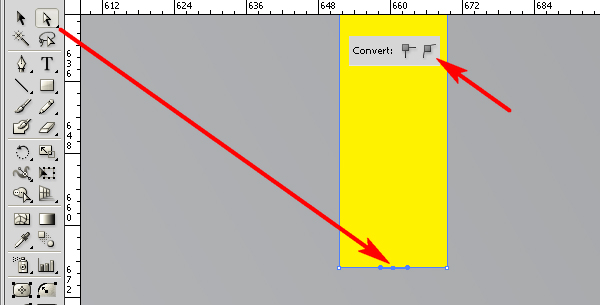
Now move it slightly down by pressing the cursor buttons on your keyboard.

Step 9
Illustrate the green path using the Pen Tool (P) in the top part of the yellow path as shown.
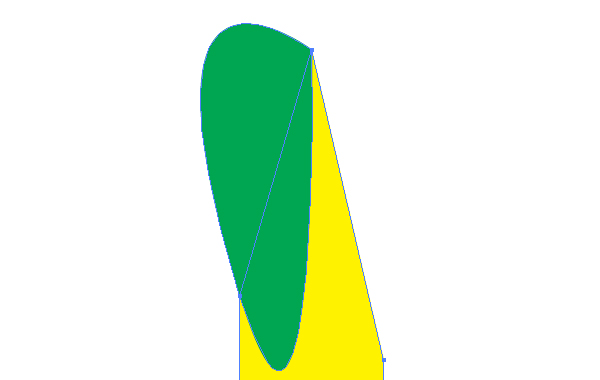
Then illustrate the blue path as shown in the diagram below.
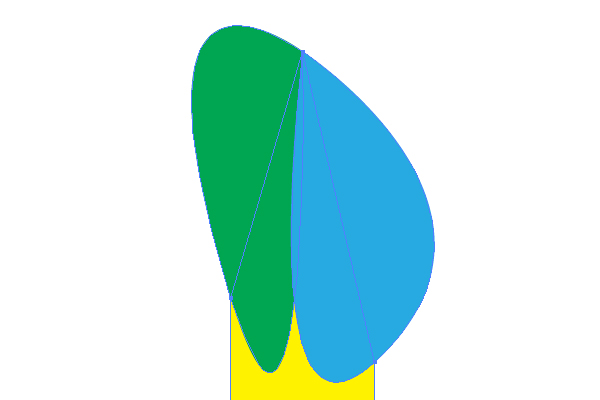
Select the yellow path, copy it and paste in front (Command + C then Command + F), then select both the copy of the yellow path and the green path.
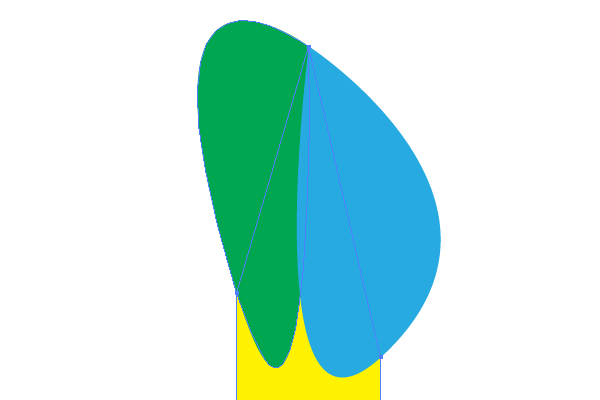
Go to the Pathfinder palette and click the Intersect button.
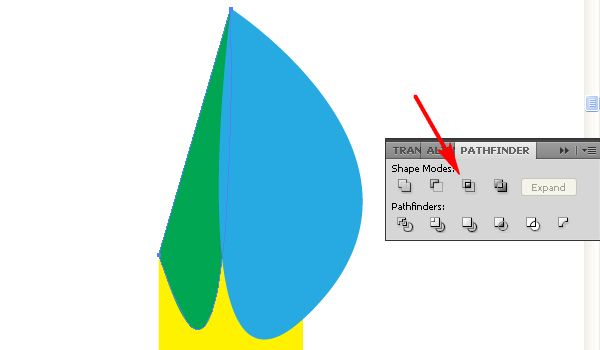
Repeat these manipulations with the blue path. You should achieve the following result.

Step 10
Fill the yellow path with a linear gradient.
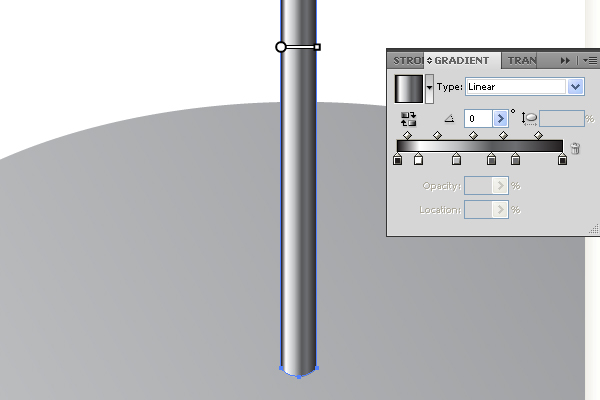
Fill the green path with an angled linear gradient.
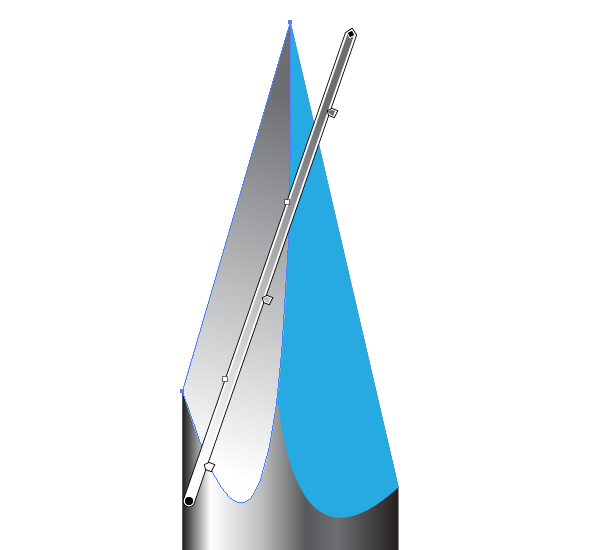
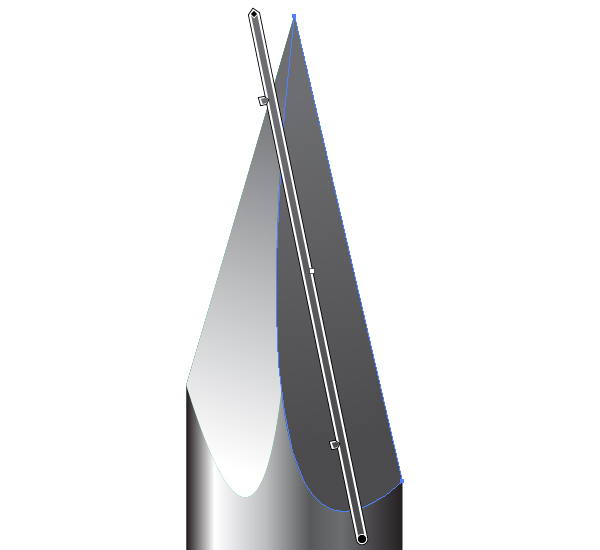
The blue path should be filled with an angled linear gradient too.
Step 11
Illustrate a white circle. Place it between the needle of the drawing pin and the disc in the Layers palette.
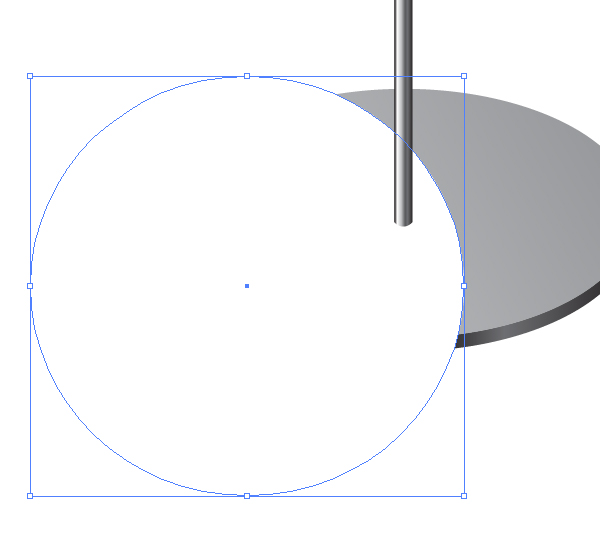
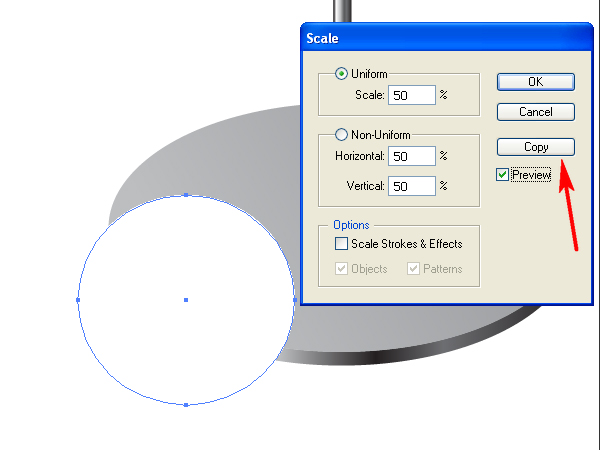
Go to Object > Transform > Scale and set there the values which you can see on the diagram below. Then click the Copy button.
Step 12
Change the Opacity in the Control Panel to zero for the biggest circle.
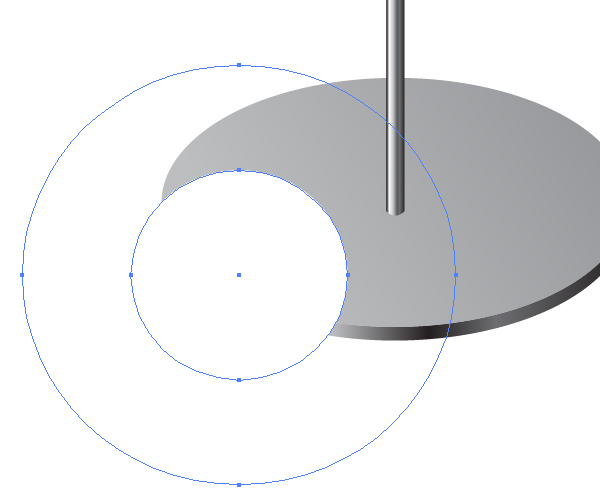
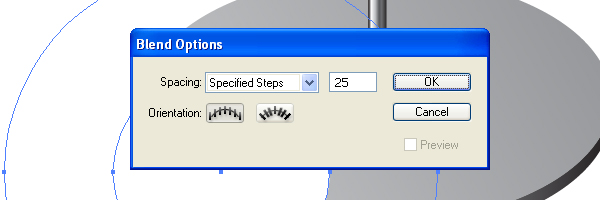
Go to Object > Blend > Blend Options. Set the Spacing to Specified Steps and the quantity of steps to 25 or more.
Then select both circles.
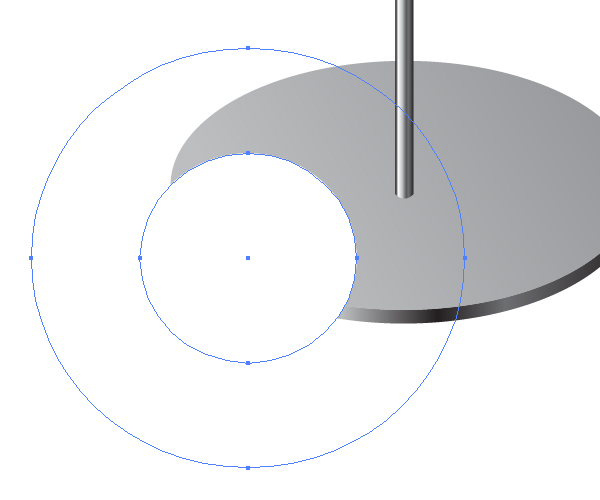
Go to Object > Blend > Make (Command / Option + B).
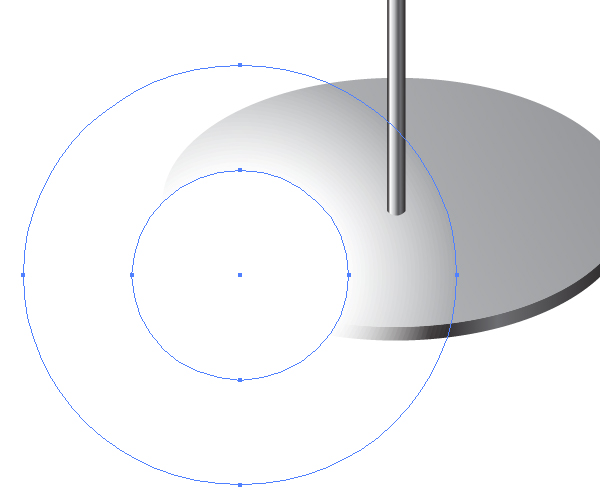
Decrease the Opacity of the blend.
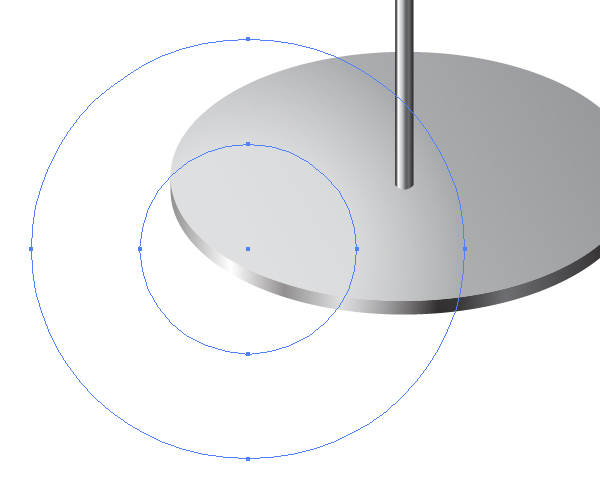
Step 13
Select the needle path, copy it and paste in front (Command + C then Command + F), go to Object > Transform > Rotate, and place the copy of the needle by rotating as shown in the image below. (Its blue color is not necessary).
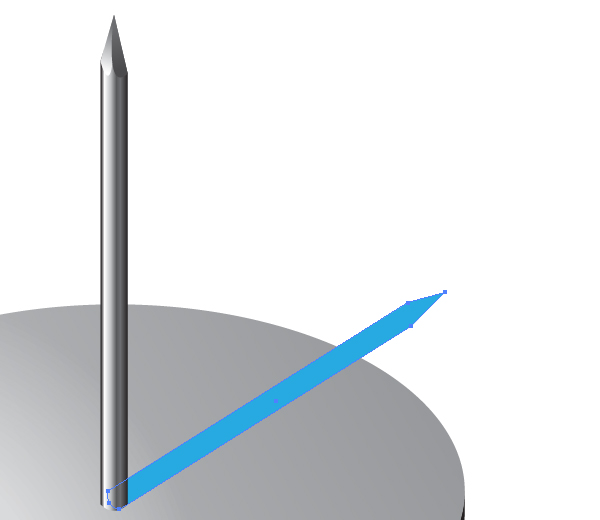
Fill it with an angled linear gradient that goes from 50% to 0% in opacity.
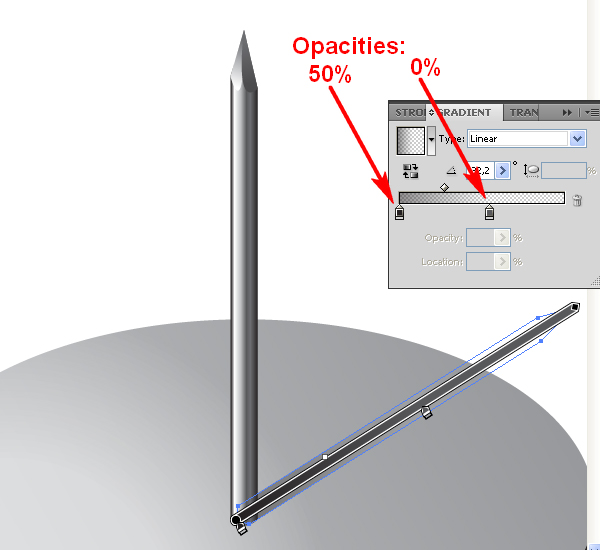
Step 14
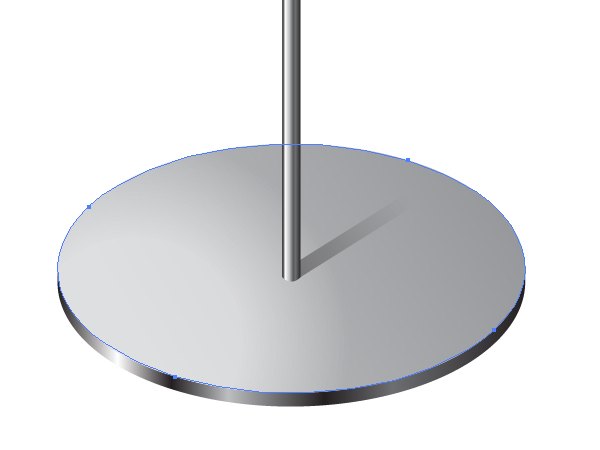
Select the flat path of the disc. Copy it and paste in front (Command + C then Command + F).
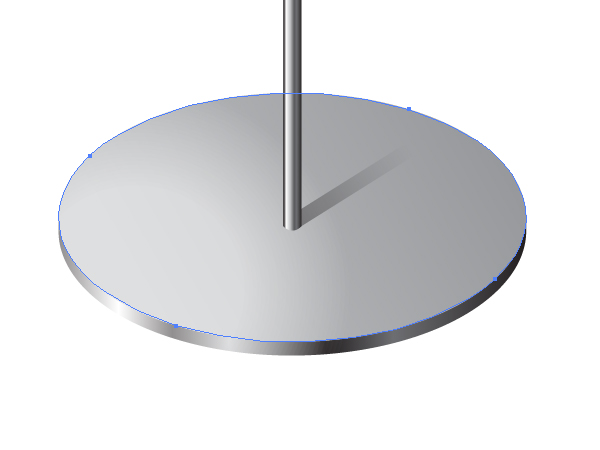
Place this copy in the top of the Layers palette. Then select all the following – the copy, a shadow from the needle, and the blend, and go to Object > Clipping Mask > Make (Command + 7).
Step 15
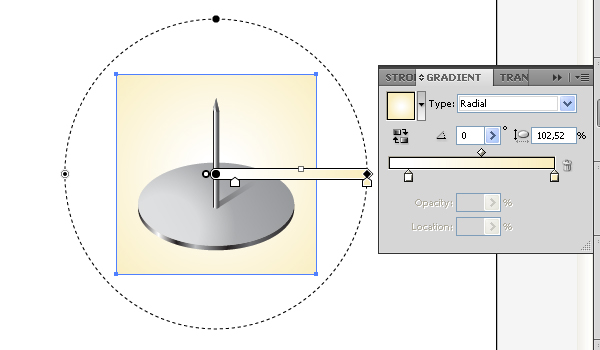
Grab the Rectangle Tool (M), sketch a rectangular path under the pin, and fill it with a radial gradient.
Conclusion
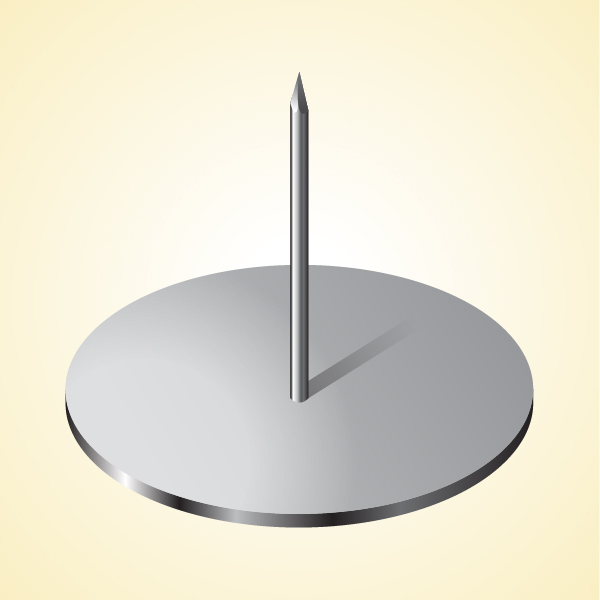
The final image is below. I hope you have studied the important techniques of Adobe Illustrator in this tutorial.
{excerpt}
Read More