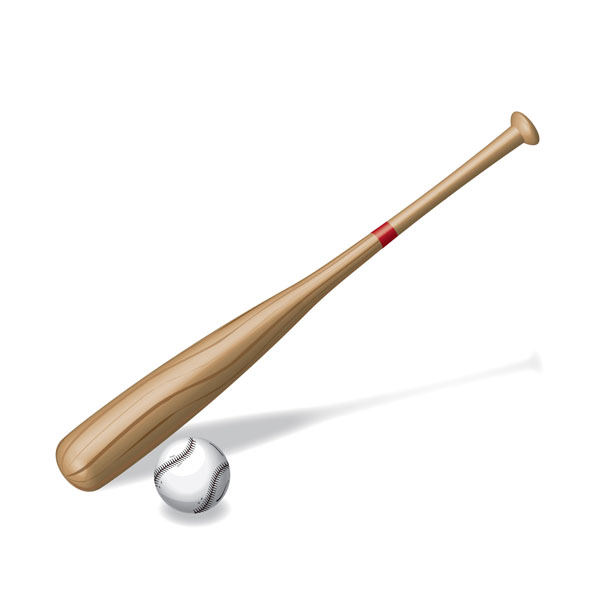
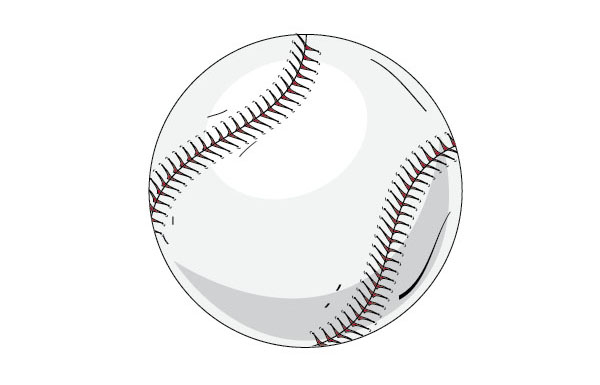
In this tutorial, you'll learn how to create a baseball bat and a baseball using Illustrator’s 3D tool and blends. We’ll utilize 3D art mapping for texture creation and pathfinder tools to create this classic illustration of a bat and ball.
Step 1
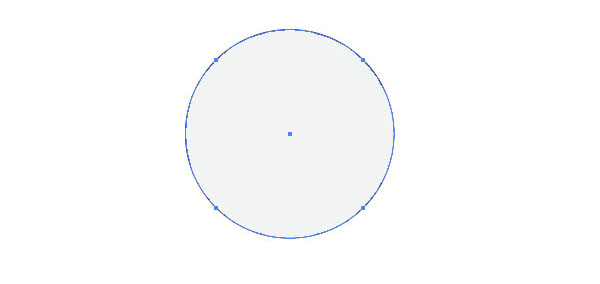
Open up a new document and select the Ellipse Tool (L). Create a circle and fill it with gray for now and a 1pt black stroke.
Step 2
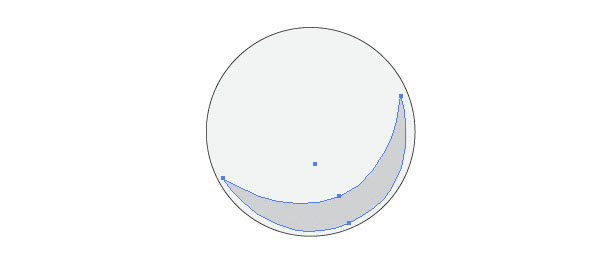
Create a sickle like shape with the Pen Tool (P) and fill it with a darker gray.
Step 3
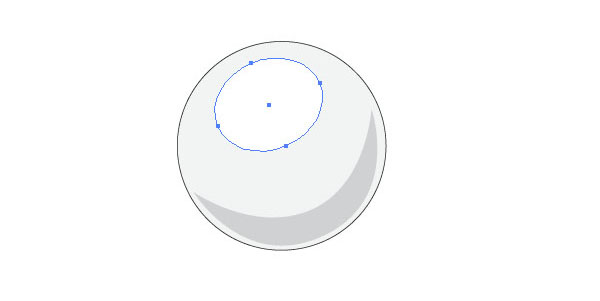
Reselect the Ellipse Tool (L) and create a shape like in the image below. Fill it with white.
Step 4
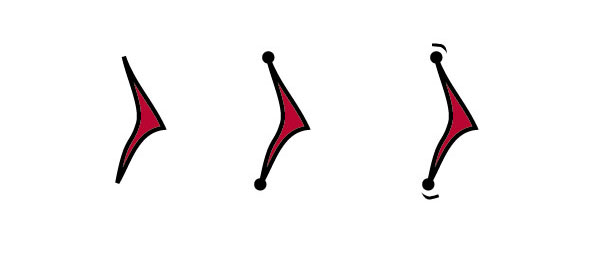
Select the Pencil Tool (N) and start drawing a stitch like shape (A). Make sure the path is closed. Fill it with red and set the stroke to black. Then create two small black circles (B) and place them on the tips. Last, create two small strokes with the Pencil Tool (C) as well.
Step 5
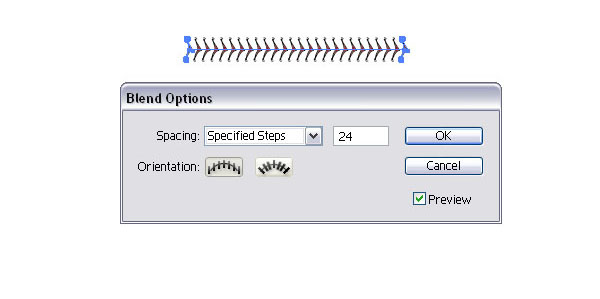
Group the stick (Command + G) and make a duplicate (Option-drag). Place them apart and select both. Create a blend (Command + Option + B). Then open the Blend Options (Object > Blend Options) and set the Specified Steps to 24, or whatever distance you want to achieve.
Step 6
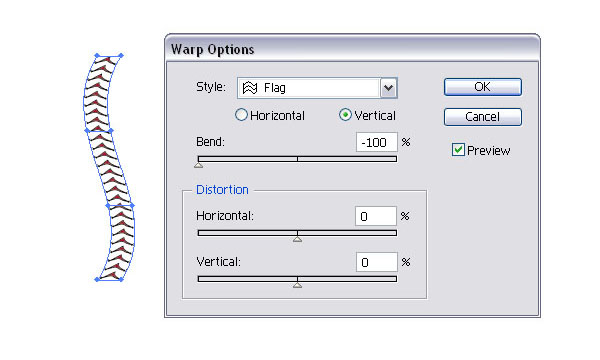
Then select it with the Selection Tool (V) and rotate it 45 degrees. With the selection still active, go to Object > Envelop Distort > Warp Options and apply the settings below.
Step 7
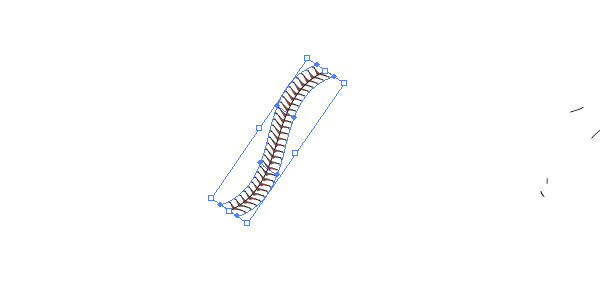
Rotate it slightly clockwise.
Step 8
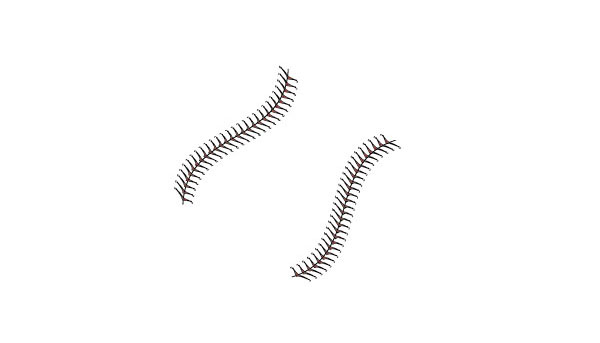
Reflect the stitches (Select object then hit O + Option-drag).
Step 9
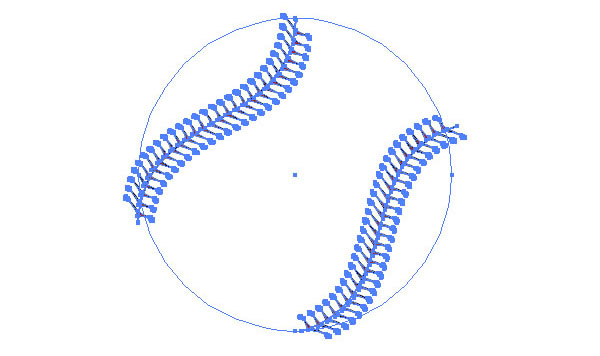
Make a copy of the original circle for the baseball and place it above the stitches. Set the fill and stroke to none. Then select the stitches and the circle and apply a Clipping Mask (Command + 7).
Step 10
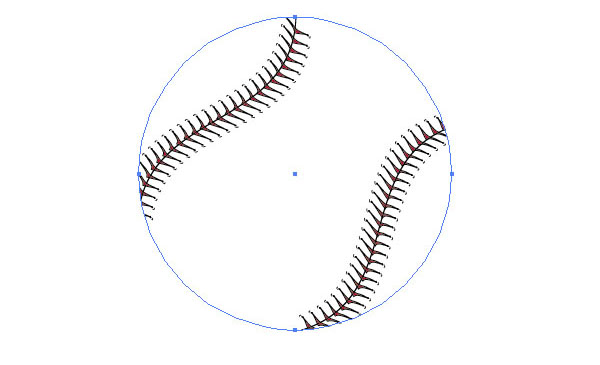
Now we have the stitches clipped.
Step 11
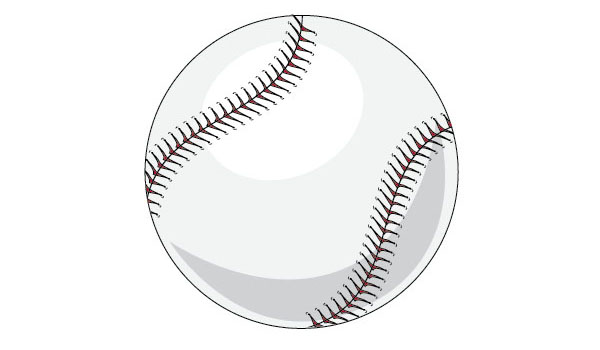
Place the stitches on top of the baseball objects.
Step 12
To make the baseball look a little more ragged, add some strokes with the Pencil Tool (N). You can replace the stroke with a brush of your liking.
Step 13
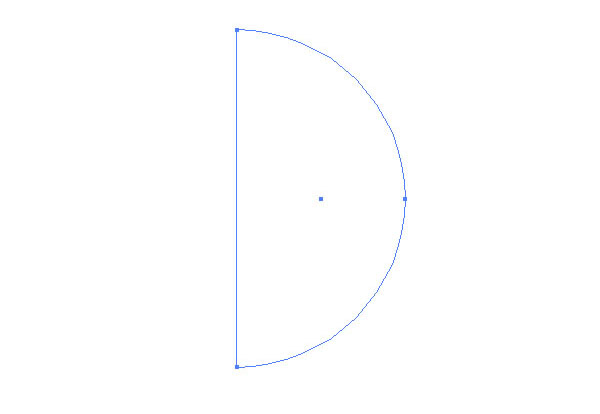
To make the baseball a little bit more flashy, we will had a few highlights. Create a half circle and fill it with white.
Step 14
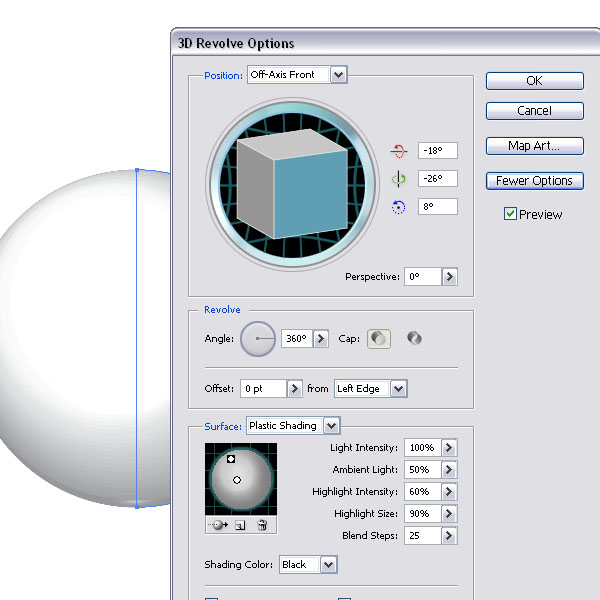
Then with the half circle selected, go to Effect > 3D > Extrude & Revolve and apply the settings below.
Step 15
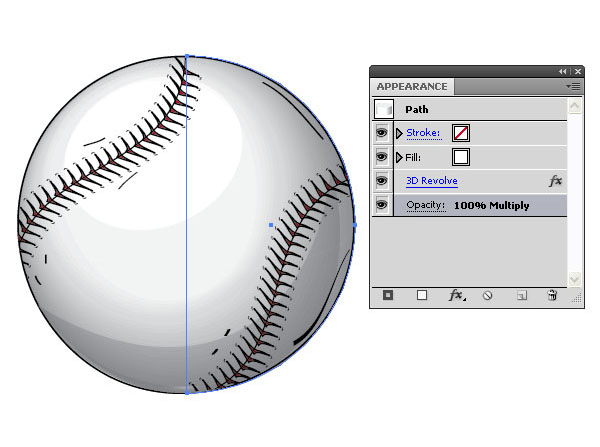
Place the 3D object on top of the baseball and set the Layer Mode to Multiply, 100%. Of course, you could create a circle with a radial gradient fill instead.
Step 16
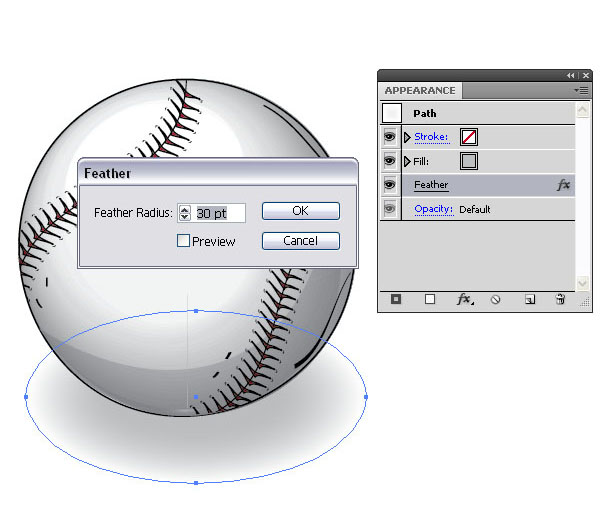
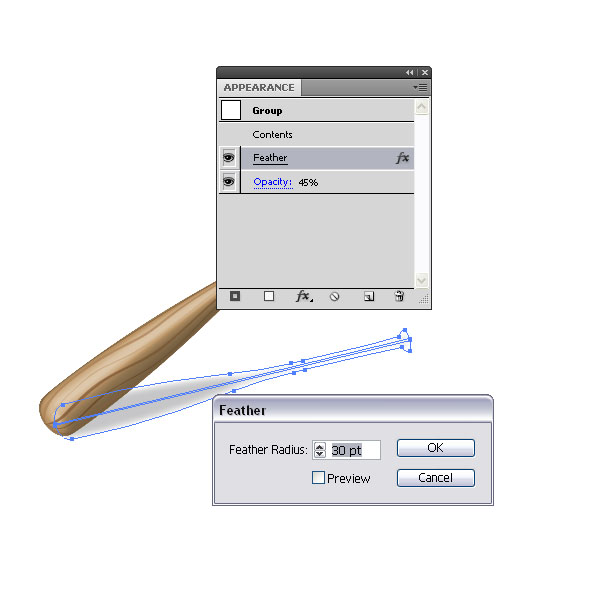
Create a small gray ellipse and place it under the baseball. Then apply a Feather effect of 30pt (Effect > Stylize > Feather).
Step 17
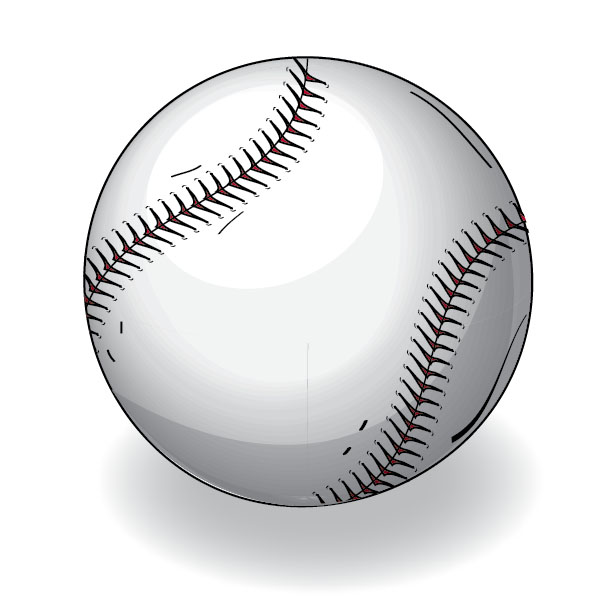
The baseball is ready.
Step 18
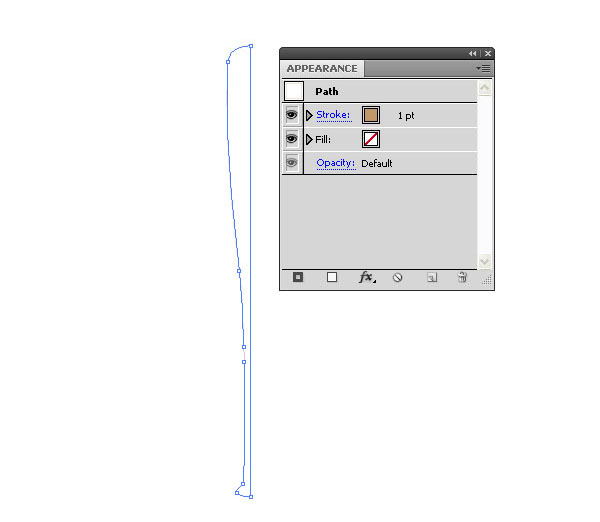
Let’s move on to the baseball bat. Have a look at some baseball bats and pick a nice one for your reference. Then start creating it with the Pen Tool (P) in outline. You need only create half of it. Make sure the path is closed. Set the Stroke to a beige color.
Step 19
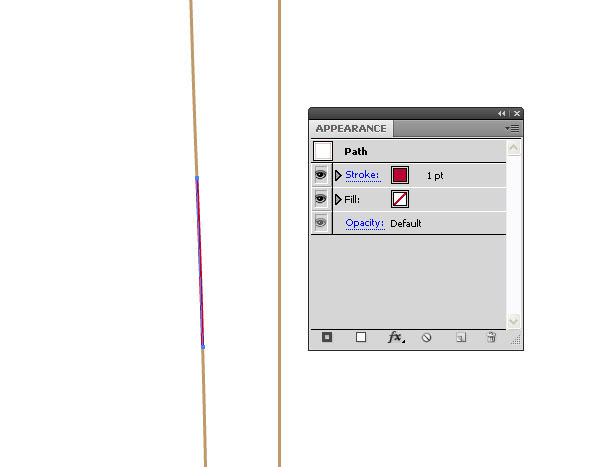
Since we want to add a small detail to the bat, select the Pen Tool (P) again and add two extra points to the outline along the handle. Then with the Scissor Tool (C), cut both points by simple clicking on them. Then select the small path with the Direct Selection Tool (A) and set the stroke to red.
Step 20
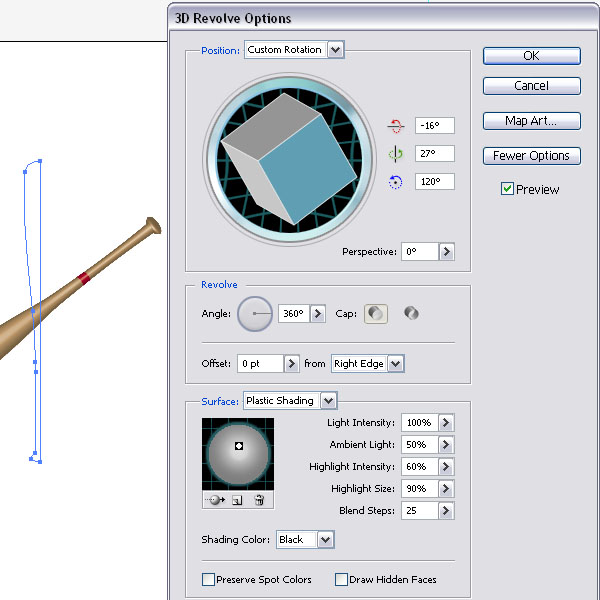
Select the outline and apply the 3D Revolve Options below (Effect > 3D > Revolve). Make sure you place the highlight so it shows a nice end of the baseball bat.
Step 21
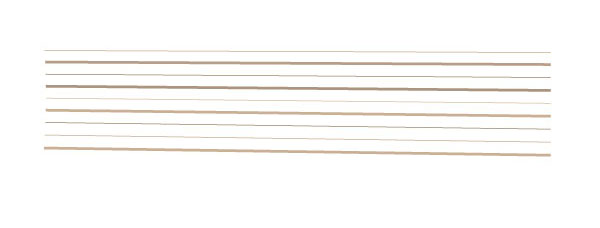
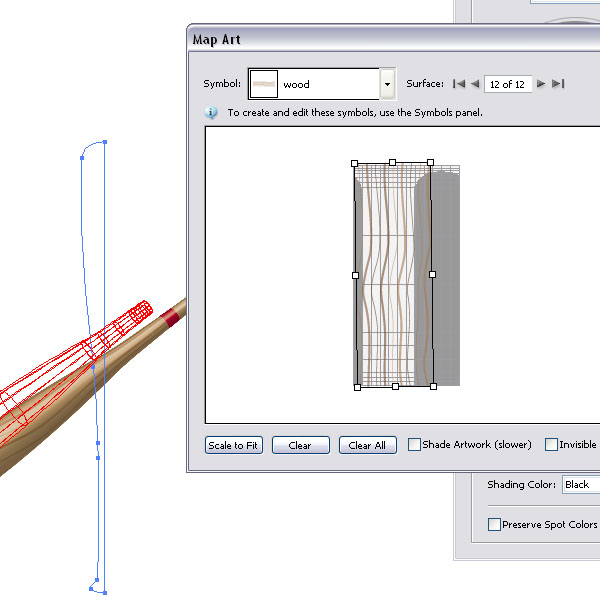
For the wood texture we need to create a symbol so we can apply it as a texture map. Select the Pencil Tool (N) or the Pen Tool (P) and create a few lines, one thin and one thick in a beige and brown.
Step 22
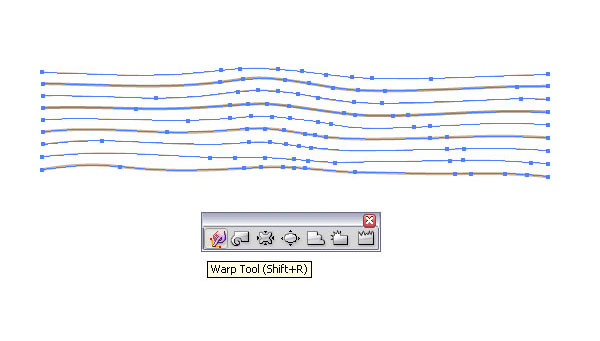
Then select the Warp Tool (Shift + R) and warp the lines a bit.
Step 23
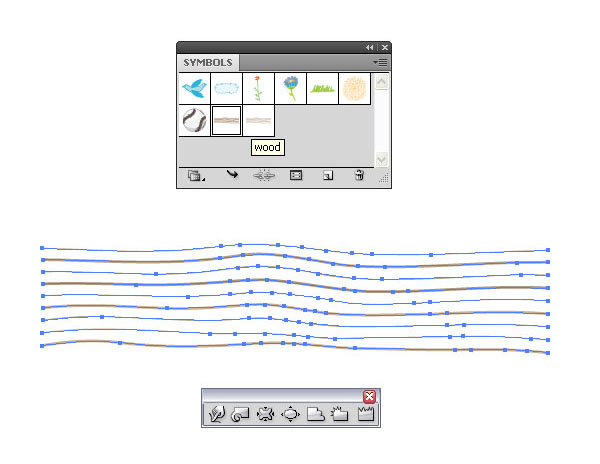
Then select all the lines and drag them into the Symbols Palette.
Step 24
Reselect the bat and open the 3D Revolve via the Appearance Palette. Click the Map Art button and add the wood symbol.
Step 25
Last but not least, add a shadow just like we did in Step 16. You can make a copy of the bat, expand the appearance and fill it with a gray color. Then apply the Feather effect again. Make sure you scale or rotate the shadow shape.
Conclusion
This is the finished artwork. A baseball bat and a baseball. I hope you enjoyed this tutorial.
