Sometimes retouching a portrait can be really tricky, specifically when dealing with model portraits. In this tutorial, we will be retouching a particularly difficult shot in which the subject has no makeup or dramatic lighting to emphasize the shot. Using Photoshop, you will be able to add makeup, repair flaws, and add some drama to this shot. Let’s get started!
Tutorial Assets
The following assets were used during the production of this tutorial.
- Model (iStockPhoto)
- Background (iStockPhoto)
Step 1 – Selections
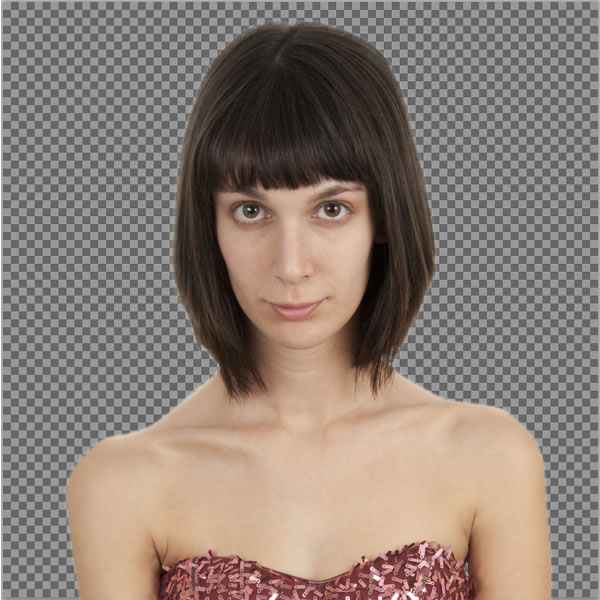
The first thing I want to do is remove the model from her background. Using Photoshop CS5 newly enhanced Refine Edge controls, this should be a snap. First make a selection using the Quick Select Tool. Be sure to have the "Auto-Enhance" feature checked in the Options Bar before you begin. This tool is brush based, so you can adjust the size as needed, but be sure to stay INSIDE your subject. Do not overlap the brush into the background or the next step will not be as effective.
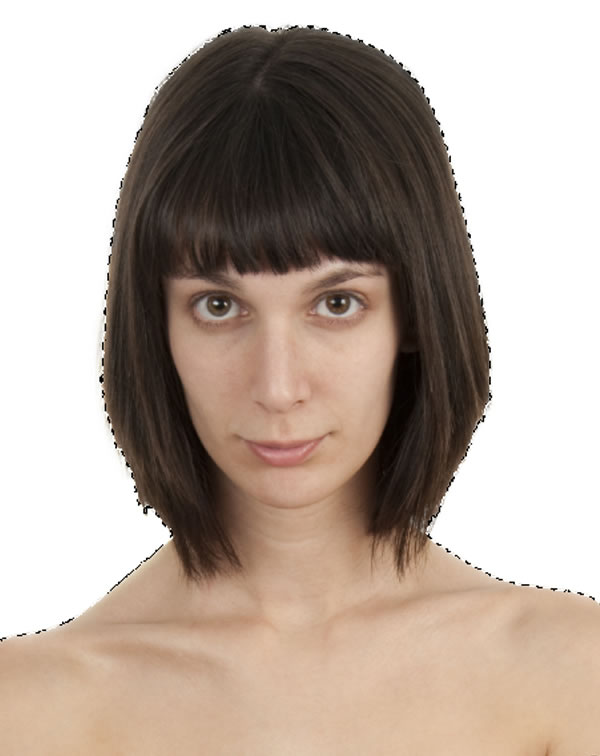
Step 2 – Refine Edge
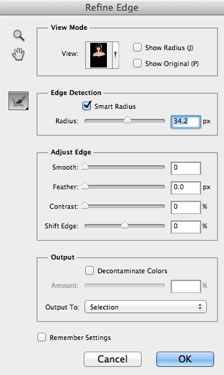
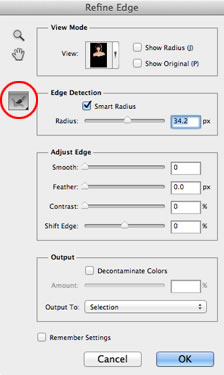
After you have completed the initial selection, click the Refine Edge button in your Options Bar (or right-click on your selection to pull up the menu). First, scroll through the View pull down menu at the top and choose a view that works for your shot (I chose the Black background). Then go to the Edge Detection portion of the dialog box and check "Smart Radius". Slide the Radius control about 1/2 way up the slide value and review your image (below is a before/after shot).
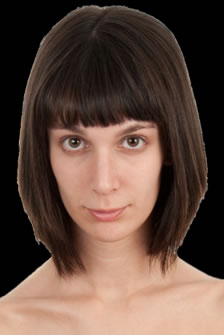
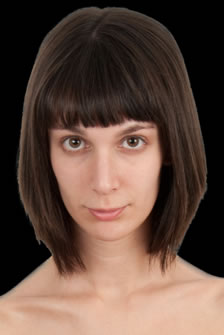
If necessary, you can also use the Refine Radius brush tool to overlay the edges of the hair to bring out even more detail. If you notice that the Refine Edge commands are eating away at parts of the model (shoulders, clothes, etc) click and hold down on the Refine Radius Brush to reveal an eraser tool (Erase Refinements Tool) that can erase the results. You can also lower the Radius slider value to pull back the details if needed.
After you have an adequate selection, go to the Output module and choose to have your image output to a New Layer with Layer Mask. This will preserve the original image and give you a new, masked layer to work with.
Step 3 – Retouching Skin Flaws
Now with the image on it’s own masked layer we can begin to retouch the skin and flaws in our model.
First off is any skin blemishes. Using the Spot Healing tool, we can quickly repair any acne, scars, dark spots, etc. from the skin. Use this tool ONLY for the blemishes as we will use other tools later on for other areas. This is an important first step as it will give us clean resources to utilize later on with the eyes, hot spots, etc.
Step 4 – Removing bags under eyes
Next, we will tackle the eyes. The eyes are one of the more difficult parts of the image, because the flaws are normally in very tight proximity to the lashes and other features that can affect our healing tools.
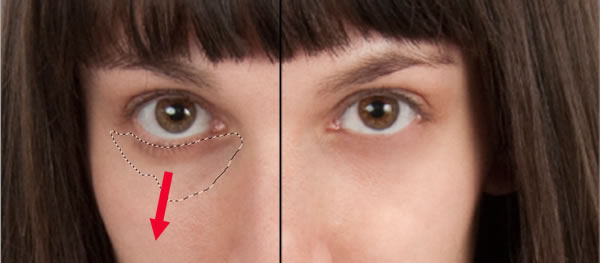
To get into these tight spaces, we will be using the Patch Tool (found under the Spot Tool button). Make a selection around the bottom of the eye and then drag the center of the completed selection into the cheek below the eye. Clean up any stray eyelashes using the Clone Stamp tool. We do want to remove the lashes on this model because they are so thin. If you feel your particular model has good eyelashes, feel free to leave them in. Above you can see the results on the right side.
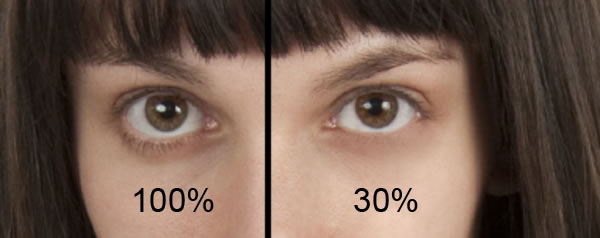
Add a layer mask to the retouched layer. Erase under the eyes with a 30% opacity eraser to bring some contours back to the eyes. Be careful, erasing too much will remove all the retouching results.
Step 5
Now we need to tackle the eyebrows. The eyebrows on this model are thicker than we want, so I am going to reduce the thickness using a very simple (cheat) technique.
First, start by making a selection of the upper half of the eyebrow. Be sure to grab as much of the forehead as possible. This image is difficult with her bangs moving into our field of play.

Then copy the selection using New Layer Via Copy (Cmd + J Mac/Ctrl + J Win).
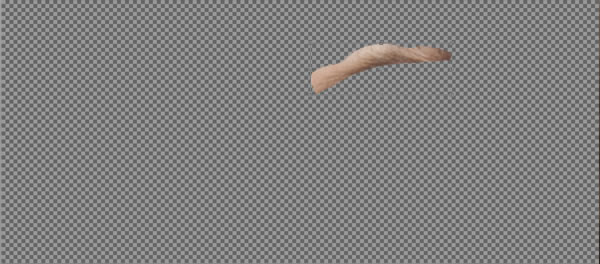
Next, move the eyebrow layer down covering up her original eyebrow until you get a rough thickness that works.

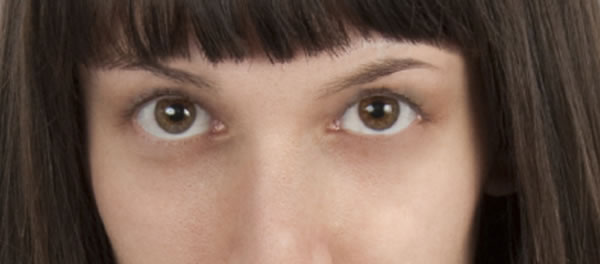
Clean up using the Eraser and Clone Stamp Tools, blending in the original eyebrow with the new overlap. Repeat these steps for the other eyebrow.
Step 6
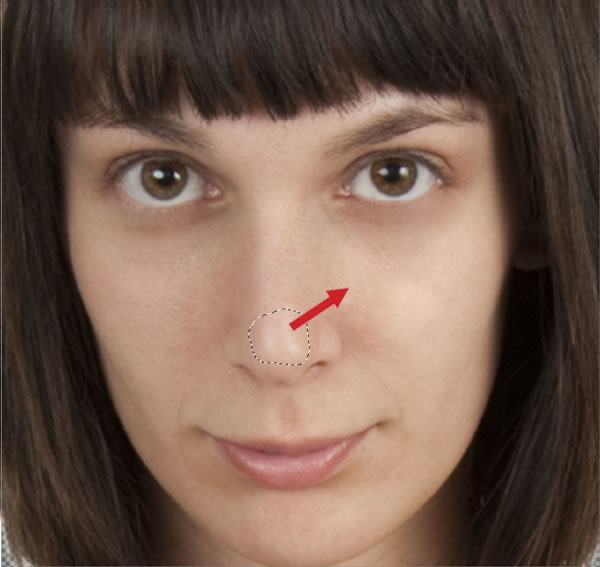
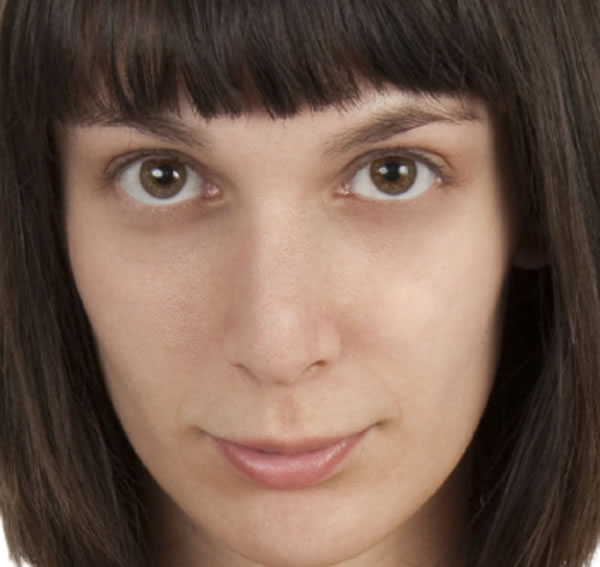
If there are any hot spots on your model, use the Patch tool to surround these areas and drag into a clean area of similar skin texture. The result will not completely remove the highlight, but it will blend the area gradually into the rest of the skin.
Step 7
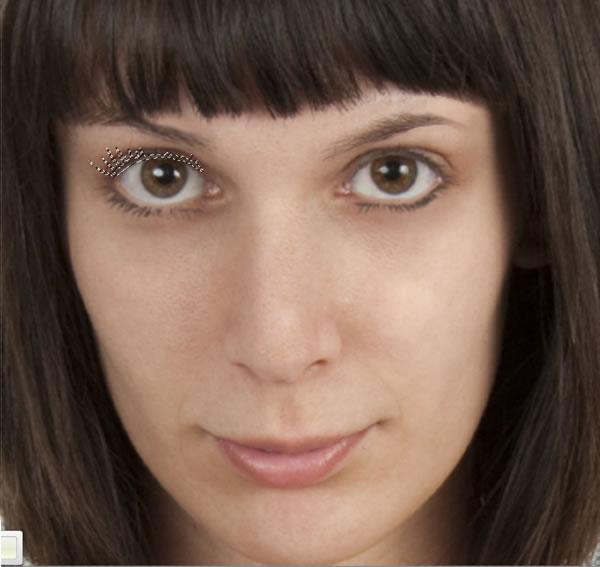
(If you did not have to remove eyelashes in your image, you can skip this step.) Adding eyelashes can be difficult unless you have an Ace in the hole. Mine is to utilize a set of Eyelash Brushes. These can easily be found by searching "Photoshop Eyelash Brushes" on the Internet. There are several to choose from (many free, some pay). Load your brushes using your Brush Preset Panel and going to the pull down to "Load Brushes".
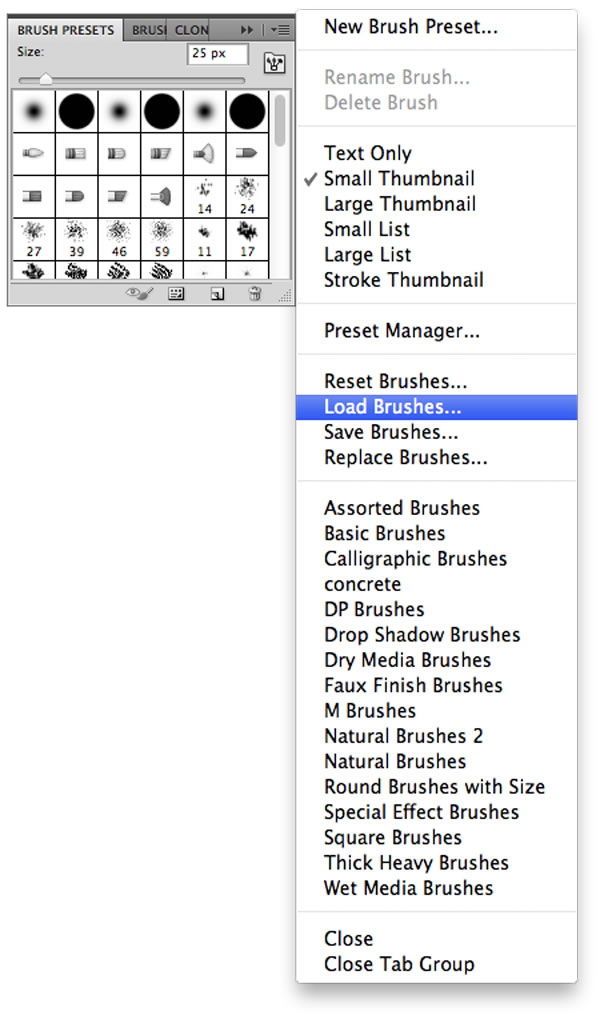
Use the Brush Panel to control the angle and size of your brush. Be sure to paint on a NEW LAYER so you can control the opacity and color independently.
Step 8
Finally we are going to add some digital makeup. This is as simple as it can get. Create different layers for each area of makeup you apply (cheeks, eyes, lips, etc.) and add in color by painting at 100% opacity with a soft brush. This is going to look silly, but it will help us map out where the makeup is going. Be patient and don’t panic.
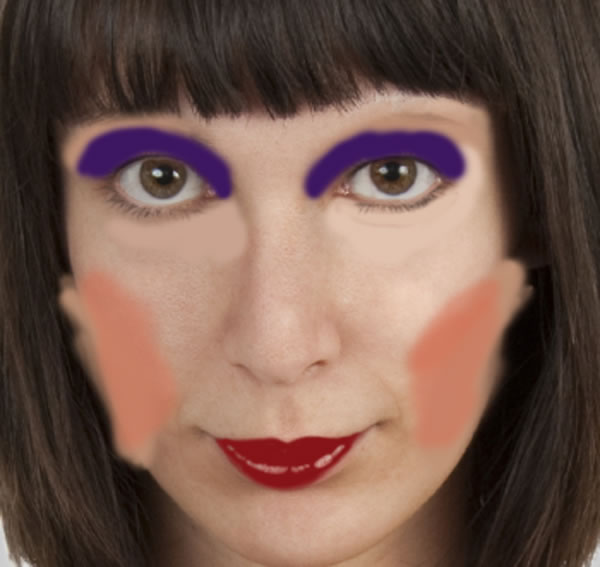
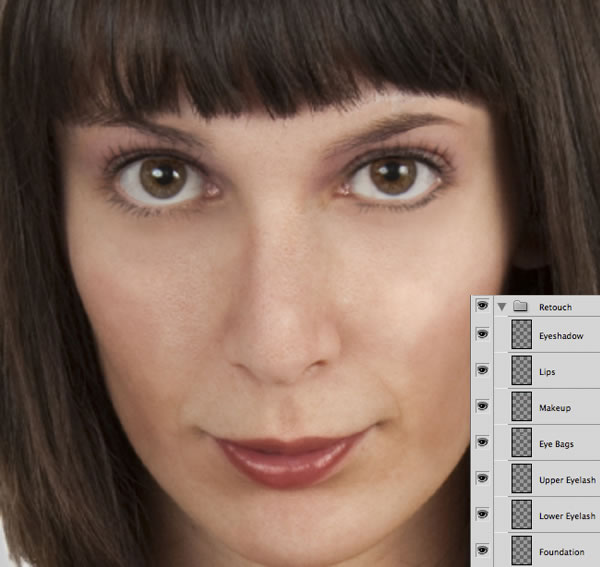
Now after a slight freak out, select each layer and change it’s blending mode from Normal to Multiply and reduce the opacity as needed. As you can see, the results are much improved from before:
Step 9
Finally we are going to adjust the hair and add some pop. Start by making a selection of the existing hair. Create a new blank layer and fill with a brown color. Again this is going to look odd before it gets better, but trust me it does get better.
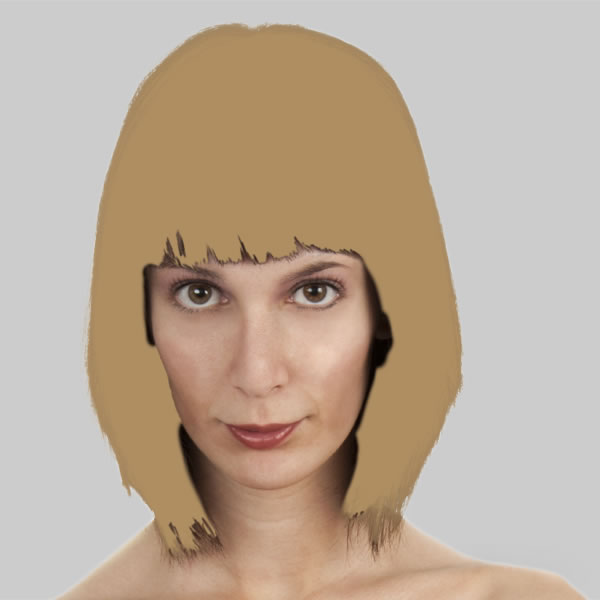
Next change your layer blending mode from Normal to Overlay.
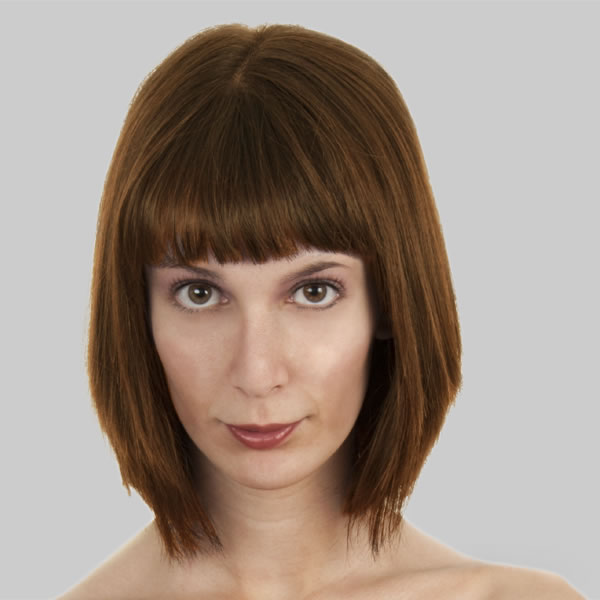
This is a little too intense, but we can drop it down if needed using opacity.

Step 10
Finally, Adjust the eyes using a Hue/Saturation adjustment layer. First, make a selection of one eye using the elliptical marquee tool. Then add the Hue/Saturation Adjustment Layer. Adjust the one eye to your liking. Then using your paintbrush tool (set to Black 100% opacity) paint in the other eye on the Adjustment Layer’s mask.
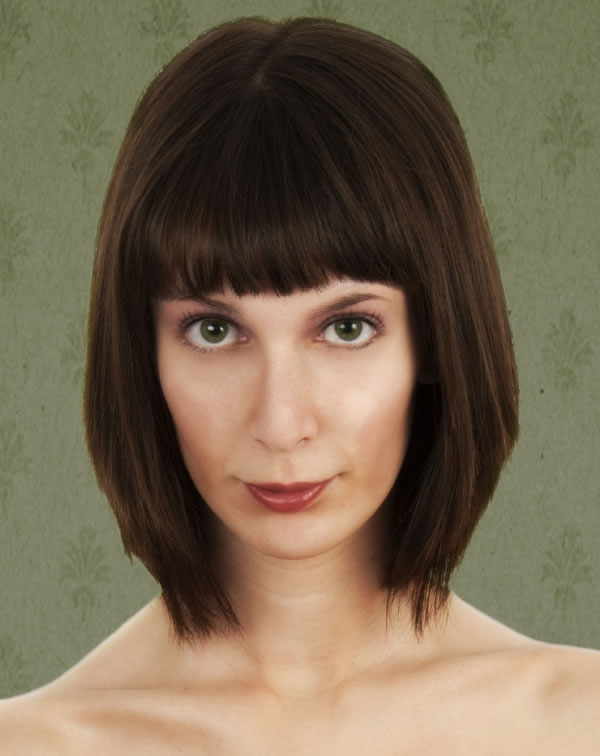
To finish the image, drop a backdrop behind your model and viola! A retouched model.
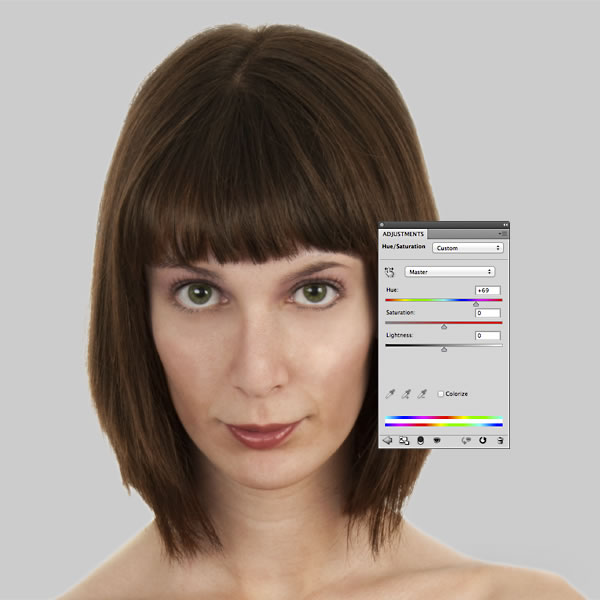
Final Image
Here is the final image. With just a few enhancements, you can take an ordinary shot to something that pops using these simple techniques. Enjoy!
{excerpt}
Read More