This Quick Tip will teach you how to create a handgun using just basic shapes like rectangles, circles and triangle. This is a step-by-step tutorial for beginners. The icons from the Inkscape toolbar are to the images to make it easier to find the tool and function I am describing in the text. Let’s begin!
Step 1
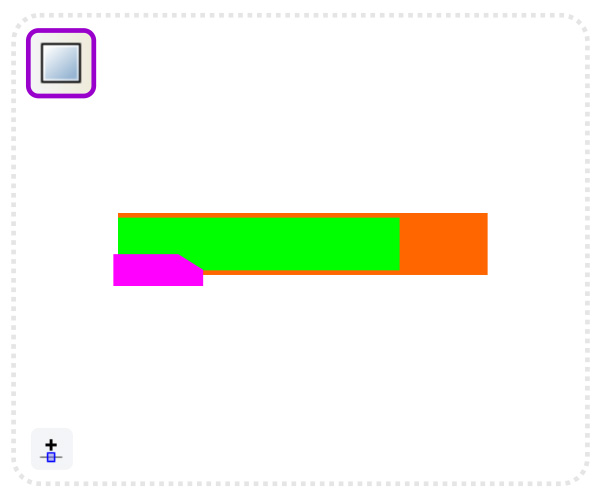
Start with three squares. Convert the smallest one to a path [Path/ Object to Path] and add a node to the top. You can do that by either double clicking on the line or using the button ‘insert new node to the selected segment’. Angle off the top right corner by moving the corner node downwards.
Step 2
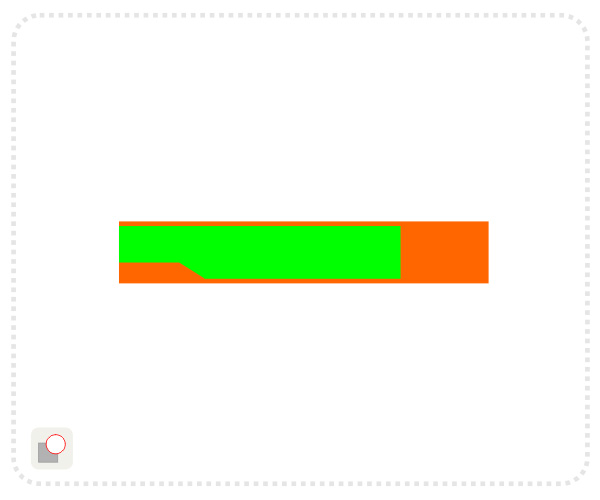
Cut the angled shape off the second square using the Path/ Difference command.
Step 3
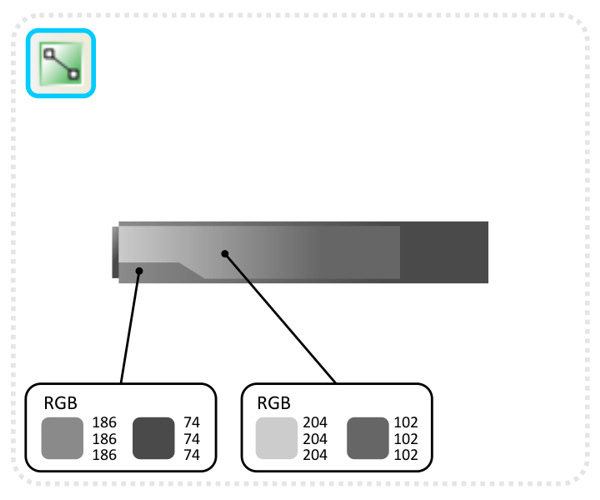
Create a gradient fill to achieve the dark metal look. Add two smaller copies of the main rectangle for the sight and the end of the barrel.
Step 4
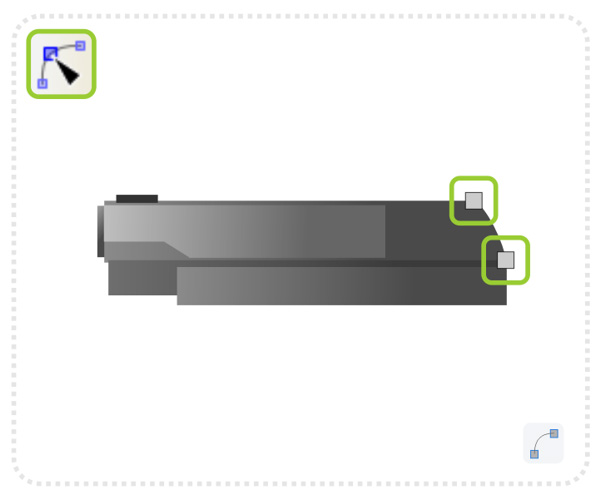
Duplicate the main square another two times and place those copies below. Convert the main square to a path and modify the nodes on the right to curve the ‘barrel shape’.
Step 5
Add another rectangle to create the base of the handle and a slim rectangle for the ridges in the barrel. Duplicate this one a few times setting them copies apart slightly.
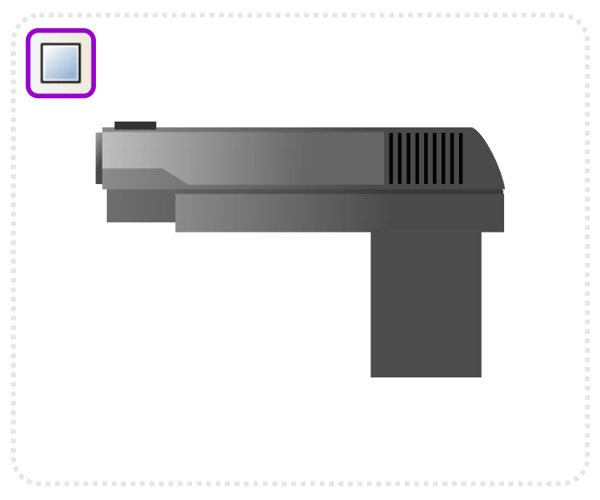
Step 6
Create another two rectangles with rounded edges for the trigger and combine them using the Path/ Difference command.
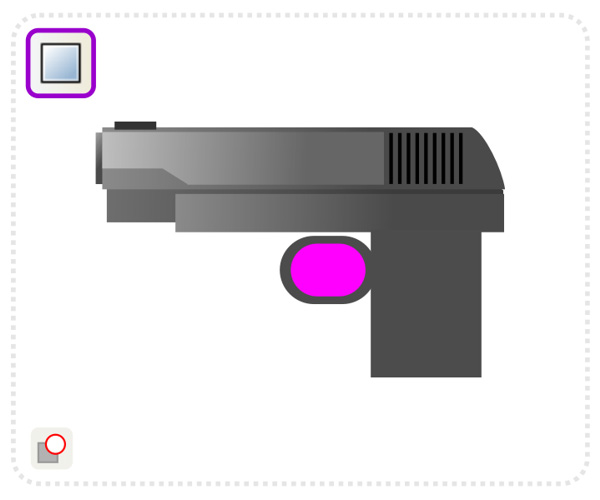
Step 7
Modify the nodes to extend the shape towards the handle and the barrel.
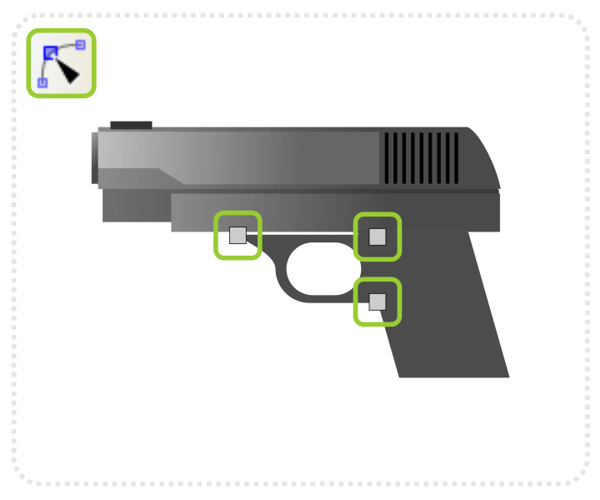
Step 8
Skew the handle and add another rectangle with rounded edges to form the black cover. Create another long rectangle above the trigger to connect it to the barrel.
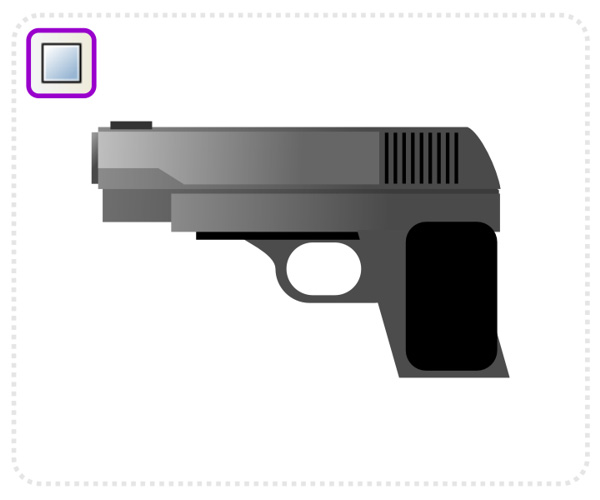
Step 9
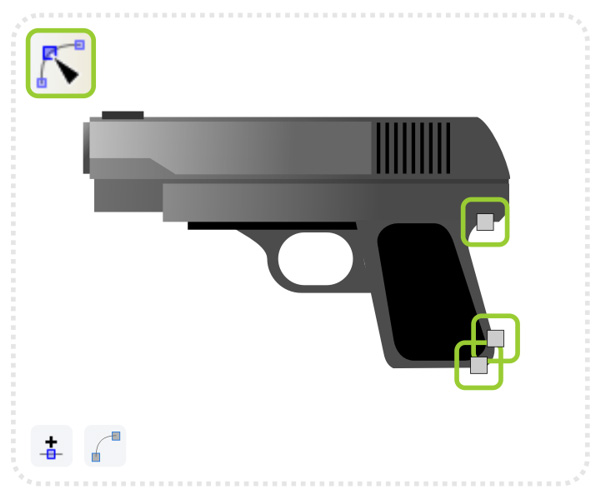
Modify the nodes to curve the edges of the handle. Add new nodes were needed.
Step 10
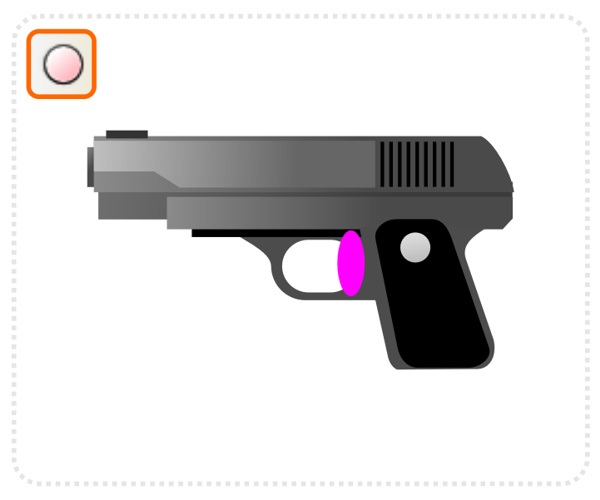
Add an elongated circle for the trigger and another for the decoration on the handle.
Step 11
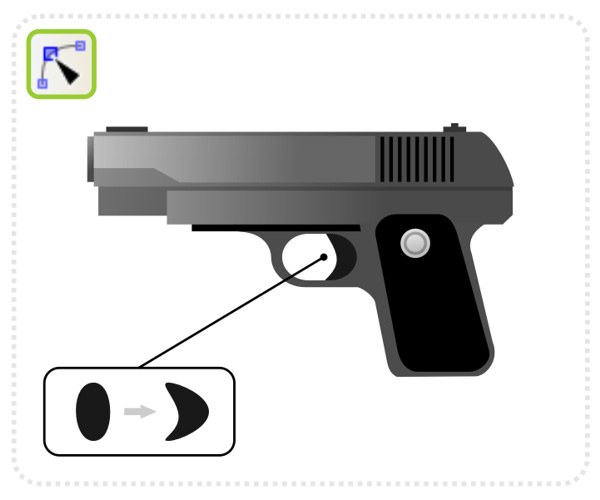
Deform the circle for trigger by moving the center nodes to the right. Put it in place and move it back (Page Down).
Final Image
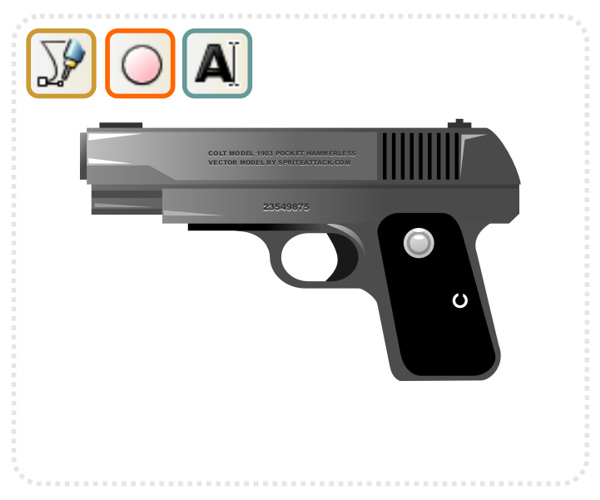
Add more detail and highlights (triangular shapes using the straight line tool and white ovals on the decoration) as well as some engraved text. Write the text in a light grey color and add a darker duplicate a lighter higher up.
Note: The tutorial works with some minor adjustments in other vector design programs such as Adobe Illustrator or Corel Draw. These just use different icons, tool and command names, but the functionality is the same.
{excerpt}
Read More