We often use raster images in Adobe Illustrator, for example, for the Live Trace, Mosaic Effect, Halftone Effect, or simply as a reference image. This technique allows us to crop raster images directly in Adobe Illustrator without using Photoshop or any other raster editor. This technique was developed by my friend Igor Tchernitsyn.
Step 1
Place the necessary raster image into the document workspace (File > Place).
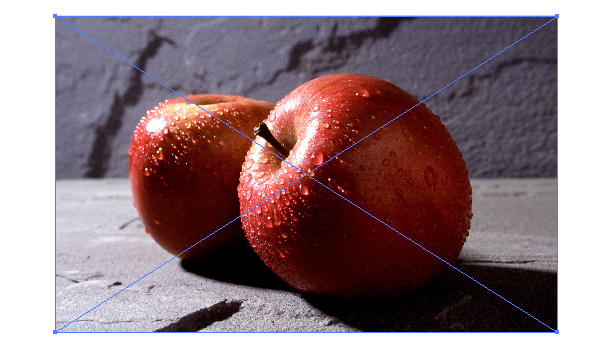
Step 2
Take the Rectangle Tool (M) and create a rectangle of the same size that a raster image should be after cropping.

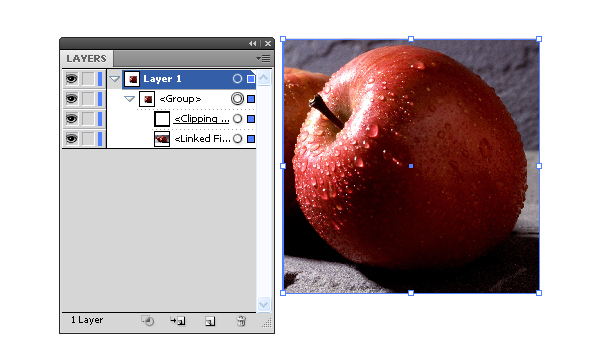
Step 3
Select the raster image and rectangle, then use the shortcut Command + 7 to create a Clipping Mask.
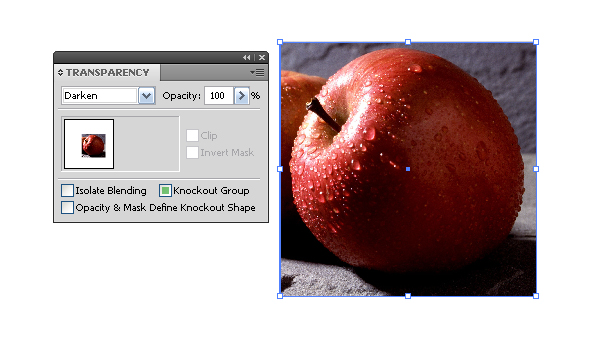
Step 4
Keeping it selected, set any Blending Mode for all the objects in the Transparency palette other than Normal.
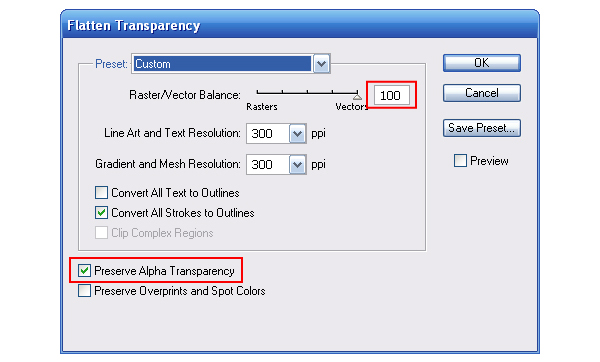
Step 5
Now go to Object > Flatten Transparency and set the parameters indicated in the figure below.
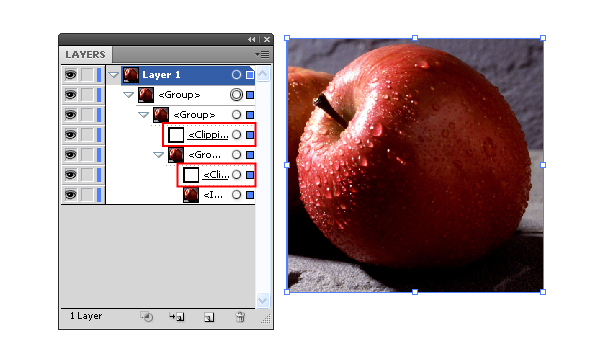
Step 6
We just need to remove two Clipping Masks in the Layers panel and ungroup all the objects.
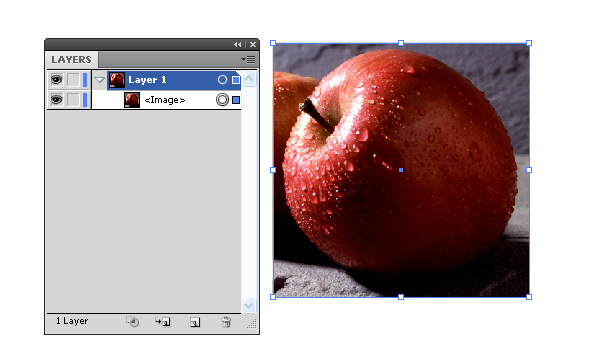
Conclusion
Don’t be confused because of the number of steps needed to cut raster image, it will take you less then 30 seconds to perform all the actions. I hope you enjoyed this tut.
{excerpt}
Read More