In this tutorial we will learn how to compress vector files up to 3 times using the standard tools of Adobe Illustrator. This method is useful for uploading files larger than 25 Mb. When applying this tip, you will be able to save intermediate stages of work, which is convenient for common projects, tutorials and everyday work, if you need to go a few steps back. This simple and brilliant idea occurred to my friend Igor Tshernitsyn.
Introduction
A lot of the files with your works are greater than 25 Mb in size, this is due to the properties of vector performance itself. Files containing 3D objects, textures, plenty of vector objects resulting from tracing, elements with raster effects, etc. will be huge in size. Almost all email services have 20-25 Mb limit on the attachment files size. To transfer files exceeding this size, we will have to use third-party file archive server. Let’s learn how to compress them.
Step 1
As an example, I took a file containing a lot of vector objects.
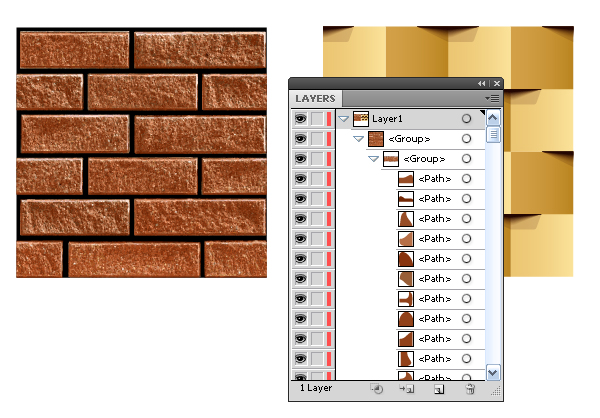
Its size in the format of EPS is 28.4 Mb.

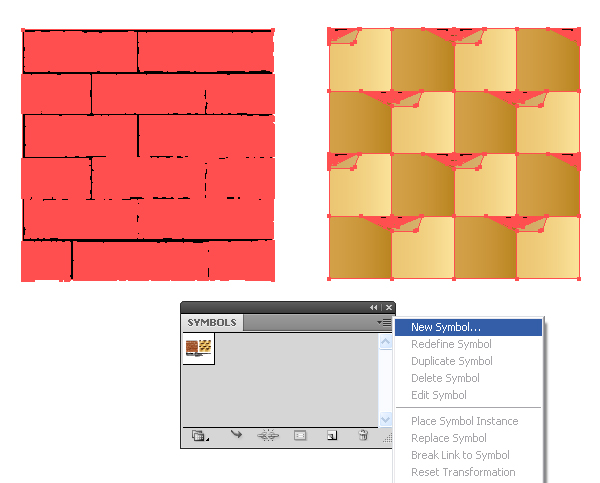
What is usually advised to reduce the file? Clean up Symbols, Brushes, Swatches and Graphic Styles palettes. Those who resorted to this tip know that these actions will reduce the size of your file to a hundred kilobytes at most. Reduce its size in another way. Select all the objects of our work and save them as a new symbol in the like-named palette.
Step 2
Now delete all the objects of our work and save the empty file, rename it, so that we had something to compare it with.
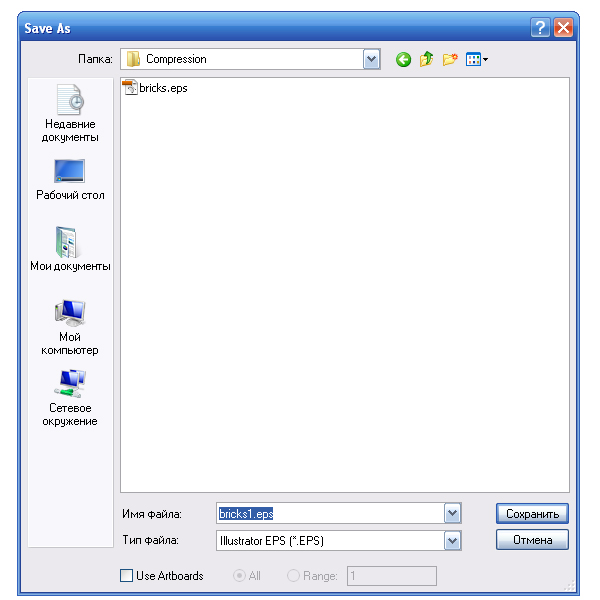
Find your file on the hard disk; its size is 9.32 Mb now. The size shrank more than in 3 times!

Step 3
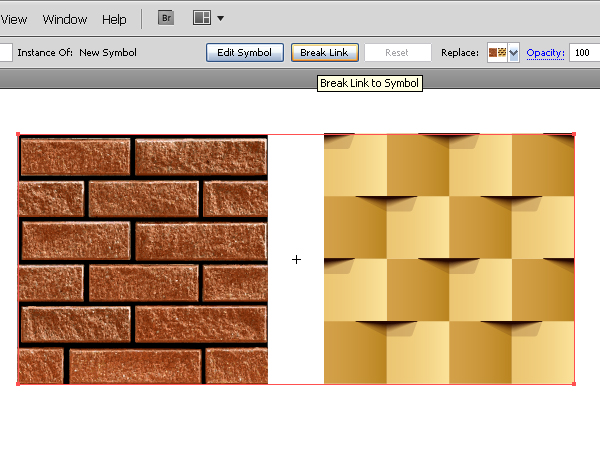
In order to extract such a file you have to drag the symbol into the workspace of the document.
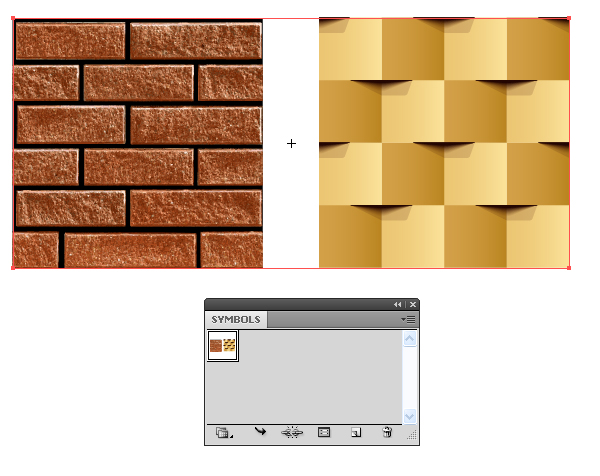
Now click on the Break Link button in the top panel in order to break the link with the symbol.
Step 4
A new layer named New Symbol has appeared in the Layers palette.
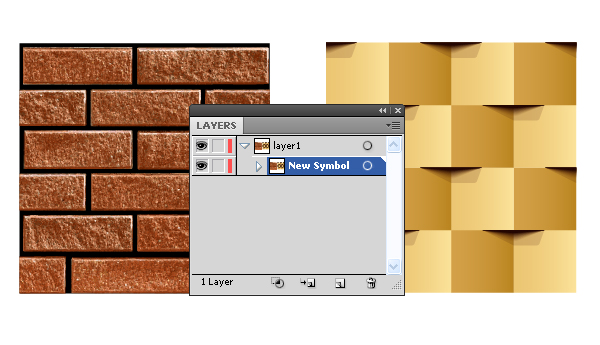
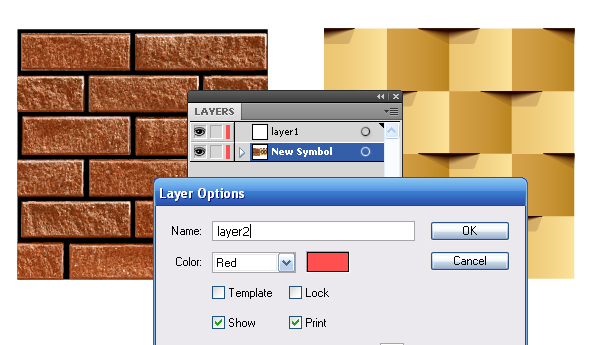
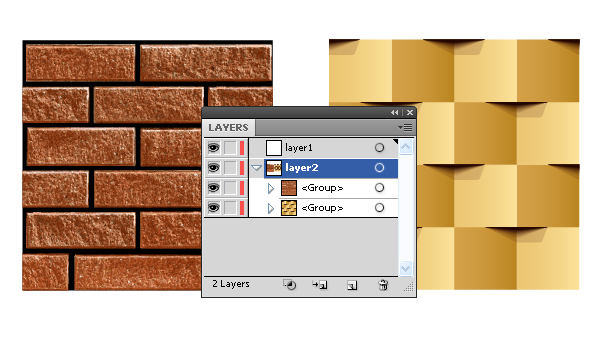
You can pull it out from the layer in which it is located and rename it so that it had a regular look.
Step 5
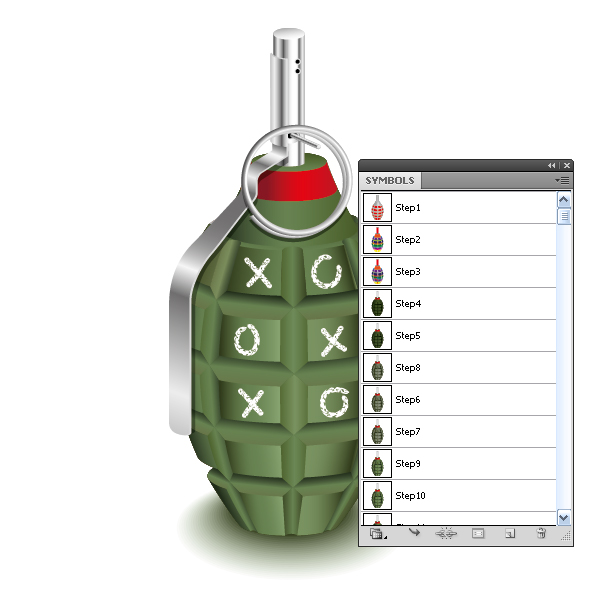
Saving your work in the Symbols palette can be used to save the stages of your work. It often happens that you go down the wrong path and you need to get back to a certain step, so that you do not have to redo everything from the very beginning. Keyboard shortcut Command + Z (undo command) will not help here, since there is a limit on steps back. Just delete all the work and pull out saved stage to which you want to go back from the Symbols palette. This method works well when writing tutorials, saving the steps or stages containing configuration parameters, such as 3D objects before applying Expand Appearance command to them.
Conclusion
In my opinion, this is a very useful tip which will help you to optimize your work and in the long run will save your time valuable for creativity.
{excerpt}
Read More