With the help of the Color Dodge Blending Mode you can get very bright and sharp images, this is what this mode is intended for. I wrote a few tutorials on this topic, but I keep being asked the same question, "Why can’t I get the same brightness and contrast as you do?" Today I will answer this question, we will take a look at several examples of creating these effects. Let’s get started!
Introduction
First, let’s dig a little bit into the theory. Color Dodge Blending Mode brightens and sharpens the contrast of all the colors other than black. It’s written in a lot of textbooks that this blending mode does not affect the dark areas – this is not true! They also write that it increases contrast, but in order to create contrast, you need to have at least two colors so that they can create contrast.
Now let’s look at these statements on the images. Take the Rectangle Tool (M) and create two squares. Fill one with black and one with gray.
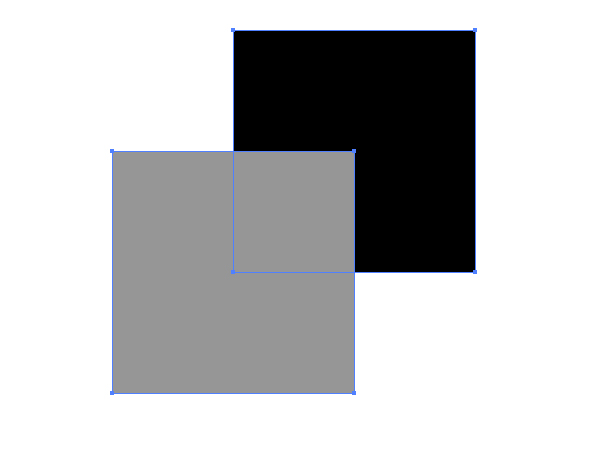
Now set the Color Dodge Blending Mode for the upper gray rectangle in the Transparency palette.
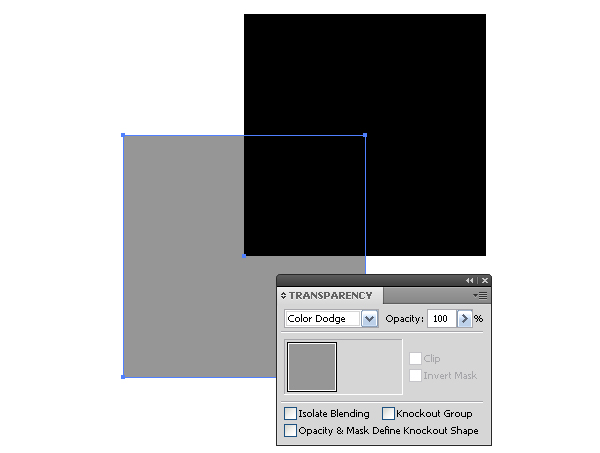
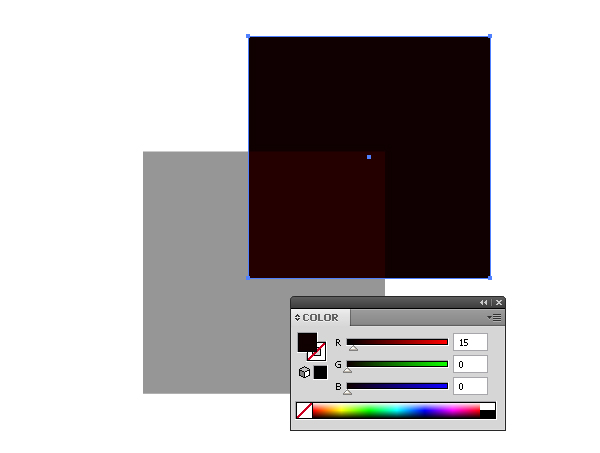
Black color of the bottom shape has not changed at the place of overlapping, that means the assertion that this mode does not affect the black color is true. Now let’s change the fill color of the bottom rectangle. I set a very dark shade of red for it (R = 15; G = 0; B = 0), however, it has brightened at the place of shapes overlapping.
In order to create the contrast you do not need to brighten the background color, you just need to brighten the gray shade of the upper object.
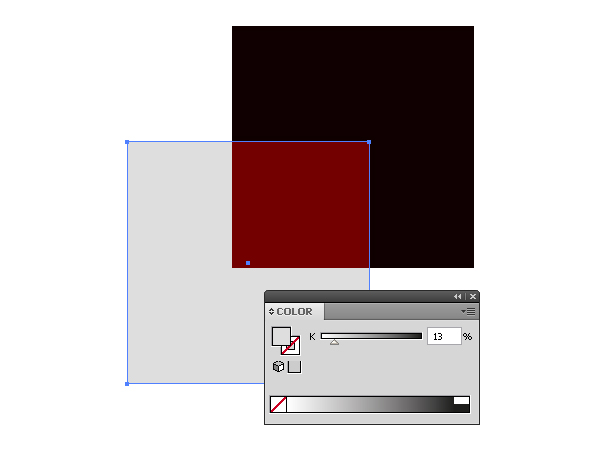
That’s it. Many people when trying to increase the contrast increase brightness of the background, it is not right, the images below show some of my students’ works with this typical error.
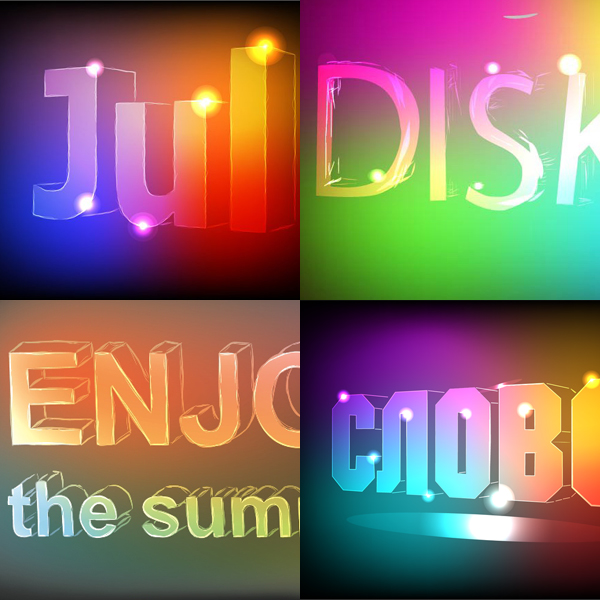
Now, armed with knowledge, let’s practice.
Step 1
Take the Rectangle Tool (M) and create a rectangle filled with black (R = 0; G = 0; B = 0).

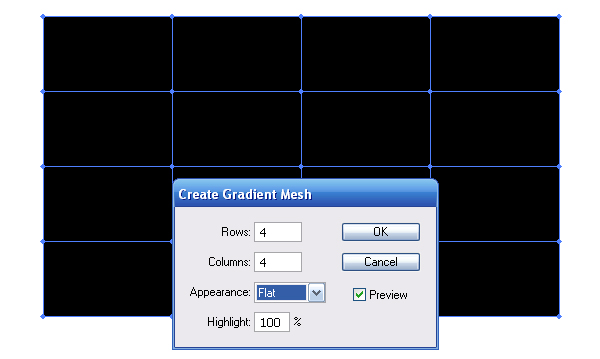
Keep the rectangle selected, go to Object > Create Gradient Mesh and set the number of rows and columns in the dialog box.
Step 2
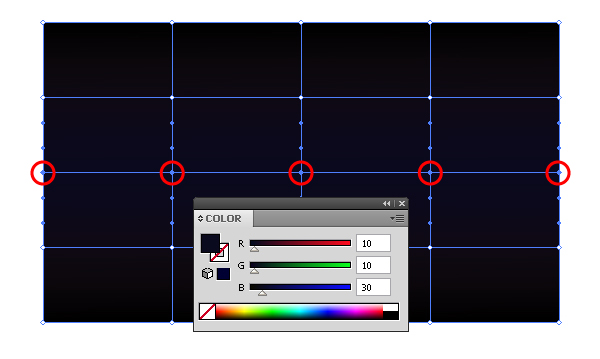
With the help of the Direct Selection Tool (A) select a row of central nodes of the gradient mesh and set for them a very (!) dark shade of blue in the Color palette (R = 10; G = 10; B = 30).
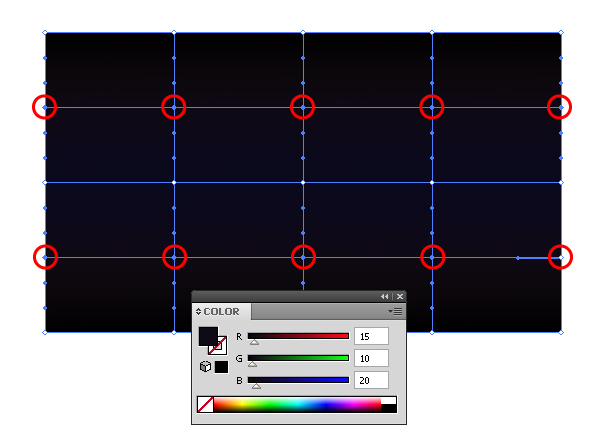
Now select two adjacent rows of the mesh and also set them to a darker shade of blue (R = 15; G = 10; B = 20).
Step 3
Create a new rectangle above the background and fill it with vertical linear gradient from black to white and back to black.
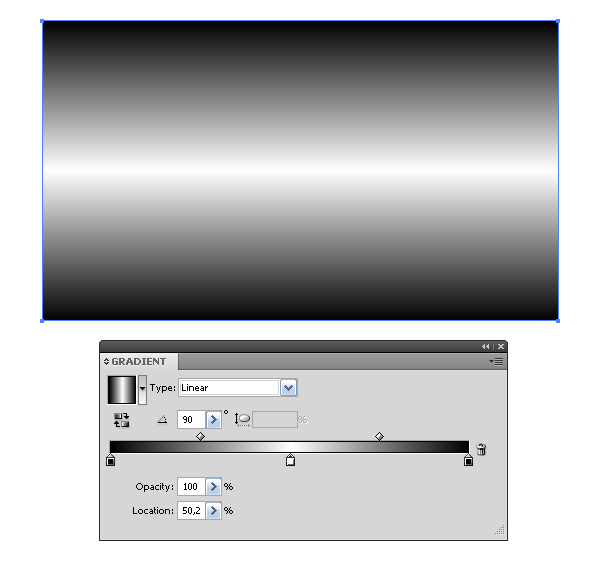
Now set the Color Dodge Blending Mode for the upper rectangle in the Transparency palette.
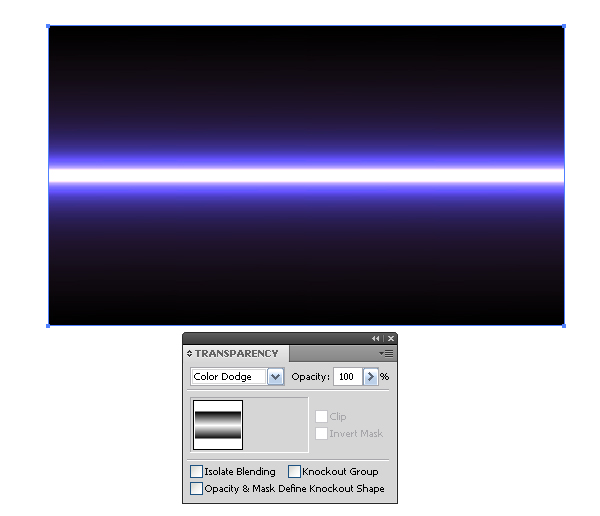
Step 4
Create a new rectangle and fill it with radial gradient from white to black.
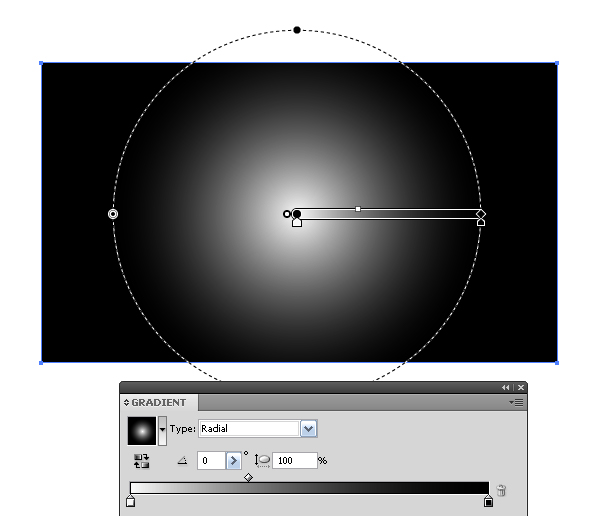
Set the Color Dodge Blending Mode for this object in the Transparency palette.
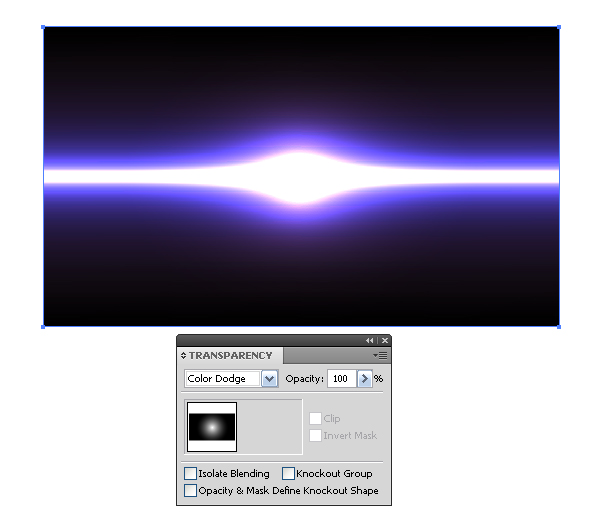
That’s an interesting lighting effect we got in a very simple way.
Step 5
Create the second effect. Create a rectangle filled with a linear gradient containing very dark shades of red, green and blue colors. This time I do not give numerical values of the colors, try mixing on your own in the Color palette.
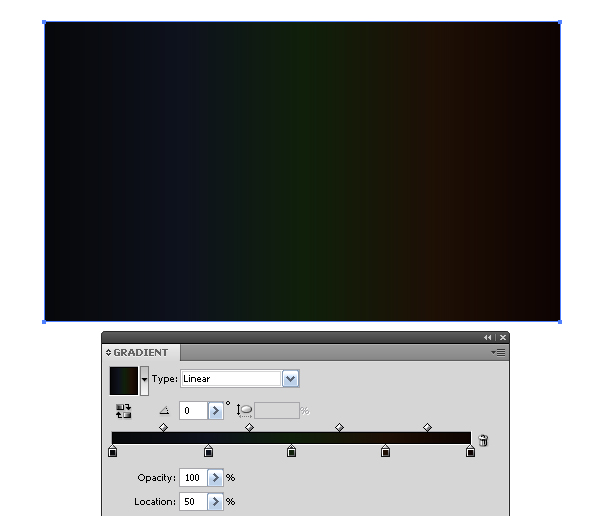
Step 6
Now create a vertical rectangle and fill it with linear gradient containing shades of gray, as shown in the figure below.
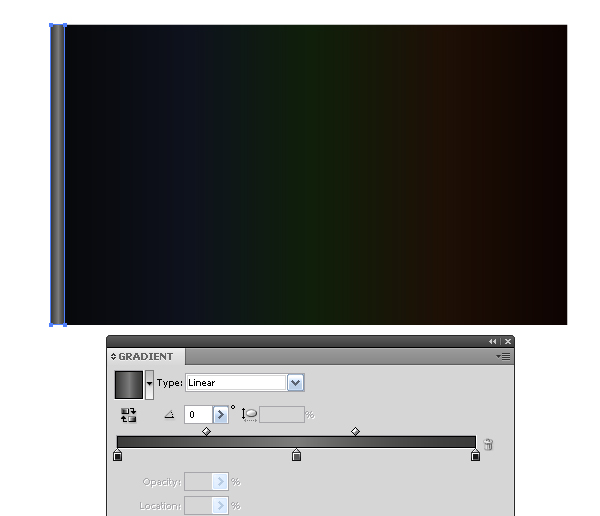
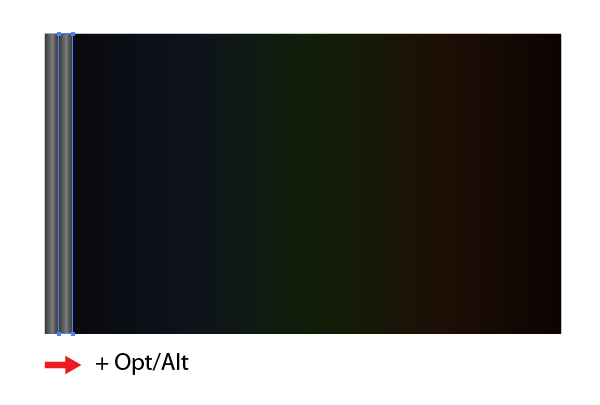
Holding down Option, drag the rectangle to the right.
Click on the shortcut Command + D several times, so that the copies of the rectangles cover the entire background.
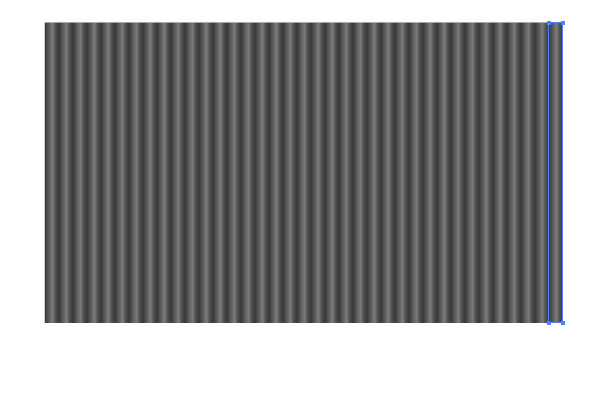
Select and group up all the rectangles.
Step 7
Set the Color Dodge Blending Mode for the created group in the Transparency palette.
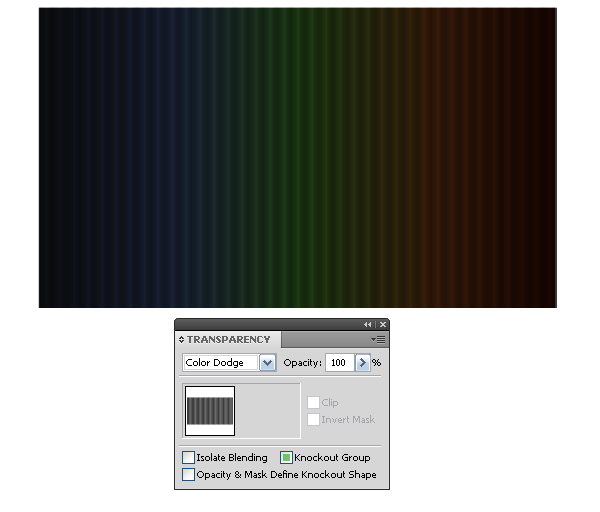
Here you are, the colors of the bottom gradient are more clearly revealed.
Step 8
Above all the objects create a new rectangle and fill it with linear gradient containing shades of gray color.
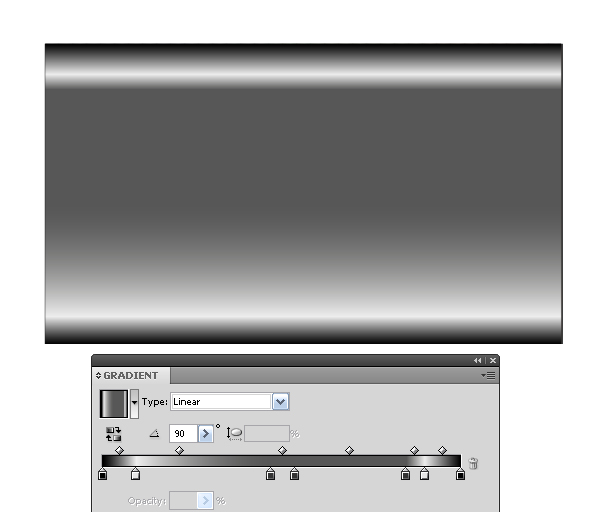
It is not difficult to guess that it’s only left to set the Color Dodge Blending Mode for this object.
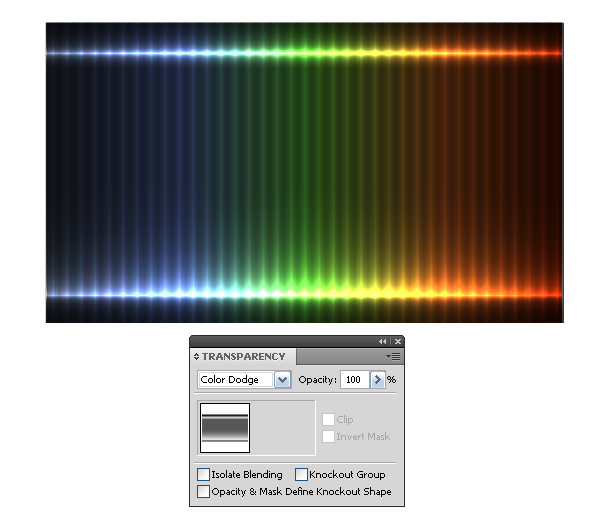
Step 9
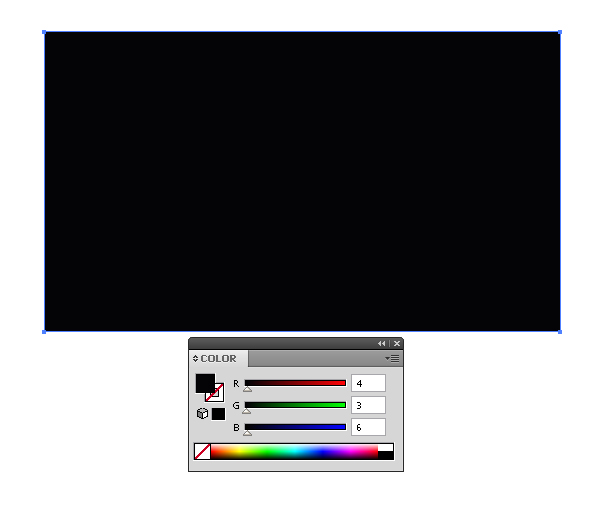
Now for the last experiment. Create a rectangle with a very dark fill.
Create a new rectangle filled with a linear gradient and set the Color Dodge Blending Mode for this object.
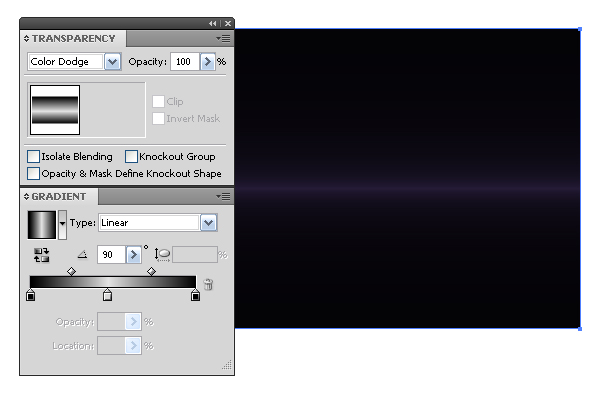
Create a new rectangle with a different linear gradient, but still with the Color Dodge Blending Mode.
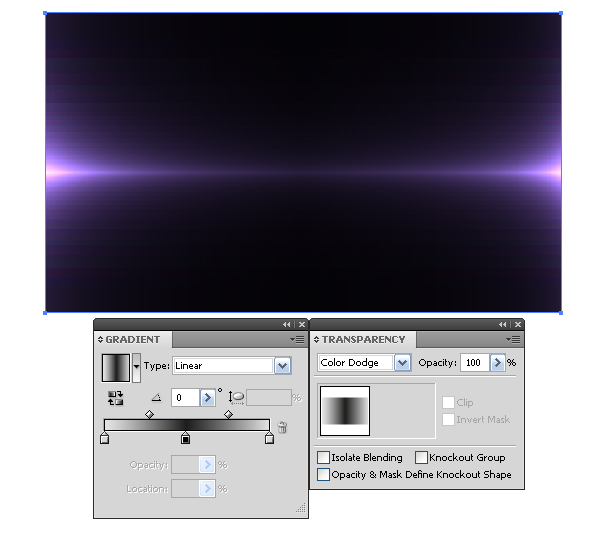
To create lighting effects, you can use not only objects with gradient fill, but also objects with Gradient Mesh. Let’s create such an object.
Step 10
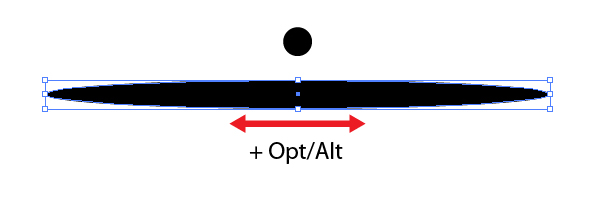
Take the Ellipse Tool (L) and create a circle of black color. Now, holding the Option key and with the help of the Selection Tool (V), transform it into an ellipse.
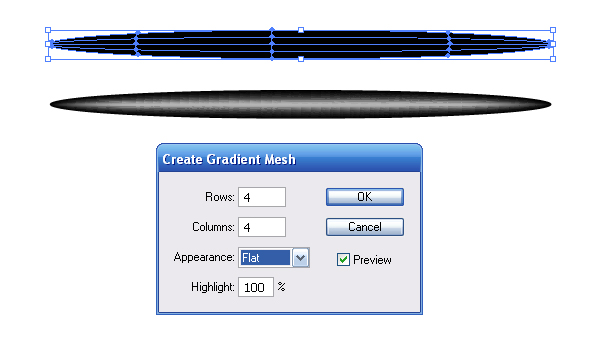
Keep the ellipse selected, go to Object > Create Gradient Mesh and set the number of rows and columns in the dialog box. Select the central nodes of the grid with the Direct Selection Tool (A) and recolor them in gray.
Step 11
Keeping the object selected, go to Object > Envelope Distort > Make with Wrap and set the parameters of the deformation in the dialog box.
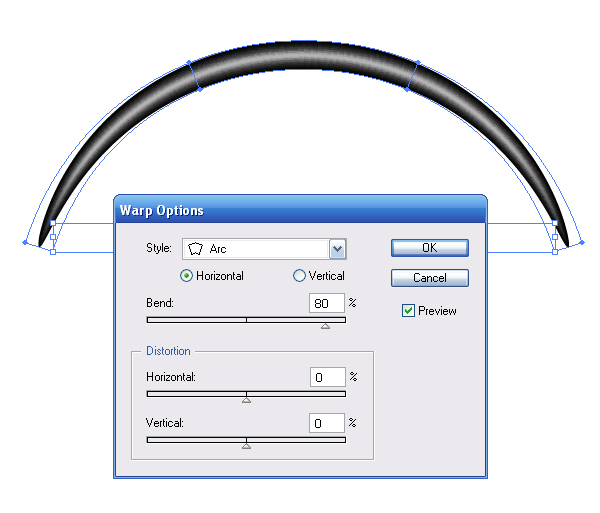
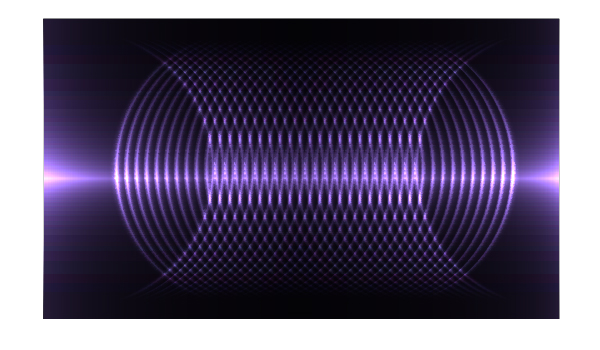
Rotate the created object at 90 degrees, place it over the background and set the Color Dodge Blending Mode for it.
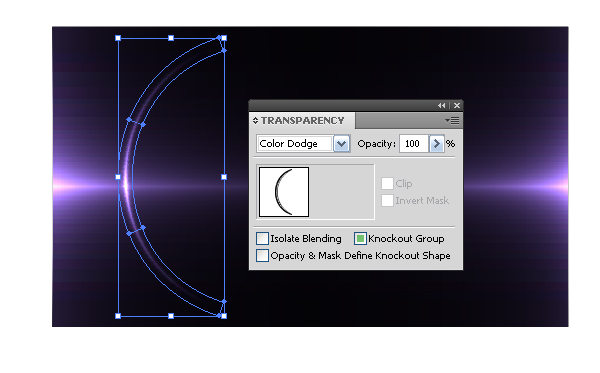
Step 12
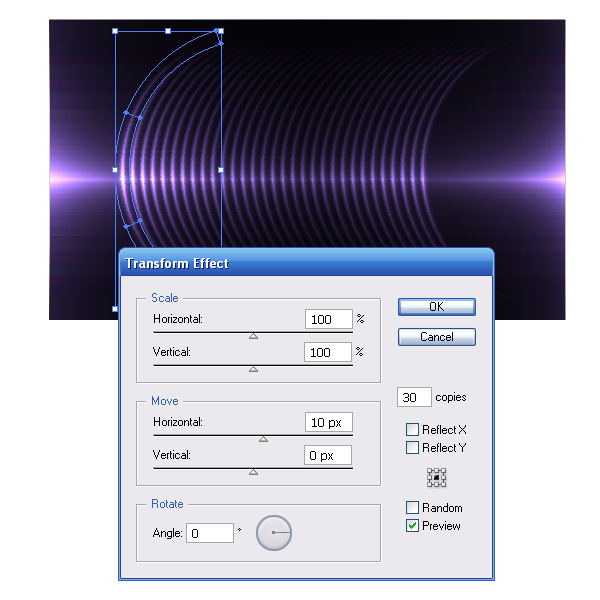
Now go to Effect > Transform > Distort and Transform and set the offset value and number of copies in the dialog box.
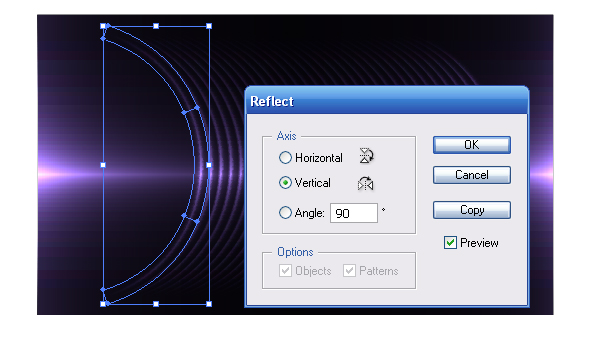
Go to Object > Transform > Reflect, choose the Vertical option and click on Copy in the dialog box.
Conclusion
So, let’s sum it up: to get bright, contrasting light effects, using the Color Dodge Blending Mode, you should create a colored background with very dark shades of colors. To obtain this effect, use objects that contain shades of gray in their fill. This may be a solid or gradient fill, or objects with Gradient Mesh. Adjust the brightness and contrast of the composition, changing the shade of gray color. I hope you’ve enjoyed this tut.
{excerpt}
Read More