The Track Changes panel is a handy feature that gives the user the ability to view all significant changes made to an existing story. Changes can be kept for reference or discarded once checked and approved. The feature can also be useful when there is more than one contributor working on the same document.
Step 1
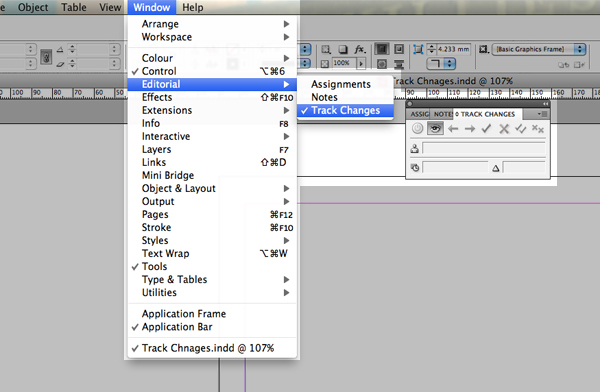
To open the Track Changes panel go to Window > Editorial > Track Changes. You will be presented with a floating panel.
Step 2
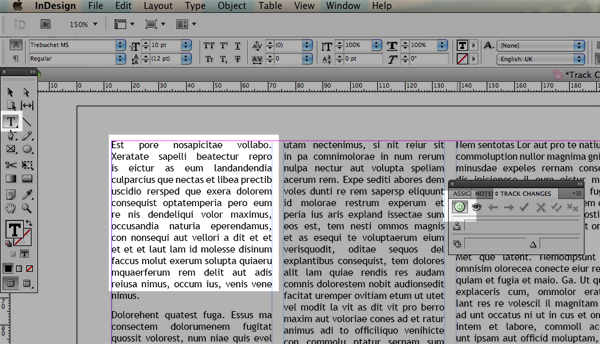
Select the Type tool from the toolbox and click once in your text frame. Go back to the Track Changes panel and hit the Enable button. For the purpose of the tut make some changes to your text. For example, delete a character and add a word somewhere. You will notice that nothing has changed, don’t worry the Track Changes feature doesn’t display within the document.
Step 3
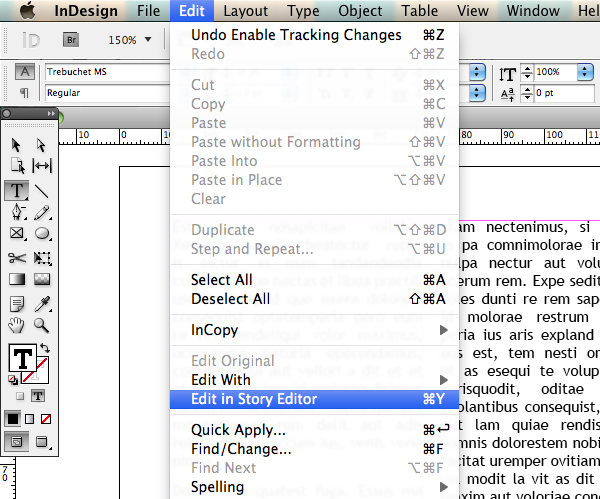
To view your changes open the Story Editor, this can be found by going to Edit > Edit in Story Editor. Note: If you have not been introduced to the Story Editor before please read the following tut before you continue: "Using the Story Editor in InDesign CS5"
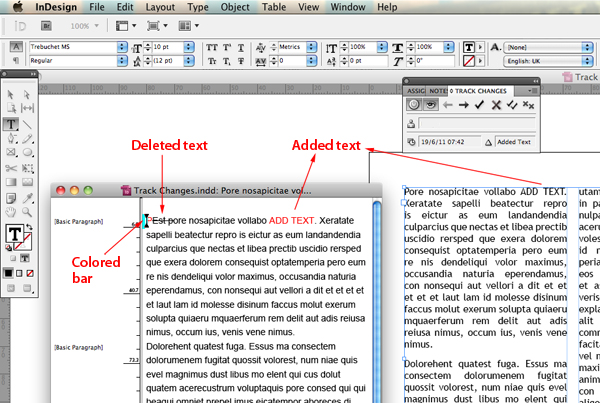
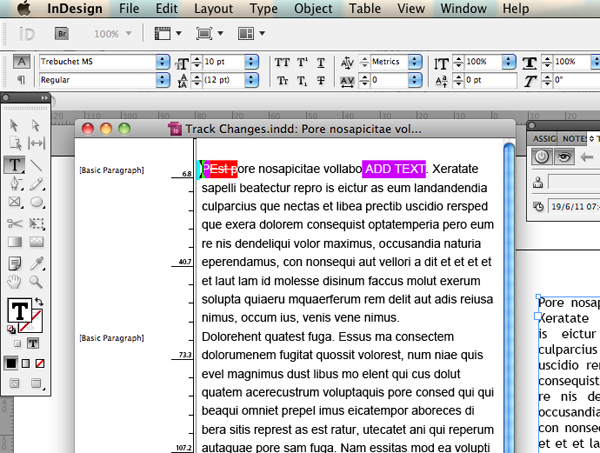
Within the Story Editor you will be able to see your changes. Each type of edit has its own characteristic, for example, deleted text is struck through with a line by default. Down the left hand side of the Story Editor the bar will be colored, this indicates where the changes have been made.
Step 4
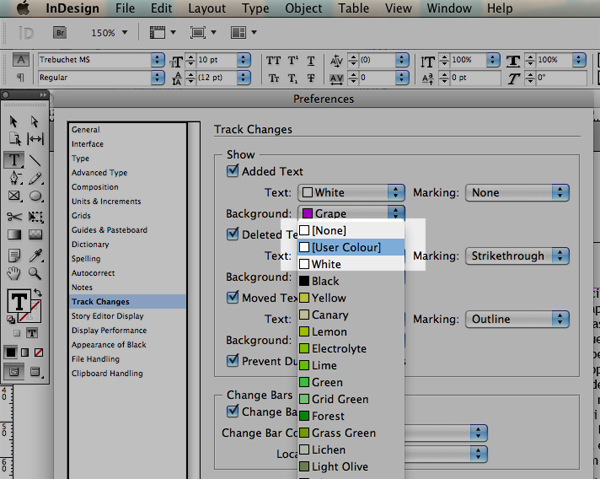
Characteristics can be changed via Preferences. Go to InDesign > Preferences > Track Changes. The panel is divided into two main parts, Show and Change Bars. The Show box contains all the options for how the changes are displayed. To distinguish each type of edit I am going to use the following settings:
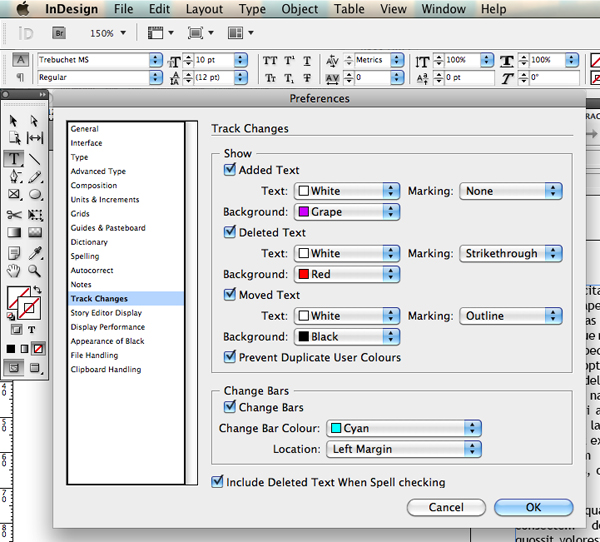
I prefer to use something other than white for the background so that the changes pop out and cant be missed. For the Change Bars option I have left it as the default color Cyan and Location left.
Once the preferences have been determined click OK.
Step 5
Open the Story Editor again (Command + Y) to take a look at the changes. Your preference choices will be reflected here.
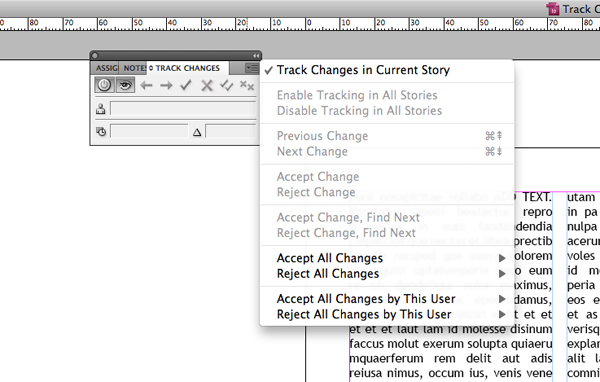
The edits you have made to your text will remain in the Story Editor until you action them. Right click on one of the edits, a floating panel will be appear like this:
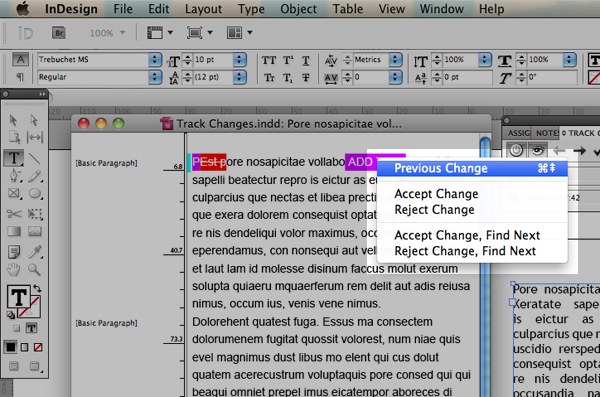
You have two options, to Accept or Reject the changes. It is possible to navigate throughout the changes yourself or use the Accept/Reject, Find next option. Once actioned the changes will disappear from the Story Editor.
These options can also be found in the Track Changes panel in the form of buttons and using them will link directly to the Story Editor. Hover above each button with the cursor to read a short description.
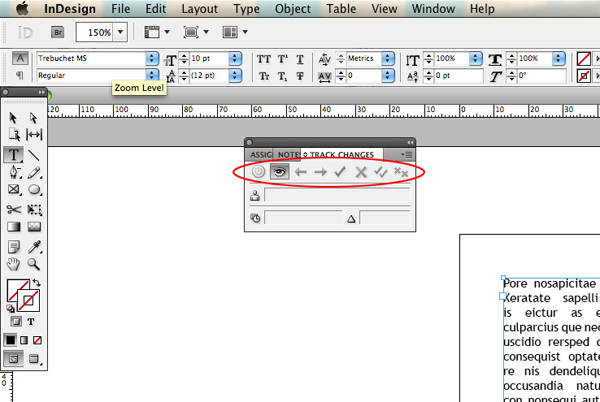
Additionally further options can be located in the fly-out menu on the Track Changes panel. In one way or the other they relate Accepting/Rejecting changes.
Step 6
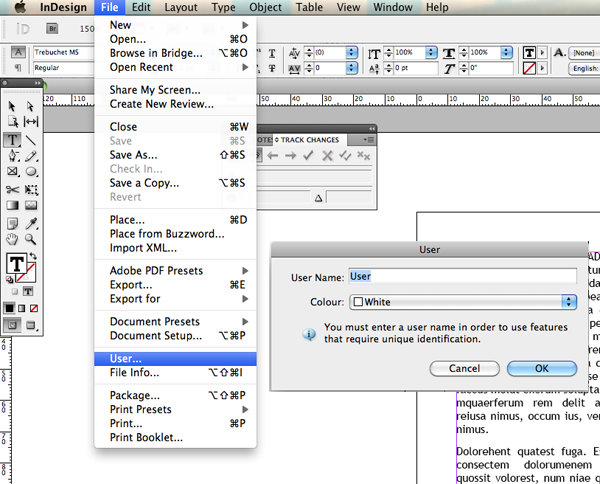
If you are working with multiple users on a project, a useful feature is to dedicate a color to each user. Then whenever a user makes amends, their own unique color will mark where they have changed the content. To do this go to File > Users. Add a name and specify a color and click OK.
Now go back to the Track Change preferences and specify where you want the user color to be used.
Conclusion
Using the Track Changes feature can be a real time saver when collaborating and sharing files. I tend to activate Track Changes when amends start on a project, I don’t Accept/Reject my changes right away, I just leave them sitting in the Story Editor just incase a client asks “Can we add this text we deleted the other day?”.
{excerpt}
Read More