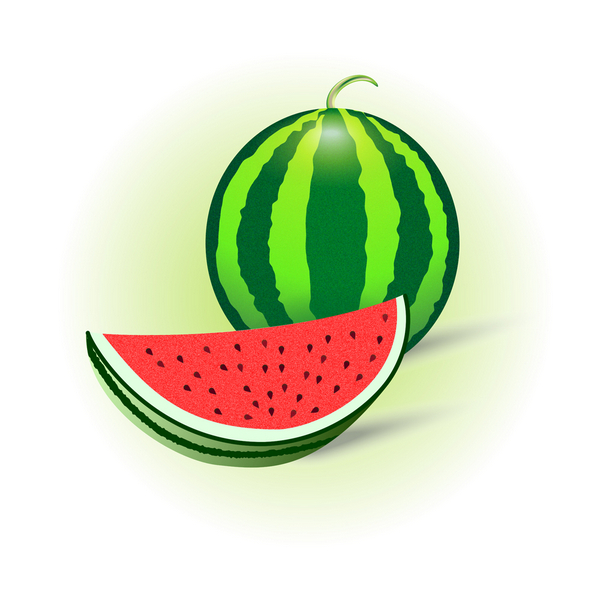
In this Quick Tip you will learn how to make a simple and great looking Watermelon illustration. Using Blends, Mesh, Brush, and Symbol Sprayer tool, you will be well on your way to creating a mouth watering fruit salad in no time!
Step 1
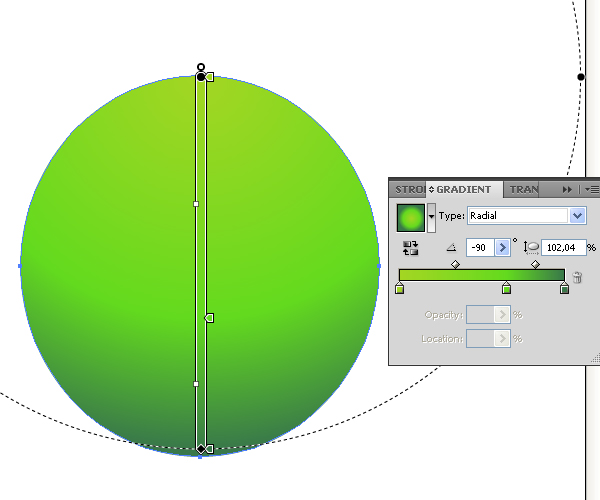
Take the Ellipse Tool (L) and create the ellipse which is shown on the figure below. Then take the Gradient Tool (G) and fill the ellipse with the Radial gradient from light green to dark green in color.
Step 2
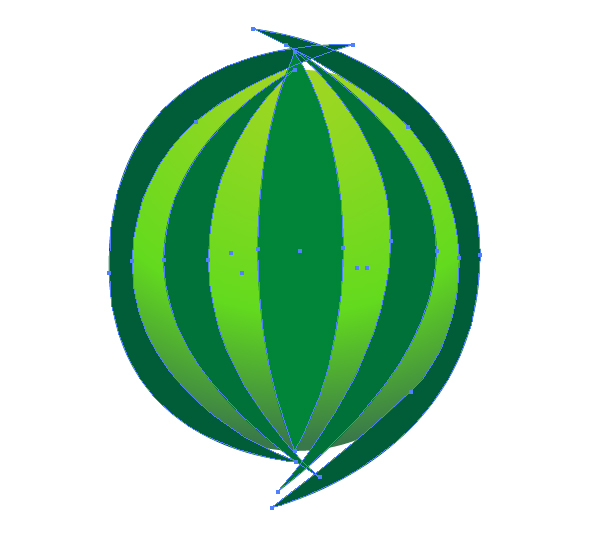
Take the Pen Tool (P) and create dark green paths, like in the example image below. Every path has no Stroke. Pay attention, that the further to the ellipse edge you go, the darker the path fillings become. Also, the further to the ellipse edge you go, the thinner the paths become.
The top and the bottom parts of the paths may lie beyond the bounds of the ellipse. It is not important in this step, because we will use the opacity mask for cutting the superfluous parts. (Of course, this way of cutting is just one of many possible ways).
Step 3
Take the Rectangular Tool (M) and create the black rectangle over the ellipse and paths. (Don’t worry, this is not the "Black Square" of Kazimir Malevich)

Take the Selection Tool (V), select the ellipse which has been made in Step 1, copy it and paste in front (Command + C then Command + F).
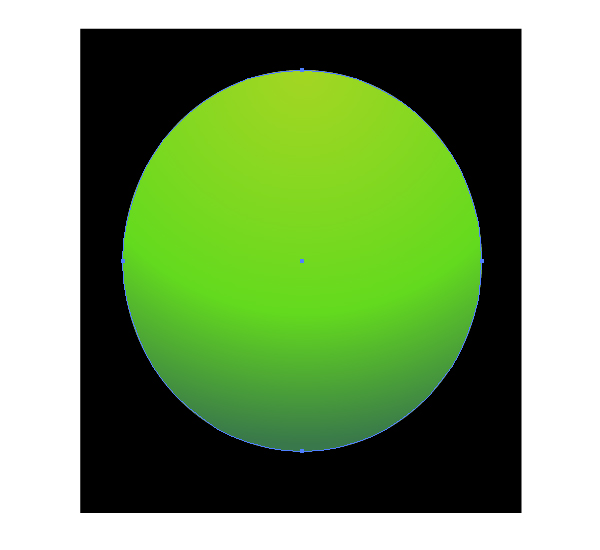
Fill this ellipse with white, then group the black rectangle and white ellipse (Command + G).
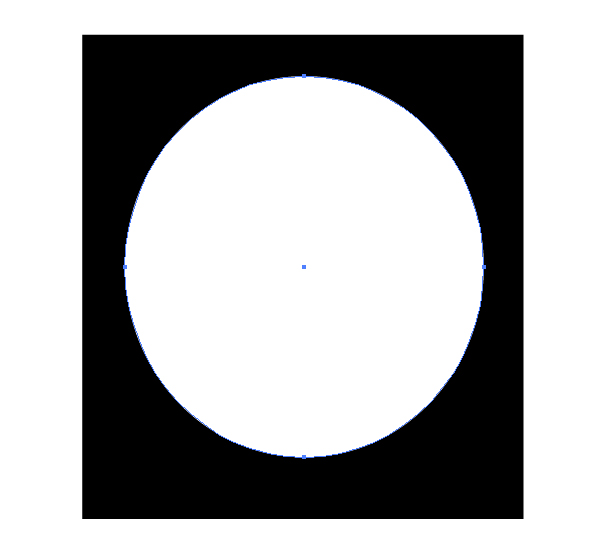
After that, select all the shapes by pressing Command + A, and go to the Transparency palette.
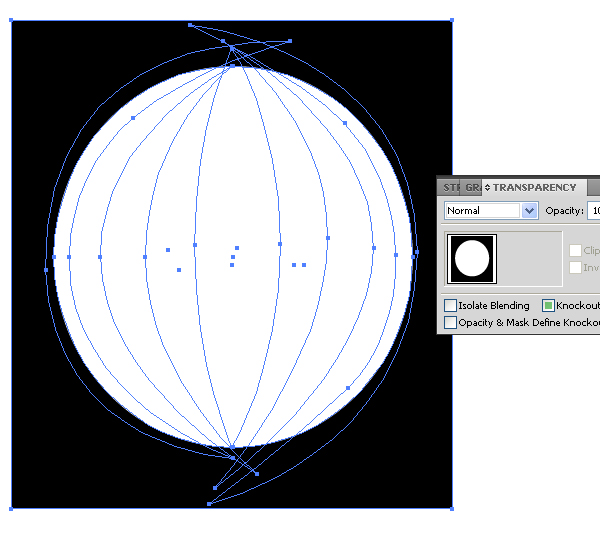
Choose the "Make opacity Mask" command from the Transparency palette menu.
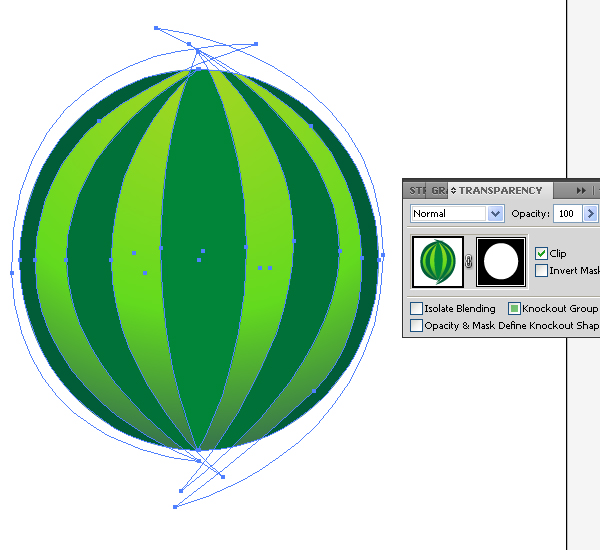
Step 4
With the Ellipse Tool (L) create three ellipses which are shown on the diagram below. Fill them with the corresponding colors. The biggest ellipse must be located in the bottom, the smallest one must be located on the top.
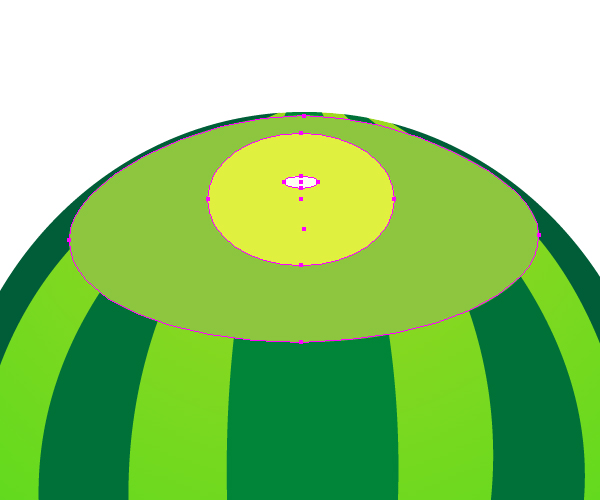
Set the next Opacity values to – 0% for the biggest ellipse, to 37% – for the middle ellipse, to 75% – for the smallest ellipse.
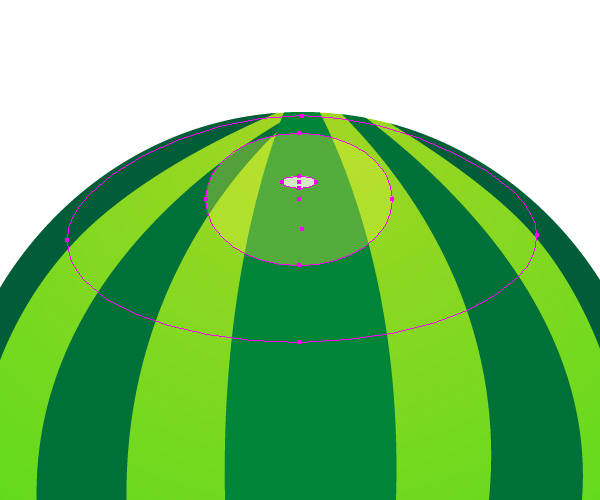
Go to Object > Blend > Blend Options and set the Spacing to Smooth Color.
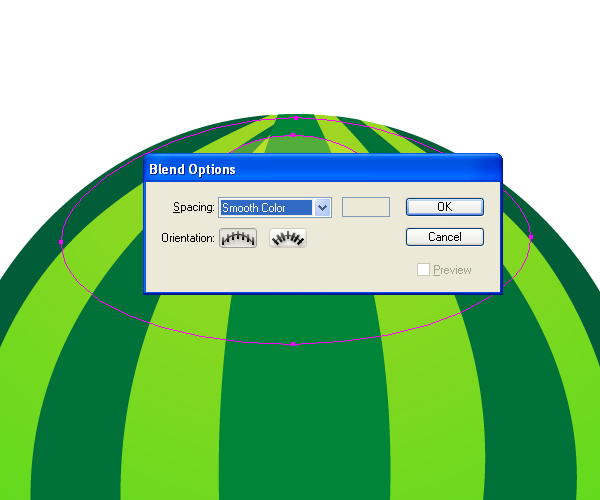
Then go to Object > Blend > Make (Command + Alt + B), you will receive the distribution of light on the surface of a watermelon.
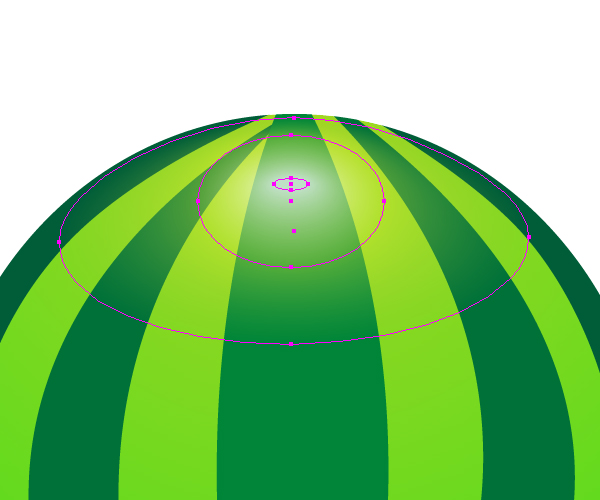
Do the same for creating the distribution of shadow.
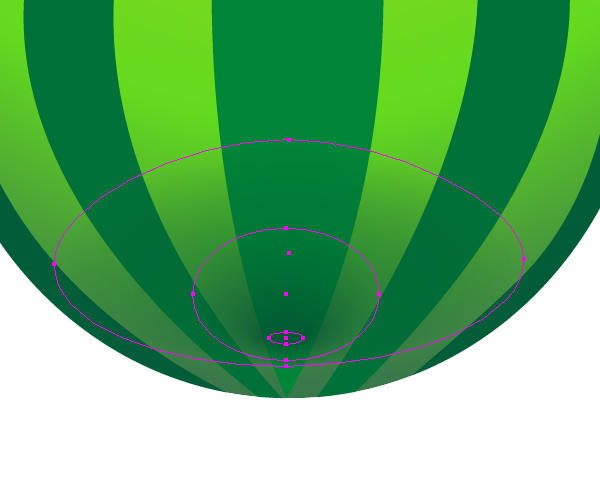
Step 5
Let’s create a brush for the watermelon’s stem. In the beginning, create the following path. The color of Stroke is the same as the color of filling.
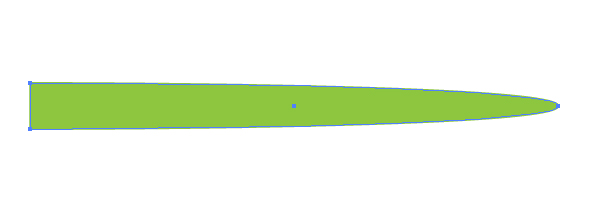
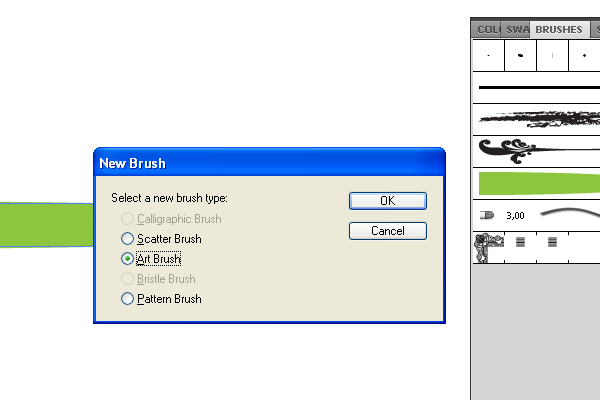
Then go to Brushes palette. Take this brush and drag it into that palette. Select "the Art Brush" type in the window, which is shown below.
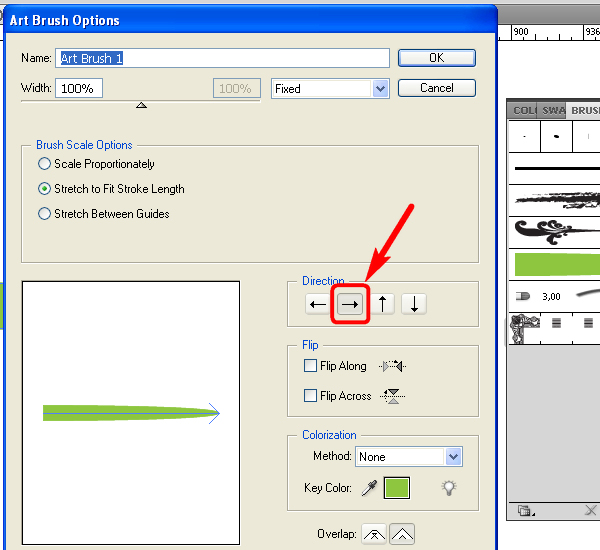
In the window of brush options set the direction from left to right (from the wide end of a brush to the narrow one) and click the OK button.
Take the Pen Tool (P) and create the line for the stem in the top part of a watermelon.

Then go to the Brushes palette and click on the brush icon which has just been made by you.

Go to Object > Expand Appearance. Then go to Object > Create Gradient Mesh, and set the options as they are shown on the diagram below.
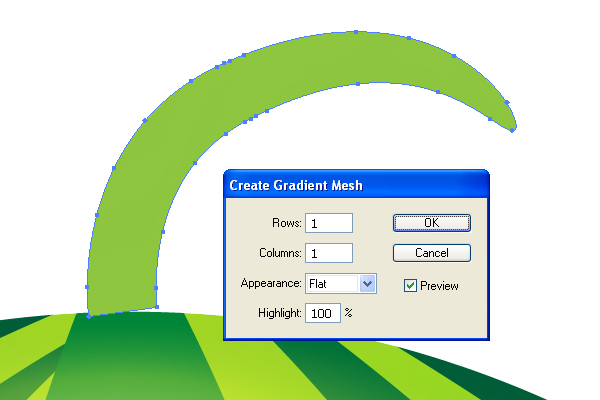
Then take the Mesh Tool (U) and create several anchor points on the stem. Change the colors of these anchor points to the brown tints in order to give a stem some realistic shades.
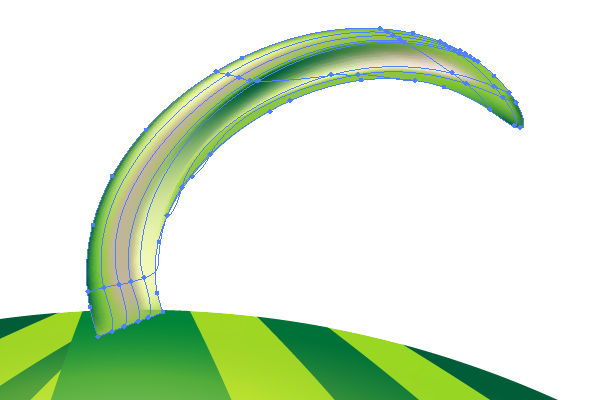
Go to Object > Arrange > Send Backward.

Step 6
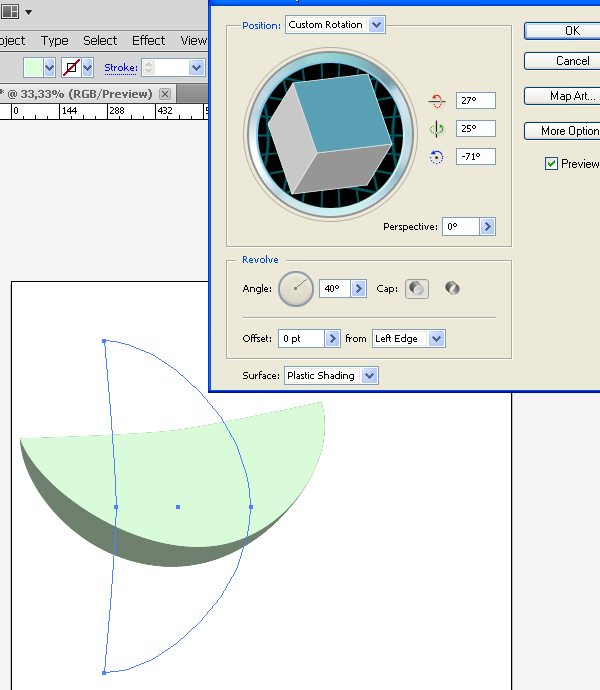
Now we need to create the segment of a watermelon. Create the path, which is shown on the diagram, with the help of the Pen Tool. Then go to Effect > 3D > Revolve. Set the values which you can see on the diagram.
Step 7
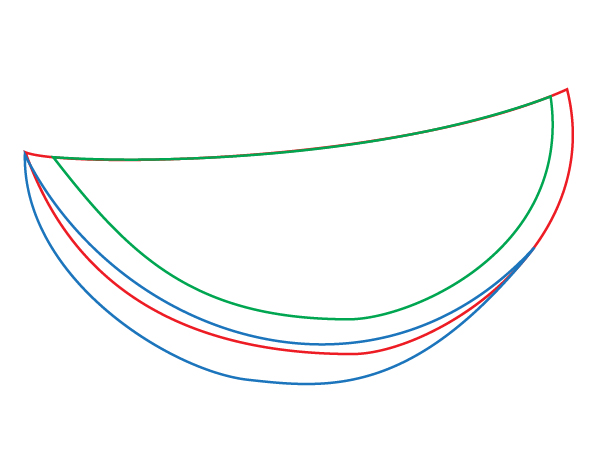
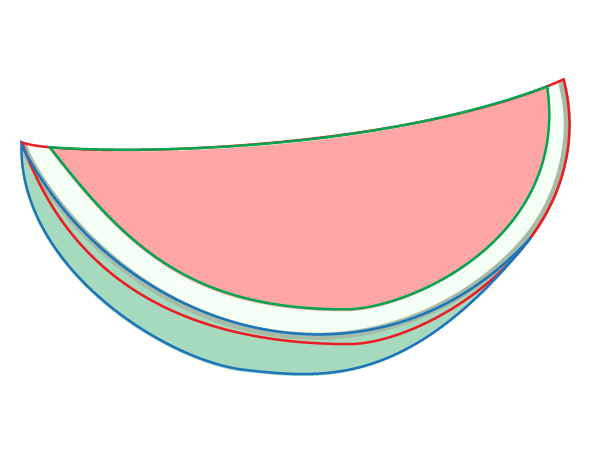
Create the two closed paths: red path and blue path (colors are given only for assistance and not important). The red path must be under the blue path. These paths must be drawn near the 3D render of the watermelon segment (see the diagram).
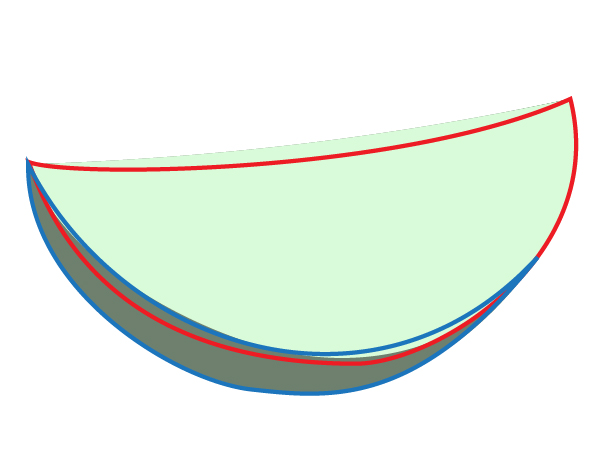
After that delete the 3D object and draw another path (green), which must coincide with the top line of the red path as exactly as possible.
Step 8
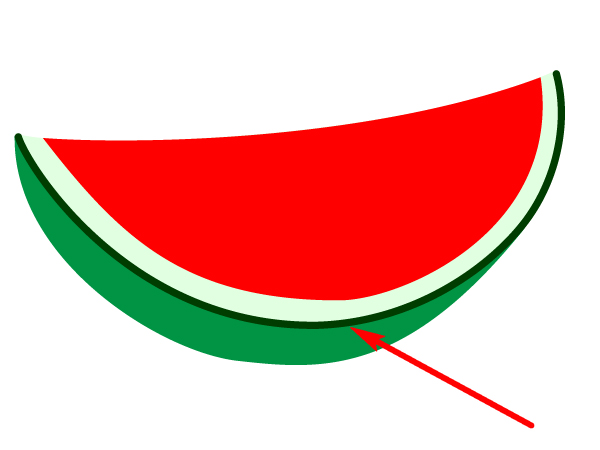
Then paint the paths, and add another path which is a dark green line to represent the watermelon peel (pointed by an arrow on the diagram). This line must be drawn along two paths (red and blue).
Step 9
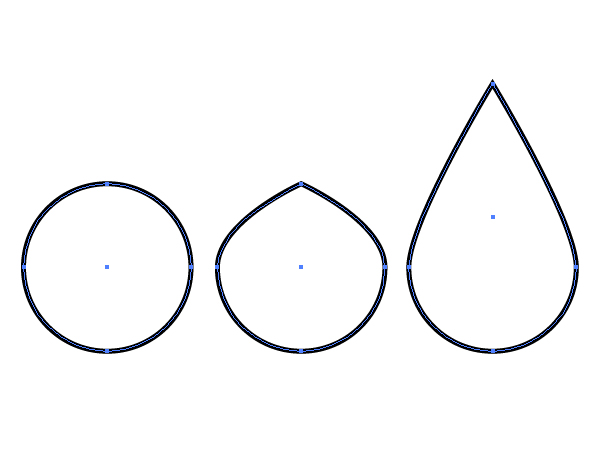
Now create a seed. The way of creating it is shown on the diagram below. You make a circle, then drag the top point up, use the "Convert Anchor Point" Tool to make the pointed top on the teardrop shape.
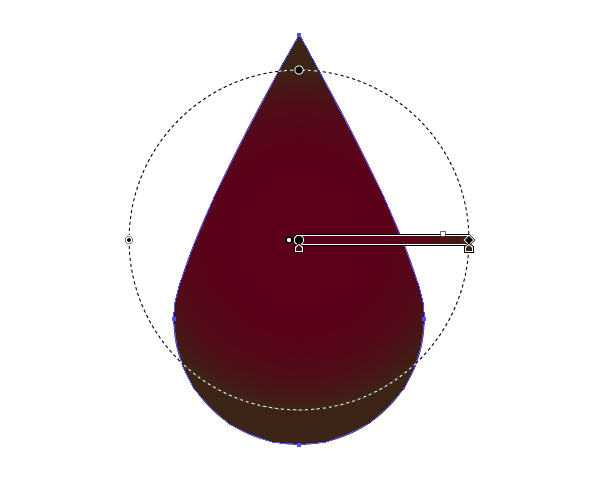
Fill the seed with a Radial gradient filling, which is shown on the diagram below.
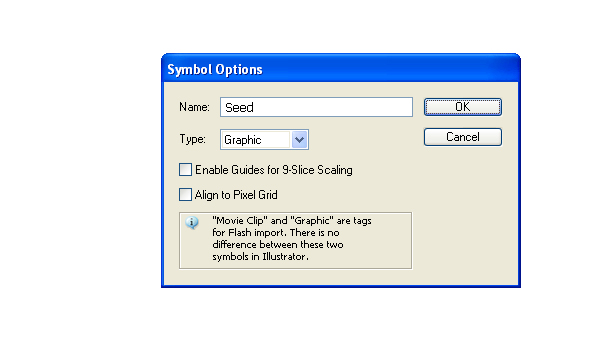
Drag this seed into the Symbols palette. Set the options of a new symbol.
Step 10
Then take the Symbol Sprayer Tool (Shift + S) and create the Symbol set on the Watermelon pulp segment.
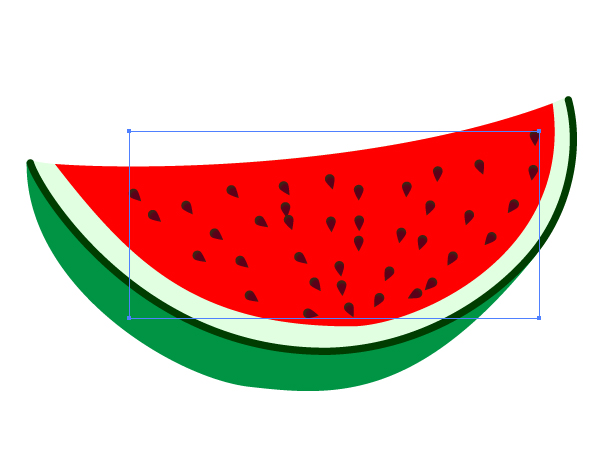
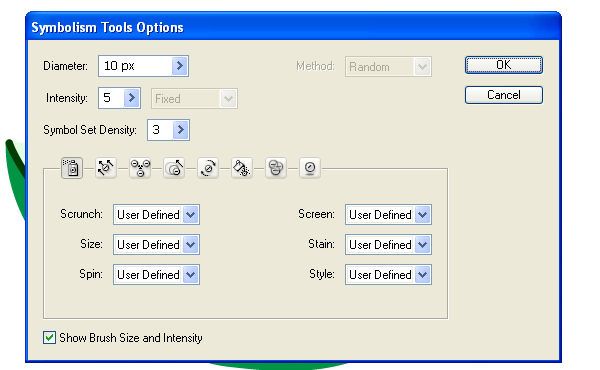
If your seed is too big or too small you need to change its dimensions. Moreover, maybe you will need to change the options for the Symbol Sprayer Tool. I used the following options for my picture.
Step 11
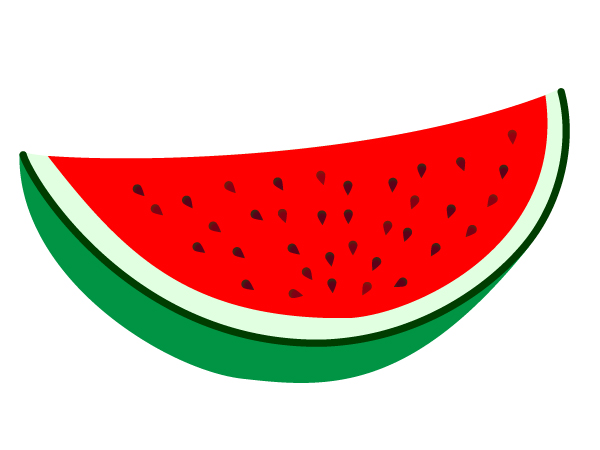
Go to Object > Expand two times. Then go to Object > Ungroup. Distribute the seeds over the pulp. You can do this with the help of the Selection Tool (V). Set the opacity for some seeds to the range from about 75% to 100%, this will allow you to mimic seeds lying under the pulp.
Step 12
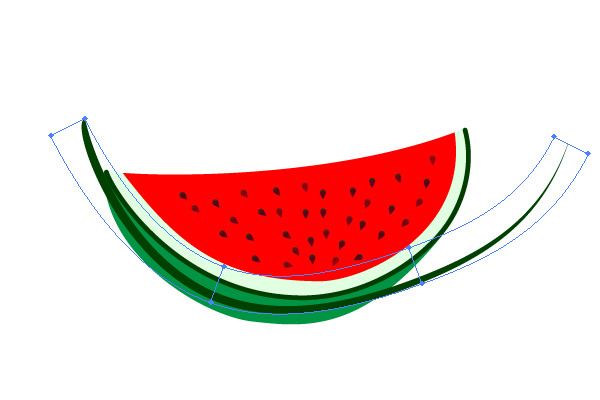
Create a new path with dark green filling. This path must be located along the peel of a watermelon’s segment. You may first create a straight path, and second distort it by going to Object > Envelope Distort > Make with Warp.
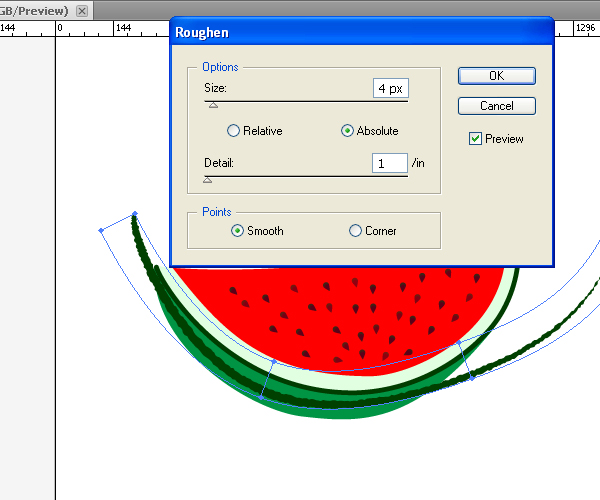
Go to Effect > Distort & Transform > Roughen, and set the following options.
Step 13
Go to Object > Expand Appearance. Then select the group which has just been received and the peel of the watermelon’s segment.
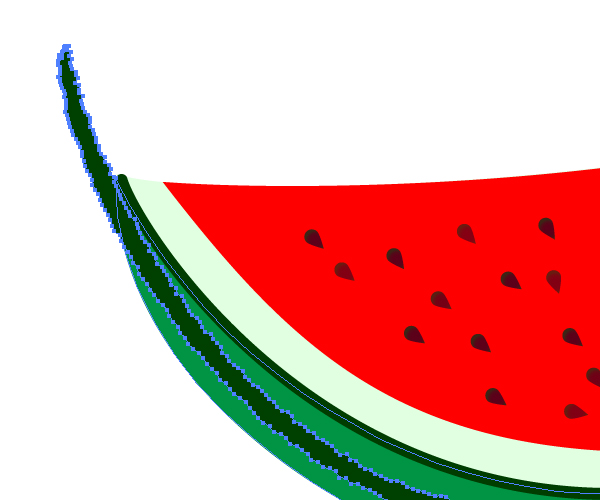
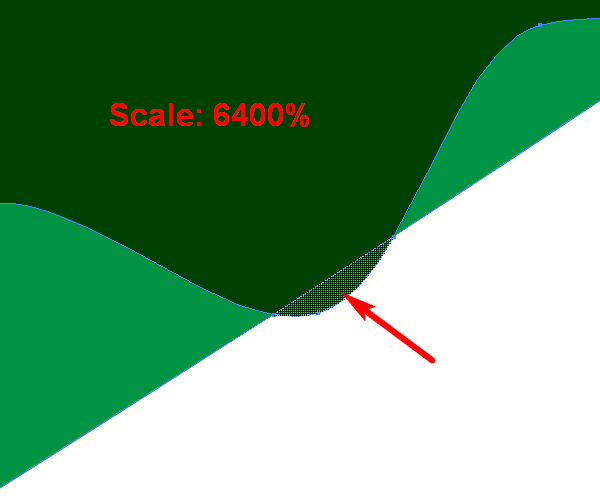
Take the Shape Builder Tool (Shift + M) and while holding the Alt button, click on the unnecessary parts of the group.
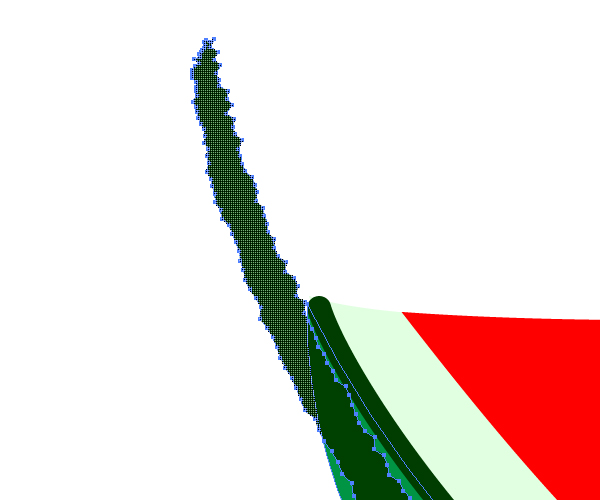
Zoom in to delete any small unnecessary parts.
Step 14
Now select the peel of the segment, copy it and paste in front (Command + C then Command + F). Fill it with a Linear gradient from white to black. White color represents light, and black color represents shadow.
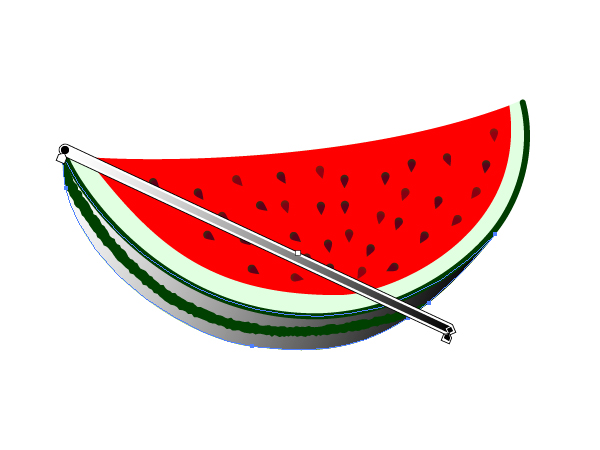
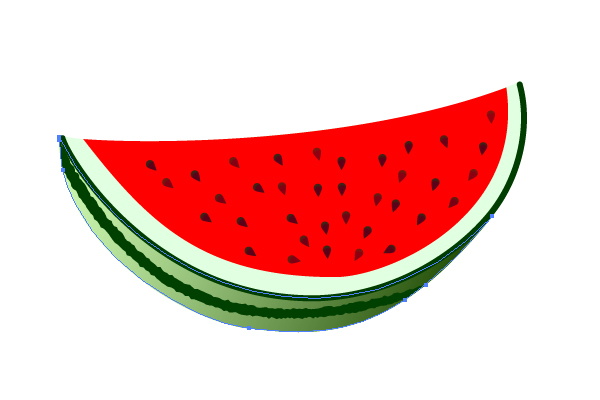
Decrease the opacity of this path to about 70%.
Step 15
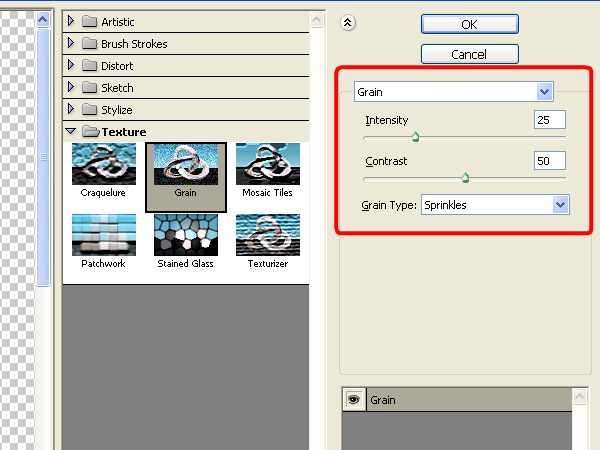
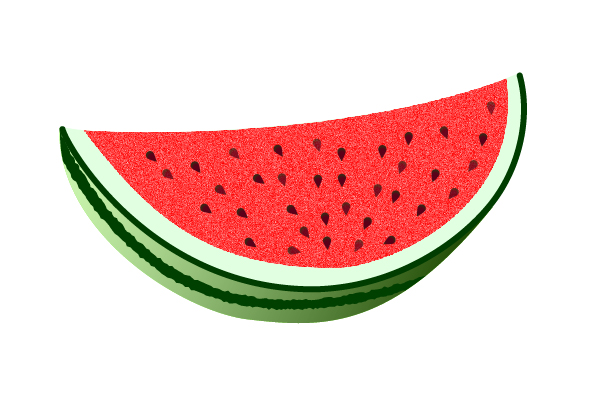
Select the pulp of the segment, and go to Effect > Effect Gallery > Texture > Grain, and set there the options which you can see on the figure below.
You will receive the following picture.
Step 16
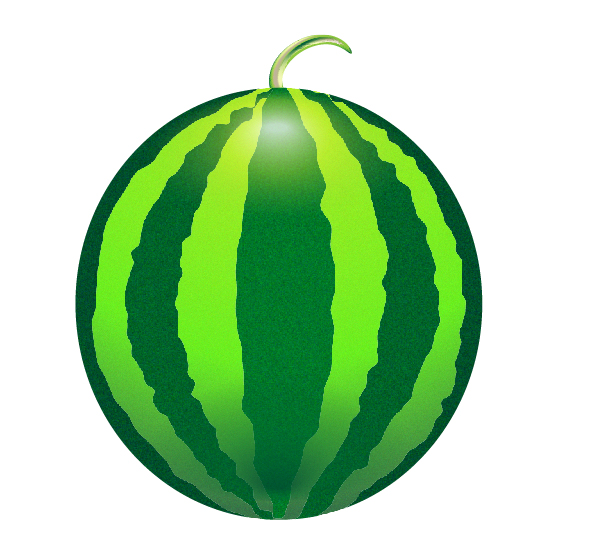
Stylize the full watermelon. Apply Grain texture (type: "Clumped") and Roughen effects to the ellipses and to the stripes on it. You will receive something similar to the following image.
Step 17
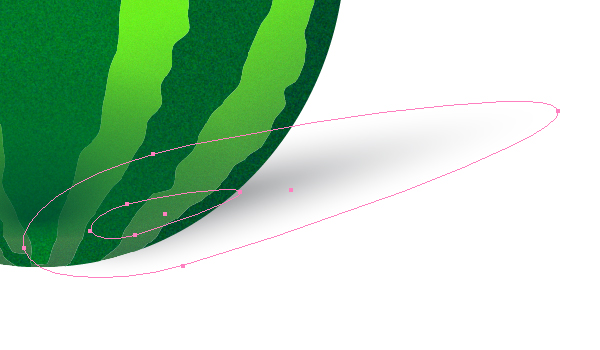
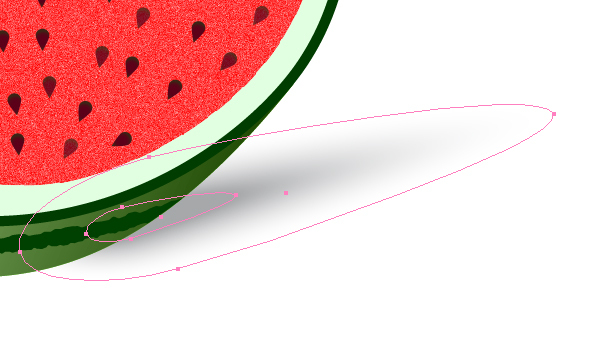
Create shadows. Use Blends for them (from gray to white), like you have done in the step earlier to create the top highlight.
Step 18
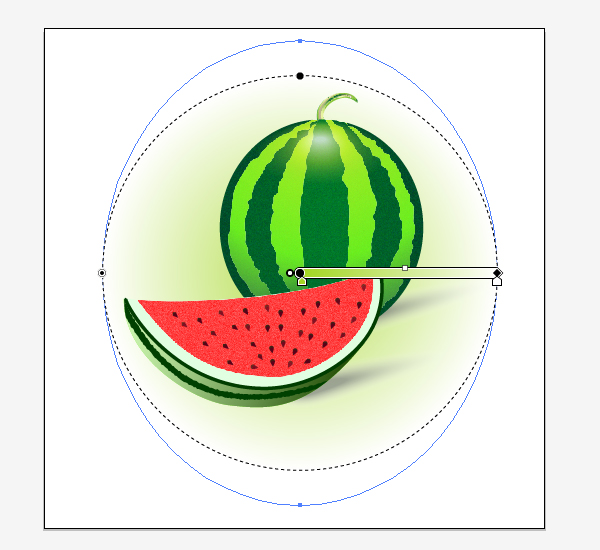
Take the Ellipse Tool (L). Create the ellipse in the diagram below with it. Set the Stroke of the ellipse to None. Fill the ellipse with the Radial gradient filling, which is shown on the diagram below. Set the Opacity of the filling to 80%. Go to Object > Arrange > Send to Back.
Conclusion
So, you have just made a watermelon. Take a look at different kinds of fruit and see if you can model them using the techniques you have learned in this tut. Have fun!
