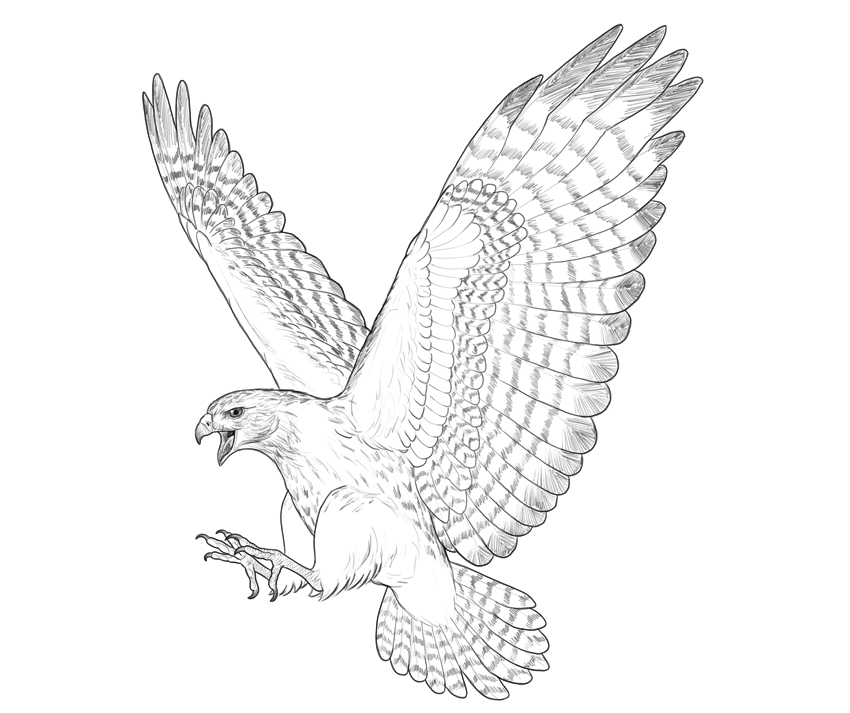
In this tutorial, I will show you a simple yet very effective method to draw a majestic hawk in flight. Follow me to learn how to draw a hawk in just a few steps—from the basic “skeleton” to the body, wings, and feathers.
This is a very basic tutorial. If you want to learn in depth about drawing birds and wings in general, you may be interested in my other tutorials:
 DrawingTaking Flight: A Beginner’s Guide Into Drawing WingsMonika Zagrobelna
 DrawingHow to Draw Animals: Birds, Their Anatomy and How to Draw ThemMonika Zagrobelna
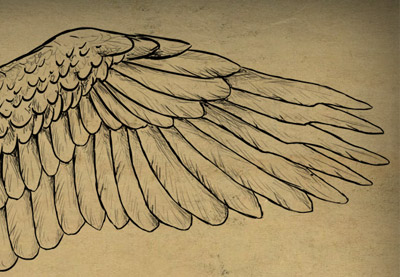
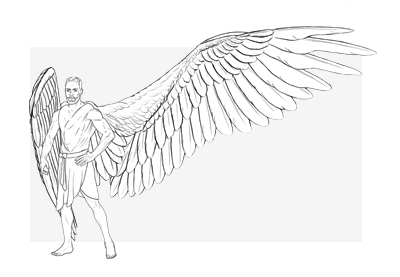
 DrawingHow to Draw Angel WingsMonika Zagrobelna
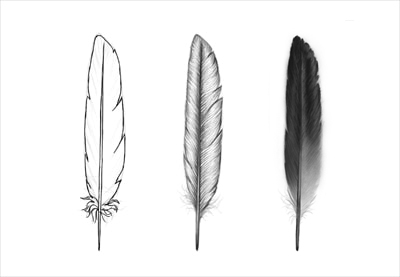
 DrawingHow to Draw FeathersMonika Zagrobelna
1. How to Sketch a Hawk
Step 1
Draw the basic skeleton of the body: the oval torso, the neck, and the tail.

Step 2
Add the head and the tail.

Step 3
Sketch the basic rhythm of the wings.

Step 4
Draw the legs. You can safely start at the knees, because in birds they function basically as hips most of the time.

Step 5
Add the talons.


Step 6
Draw the structure of the wings—an arm with one long finger.

Step 7
Draw the length and position of the last primary feather (starting at the wrist) and the secondary feather (starting at the elbow).

Step 8
Outline the basic planes of the primaries and secondaries.

Step 9
Add the outline of the minor feathers.

Step 10
Sketch the position of the feathers.


Step 11
Draw the open beak.

2. How to Draw the Details of a Hawk
Step 1
Draw the details of the head.

Step 2
Draw the details of the talons.


Step 3
Outline the body.

Step 4
Outline the primaries and secondaries—one half first, then the other.


Step 5
Outline the rest of the feathers.

Step 6
Once you’re done with the guide lines, draw the final lines over them. You can use an ink liner for this, so that you can safely erase the guide lines later.

Step 7
If you feel like it, you can add some shades and patterns to your hawk.

Good Job!
Did you know we like birds very much here on Envato Tuts+? If you want to keep drawing other birds, we’ve got you covered!
 AnimalsHow to Draw a DuckEugenia Hauss
 AnimalsHow to Draw a Chicken and a RoosterEugenia Hauss
 DrawingHow to Draw a Bird Step by StepEugenia Hauss
 BirdHow to Draw a FlamingoEugenia Hauss
 AnimalsHow to Draw a PenguinMonika Zagrobelna
 AnimalsHow to Draw an OwlEugenia Hauss

{excerpt}
Read More